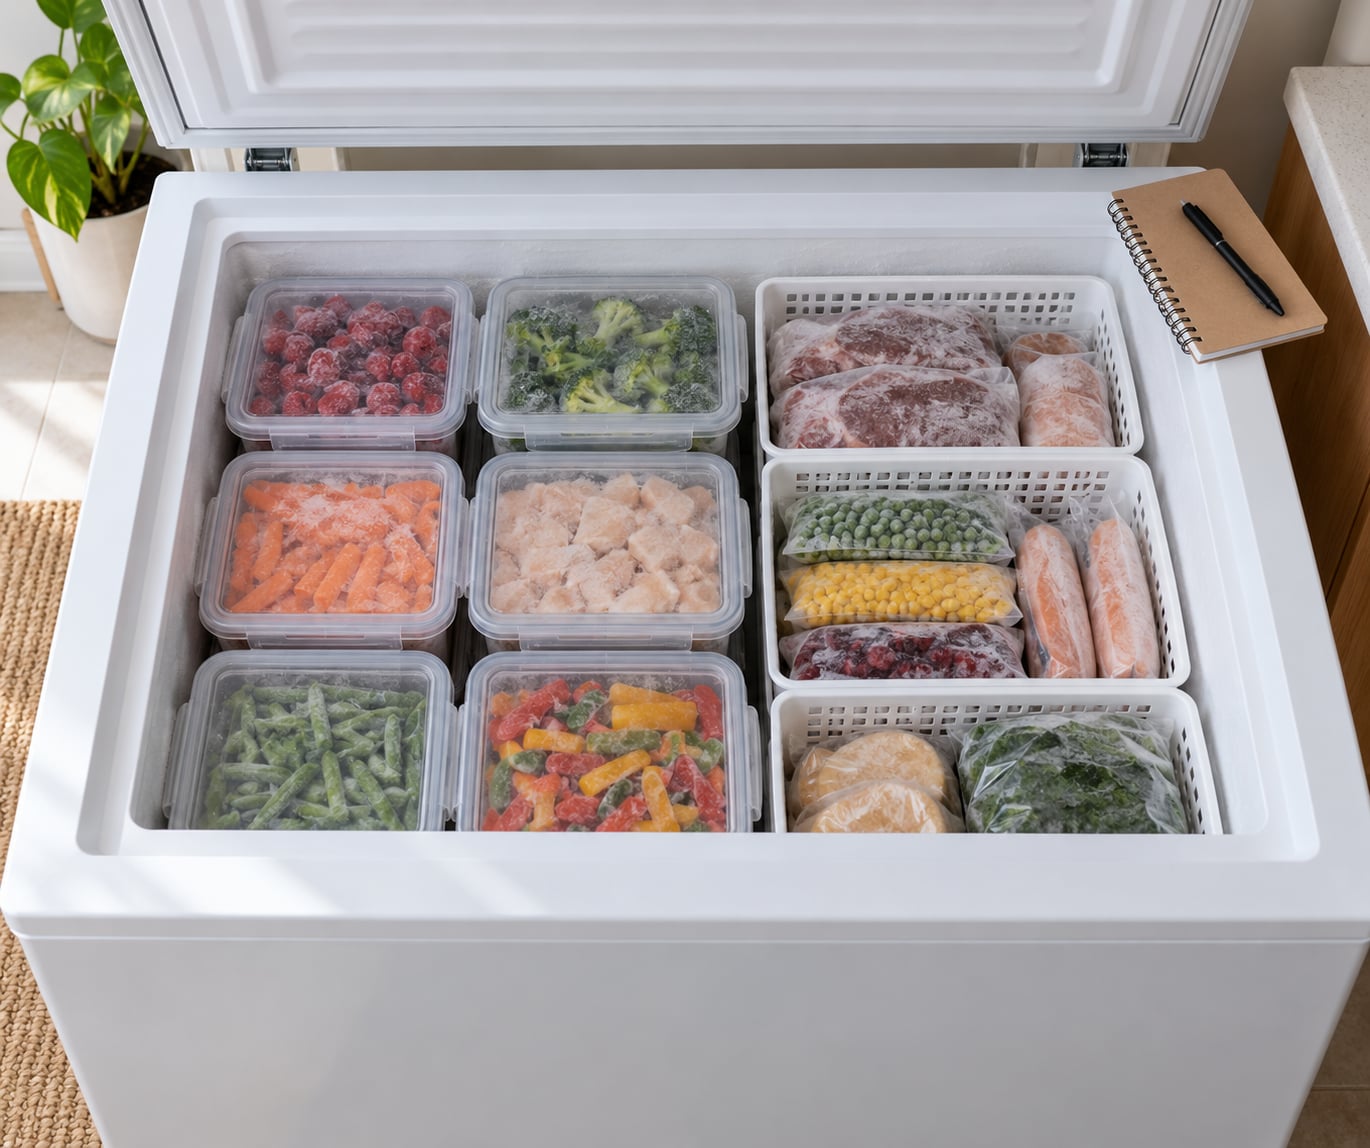
A chest freezer works against you: it is a deep opaque box, so whatever you drop in last sits on top and everything below it gets forgotten. The fix is to make every bin self-contained, one category per bin, with the contents written on the lid and a paper list to back it up. That is how to organize a chest freezer so nothing gets lost, and the whole reset takes an afternoon.
I have run this same reset three times now, once after a bulk buy, once after a garden harvest, and once because I genuinely could not find a bag of ground turkey. The version below is what survived all three.
Table of Contents
- What You Need
- Step-by-Step
- How to Organize a Chest Freezer So Nothing Gets Lost: Map the Main Zones
- 1. Empty and Sort Everything
- 2. Group Food by Category and Use
- 3. Choose Containers That Make Items Visible
- 4. Label Every Bin and Important Package
- 5. Create a Freezer Inventory
- 6. Use a First-In, First-Out Rotation
- 7. Keep the System Easy to Maintain
- Common Mistakes
- Frequently Asked Questions
- Conclusion
What You Need
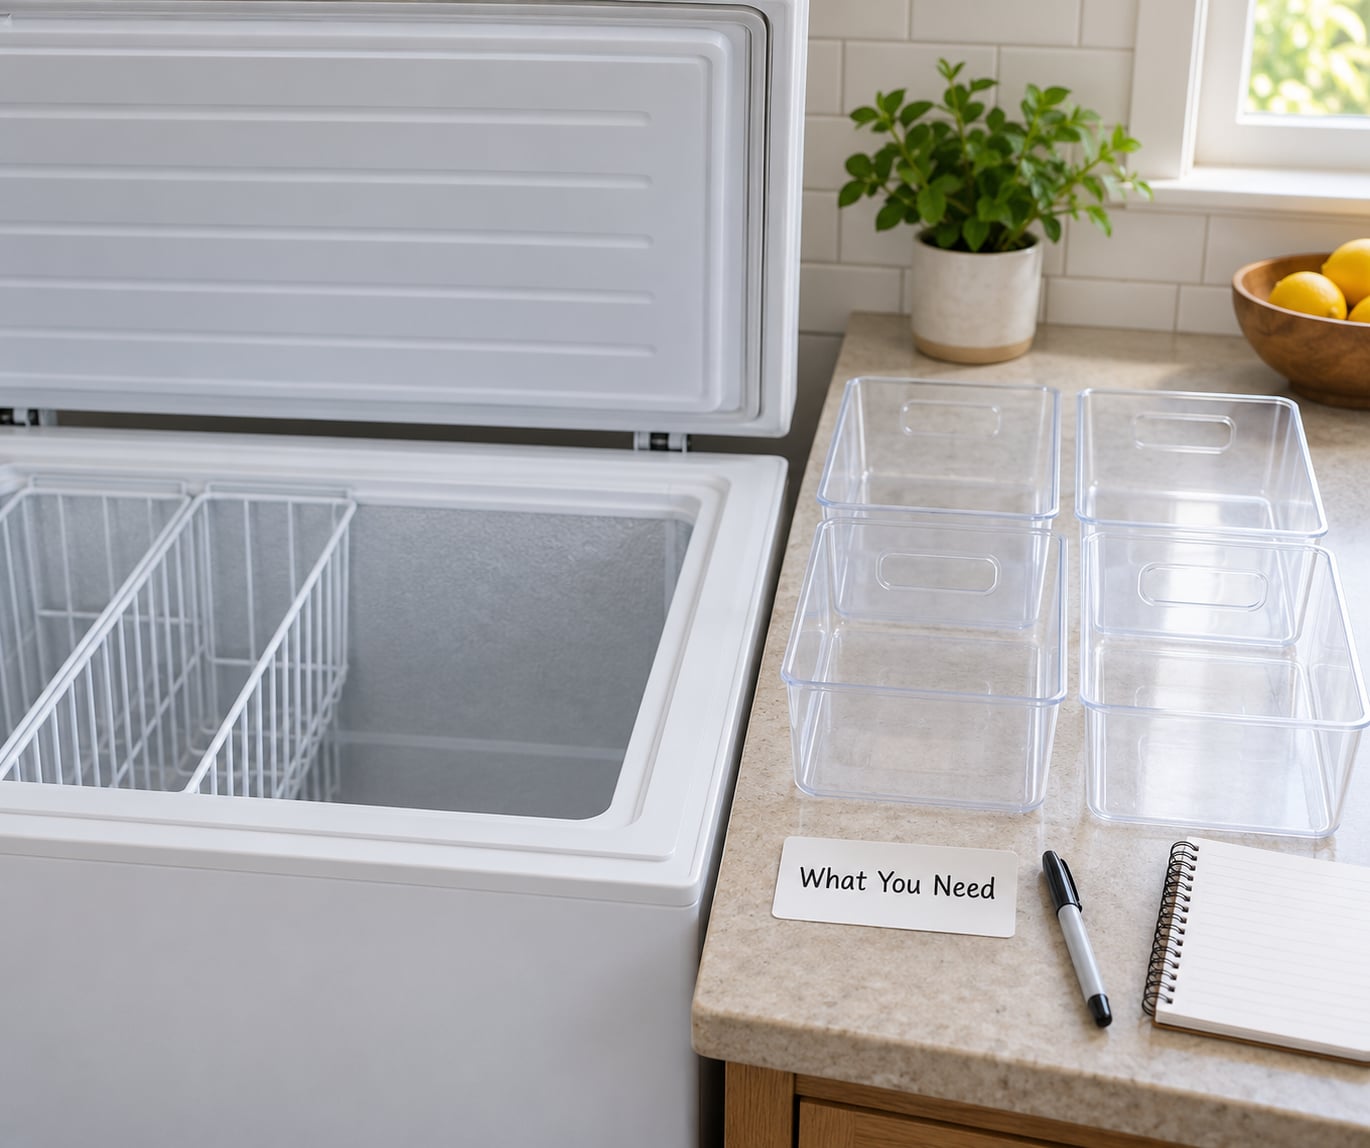
You do not need much, and you probably already own most of it. The list:
- Empty food-safe containers. Rigid plastic bins or crates that fit the inside width of your freezer with a finger’s clearance on each side.
- A marker that writes on cold plastic. A permanent or paint marker with a fine tip. Ordinary felt-tip markers dry out and disappear in freezer conditions.
- Masking tape or a label maker tape. Masking tape is cheap and forgiving; a label maker gives you consistent lines you can read at arm’s length.
- A notebook or a sheet of paper for the inventory. One page per zone is plenty. Some people keep a laminated master list on the freezer lid itself.
- Optional dividers, which are useful in a small chest freezer where the bins shift every time you open the lid.
One note on containers: buy them so cold air can still move around the food. A chest freezer moves air across the top of the load, and a chest packed tight against every wall keeps food colder in the middle than it needs to be.
Step-by-Step
How to Organize a Chest Freezer So Nothing Gets Lost: Map the Main Zones
Before anything moves, decide how many zones you have and what lives in each one. Three zones cover almost every household: a use-first section near the front for things you will eat this month, a family meals section in the middle, and a long-term section at the back for bulk buys and harvest overflow.
Sketch the layout on a sheet of paper or take one photo from directly above with the lid open. That map is what stops you from rebuilding the same jumble in six months, and it takes two minutes.
1. Empty and Sort Everything
Pull it all out onto towels on the floor or a table, in batches. Toss anything past its safe window, anything frost-burned beyond saving, and anything you cannot identify. That unidentified pile is usually the reason the freezer feels hopeless.
Sort what stays into piles: meats, poultry, seafood, prepared meals, vegetables, fruit, bread, and odds and ends. While items are out, check the freezer itself: wipe frost off the walls, check the lid gasket by closing the lid on a sheet of paper and pulling, and look for ice buildup in the drain channel.
Handle thawing safely. Move anything you can into the refrigerator and let it thaw there, or use cool running water. Food sitting at room temperature is where bacteria get comfortable, and refreezing it does not undo that.
2. Group Food by Category and Use
Assign one category to one bin. That single rule is what makes the whole system work, because a bin you can lift out as one unit never requires digging around it.
Within the categories, split by how fast you use them. Breakfast items go in one small bin so they can come out together. Ground beef, turkey and chicken live in separate labeled bins near the front, each one holding a single portion per package. Vegetables go in the back where nothing heavy rests on them.
Organizing by meal type instead of food type is a nice second layer once the basics hold: one bin for easy weeknight dinners, one for slow-cooker recipes, one for smoothie packs. It only helps if the number of bins stays small enough that you can remember what the list says.
3. Choose Containers That Make Items Visible
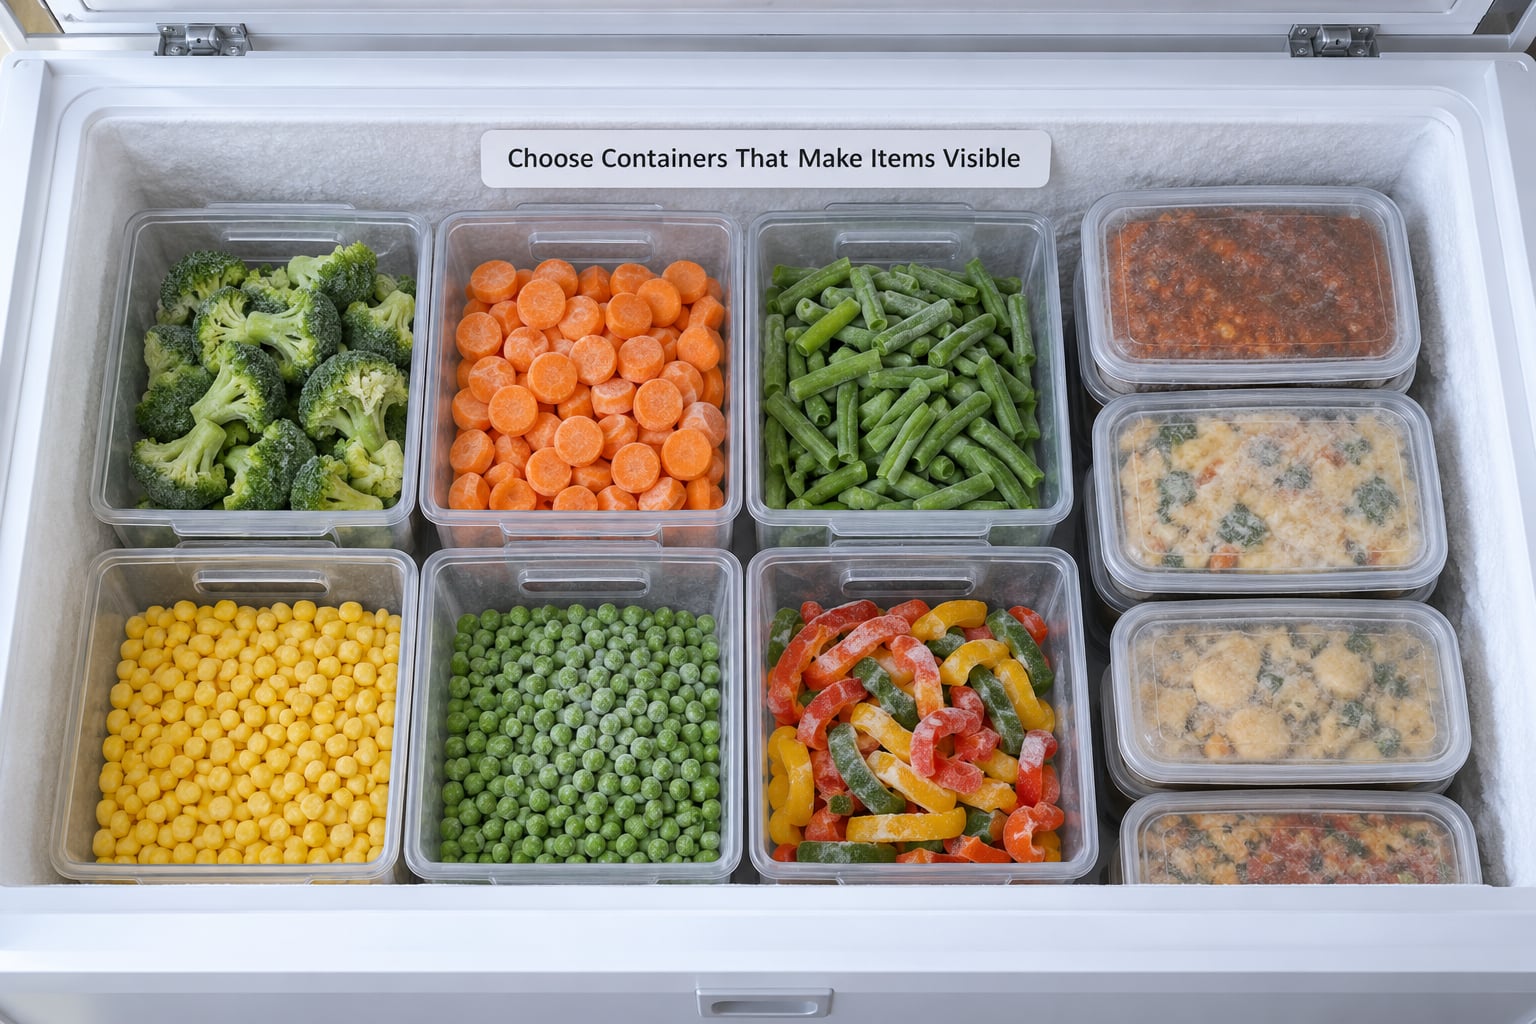
Pick containers you can see into and lift out in one motion. Color matters less than shape: a bin should have no lid flap, or a lid hinged open, so you can spot its contents from above without pulling anything.
| Container | Visibility | Stackability | Best for |
|---|---|---|---|
| Milk crate or produce crate | Open top, contents visible | Excellent | Bulk meat, garden produce, hunting season |
| Rigid plastic bin | Clear sides | Good, if the rim is flat | Everyday category storage, meal prep |
| Reusable shopping bag | Open, flexible | Poor, shifts when loaded | Loose bread, tortillas, awkward shapes |
| Cardboard box | None once frozen | Fair until damp | Short-term overflow, seasonal produce |
| Freezer bags laid flat | Poor unless stacked upright | Poor | Portion control, single items |
Fill bins partway. Food frozen in a solid block with no air around it gets buried, and labels on the outside stop meaning anything once you cannot see past the top layer. Leave a little headspace in jars and rigid containers so expanding liquid does not split the seal or crack the glass.
Skip glass where you can. Water expands when it freezes, and a jar that cracks inside a chest freezer means a cleanup job on the floor of a garage.
4. Label Every Bin and Important Package
Write the category, the date frozen, and the quantity on the outside of each bin. A date matters most on things with a short window, like ground meat, cooked meals and cut fruit, because those are the items people find later and hesitate over.
Match the method to the bin. Label maker tape lasts but has to be applied at room temperature, so do it before the bin goes in. Masking tape plus a paint marker is the cheapest reliable option and peels off cleanly when a zone changes. A card stock insert in a clip-on sleeve is the most changeable, and it works well on crates where tape would freeze onto the plastic.
Write larger than feels necessary. Frost on a bin is a lens that erodes fine print, and a label you can read at arm’s length with the lid open is the difference between a system you use and a system you abandon.
5. Create a Freezer Inventory
Write down what is in each bin. One page, three columns: bin name, contents, and date. A laminated sheet taped inside the lid is the version that survives longest, because it lives with the food.
Update the list at two moments only: when you finish the organizing reset, and when you unload groceries. That is enough. A list updated every time something goes in and out does not survive the first busy week.
Check the list before you write the grocery list. That one habit prevents the duplicate purchase, the over-buy of tortillas, and the slow accumulation of freezer-burned bags nobody wants to open.
6. Use a First-In, First-Out Rotation
Frozen food does not spoil quickly, but quality fades and eventually freezer burn sets in. Rotate anyway, because the point of dating is to move the older package forward, not to file it.
Older items go near the front and toward the top. Newer items go behind and underneath. When you pull a bin out, take everything in it, or move what you are not using to the front of the same bin so it is the next thing you see.
This works differently for different foods. Bread can sit for months and still be useful. Ground meat gets a date you actually use. A bin of individually wrapped salmon portions gets the oldest three pulled forward the moment you open it, whether or not you are cooking that night.
7. Keep the System Easy to Maintain
Do a short reset whenever you unload a big haul. Bins go back in their assigned zone, not wherever there is space, and anything partially used goes back in its own bin rather than loose on top.
Then do a 10-minute inventory sweep every few weeks. Walk the list, tick what is still there, note what ran out, and glance at the oldest date in each bin. Quarterly is enough for most households, monthly if you are feeding a large family or splitting food between two freezers.
Here is the test for whether any of this worked: someone else in your household should be able to find the ground beef without unpacking the freezer and without asking you. If they cannot, the bin is too full, the label is too small, or the zone map is out of date.
Common Mistakes
Using opaque or unlabeled containers. A solid bin with no writing is a mystery box, and mystery boxes are why freezers end up full of food nobody eats. Fix: clear sides, a visible label, contents on the lid.
Overpacking the freezer. A jam-packed chest has no air circulation, drains condensation into the food, and leaves you no room to add a bin. Fix: leave the top few inches of headroom and keep one bin slot empty for overflow.
Storing unrelated items together. A bin of mixed vegetables, dumplings and a half-eaten bag of cheese is retrieval-proof in the worst way. Fix: one category per bin, and split anything that does not match before it goes in.
Forgetting the date. Without a date, the oldest item always ends up at the bottom and stays there. Fix: date every bin on the day you fill it, and re-date the bin rather than each package when you top it up.
Putting frequently used food at the bottom. Anything below a heavy bin needs two lifts and a reach, so it stops getting used. Fix: the use-first bin sits at the front and on top, always.
Relying on wire baskets. Freezer forum threads describe them sliding and collapsing under the weight of stacked food, which turns your sorted zones back into an avalanche. Rigid crates stay where you put them.
A few adaptations worth knowing:
- Small chest freezers with a single layer work best with a divider panel across the middle, or with two narrow crates instead of one wide one. Fewer, smaller bins beat one bin you cannot see into.
- Deep chest freezers reward vertical organization, but only if the crates are light enough to lift full. A crate of frozen meat is a real weight, and that is the reason meat belongs in the lowest bin where it is already the thing you can reach.
- Garage freezers need bins with handles and lids, since you will be carrying food through a dirty garage. Also expect more frost, so expect to relabel more often.
- Two or more freezers need one page per freezer, and the pages should say where each lives, not just what is in it. Assign one freezer to overflow and bulk so the daily freezer stays light enough to sort quickly.
On food safety, keep the freezer at 0°F, the temperature frozen food is stored at commercially. If you do cook, the safe minimum internal temperatures are 165°F for poultry, 160°F for ground meat, and 145°F for whole cuts and fish.
Frequently Asked Questions
Should I use bins or bags in a chest freezer?
Bins win for retrieval, bags win for portion control. Use rigid bins for categories you buy in bulk, because you can lift one out and see everything in it. Use flat freezer bags for single portions like ground meat or burger patties, stored upright in a bin so the labels face out. Most households end up with both: bins as the outer shell, bags as the contents.
What are the best labels for freezer containers?
Label maker tape is the most durable and the easiest to read at a glance, but it has to be applied at room temperature. Masking tape with a paint marker is the cheapest option that survives freezer temperatures. For crates where tape freezes onto the plastic, a card stock insert in a clip-on sleeve is easier to change when a zone changes. Write the category, the date frozen and the quantity on every one.
How do I keep food from falling to the bottom of a chest freezer?
You stop putting loose food in. Everything goes in a bin sized so it lifts out as one piece, and the bin never sits under something heavier than it is. Load order matters too: dense items like cases of frozen meat go on the floor of the freezer, and light items like bread and vegetables go on top. If a bin is still too heavy to lift comfortably when full, it is too big.
What is a good free app for tracking freezer inventory?
A plain note on your phone beats a dedicated app for most people, because the note is already there and takes two seconds to update. A dedicated inventory app helps if you run more than one freezer or split the list with a partner, since both of you can edit the same list. A laminated sheet taped inside the lid is the most reliable option, and it never needs a battery or a signal.
How do I store a chest freezer when not in use?
Empty it, dry it out completely, and leave the lid cracked or propped so trapped moisture does not grow mold. Leave it plugged in if the space stays above freezing, and unplug it if it is in an unheated garage or shed. Clean the gasket and the drain channel before you close it, and set a reminder to check it every few months.
Where should I put a chest freezer?
An unheated garage, basement, or laundry room is fine as long as the temperature stays within the range the manual lists for your unit. Keep it away from heat sources, direct sunlight, and anything that blocks airflow around the coils. Leave clearance on the sides and top for ventilation, and avoid unheated spaces that can drop below the manual’s minimum.
Conclusion
Start smaller than feels satisfying. Empty the freezer, sort it into three broad zones, and get one bin labeled and dated before you buy anything new. Once one bin works the way you hoped, repeat it for the next category.
A simple system you actually keep up beats a clever one you admire once. If you can organize a chest freezer so nothing gets lost, someone in your house can find dinner without you standing over an open lid with a flashlight.