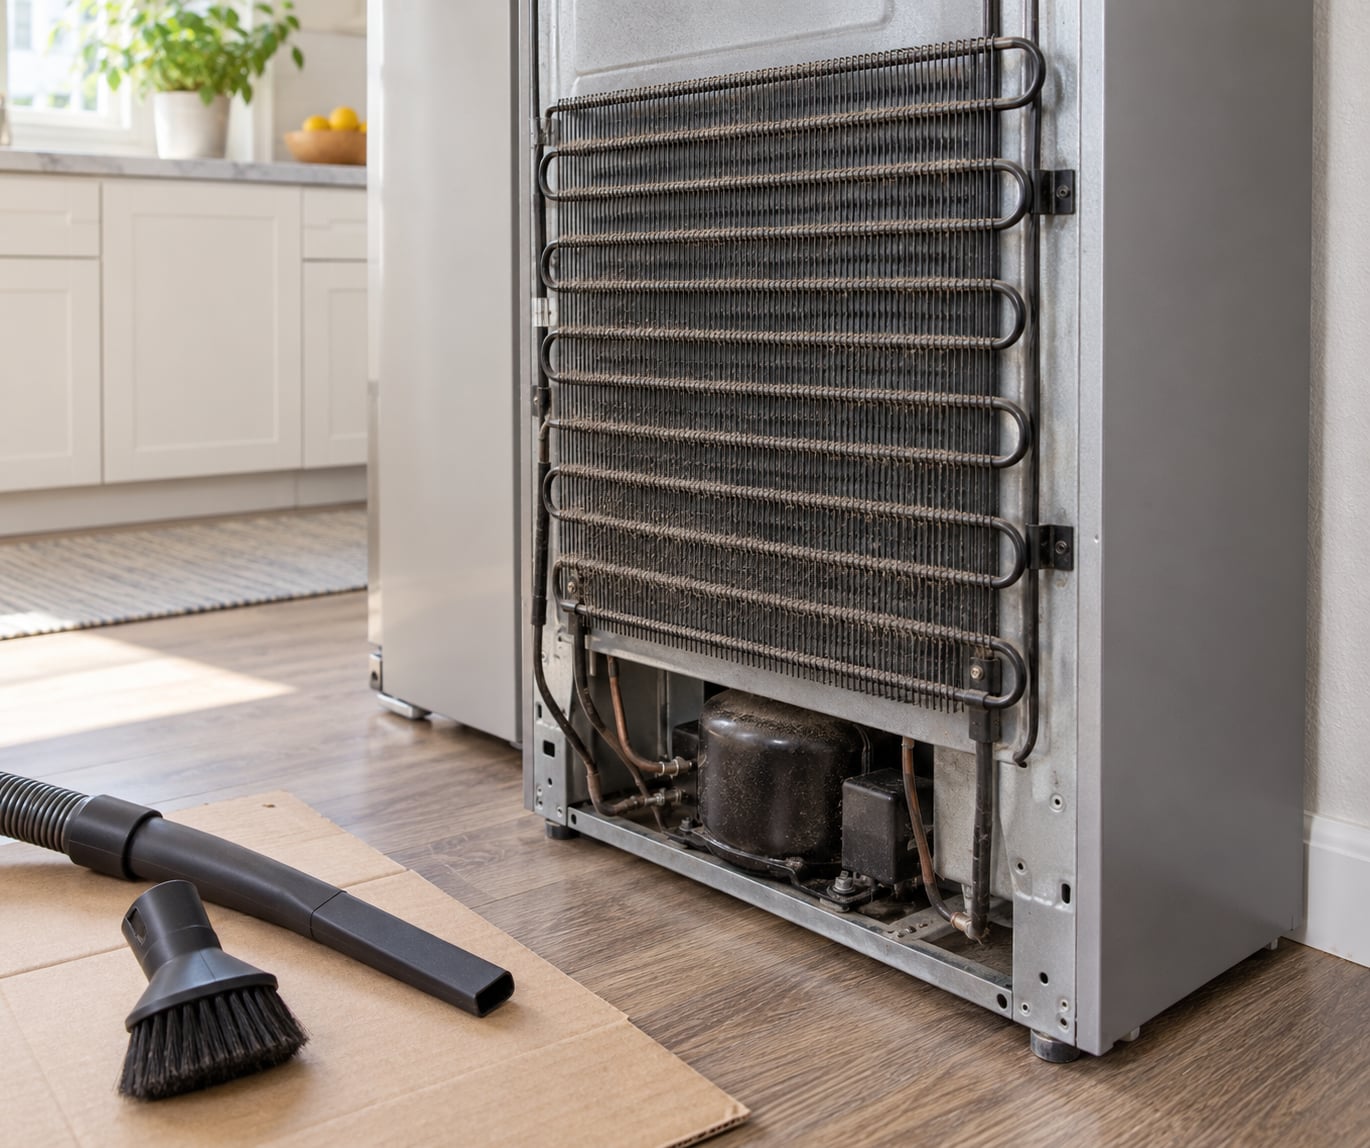
Cleaning refrigerator coils means unplugging the appliance, vacuuming the dust off the finned condenser tubing, and wiping it down if your owner’s manual allows a damp cloth. The whole job takes 30 to 60 minutes, and doing it every 6 to 12 months is enough for most kitchens.
The reason it matters is simple. Those coils release heat from the refrigerant so the compressor can keep working. Dust coats the fins, the heat stops moving, and the compressor has to run longer and longer for the same temperature.
Symptoms show up before anything breaks. A fridge that runs constantly, gets warm in the middle, or suddenly sounds louder than it used to usually has airflow trouble, not a dead compressor. That makes coil cleaning the first thing to try, and the last thing anyone should skip.
A note on the coils inside the fridge walls: those are the evaporator, and they hold refrigerant and usually frost over. This guide is about the outside condenser coils only. Dust on the back of the interior liner or on exposed tubing inside is a different job, and cleaning those surfaces is usually a technician’s task.
Table of Contents
What You Need
Gather everything before you pull the fridge out. Most kitchens already have all of it, which is why this is a good Saturday-morning job.
- Vacuum with a narrow brush or crevice attachment. A shop vac with a long hose is the best of both worlds if you have one.
- Soft-bristled condenser coil brush. The long, thin brush made for this job is cheap. Bend the tip slightly so it cannot catch and bend a fin.
- Microfiber cloth and mild dish soap. Wet cleaning is only safe when the manual allows it, so check first.
- Flashlight. Most coil grilles hide screws, clips and a dark compressor.
- Cardboard or old towels. To protect tile and hardwood before you pull the appliance out.
- Screwdriver or nut driver. For access panels held by screws rather than snap clips.
One safety prerequisite overrides all of it. Unplug before your hands go anywhere near the appliance, and confirm it’s actually unplugged by looking at the plug, not by assuming. If your model has a water line, check that the line has slack before you pull forward so it doesn’t stretch or kink.
Step-by-Step
1. Unplug the refrigerator and protect the floor
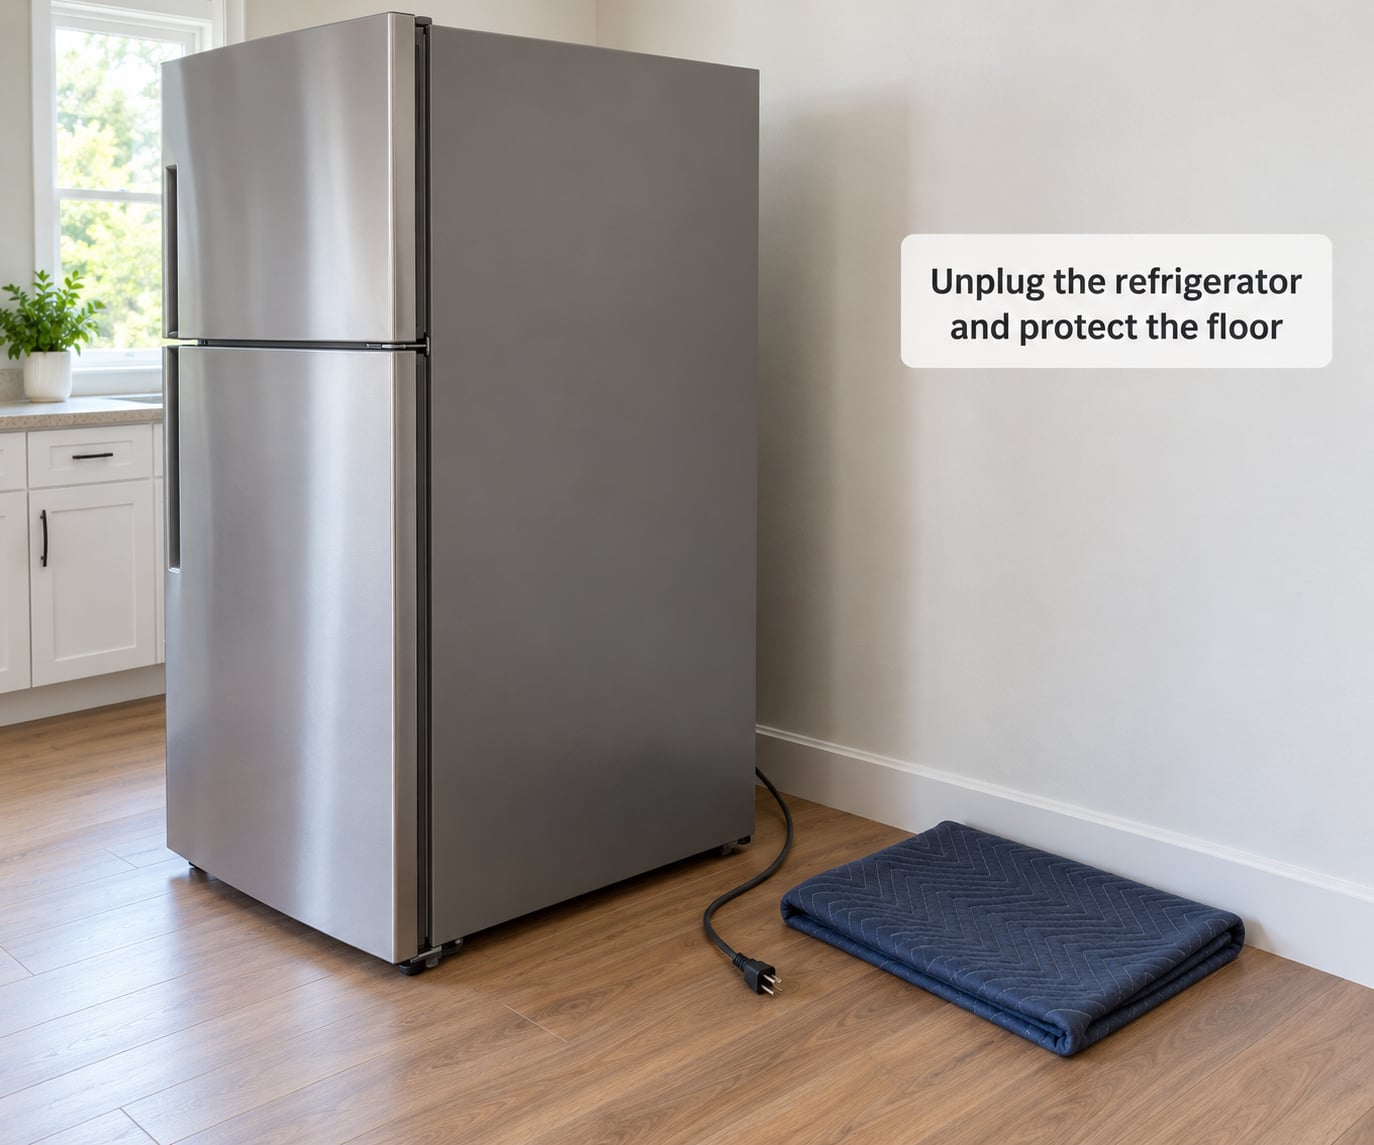
Pull the plug straight out of the wall outlet, not by tugging on the cord. Lay cardboard or towels on the floor first, because you will find more crumbs and dust under there than you expect.
Slide the refrigerator forward slowly, rocking it gently. Never lift it by the cooling lines or by the door handle. On models with a water line, watch the slack behind the unit as it comes out.
To confirm power is off, look at the plug itself and keep it in sight while you work. If the fridge has a control panel that stays lit, some models hold a charge for a moment, so give it a minute after unplugging.
2. Locate the condenser coils
Coils sit in one of two places. Older top-freezer models usually have them on the back of the cabinet or across the lower rear panel. Newer side-by-side and French-door models usually hide them behind a kick plate or grille at the front bottom, where the condenser fan is right beside them.
Shine the flashlight along the fins and you will see the difference between dusty and clear metal. Dust reads as a grey, fuzzy blanket; clean fins catch the light and you can count the slots between them.
If the grille comes off with screws or snap clips, remove it and set the hardware in a bowl so nothing disappears into the dark. If it won’t budge, do not force it. People have snapped water lines trying to yank a stuck panel off a built-in unit.
3. Vacuum loose dust from the coils
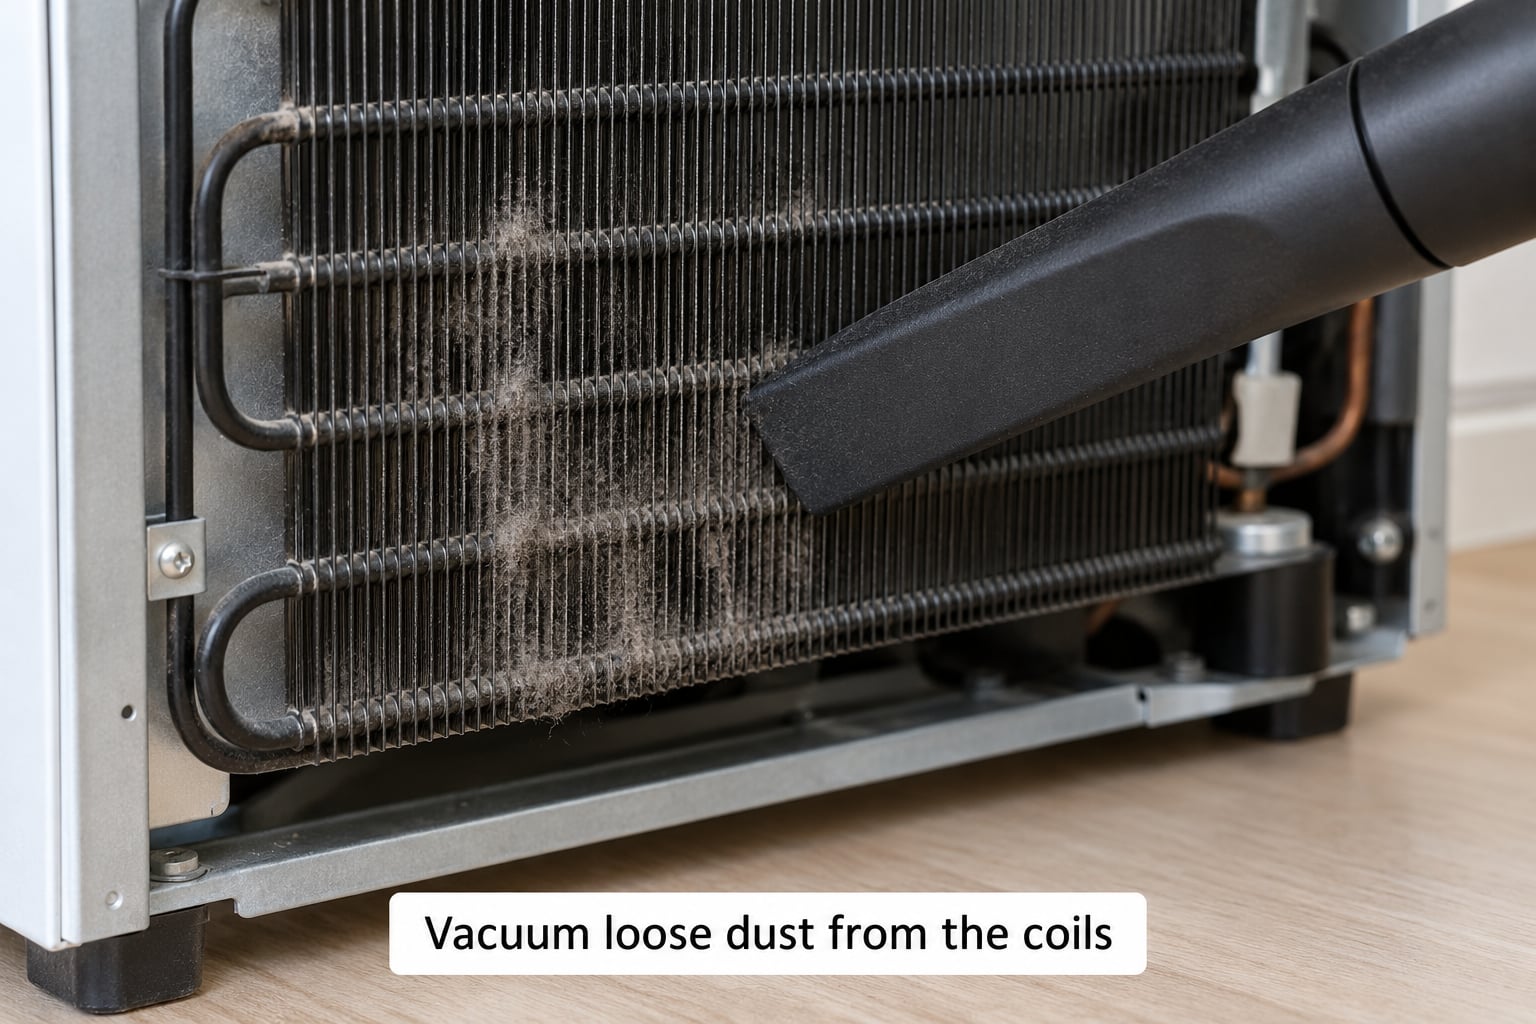
Run the vacuum first with the nozzle held an inch or two off the fins, working down the panel in overlapping passes. Hold the hose and the brush separately when you can, or rest the brush on the coil and drag the vacuum along with it.
Then move in closer with the crevice tool and follow the tubing where it bends. The bends and the corners collect the most dust, and they are where a rushing nozzle can bend a fin if you’re careless.
Work gently. The fins are thin metal and they are the easiest part of the job to damage. If the vacuum tip starts catching, back it off rather than pushing through.
4. Wipe stubborn dirt only if the manual allows it
Dust lifts easily with a brush. Grease and caked pet hair don’t, which is why a damp cloth helps. Read your owner’s manual first, because a few manufacturers say dry cleaning only.
If wet cleaning is permitted, wring a microfiber cloth until it is barely damp, add a drop of mild dish soap, and wipe each section. Keep liquid away from the wiring, the fan motor and any electrical connector.
Never spray anything directly onto the appliance. And let the coils dry completely before you plug back in. A wet coil next to live current is a short circuit waiting to happen.
5. Check airflow and clean the surrounding area
The coils need air moving across them, so the space around the appliance is part of the job. Vacuum the floor under and behind the unit, the top of the compressor housing, and the dust on top of the cabinet.
If your model has a condenser fan behind the grille, vacuum its blades and shroud while you are there. Hold the blades still with a finger and vacuum around them rather than letting the vacuum spin them, which can damage the bearing.
Make sure nothing is stored tight against the coil wall. An air gap of a few inches on the sides and back is what the manufacturer designed for.
6. Reconnect power and confirm better airflow
Reinstall the grille or access panel, slide the fridge back into position, restore your temperature settings, and plug it in. Reset any water filter or service indicator light that reset during the job.
Improvement is rarely instant. The compressor has to pull the box back down, so give it several hours before judging results, and a full day for a real comparison.
Listen for it. The fan noise should sound like your old fridge again, and the motor should cycle off and on rather than run without pausing.
Common Mistakes
Almost every expensive fridge problem I have seen traced back to one of these. Each one has a simple correction.
Cleaning while the fridge is still plugged in
Wet coils and a live outlet is the mistake with the worst downside. Unplug first, look at the plug to be sure, and keep it out of any puddle you make.
Using a metal scraper or flat-head screwdriver on the fins
One slip tears a fin and you are looking at a professional repair. A plastic coil brush or a plastic putty knife is the only safe choice. If you bend a few fins, gently comb them back upright rather than forcing them.
Spraying water or hosing down the back
Compressed air and water both have rules. Canned air works well for loose dust, but hold the nozzle away from the fins and never spin the fan with it. Blow in short bursts from the fan outward, not straight down into the fins where dust packs deeper.
Forgetting the condenser fan
On many models the fan behind the grille is the first thing to bind with dust. A blade stuck solid reads as a loud fridge and weak cooling even when the coils are spotless.
Not checking the owner’s manual
Coil location and wet-cleaning rules vary by model, and the manual settles both in about a minute. Built-in and under-counter models in particular need their specific procedure, not a generic one.
Failing to plug the refrigerator back in
It sounds silly, and it happens, usually to people who cleaned the fridge at night and forgot. A quick check of the outlet before you walk away is the whole fix.
Frequently Asked Questions
How often should I clean refrigerator coils?
Every 6 to 12 months for most kitchens, and twice a year is the safer habit. Clean sooner if you have pets that shed, cook often, park the fridge near a dusty vent, or notice the fan running constantly. A quick visual check of the fins takes ten seconds and tells you whether the schedule is working for your kitchen.
Can I use water to clean refrigerator coils?
Only if your owner’s manual allows it, and only a barely damp cloth. Never spray or hose water directly onto the appliance, since the coils sit near wiring, the fan motor and the compressor. Keep liquid out of electrical connectors, wipe rather than soak, and let every coil dry fully before reconnecting power.
Where are the coils on a refrigerator?
Older top-freezer models usually have them on the back of the cabinet or across the lower rear panel. Newer side-by-side and French-door models hide them behind a front kick plate or grille near the condenser fan. Built-in models often stack them on top behind a removable cover. Your model number in the manual confirms which.
Is it safe to clean refrigerator coils with a vacuum?
Yes, vacuuming is the safest and most effective method, as long as the fridge is unplugged. Keep the nozzle an inch or two off the fins, follow the tubing through the bends, and back off when the tip catches instead of pushing through. Hold the condenser fan blade still while vacuuming around it so the bearing is not damaged.
What if the refrigerator coils look bent or damaged?
Bent fins are common and usually fixable. Comb them gently back into line with a plastic coil brush rather than forcing them. If you find a flattened section, a tube that is scraped bare, or metal that is not the original color, leave it alone and call an appliance technician, because that is refrigerant hardware.
Do refrigerator coils need cleaning if the fan is noisy?
Usually yes. A condenser fan spins freely when it is clean and binds as dust builds up on the blades and housing, which reads as grinding or rattling. Clean the coils and vacuum the fan together, unplugged, holding the blade still. If the noise persists after that, the fan motor is the next thing to have checked.
What to Do After Cleaning
Start by looking at what you just cleared. Run a hand near the grille with the fridge running and you should feel air moving. That airflow is the whole payoff, and it is the first sign that how to clean refrigerator coils worked on your appliance.
Then put the unit back the way it was, leave a few inches of clearance on each side, and reset your temperatures to where they were. Give it a full day to stabilize before you compare anything.
Set the next reminder now rather than later. Twice a year, in spring and fall, works for most people, and sooner if there are pets in the house. If the fridge is still warm or still running nonstop a day after a thorough cleaning, the coils were not the whole story, and a technician should look at the condenser fan and the sealed system.