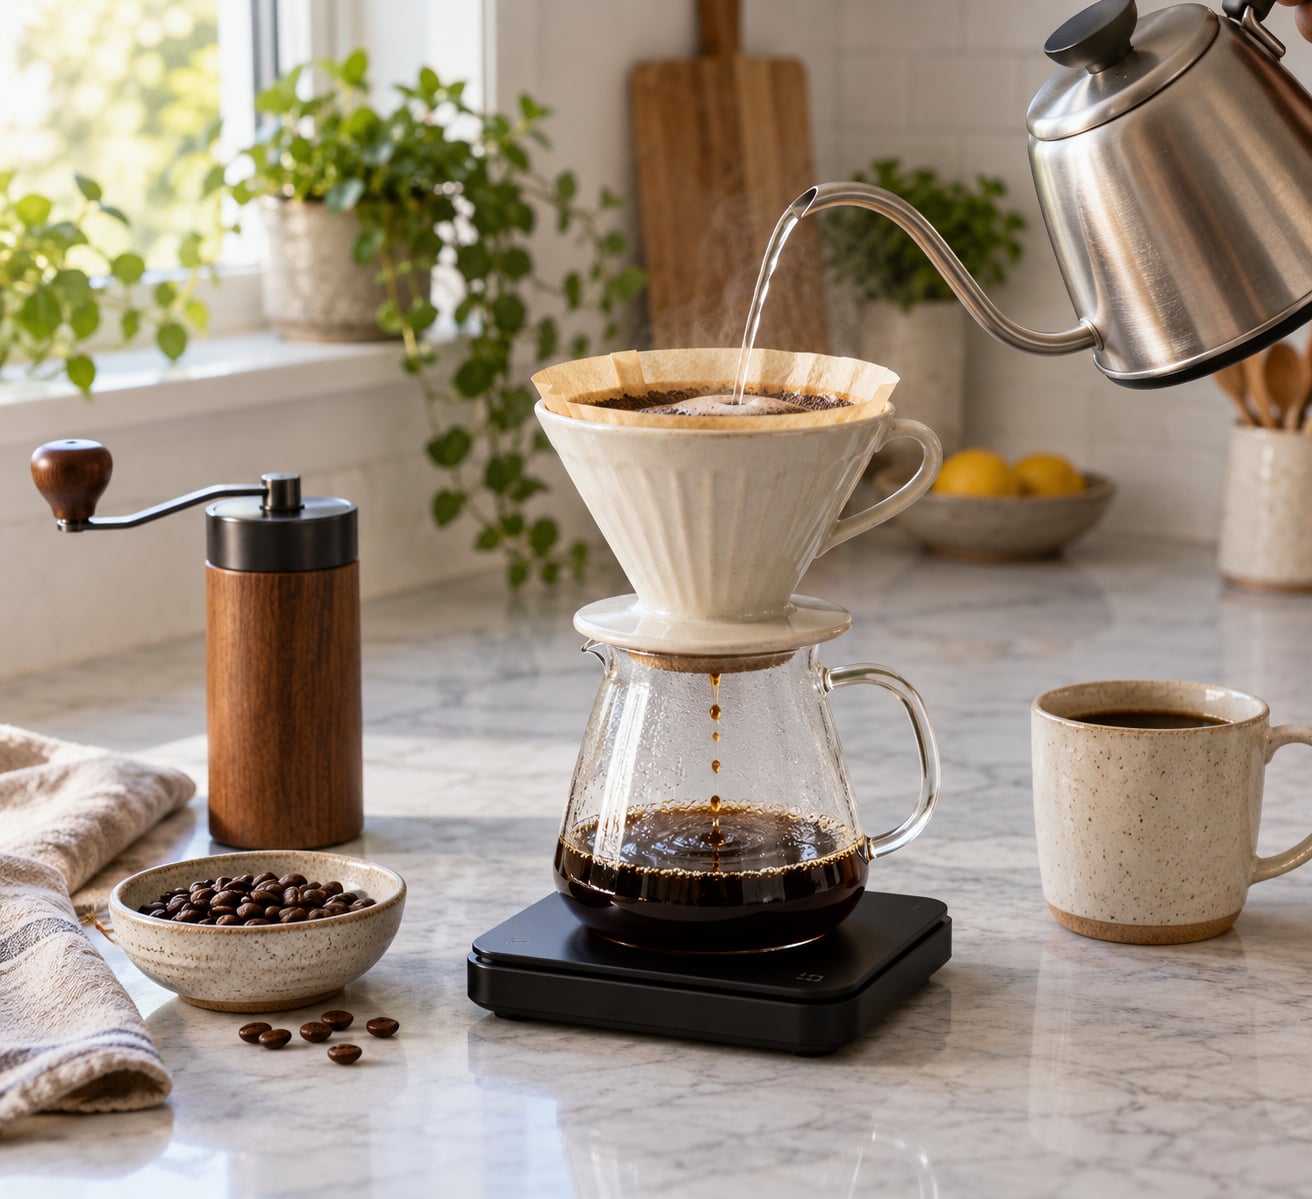
Learning how to make pour over coffee for beginners comes down to five numbers: 20 g of coffee, 320 g of water, water just off a boil, a medium grind, and about three minutes total. Get those right and the rest is pouring slowly and waiting. The whole brew takes less time than your morning email, and the equipment you need is short.
Pour-over is just hot water poured over ground coffee held in a paper filter, dripping into a mug. Nothing electric, nothing to descale. What you get in exchange for doing the work yourself is control: you decide how fast the water moves through the grounds, and that decides whether the cup tastes sweet and balanced or sharp and thin.
This guide covers the starting recipe, the full sequence with timings, and what to do when a brew comes out wrong. Read the steps once, brew it, then adjust from the tasting notes at the end.
Table of Contents
What You Need
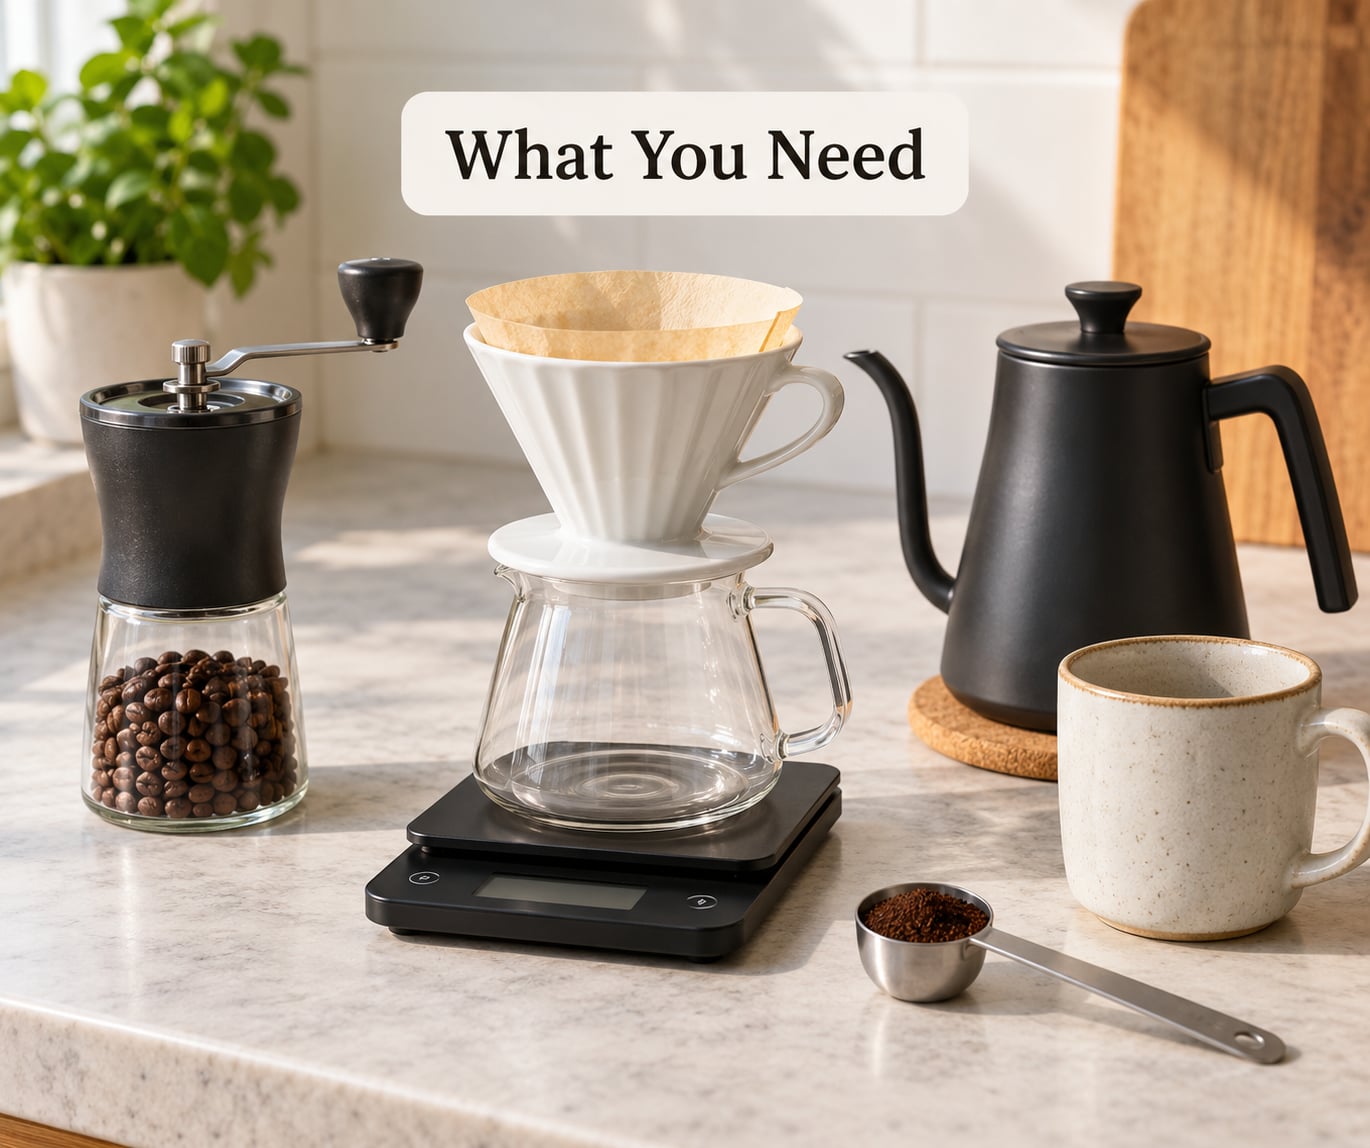
Six items cover it. Four are worth buying, two you can skip for now.
- A dripper — the cone that holds the filter and coffee. Any plastic or ceramic one works.
- Paper filters — cone-shaped sheets sized to your dripper. Buy the branded ones that match, they are cheap.
- A burr grinder — crushes beans evenly, which is the single biggest upgrade to a cup.
- A digital scale — reads in grams and tells you when your pours land where you meant them to.
- A kettle — a gooseneck spout gives you the thin, controlled stream a pour-over needs. A regular kettle works if you pour slowly.
- Beans — any medium roast from a grocery shelf or roaster. Freshness beats brand.
Not worth buying yet: a gooseneck kettle if you already have one with a spout, an expensive server, or a timer app you can use on your phone. A blade grinder is the one thing to avoid. It chops rather than crushes, so you get dust and boulders in the same grounds, and the dust over-extracts into bitterness while the boulders stay sour. That one problem causes more beginner frustration than anything else on this list.
Start at a 1:16 ratio by weight: 20 g of coffee to 320 g of water, which lands close to two mugs. Weights, not volumes, matter here. Coffee grounds are mostly air, so a cup of grounds weighs far less than a cup of water, and measuring by scoops is where ratios quietly go wrong.
Step-by-Step: How to Make Pour Over Coffee for Beginners
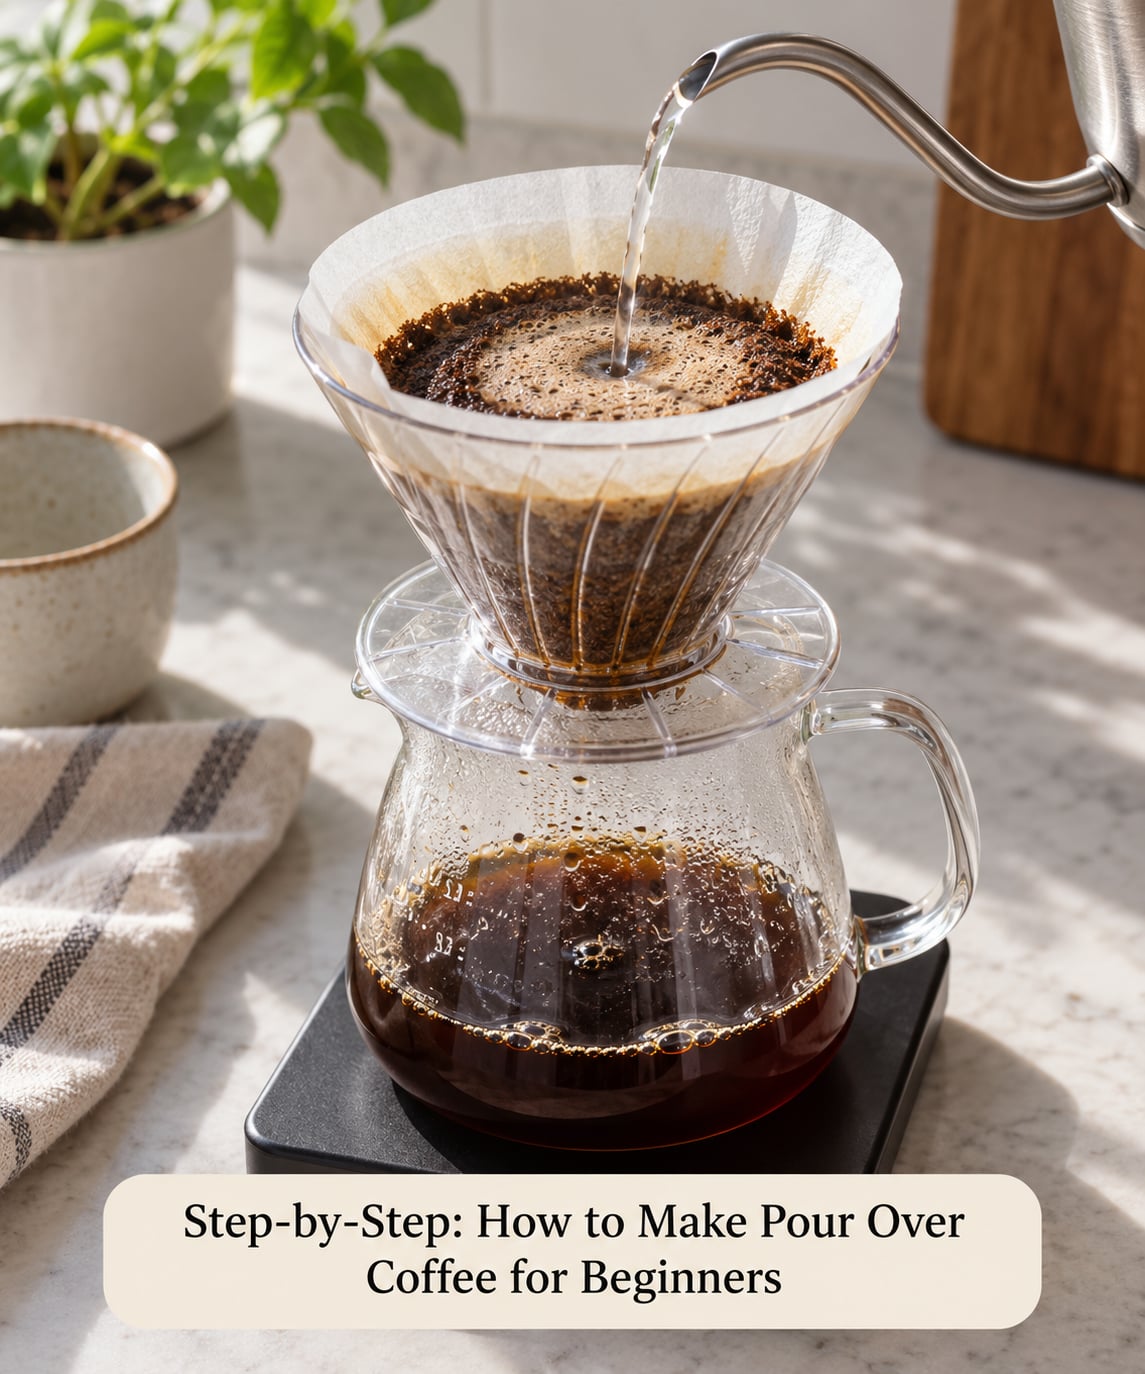
Set your brewer on a scale and zero it with the dripper and mug on top. Everything from here is measured against that zero.
Step 1: Choose and Grind the Coffee
Use a medium roast for your first few brews. Light roasts are fussier about temperature and grind, and dark roasts are hard to underextract once you know what you are doing. Medium lands in the forgiving middle.
Grind it to roughly the texture of table salt, a little finer if the weather is humid. A pinch should hold its shape briefly in your palm before crumbling. Do not squeeze the concept of an exact number out of a grinder manual; burrs from different brands at the same setting produce different particles, and the texture test is the only honest check.
Weigh 20 g, then tap the scale once. Weigh 20 g again. The second weighing catches the clump that was hiding on the first. Add both to your filter.
Step 2: Heat the Water and Prepare the Filter
Bring water to a boil, then let it sit for 30 to 60 seconds. That lands you somewhere near 200 to 205 F, which is a good target for a medium roast. Experienced brewers argue about whether to brew at a full boil; the honest answer is that the coffee bed cools fast, so a rolling boil is not automatically better, and if your water is hard, a lower temperature makes the bitterness worse rather than better.
Rinse the paper filter with hot water while your dripper sits on the scale, and let the excess drain into the mug. You are washing off the papery taste and warming the brewer. Tip out the rinse water before you add coffee, or you will dilute everything that follows.
Filtered water tastes cleaner than tap in most homes. If your tap is heavily chlorinated or very hard, a pitcher filter is the cheapest improvement available to you.
Step 3: Add Coffee and Bloom
Shake the filter gently to level the bed. A flat bed drains evenly, and a sloped one leaves one side starved.
Now pour about 60 g of water, roughly twice the weight of the coffee, in slow circles until every ground is wet. Then stop and wait 30 to 45 seconds.
This is the bloom. Fresh coffee holds a lot of trapped carbon dioxide from roasting, and hot water releases it as gas. You will see bubbles rise and the bed swell slightly, then settle. If nothing happens, your coffee is old or your water is too cool to react. Once the bubbling slows or stops, move on.
Step 4: Pour in Controlled Stages
Add water in two more pours, to about 180 g and then the final 320 g. Pour in slow concentric circles from the center outward, keeping the stream thin and the spout close to the surface. Poured water should never hit bare filter paper along the edge, because it runs down the side without touching the coffee.
Keep the water level between halfway and two-thirds up the cone. Above that you risk flooding the bed and stirring up silt; below it you risk the stream digging a channel through dry grounds and running straight down the paper.
Each pour takes about 30 to 40 seconds. Give the bed a gentle swirl after each one so water sitting at the edge mixes back in. Never shake the brewer.
Step 5: Finish Brewing and Taste
Let the last of the water drain through. Total time from first pour to the last drip should land between 2:30 and 3:30. Take the dripper off when the stream thins to a slow drip, and remove it sooner if it stalls completely with grounds still sitting above the water line.
Swirl the mug, cool it a few sips, and taste. A good cup is sweet and clear, with the roast character you would recognise in the bag. If it is thin and sharp, you under-extracted. If it dries out your mouth and finishes harsh, you over-extracted. Both are easy to fix and both are covered in the next section.
Write down two numbers for every brew: the dose and the total time. Without notes you are guessing, and changing three things at once means you will never learn which one mattered.
Common Mistakes
Four signals tell you a brew went wrong. It tastes sour or thin, it tastes bitter or harsh, it finished in under two minutes, or it dragged past four. Everything else is a variation on one of these.
Grinding too coarse is the most common beginner error, and it produces a fast, sour cup with little body. Move one step finer, or pour a little slower. If your brew drains in 90 seconds, the problem is grind, not patience.
Grinding too fine gives you a slow brew and a cup that tastes flat at first and then bitter as it cools. Move one step coarser. If water sits in the cone long enough for you to make toast, stop waiting and fix the grind.
Skipping or rushing the bloom leaves gas trapped in the bed, which blocks water contact and makes an already uneven bed worse. Wet all the grounds, then wait for the bubbling to slow down rather than counting to 30 and moving.
Water too hot extracts harsh compounds first, which is why over-boiled dark roast coffee can taste burnt. Water too cool under-extracts and leaves you with a sour, thin cup. Give it a kitchen thermometer for a few brews, then judge by eye again.
Pouring too fast floods the bed and washes fines through the filter, giving you a cloudy cup and a flat finish. Watch the level, not the kettle. You are pouring water into a bed that is absorbing it, not emptying a pitcher into a sink.
Stale coffee will not brew well at any ratio. Coffee is at its best in the first few weeks after roasting, and by a few months the aromatics are largely gone. If your bloom produces no bubbles, that is the first thing to check.
| What your coffee tastes like | What it means | The single fix |
|---|---|---|
| Sour, thin, sharp edges | Under-extracted, usually too coarse | Grind one step finer |
| Bitter, drying, astringent | Over-extracted, usually too fine or too hot | Grind one step coarser |
| Sour and bitter at once | Uneven bed or inconsistent grind size | Stir the bed before brewing and check the grind is even |
| Weak, no aroma, watery | Coffee is stale or the dose is low | Use fresher beans and keep the 1:16 ratio |
| Brew finishes in under 2 minutes | Grind too coarse for the brewer | Grind finer until you reach 2:30 to 3:30 |
| Brew drags past 4 minutes | Grind too fine or the pour flooded the bed | Grind coarser and pour in gentler stages |
Two habits fix most beginner cups faster than any equipment upgrade. Keep the grind, dose, and ratio identical while you change one variable at a time, and give each brew a rating out of five. A bad cup you did not write down teaches you nothing.
If you are brewing without a scale, use two level tablespoons of whole beans, about 10 g, for every 6 fl oz of water, and accept that you are working blind past that. Tablespoon sizes vary, so expect your first few brews to be inconsistent before the ratio settles down.
Frequently Asked Questions
What grind size should I use for pour-over coffee?
Medium, roughly the texture of table salt, is the right starting point for a standard pour-over dripper. Rub a pinch between your fingers: it should feel sandy and just hold its shape. If your brew finishes in under two minutes and tastes sour, go finer. If it drags past four and tastes bitter, go coarser. Judge by texture rather than grinder settings, because the same number on two different burrs produces very different particles.
How much coffee and water should a beginner use?
Start with 20 g of coffee to 320 g of water, a 1:16 ratio by weight, which yields close to two mugs. For one large mug, use 15 g of coffee to 240 g of water. For a full carafe, use 40 g to 640 g. Measure by weight rather than scoops, since ground coffee is mostly air and a cup of grounds weighs far less than a cup of water.
What water temperature is best for pour-over coffee?
Aim for 195 to 205 F for a medium roast, which is roughly 30 to 60 seconds off a rolling boil. Light roasts prefer the hotter end, around 205 to 212 F, and dark roasts the cooler end, about 175 to 190 F, because they extract bitter compounds faster. A probe thermometer for a few brews is worth it, though experienced brewers often stop using one and judge by sight.
Do I need to buy a special pour-over coffee maker?
No. A cone dripper, cone-shaped paper filters, a grinder and any kettle with a spout cover the whole method, and plastic models work exactly as well as ceramic ones. A gooseneck kettle helps because its narrow spout gives you a thin, controlled stream, but a regular kettle poured slowly from close to the bed works too. A burr grinder matters far more than the brewer itself, since even grind size is what makes the cup even.
Why is my pour-over coffee bitter or sour?
Sour and thin means you under-extracted, which almost always means the grind is too coarse. Bitter and drying means you over-extracted, which is nearly always too fine or water too hot. Sour and bitter in the same sip points to an uneven coffee bed, usually from pouring onto the filter paper instead of the grounds. Change one variable at a time and note the result, because adjusting all three at once teaches you nothing.
Can I make pour-over coffee without a scale?
Yes, with a volumetric fallback: two level tablespoons of whole beans, roughly 10 g, for every 6 fl oz of water. The beans, not the grounds, so you measure before grinding. It is less accurate than weight and tablespoon sizes vary, so expect your early brews to be uneven. You can also estimate the bloom at two heaped tablespoons of water and keep the total pour time around three minutes as your reference instead.
Do one thing tomorrow: weigh 20 g of medium-roast beans, grind them to a table-salt texture, and brew the 1:16 recipe while the kettle boils. That single repeatable cup gives you a baseline. Every brew after it becomes a comparison, and comparisons are how the coffee starts tasting like yours instead of like guesswork. Updated for 2026, this method does not change, but your taste will.