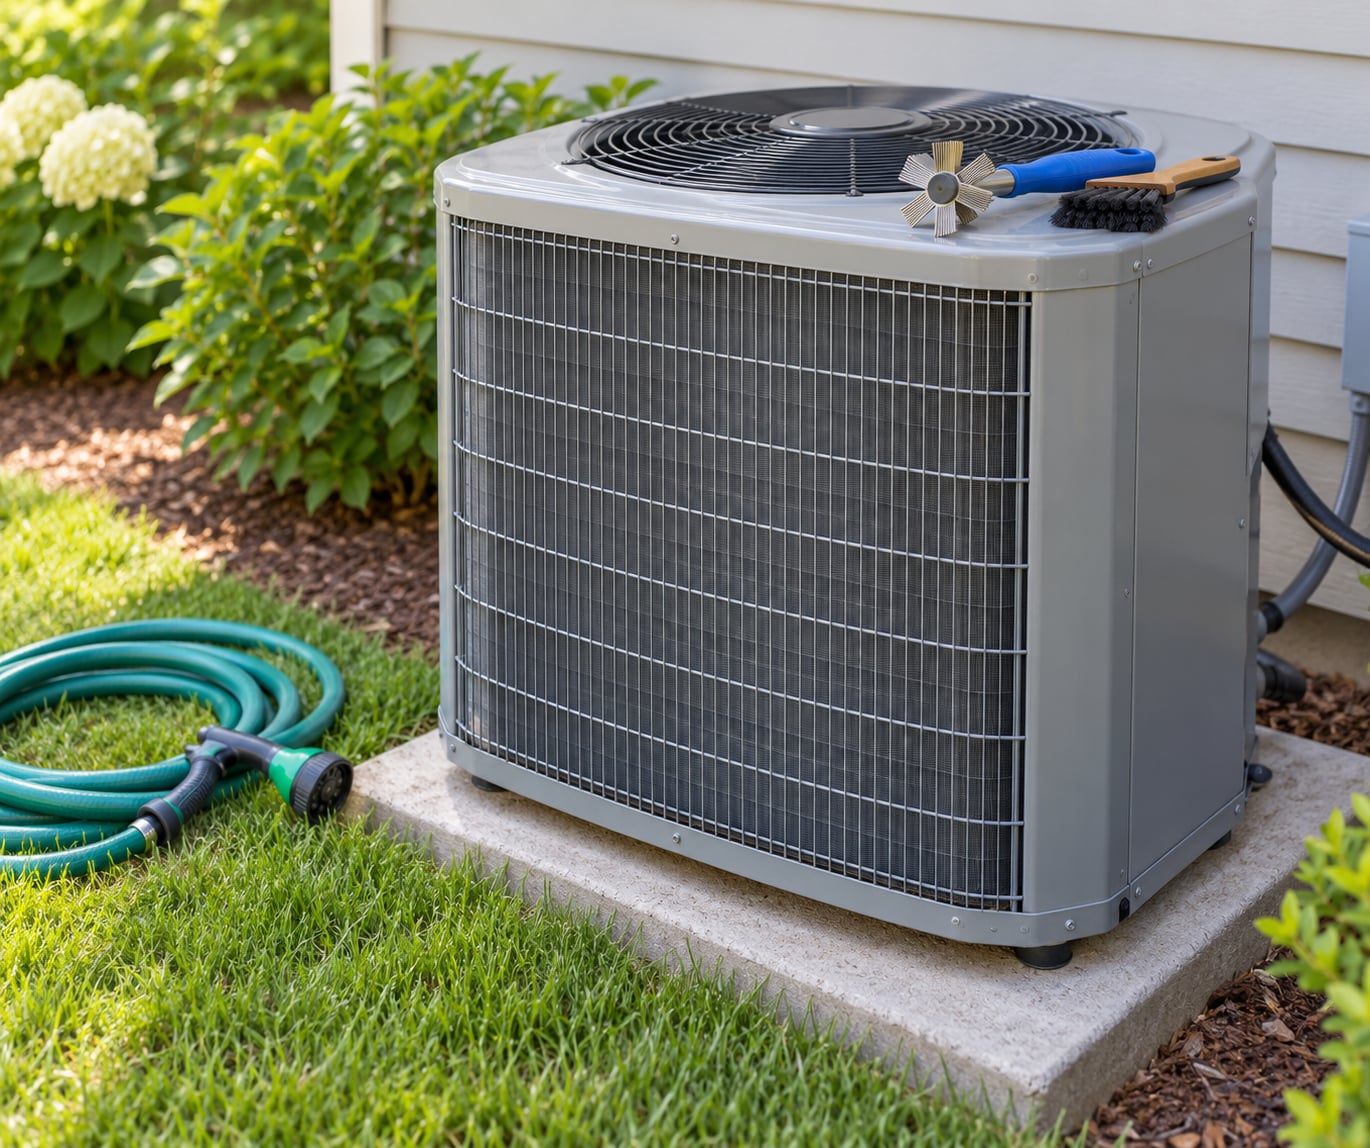
Yes, you can clean both air conditioner coils yourself. The outdoor condenser coil gets hosed or vacuumed, the indoor evaporator coil gets vacuumed and treated with a no-rinse foaming cleaner, and the whole job takes 45 to 90 minutes on a typical split system. The catch is knowing where to stop: sealed refrigerant lines, wiring and anything buried in a duct plenum are technician territory.
The reason this matters is that a dirty coil is one of the most common causes of weak airflow, musty smells at startup and higher summer bills. It is also one of the cheapest maintenance jobs on the house. If you have cottonwoods shedding fuzz nearby, pets, or a unit that has gone a few seasons without attention, this is worth an afternoon.
Table of Contents
- Evaporator vs. Condenser: Know Which Coil You Have
- What You Need to Clean Air Conditioner Coils Yourself
- Step-by-Step: Cleaning Both Coils
- Common Mistakes to Avoid When You Clean AC Coils Yourself
- Frequently Asked Questions
- How often should I clean my air conditioner coils?
- Can I clean the outdoor condenser coils myself?
- What is the safest cleaner for air conditioner coils?
- Should I rinse an air conditioner coil with a hose?
- Why does my air conditioner coil look dirty even after cleaning?
- When should I call an HVAC professional instead of cleaning the coils?
- Conclusion
Evaporator vs. Condenser: Know Which Coil You Have
Most homes have two separate coils, and they are cleaned in completely different ways. The evaporator coil sits inside the furnace or air handler in a closet, attic or crawlspace. The condenser coil is the black or grey finned block on the back of the outdoor unit. Identify which one you are looking at before you buy a single cleaner.
| Coil | Where it is | What it does | What collects on it | How you clean it |
|---|---|---|---|---|
| Evaporator | Indoor, inside the air handler or furnace cabinet | Absorbs heat from the air you breathe | Dust, pet hair, oily film, mold and algae slime | Vacuum, then a no-rinse foaming coil cleaner. Never rinsed |
| Condenser | Outdoor, on the back of the outdoor unit | Releases heat to the outside air | Leaves, cottonwood fuzz, pollen, dust and lint | Vacuum, hose rinse inside out at low pressure, comb the fins |
There is a third case that confuses people: mini splits and ductless systems, where the same cabinet holds both an indoor coil and an outdoor coil. The method does not change, only the access: on a ductless system the indoor coil usually sits behind a lift-off filter grille or a hinged panel, and the outdoor coil is a normal ground-level unit you can get in front of.
Before anything else, open the manual for your model. Manufacturers differ on access panels, approved cleaners and whether the coil is rinseable, and the manual beats any generic guide, including this one.
What You Need to Clean Air Conditioner Coils Yourself
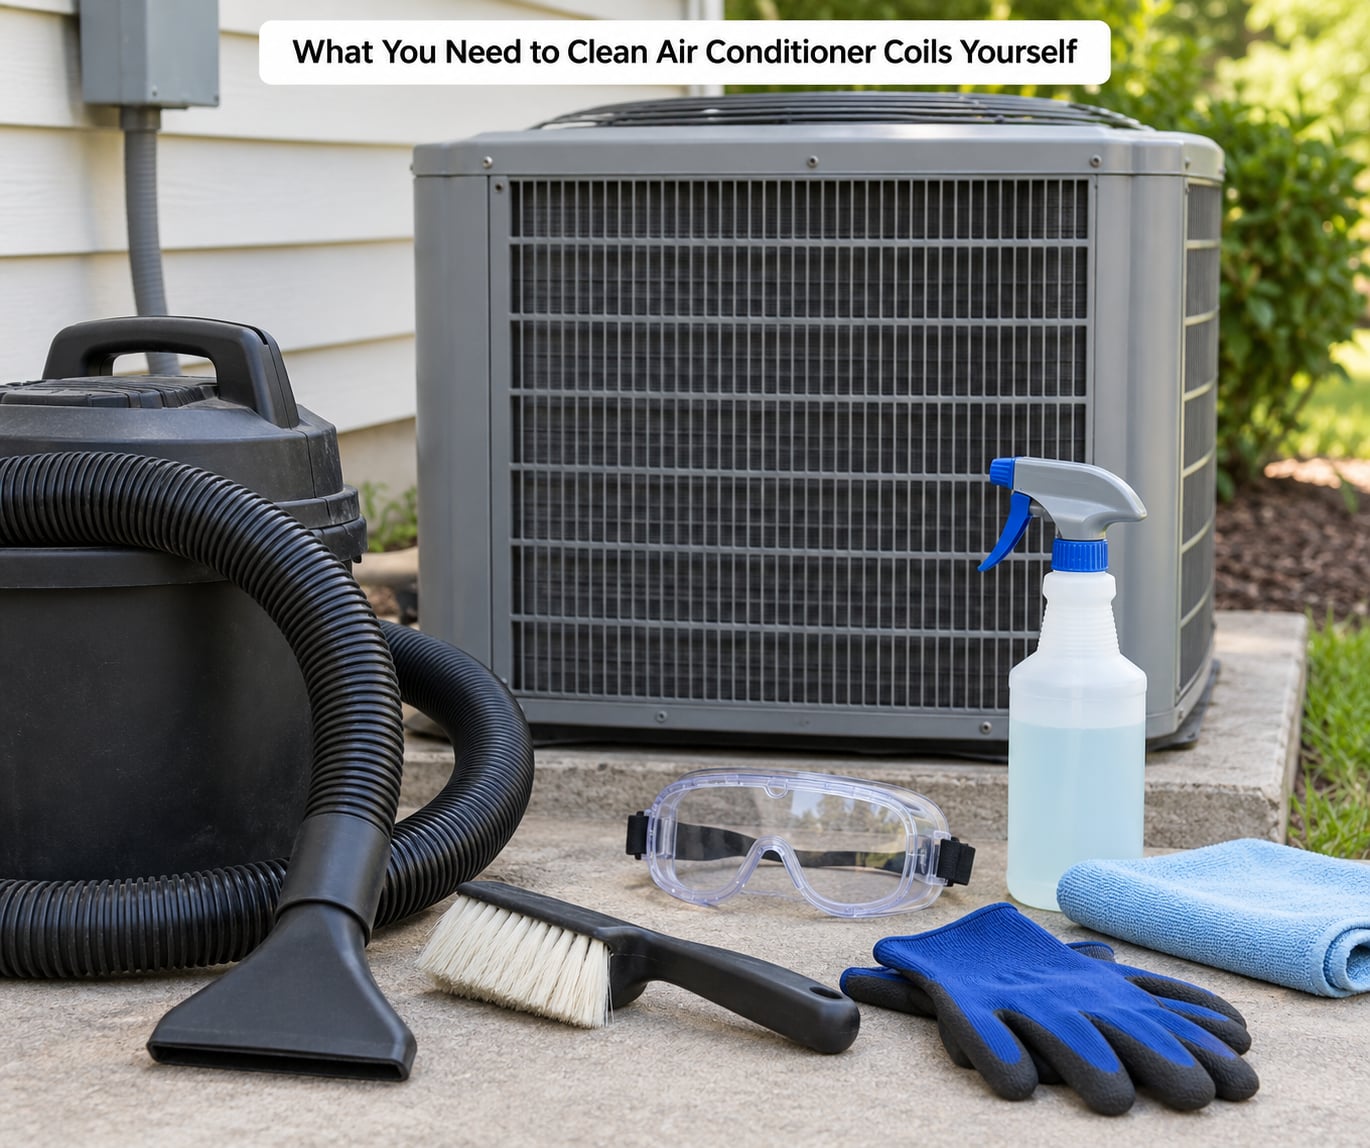
You do not need anything exotic. Everything below comes from a hardware store or a big-box aisle, and a few of the most useful items are already in your garage.
- Vacuum with a brush attachment – a shop vac or household unit with a soft brush head. The brush matters more than the suction.
- Soft-bristle brush – an old toothbrush or a paintbrush works. Skip anything wire-bristled.
- No-rinse foaming coil cleaner – labeled for evaporator or HVAC coils, non-corrosive, ideally food grade. This is the exact product type people on r/AirConditioners recommend most often, paired with a pump sprayer for coverage.
- Pump sprayer or garden hose with a spray nozzle – the sprayer for foaming the indoor coil, the hose for the outdoor rinse.
- Fin comb – a small plastic or metal comb that straightens bent aluminum fins. Cheap, and it makes a visible difference.
- Microfiber cloth – for wiping the cabinet, coil face and the blower wheel area.
- Wet/dry vacuum – for the condensate drain line flush.
- White vinegar – for the drain line only, never for the fins.
- Safety gear – nitrile gloves and eye protection. Old towels to protect the floor under the air handler.
- Screwdriver set – for the indoor access panel, which is usually a few sheet-metal screws.
What Not to Put on AC Coils
This is where most DIY damage happens, so read it before you spray anything. The fins are thin aluminum, and the wrong chemical eats them or leaves a film that traps dirt faster than before.
| Product | On the fins | Verdict |
|---|---|---|
| Plain water | Fine on the outdoor condenser, low pressure only | Good enough for outdoor debris; will not cut oily film indoors |
| Foaming no-rinse coil cleaner | Yes, this is what it is made for | Best choice for the indoor evaporator |
| White vinegar | No | Safe in the condensate drain line, acidic enough to attack coil and tubing over time |
| Dawn or dish soap | No | Leaves a fatty residue the coil holds dust with |
| Bleach | No | Corrodes aluminum and can be pushed into the cabinet |
| Pressure washer | No | Bends fins flat and can flood the electrical compartment. Hose pressure only |
| Wire brush | No | Shreds fins. Use a fin comb for straightening instead |
HVAC talk threads have a running joke that most pros rarely use chemical on the outdoor coil at all. They hose it every couple of years and move on. Save the expensive chemistry for the indoor coil, where the film actually builds up.
Step-by-Step: Cleaning Both Coils
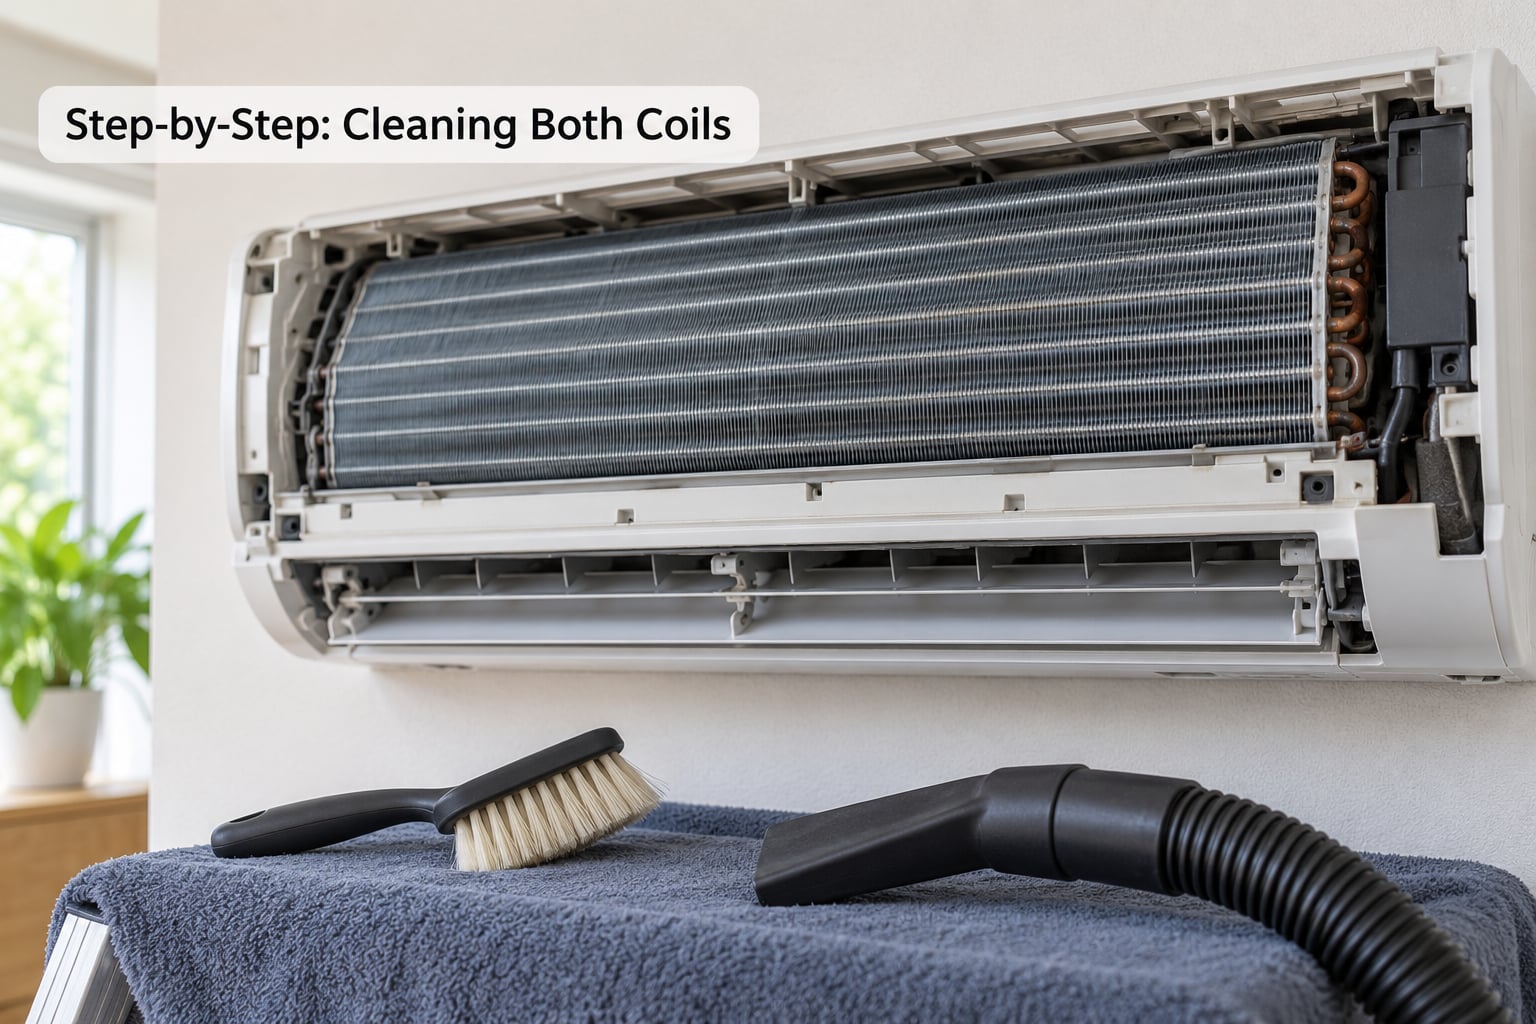
Work outdoors first, then indoors. Starting with the condenser means you finish with the messy, wet part behind you.
Identify the coil type and prepare the unit
Look at the outdoor unit and clear a working area around it. The Department of Energy guidance recommends at least 24 inches of clearance on all sides of the condenser, and a coil you cannot see or reach is a coil you cannot clean. Pull dead leaves, grass clippings, a low branch, and any downspout that dumps rainwater onto the unit.
For the indoor side, find the filter door or removable panel on the furnace or air handler. Leave the filters where they are for now; you will pull them in step 5.
Turn off power and let the unit cool
Set the thermostat to off, then go to the breaker and switch off the unit’s breaker. The thermostat alone does not cut power to the coil, and this is the single most important step in the whole process. Confirm the power is dead with a non-contact voltage tester before your hands go anywhere near the cabinet.
Give the outdoor unit at least 20 minutes to cool down. A condenser that just finished a run is hot enough to be unpleasant and to cook a cleaner into the fin surface instead of letting it run.
Clear debris around and off the outdoor condenser
Vacuum the coil face with the brush attachment, working top to bottom so debris falls away from the fins instead of deeper into them. Then take a soft brush and comb downward through the fins to pull out the mat of leaves and cottonwood fluff that a vacuum alone leaves behind. Never push the brush into the coil face; you will pack it tighter.
You will know it worked when you can see daylight through the fins from the front. If the fins are flat or bent, run the fin comb through them in the direction of the fins, in a few passes, not one hard pull.
Rinse the condenser from the inside out
Attach a garden hose with a spray nozzle set to its lowest pressure. Start at the top of the coil and spray inward, toward the fan and the center of the coil face, then work your way down. Spraying outward forces dirt into the fins and pushes water into the electrical compartment.
Keep the stream flat and gentle. If you can bend a fin with the spray, you are using too much pressure. Let the unit dry for 20 minutes or so, and skip the chemical on the outdoor coil unless the manual specifically calls for it.
Vacuum and foam the indoor evaporator coil
Remove the filters and set them aside. Vacuum the evaporator coil face with the brush attachment, moving side to side and staying parallel to the fins so you catch dust between them without folding the fins over.
Then coat the coil with a no-rinse foaming coil cleaner, working top to bottom so the foam carries downward. Follow the label’s dwell time, usually 5 to 10 minutes, then let it drain into the pan. Do not rinse the indoor coil. Water you pour in has to come out, and if it does not, you have created a leak and a mold problem inside a cabinet that is difficult to dry.
One tip from r/hvacadvice that saves a real mess: lay towels on the floor under the air handler before you start, and vacuum from the top down so the sludge falls onto the towels instead of into the ductwork.
Flush the condensate drain line
This is the step people skip, and it is the usual reason a clean unit still smells musty. The water that forms on the indoor coil runs off into a drain pan, through a clear or PVC line, and out near the outdoor unit. Mold and algae grow in that line and inside the pan.
Put a wet/dry vacuum on the drain outlet at the outdoor end, seal it with your hand or a rag, and let the vacuum pull the blockage out. If you do not have a wet/dry vac, pour a cup of warm water mixed with white vinegar down the indoor drain opening. Vinegar is fine here. It is not fine on the fins.
While you are in there, wipe the drain pan and the bottom of the blower wheel with a microfiber cloth. Sludge on the blower wheel is a common cause of a rattle that people blame on the motor.
Dry the coil and restore access
Let everything dry fully before you close the cabinet, ideally several hours with the panel off. A closed cabinet traps moisture against the coil, which is exactly the condition mold needs. Do not wipe the indoor coil dry with a cloth; let it air dry on its own.
Reinstall the panels and filters, turn the breaker back on, and set the thermostat. Listen for the fan to come up to speed and feel for air at every vent. Cool air within a few minutes means the job worked.
How Often to Clean Each Coil
There is no single schedule, because a home with cottonwoods and one without are not the same problem. Use this as a baseline and adjust for your situation.
| Task | How often | Best time |
|---|---|---|
| Rinse the outdoor condenser | Once a year, more in pollen or cottonwood areas | Spring, before the first hot spell |
| Vacuum the condenser face and comb the fins | Twice a year | Spring and late summer |
| Clean the indoor evaporator coil | Every 1 to 3 years, based on smell and airflow | Spring |
| Flush the condensate drain line | Every year, more if you see algae | Before cooling season |
| Replace the filter | Every 1 to 3 months | On your own reminder |
| Clear condenser clearance and debris | Monthly during cooling season | Any time |
Common Mistakes to Avoid When You Clean AC Coils Yourself
Almost every callout I have seen for a coil clean starts with the same four mistakes. Each one is easy to fix and hard to undo.
Cleaning with the thermostat off but the breaker on. The breaker is the only thing that matters. A blower motor can be spinning on a unit that looks dead from the wall, and the control board and capacitor are still live.
Pressure washing the condenser. It strips the oxide coating off the fins, bends them flat, and forces water where it should not go. A garden hose on its lowest setting is enough. A pressure washer is a coil repair you did not intend to buy.
Spraying the wrong surface. Keep cleaner off the compressor, the line set, wiring, the blower wheel and any insulation. Coil cleaner that pools in the cabinet around wiring is a corrosion problem and a potential shock hazard.
Rinsing the indoor coil. It cannot drain fast enough, and standing water in a closed cabinet is how you get mold back in a month.
Skipping the drain line. Clean coils that still smell are almost always a plugged drain or a dirty pan, not a dirty coil.
Bending the fins. A vacuum with no brush, a stiff nylon-bristle brush, or a hard push into the coil face will all fold fins flat. Bent fins cut airflow across the whole face, not just at the spot you bent. Comb them before you rinse, gently.
Coil you cannot reach: condos, rooftops and window units
If your outdoor unit is on a roof, in a crawlspace, under a carport, or on a shared roof you do not have access to, stop there. That scenario is the single most common question in HVAC forums, and the answer is that the job is not yours to do.
For a window or portable unit, the same steps apply and the access is easier: pull the unit out, remove the front panel or grille, and work on the coils in a laundry sink or on towels on the driveway. Set it upright and let it dry for several hours before you reinstall it, because water trapped in a window unit can drip into the wall.
For a rooftop or condo condenser, you need someone who is insured and comfortable at height. That is a technician call.
When to call an HVAC technician instead
Some work is genuinely not a homeowner job, and knowing the line saves you from an expensive mistake. If any of these apply, stop and call a professional.
| Task | Can you do it? | Why |
|---|---|---|
| Vacuum and foam the evaporator coil | Yes | Normal homeowner maintenance if you can reach the panel |
| Rinse the outdoor condenser | Yes | Safe at low pressure with the breaker off |
| Flush the condensate drain line | Yes | Straightforward, and skipping it causes mold |
| Pull the evaporator coil out of the cabinet | No | Requires opening the plenum, handling a heavy coil and disturbing duct connections |
| Work on refrigerant lines or a charge issue | No | Sealed system. Tampering with it is illegal in many places and can cost you the whole unit |
| Clean a rooftop or inaccessible condenser | No | Height and access risk |
| Heavy mold growth on the indoor coil | Usually no | Often signals a drain problem or a soaked insulation pad underneath |
| Corroded or leaking coil | No | That is a replacement conversation |
Mold deserves its own note. Surface fuzz you can wipe off with a damp cloth and a foaming cleaner is a cleaning job. Blackened or fuzzy growth spread across the coil, a musty smell that returns within weeks, or visible mold on the insulation pad under the coil usually means water has been standing there for months, and the pad, the pan and possibly the coil need professional attention. Cleaning the coil without fixing the water source just gives the mold a fresh start.
How to tell if the cleaning worked
Judge it in the first week of running, not the day you finish. Stronger airflow at every vent within minutes of the system starting, noticeably less rattle from the blower wheel, no ice on the suction line, and no musty smell on the first cool cycle are the four signs that the airflow side improved. Check your meter on the outdoor unit during a steady run; if your amperage is lower than it was in the same weather before, the coil is transferring heat more efficiently, and that shows up on the bill.
If the airflow is still weak and the smell is still there, the coil is probably not the problem. A dirty filter, a weak blower motor, a bad thermostat, undersized ductwork or a low refrigerant charge all produce similar symptoms, and none of them are fixed by foaming a coil. A technician can check those in an hour; guessing can cost you a season.
Frequently Asked Questions
How often should I clean my air conditioner coils?
Clean the outdoor condenser once a year, and twice if you have cottonwoods, heavy pollen or a dusty yard. The indoor evaporator coil needs attention every one to three years, and more often if you notice a musty smell, weak airflow or a lot of pet hair. Flush the condensate drain line every spring, since algae there causes most of the smells people blame on the coil.
Can I clean the outdoor condenser coils myself?
Yes, on a ground-level unit you can reach safely. Turn the thermostat off, kill power at the breaker, let the unit cool, then vacuum the coil face, comb the fins, and hose it from the top down at low pressure. Never pressure wash and never spray outward, which jams debris into the fins. Rooftop, crawlspace and shared condo units need a technician.
What is the safest cleaner for air conditioner coils?
A no-rinse foaming cleaner labeled for HVAC or evaporator coils, non-corrosive and preferably food grade. Apply it to the indoor coil only, let it dwell as the label states, and let it drain into the pan. Avoid bleach, vinegar and dish soap on the fins; they corrode aluminum or leave a film that traps more dust. The outdoor condenser needs no cleaner, just water.
Should I rinse an air conditioner coil with a hose?
Rinse the outdoor condenser with a garden hose on its lowest setting, spraying from the inside of the coil face outward toward the center so debris comes off rather than going deeper in. Never rinse the indoor evaporator coil. Water poured onto an indoor coil has to drain into the pan, and standing water in a closed cabinet is how mold comes back.
Why does my air conditioner coil look dirty even after cleaning?
Usually it is not the coil. The condensate drain line is packed with algae and mold, or the drain pan and the blower wheel have a layer of slime that keeps smelling once the system starts. The other possibility is that the coil is a secondary symptom of a dirty air filter or weak airflow. Flush the drain with a wet/dry vacuum and a cup of warm water and vinegar, then reassess.
When should I call an HVAC professional instead of cleaning the coils?
Call a technician if the outdoor unit is on a roof or otherwise unreachable, if the coil is corroded or leaking, if mold is spread across the coil or the insulation pad underneath, or if you suspect a refrigerant problem. Sealed refrigerant lines are never a homeowner job. If a clean coil and a new filter did not improve airflow, the cause is likely the blower motor, thermostat or ductwork.
Conclusion
Start with the filter and the breaker. Swap the filter, find the outdoor unit’s breaker, switch it off, and give the unit twenty minutes to cool. Then vacuum the condenser face and comb the fins before you touch any water, and follow with the indoor coil and a foaming cleaner if you are in there for the annual spring clean.
Keep the boundaries straight. Breaker off, low-pressure hose, no bleach or vinegar on the fins, no pressure washer, no rinsing the indoor coil, and nothing to do with refrigerant. Respect those and the job is genuinely simple, an afternoon of maintenance that keeps the system moving air and your power bill down.