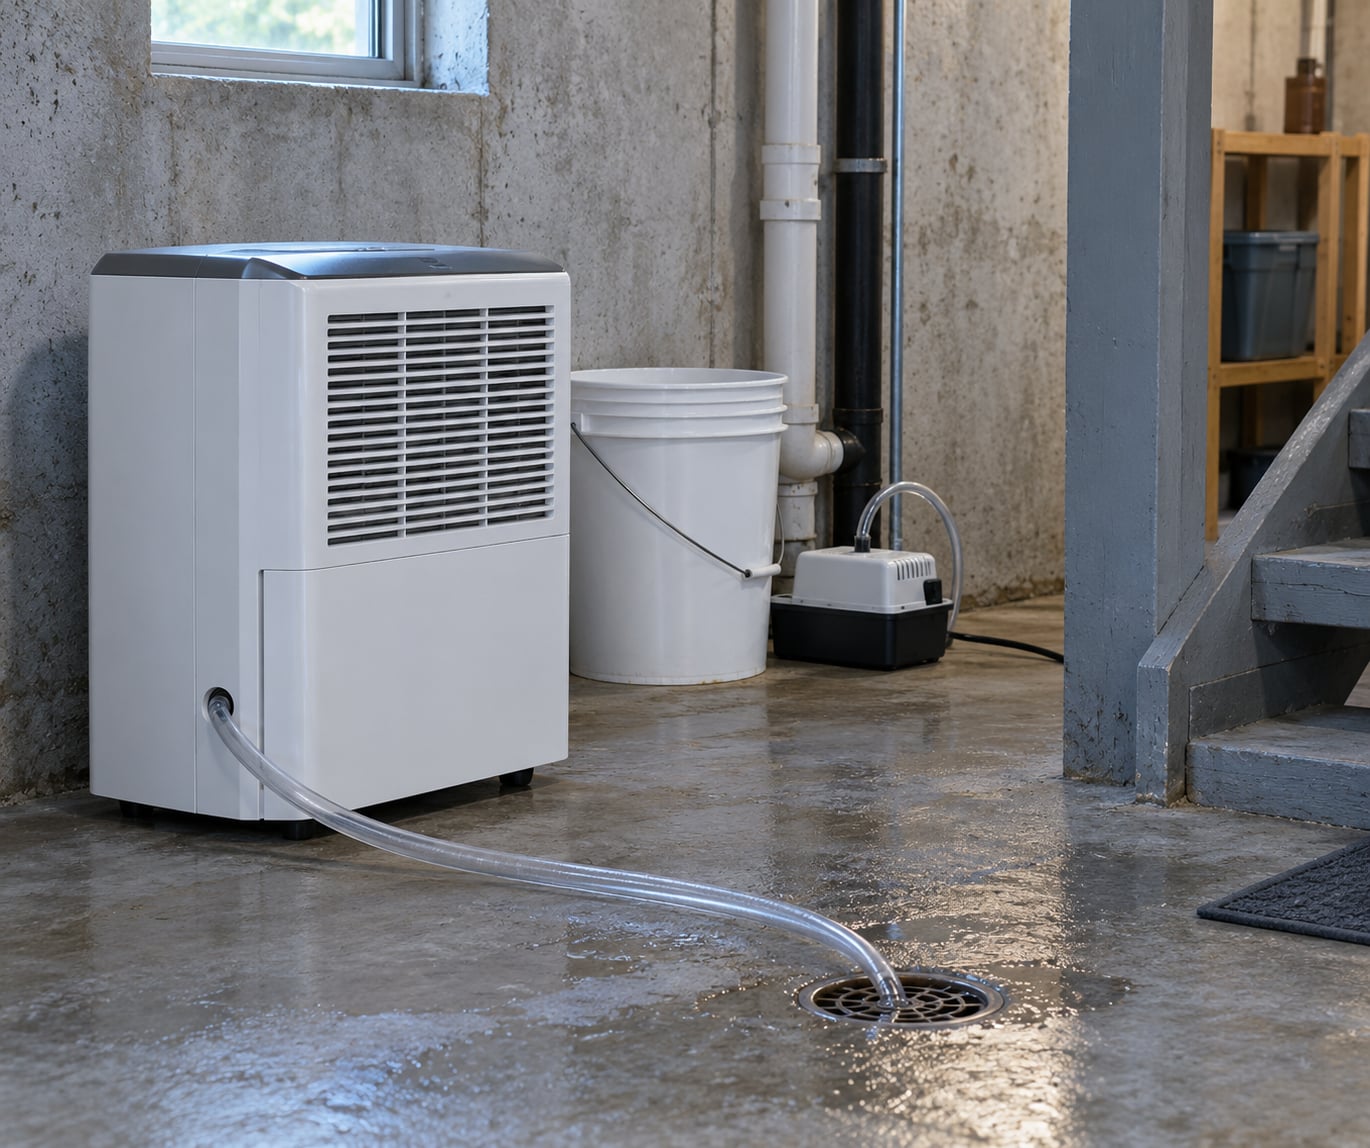
You can drain a dehumidifier automatically in two ways: attach a hose to the continuous drain port and let gravity carry the water downhill to a floor drain or standpipe, or add a condensate pump when the drain sits level with or above the unit. Either way, leave the water bucket in place, because the float switch needs it to keep the compressor running.
Most people who ask this question are running a unit through a humid stretch in a basement, crawl space, garage or finished room, and they are tired of emptying a bucket twice a day. Manual emptying is not just annoying. Every time the bucket fills, the float switch shuts the compressor off, humidity climbs while nobody is watching, and you come back to musty carpet and a dark patch of mold.
Setting up automatic drainage takes 20 minutes for a gravity drain and closer to an hour if you are adding a pump. The whole job needs a hose, a place to send the water, and ten minutes of testing before you trust it overnight.
Table of Contents
- What You Need
- Step-by-Step: How to Drain a Dehumidifier Automatically
- Common Mistakes
- Frequently Asked Questions
- What does continuous drainage mean on a dehumidifier?
- Do I have to leave the water bucket in when using a drain hose?
- Can I drain my dehumidifier into the plumbing?
- Why does my dehumidifier still fill the bucket with the hose attached?
- How do I use the pump on my dehumidifier?
- Can I drain a dehumidifier outside or out a window in winter?
- Conclusion
What You Need
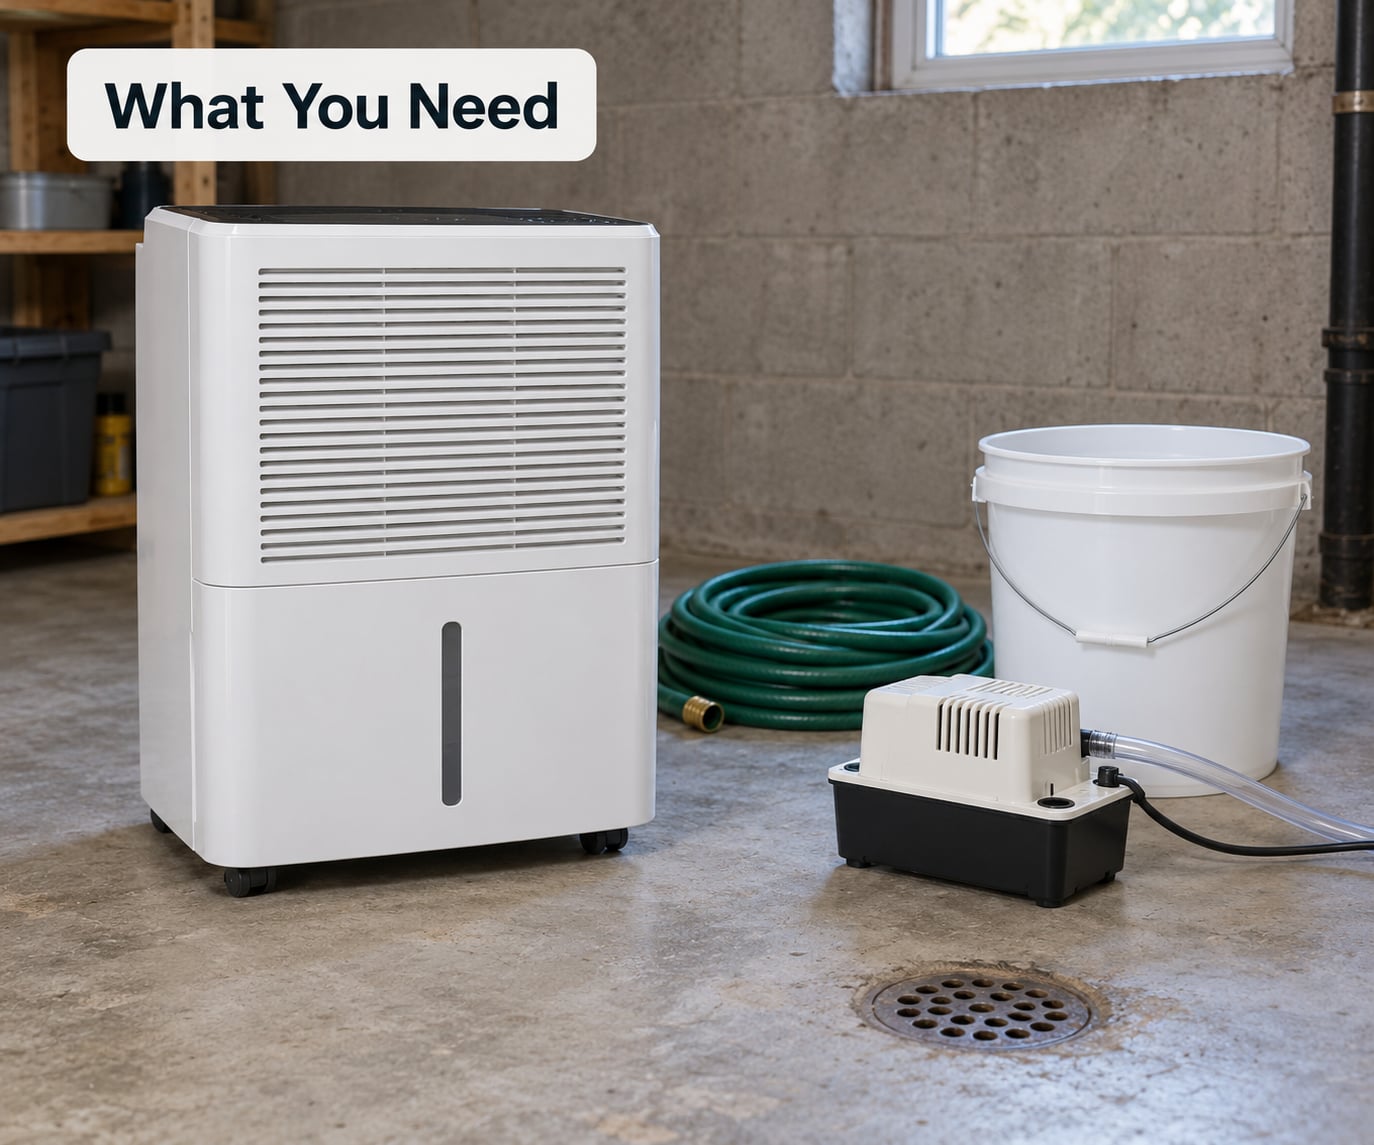
Almost every dehumidifier sold for basements has a continuous drain port, usually a threaded outlet on the back or side panel near the top. A few models cover it with a plastic continuous drain cap, and portable units sometimes have a rubber plug instead. Grab the owner’s manual first, because it tells you whether your unit has a built-in pump and how high that pump can lift water.
- Your model’s owner’s manual, to confirm the drain port size and whether a pump is built in
- A garden hose 1/2 inch or larger, or a purpose-made dehumidifier hose of the same or bigger diameter
- A hose clamp, a flat-head screwdriver, and PTFE tape for any loose thread
- A rubber washer for the hose end if yours has lost it
- A drainage destination: floor drain, standpipe, utility sink, washing machine drain box, or a safe exterior outlet
- Optional, for a pump setup: a small condensate pump with a tank, a safety float cutoff and a failure alarm, plus a GFCI-protected outlet
Skip the thin 1/4 inch irrigation line and any coiled “water hose” connector kits. Manufacturer support pages are blunt about it: small diameter hoses clog with algae and sludge within weeks, and condensate picks up whatever dust the coil pulls out of the air.
Hose diameter matters more than most people expect. Frigidaire’s own support guidance calls for a large diameter garden hose, 1/2 inch or larger, for exactly that reason. GE’s guidance for a blocked line is a bottle brush or a pipe cleaner pushed through the hose end, which only works if the hose is wide enough to take one.
Step-by-Step: How to Drain a Dehumidifier Automatically
1. Check Your Dehumidifier and Pick a Drainage Method
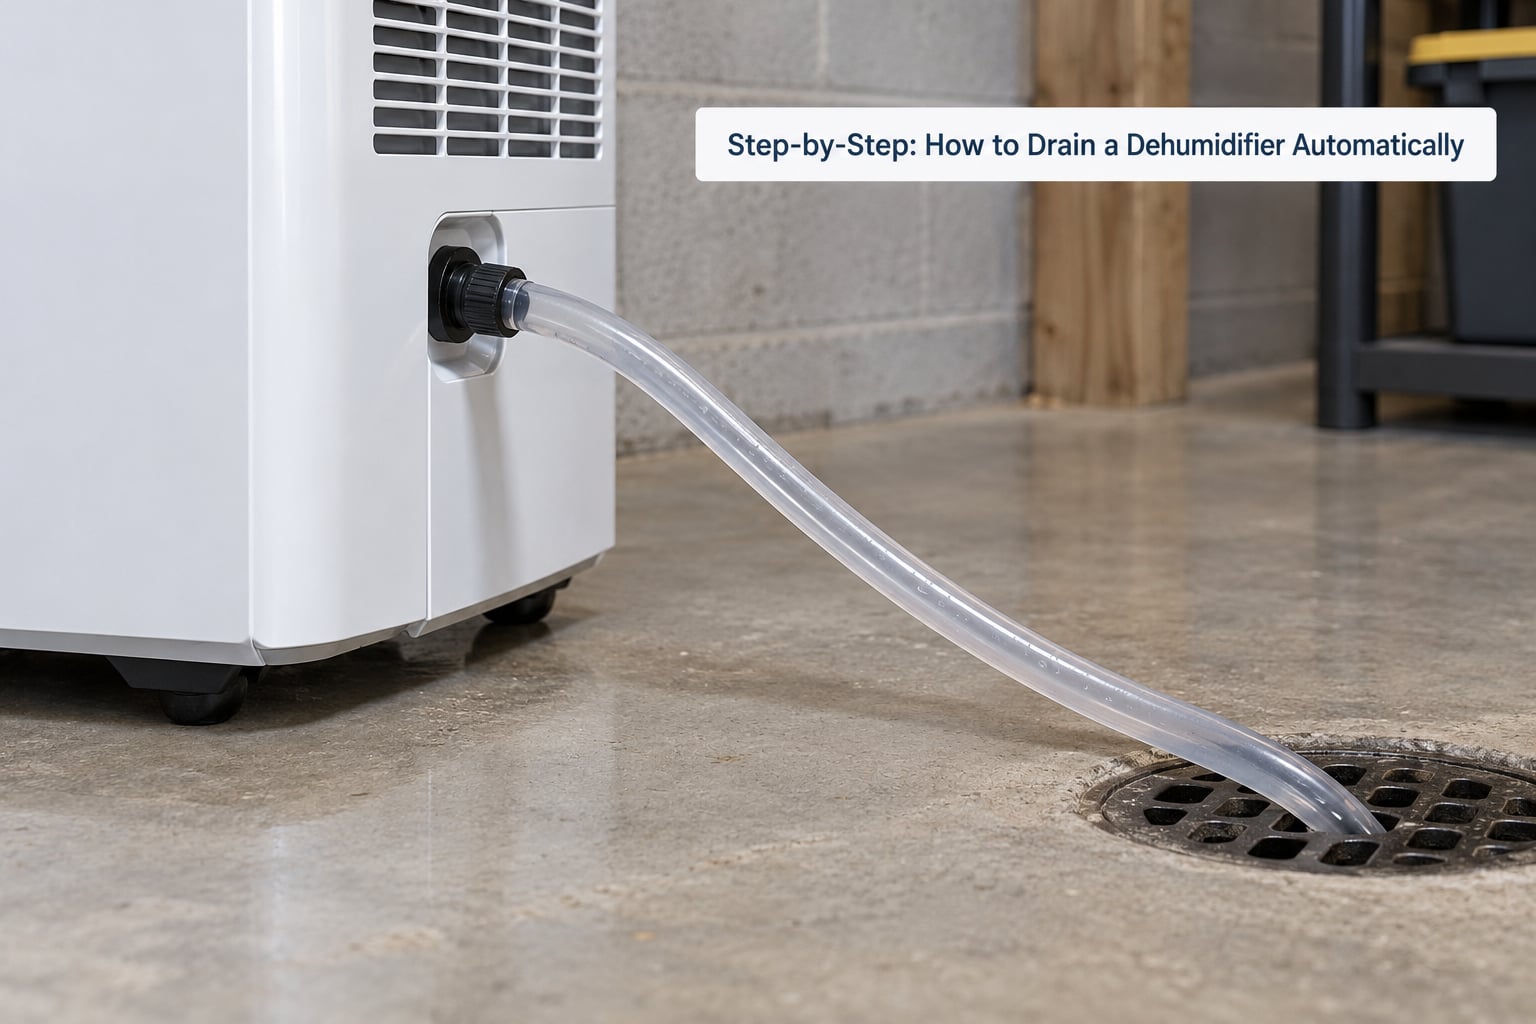
Find the continuous drain port on the unit and decide where the water will go before you connect anything. The decision comes down to one question: is your drainage destination lower than the drain port? If yes, gravity alone will do the job. If the destination is level with the unit, uphill from it, or out a window above it, you need a pump.
| What to compare | Gravity drain | Condensate pump |
|---|---|---|
| Max vertical lift | None; the drain must be below the port | Built-in pumps commonly lift about 15 ft; check your manual |
| Works without power | Yes, water drains even during an outage | No, no pump means no drainage |
| Good destinations | Floor drain, standpipe, utility sink, washing machine drain box | Window or wall outlet, raised standpipe, sink above the unit |
| Common failure | Kink, uphill loop, or hose end sitting in standing water | Pump fault or mineral scale, with water backing into the bucket |
| Setup effort | About 20 minutes, one connection | About an hour, two hoses, a power connection and a test cycle |
Built-in pump models also carry a routing limit. Support guidance for pump-equipped units notes that routing the discharge more than about 60 degrees off vertical reduces performance, so a long horizontal run after a rise is worth avoiding.
2. Prepare a Safe Drainage Route
Choose the drainage destination before you pick up the hose, because the route decides the method. Clear the path, get the unit positioned within reach of it, and confirm the unit itself will sit level. A dehumidifier on an uneven floor can hold a puddle around its base no matter how good the drain line is.
A floor drain in the middle of the room is the easiest destination. A standpipe works too, with one caveat: do not push the hose deep into it. If the hose end touches standing water inside the pipe, it stops draining, and that is the single most common reason a dehumidifier keeps filling its bucket with a hose attached.
Other reasonable options: a utility sink, the drain box inside a washing machine standpipe, a basement floor drain in a finished room, or a hose running out a window or wall to a splash block on the ground. A condensate pump opens up destinations above the unit, including a window drain on an upper floor.
For anything that connects to household plumbing beyond a simple sink or standpipe inlet, check with a plumber first. Local code and the trap arrangement in your drains decide what you are allowed to tie into, and the wrong connection can put dehumidifier water where it does not belong.
3. Connect a Gravity Drain or Continuous Hose
Unplug the unit and pull it away from the wall so you can reach the drain port. Remove the continuous drain cap and keep it in a drawer, because you will want it back if you ever return to bucket mode. Look inside the port for debris while you are there.
Check the rubber washer seated in the hose end. That washer is the seal that keeps water from dribbling down the back of the unit, and a missing washer is a common cause of a small but steady leak behind the machine.
Thread the hose onto the drain port by hand, then give it about a quarter turn past snug. Add a hose clamp if the port is plastic or if you want to be certain. If the port threads are loose or you are connecting to a metal thread, wrap a little PTFE tape first.
Run the hose so it falls continuously from the port to the destination. Every foot of uphill run or tight loop creates a place for water to sit, and condensate carries enough dissolved dust to form algae and slime inside a warm line within a season.
Secure the hose along the wall or floor with clips or cable ties so a foot or a vacuum cleaner cannot catch it. Leave a little slack near the port rather than pulling hard on the fitting, and make sure the hose end hangs into the drain above any water level already in the pipe.
Then put the water bucket back in the unit. This is the step people skip, and it stops the machine dead on most models. The float rides up inside the bucket to tell the unit the reservoir is full, so with no bucket the switch never changes state and the compressor will not run.
4. Install a Condensate Pump When Gravity Drainage Is Not Possible
A condensate pump is a small pump in its own tank, usually with a float cutoff that cuts power if the tank fills and a loud alarm that tells you the pump has failed. Pick one rated for the vertical rise you actually need, and check the lift figure against your manual rather than assuming.
Set the pump below the dehumidifier’s drain port, on a level floor where a spill cannot soak a wall or reach a power strip. If the pump sits in a basin or tray, that tray is your backup overflow catcher, and it tells you something is wrong instead of the ceiling finding out first.
Connect the pump’s inlet to the dehumidifier’s continuous drain port with the same 1/2 inch or larger hose. Run the pump’s discharge line to the destination, keeping it as short and as straight as you can, and secure it so it cannot kink where it crosses a floor or a door.
Plug the pump into a GFCI-protected outlet. This is a small appliance that runs unattended for months in a damp room, and the GFCI is the thing that stands between a failed pump and a problem. Never use an extension cord or a power strip for the run.
Leave the dehumidifier’s water bucket installed even with a pump on the line, and fill it partly at first. Many units back water up into the bucket when the outlet backs up, and the float shuts the compressor down so the room does not flood while the pump catches up.
5. Test the Setup and Check for Leaks
Run the unit with the humidity target set a few points below your current reading, so it starts pulling water right away. Give it 15 to 20 minutes, then go look at the whole line: the port fitting, every clip, the low point of the hose, and the drain destination.
Pour a cup of water straight into the continuous drain port to prime the line. A hose that has never carried water will hold an air pocket at the high point, and priming confirms the line is open before you depend on it overnight.
Watch for three things. Water should leave the port continuously, the hose should stay visibly downhill, and no connection should be damp. A beading of water at the fitting means the washer is wrong or the hose is not tight enough, and it will become a puddle over a season.
If the unit has a built-in pump, test it before you walk away. A quick pour into the port and a listen for the pump tells you whether it starts at all. Manufacturers commonly describe a reset routine for a tripped pump on models like these, and the usual first step is unplugging the unit and plugging it back in, which clears the fault. Test buttons on some units let you run the pump on demand.
Come back after a full day of running and check again. Slow leaks at a clamp or a slow clog both show up over hours, not minutes.
6. Maintain the Automatic Drain
Automatic does not mean maintenance-free. A drain line in a warm, damp room grows biofilm, and the failure mode is a bucket that quietly fills overnight while the full bucket light comes on.
Once a month, flush the drain hose with a cup of warm water and a splash of white vinegar, then run the unit for 20 minutes and watch the discharge end. Wipe the hose end clean; if it feels slimy, the line needs a longer flush or a replacement. A bottle brush or pipe cleaner through the hose end clears a light clog before it becomes a blockage.
Clean the drain port itself with a damp cloth and check the rubber washer while the hose is off. Scrub the water bucket monthly with hot soapy water, since the same dust that feeds the biofilm settles in the bucket too. Rinse the filter on the schedule in your manual and let it dry fully before it goes back in.
If you added a pump, check the tank monthly and pour out anything that has collected. Test the float cutoff by letting the tank fill to its shutoff point, or by lifting the float by hand, and confirm the unit cuts out. A pump that fails silently is the reason manufacturers put an alarm on these units, and an alarm you have tested is worth a lot in a finished basement.
Common Mistakes
Almost every failed automatic drain is one of a handful of problems. Here is what goes wrong and what to change.
The hose runs uphill, or loops back on itself. Water needs a continuous fall from the port to the destination. If any section rises above the port or forms a belly, air locks and the line stops. Re-route it in a single downhill run, or move to a pump.
The hose end is submerged in standing water. This is the back-pressure problem, and it explains the most common forum complaint of a bucket filling with a hose attached. Water cannot leave the unit through a line whose far end is underwater. Shorten or raise the hose so it ends above the water surface in the drain.
The continuous drain cap or rubber plug is still in place. With the cap installed, the port is closed and every drop goes to the bucket. Remove it and keep it somewhere you will find it.
The water bucket was pulled out “because it was in the way.” The float switch lives in the bucket. Without it, the unit will not run. Leave it seated, and empty it only as a backup while you are testing.
The hose is too narrow. Anything under 1/2 inch clogs faster. Swap to a 1/2 inch or larger garden hose, or a dehumidifier hose of equal or greater bore, and flush the old line out before reusing it.
The line runs outdoors in freezing weather. Water left in an exterior hose or a splash block can freeze solid, split the line, and dump water against the foundation. Either keep the run indoors, insulate and heat-trace it if the manufacturer approves, or shut the automatic drain down for the season and empty the hose.
The pump is on a regular outlet, an extension cord or a power strip. Plug it into a GFCI-protected receptacle on the wall. Unattended pumps in damp rooms are exactly the application GFCI protection exists for.
The pump is placed where a spill causes damage, or where the intake sits above the tank floor. Keep the intake submerged as designed, set the pump level, and put it somewhere a leak is noticed rather than absorbed.
Nobody checked the destination before connecting. Draining into a sump pit is a common request in basements, and the water leaves the pit only if the sump pump handles it. Draining onto soil next to the foundation moves the moisture rather than removing it. If the route is uncertain, ask a plumber before you commit.
Frequently Asked Questions
What does continuous drainage mean on a dehumidifier?
Continuous drainage means the unit empties itself through a threaded drain port on the back or side instead of filling the removable water bucket. You remove the continuous drain cap, attach a 1/2 inch or larger hose, and route it to a drain below the port so gravity carries the water away. The bucket stays installed so the float switch still works, and the unit runs unattended.
Do I have to leave the water bucket in when using a drain hose?
Yes, on most models. The float switch that detects a full reservoir rides inside the water bucket, so a unit with no bucket never sees a change in float position and the compressor will not start. Leave the bucket seated even with a hose attached, and treat it as a backup sump in case the line ever backs up. Empty it only when the full bucket light comes on.
Can I drain my dehumidifier into the plumbing?
A utility sink, a standpipe inlet, or a washing machine drain box are usually fine because you are simply discharging water into an open drain. Tying into a closed section of household plumbing, or pushing a hose deep into a standpipe where it sits in water, is a different story and can cause back-pressure or a code problem. For anything beyond an open drain, have a plumber confirm the connection first.
Why does my dehumidifier still fill the bucket with the hose attached?
The hose is almost certainly not draining, so the water backs up into the bucket and the float switch shuts the unit down. Common causes: the hose end is sitting in standing water, the hose runs uphill or has a kink, the continuous drain cap was never removed, or a small hose clogged with algae. Check the cap first, then look for a continuous fall to the drain.
How do I use the pump on my dehumidifier?
For a built-in pump, remove the continuous drain cap and attach the hose, then confirm the pump is enabled on the control panel. If the pump has faulted, unplug the unit and plug it back in to reset, and check for a pump test button that runs it on demand. Built-in pumps commonly lift about 15 ft, and routing the discharge more than about 60 degrees off vertical reduces performance.
Can I drain a dehumidifier outside or out a window in winter?
You can, but only if the line cannot freeze. Water left in an exterior hose or a splash block freezes, splits the line and sends water back toward the foundation. Options are to keep the run indoors, or to insulate and heat-trace the exposed section if the manufacturer allows it. If neither works in your climate, disconnect the automatic drain for the winter and empty the hose after each cycle.
Conclusion
Start by finding the continuous drain port on your unit and asking one question: is my drain lower than the port? If it is, a 1/2 inch or larger hose in a single downhill run to a floor drain or standpipe is all you need, and the job takes about 20 minutes. If it is not, add a condensate pump on a GFCI outlet with a float cutoff, and keep the hose run short and straight.
Whichever route you pick, put the water bucket back in, keep the hose end out of standing water, and spend ten minutes testing the line before you leave the unit running. That is the whole difference between a dehumidifier that works unattended and one that quietly fills a bucket in a dark basement.