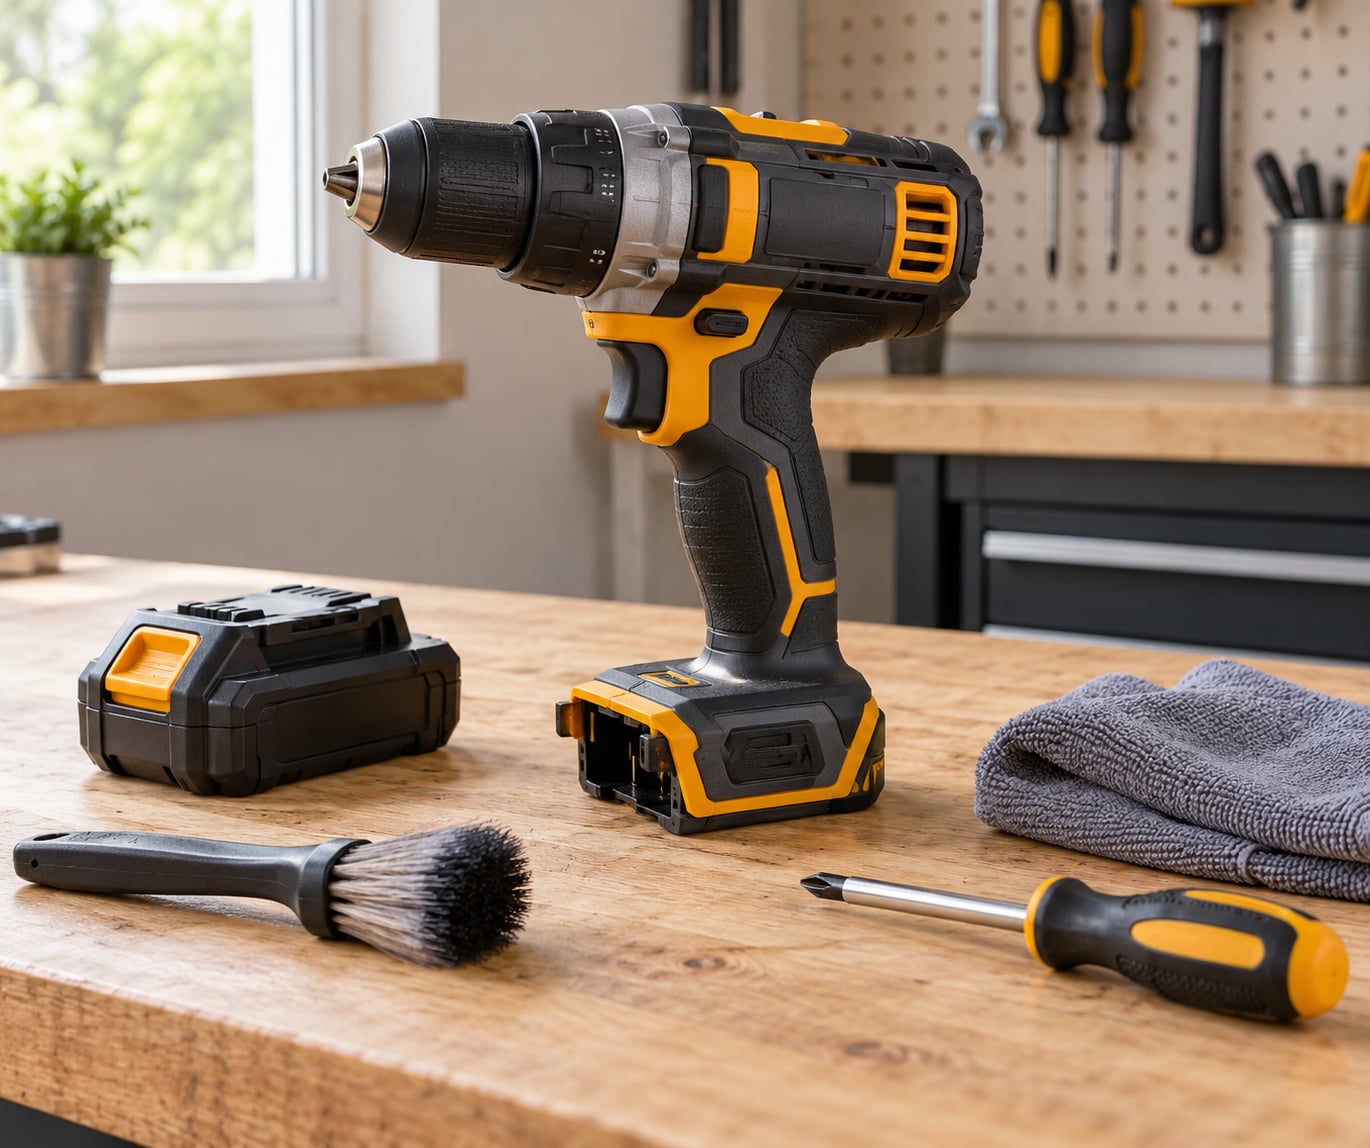
To maintain a cordless drill, remove the battery, clear dust from the chuck and cooling vents, wipe the housing down, check the pack for damage, and store everything cool, dry, and at a partial charge between jobs. Most of that takes 20 to 30 minutes. A brushless drill lasts longer than a brushed one mostly because it has fewer wear parts, and the battery is almost always the first thing to fail, not the motor.
Forum regulars on r/Tools say it plainly: the packs go before the tools do. A drill body will happily run for a decade with a little care, while a lithium-ion pack left sitting full and hot in a hot garage loses capacity every month. The routine below is what I do after every project, and it costs almost nothing but a brush and ten minutes.
The short version:
- Always remove the battery before you clean, inspect or open anything.
- Clear the ventilation slots, because blocked vents are the top cause of overheating.
- Keep metal parts dry and lightly oiled, and keep every drop of liquid out of the housing.
- Store packs cool and dry at a partial charge rather than full or empty.
- Stop using any pack that is swollen, leaking or wet, and take it to a recycling point.
Table of Contents
What You Need to Maintain a Cordless Drill Safely
The whole job needs very little: the manufacturer’s manual, a soft-bristled brush, a clean microfiber cloth, a hand blower or a can of compressed air, a Phillips or flat screwdriver for the case screws, the charger that came with the pack, and a bottle of contact cleaner or a lint-free swab.
Two things matter more than the tools themselves. First, read the manual for your model before you start, because battery-care and lubrication instructions differ between brands and between brushed and brushless designs. Second, disconnect the battery before any cleaning, inspection or disassembly. A drill that has been sitting with a pack half-inserted can power up the moment you press the trigger.
What varies by model: a keyed chuck needs a chuck key stored with the tool, a keyless chuck does not, a brushed motor has carbon brushes to check, and a brushless motor has no brushes at all. Chargers are platform-specific, so use the one that came with the pack or an approved replacement from the same maker.
Step-by-Step
Learning how to maintain a cordless drill is mostly discipline rather than skill. The seven steps below take about 20 to 30 minutes for routine cleaning and inspection, and longer if you are conditioning a lithium-ion pack, opening the case or working on a chuck that has seized. Do them in order, because each one assumes the battery is out.
1. Disconnect and Inspect the Drill
Remove the battery, then set the forward and reverse switch to the locked position so the trigger cannot fire. Look over the whole tool with the case still assembled: loose screws, cracked housing around the handle, a cable or lead that no longer sits properly, scorch marks, or a faint smell of burnt insulation.
Also check the vents and the chuck from the outside for packed dust, and press the trigger a few times to feel whether it moves smoothly and returns cleanly to the off position. A normal inspection ends with everything solid, no loose fasteners, no heat damage and no odd smell. Anything else is a stop signal. If the housing is cracked or a wire is exposed, do not charge or run the drill, and take it to a service centre or the manufacturer before using it again.
2. Clean the Chuck and Bit Holder
Take the bit or bit holder out first, then turn the chuck jaws by hand and brush out the packed sawdust and grit you can see. Run a soft brush around the outside of the sleeve and down between the jaws. A vacuum or a hand blower held just outside the opening will lift what the brush misses.
No liquid, no oil, no sprayed cleaner goes into a chuck mechanism. Lubricant collects dust and turns it into grinding paste, and most manufacturer warranties treat a sticky chuck as a do-it-yourself repair, not a service item. This is the part of how to maintain a cordless drill that people skip, and it is why chucks seize after a few years of drywall and concrete dust.
You know it worked when the jaws and the outer sleeve open and close with even, quiet resistance, and when the bit seats straight without wobble. If the chuck is stiff, ratchets, or the jaws have a visible worn groove, stop and read step 6.
3. Clean the Vents and Exterior
Work the soft brush or a hand blower through the ventilation slots on the motor housing while the drill is disconnected and the fan is at a complete stop. Hold the fan blades still with a finger through the rear intake if the tool lets you reach them, so you are not spinning the motor by hand.
Wipe the housing with a dry or barely damp cloth, then go over the grip, the trigger, the clutch ring and the vents where dust and sawdust tend to pack into a felt of debris. Keep liquids out of every opening, including the LED light bezel and the battery rail. Compressed air is fine when the tool is open or at low pressure, but a hard blast driven into a running motor forces dust deeper into the windings, where you cannot reach it.
You will know this step worked by looking: you should be able to see daylight through the vent slots, and the air should move freely through the housing when you blow across it.
4. Check and Clean the Battery
Examine the pack in good light. Look for swelling or a soft, rounded case, dents, corrosion on the metal contacts, any crusty residue, cracks, or a pack that is warm when it has been sitting unused. A swollen, wet, punctured or leaking lithium-ion pack is a fire hazard, not a repair candidate. Do not charge it, do not tape it, and take it to a battery recycling point or a household hazardous waste facility.
On a sound pack, clean the terminals with a dry cloth or a cotton swab lightly dampened with contact cleaner, and check that the rails and the pack’s own contact block are free of corrosion. Then confirm the pack seats fully in the drill and that the charger accepts it without needing to be forced.
Common maintenance for a cordless drill gets this part right more often than most guides do, and it is the part that decides whether the tool keeps working. If a pack that used to run an hour now runs for ten minutes, the pack is usually the culprit, not the drill.
5. Charge and Condition the Battery Correctly
Charging rules follow the chemistry, and for a lithium-ion drill pack the manufacturer’s charger manual is the authority. Most current packs manage this for you: they stop at full, protect against overcharge, and often have a storage mode that brings the pack to roughly 40 to 50 percent for long-term storage. Check whether yours has one and learn what its indicator lights mean.
In the meantime, avoid deep discharges. Running a lithium-ion pack down to nothing and leaving it there stresses the cells harder than topping it up does, so charge after a heavy session rather than waiting for the tool to fade. Never charge a pack that is hot from use, wet, or physically damaged, and never charge it in a sealed box or a pocket. If a pack becomes unusually hot while charging, unplug the charger and set the pack on a non-flammable surface somewhere ventilated.
Some chargers, including many Milwaukee, Makita and DeWalt units, are designed to sit plugged in indefinitely and hold a full pack there. Others cycle or self-discharge, and leaving those packs on the charger keeps them hot. If yours is the second kind, take the pack off after the charging lights go solid and store it separately.
6. Check the Gears, Chuck, and Trigger
Reinstall the battery, then run the drill briefly with no bit in it and the chuck pointed away from anything you care about. Listen. A healthy drill gives a steady whirr, and the sound should not change much between the low and high settings apart from pitch. Grinding, scraping, or a clattering noise that changes with the clutch setting points at a dry or damaged gearbox.
Work the clutch ring slowly through its numbered settings and feel each detent click into place. Then hold a bit in the chuck, switch to a high numbered drill setting, and with the trigger squeezed gently try to pull the bit free by hand; it should not move. Smooth clutch changes and a chuck that grips firmly are the two signals that the mechanism is healthy.
Any of these means repair rather than more use: a chuck that spins freely or slips, jaws that will not open, a trigger that sticks on or will not return, a burning smell, or smoke. Sparks and a hot smell from a brushed motor can mean the carbon brushes are worn, which is a serviceable part on most older drills. On a brushless motor, unusual sparking is not normal at all. In both cases, stop using the tool until it has been looked at properly, and if the part is not sold separately, that is the point where maintenance stops being worth it.
7. How to Maintain a Cordless Drill Between Projects
Store the drill clean and completely dry, in a case or a drawer where it cannot get knocked or walked on. Remove the bit if it is long or heavy enough to damage the chuck jaws or press into something fragile, and loosen or empty the bit holder before longer absences so nothing is held under tension.
Keep packs at the manufacturer’s recommended storage charge, which is usually a partial charge, and keep them off concrete, off a car battery shelf in summer, and away from any heat source or direct sun. A garage that swings between freezing and hot is the hardest environment there is, because condensation forms on the chuck and the terminals every time the temperature drops. A sealed plastic bin with a desiccant pack costs very little and slows that down a lot.
Before the next job, do a sixty-second pre-use check: pack clicks in fully, fuel gauge lights, chuck holds the bit, trigger and clutch feel normal, and the housing is dry and undamaged. That habit catches most problems before they turn into a repair.
Common Mistakes and What to Do Instead
Most of the damage people do to their own drills comes from a handful of repeated habits. Each of these has a straightforward correction.
Blowing compressed air into a motor that is free to spin. It drives dust past the fan and into the windings where it abrades the varnish. Hold the fan still, brush first, and use air at low pressure as a finishing step.
Pouring lubricant or WD-40 into the chuck. WD-40 is a water displacer and a short-term lubricant, not a long-term grease, and it does not belong between chuck jaws or on plastic. Use it, if at all, on bare metal spindle threads and external steel. Get the manual’s approved grease for the gearbox and leave the chuck alone.
Cleaning with a wet cloth or under a tap. Moisture gets into the switch housing and the motor and stays there. Use a dry or barely damp cloth, and never a hose.
Charging a damaged, hot, or wet pack. This is the mistake with the worst consequences. If it is swollen, wet or punctured, it does not get charged and it does not get stored indoors.
Using a charger from another platform. Voltage and chemistry mismatches are a fast way to ruin a pack, and the damage shows up months later. Match the charger to the pack model.
Ignoring a loose chuck. Worn jaws chew the bit and slip under load, which is how people snap screw heads. Tighten or replace the chuck rather than gripping harder.
Forcing seized jaws. Do not hammer the chuck open. Work the sleeve back and forth gently, clear the debris with a brush, and use penetrating oil on the external threads only. If it still will not move, replace the chuck.
Two habits make all of this easier. Put a small routine on the calendar: a brush-down and vent check after every project, a battery and terminal inspection every few months, and a full service with a lubrication check twice a year. And keep a short note of what you found, when a pack started losing runtime, or which batch of screws caused a jam, because a pattern in those notes usually explains a fault before it becomes a mystery.
Frequently Asked Questions
Can I use a cordless drill while its battery is charging?
No, and never on a charger that is not designed for it. On most platforms the pack will not seat or the tool will not run at all, and on the few that allow it you are running a tool that is also radiating heat from the charger. Treat a charging pack as unavailable until the charger is unplugged.
Is it normal for a cordless drill battery to get warm while charging?
A little warmth is normal, particularly with a fast charger in the first few minutes. Heat that makes the pack uncomfortable to hold, swelling, a soft case, or a burning smell is not normal. Unplug the charger, set the pack on a non-flammable surface in a ventilated area, and let it cool before doing anything else with it.
Can I spray lubricant directly into a drill chuck?
No. Lubricant in the chuck gathers dust and abrasive grit and makes the wear worse, and most manufacturers treat a seized chuck as a service item. Use lubricant only where the manual says, such as external metal spindle threads or a specified gearbox fitting, and keep every spray and drop out of the housing openings and off plastic parts.
Why is my cordless drill chuck loose or difficult to open?
Usually packed dust and swarf in the jaws, or a chuck that has simply worn out. Remove the bit, brush the jaws and sleeve thoroughly, work the sleeve back and forth gently, and try again. If it stays stiff or the jaws have a worn groove, the chuck is finished, and replacing it is cheaper and safer than forcing it.
Should I store my drill with the battery installed or removed?
Remove it. A pack that stays in the tool is exposed to heat from the workspace, to knocks, and to sitting in whatever state the last job ended in. Store the tool dry and clean, and keep the pack separately at the manufacturer’s recommended storage charge, usually a partial charge, somewhere cool and dry.
Conclusion
Start right now: pull the battery off the drill, look it over for swelling, cracks or leaks, and set any suspect pack aside for recycling. If the pack is sound, brush out the chuck and blow the vents clear, wipe the housing dry, and confirm the pack and charger belong to the same platform before you charge anything.
From there, follow the manufacturer’s instructions for your model and make the ten-minute check after each project a habit. That routine, plus cool dry storage at a partial charge, is most of how to maintain a cordless drill over the life of the tool.