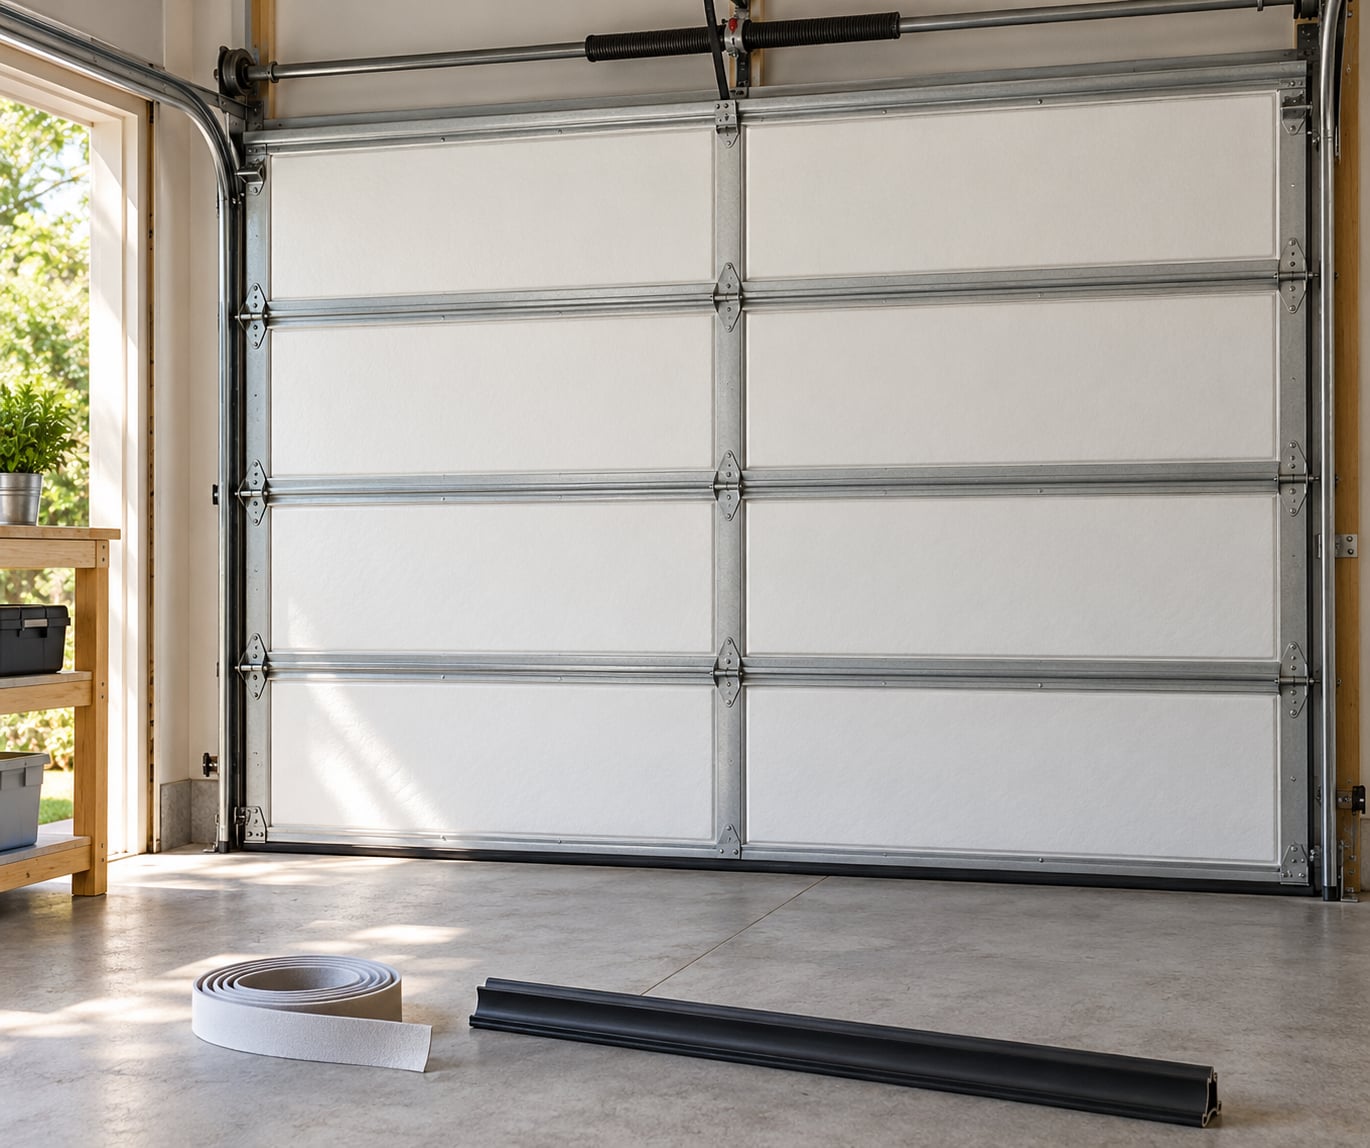
How to insulate a garage door for winter comes down to stopping air, not just slowing heat. Seal the gaps around the top, sides and bottom, then fit foam board panels or a pre-cut kit to the inside face of each section, and you cut the draft that drives most of the cold into the space. Budget a weekend and moderate DIY skill, and the work is fully reversible if you use friction-fit or magnetic panels.
The honest part first: an unheated garage will still drop below freezing on a cold night. What insulation changes is the rate — how fast it cools, how much your car loses its battery overnight, and how hard your house heater works if the garage is attached. If you only park a car in there, you will feel the benefit mainly in convenience. If you store paint, electronics, or use the space as a workshop or gym, the difference shows up fast.
Table of Contents
What You Need
Start with the tool list, then adjust for what your door is actually made of. The door maker’s instructions always win over any guide, including this one.
- Tape measure — for panel widths, heights and the full opening.
- Utility knife with extra blades — for scoring foam board and trimming panel edges.
- Straightedge — a steel ruler or a carpenter’s square keeps cuts straight across a wide panel.
- Caulk gun — for gaps wider than a quarter inch that sealant can bridge.
- Adhesive — construction-grade adhesive for rigid panels, or double-sided tape and hook-and-loop straps if you want the job to come apart later.
- Safety glasses and a dust mask — foam board sheds fine crumbs and off-gasses a bit when cut.
- Insulation itself — rigid foam board, reflective foil panels, or a pre-cut kit sized to your door.
- Weatherstripping — vinyl or foam seal for the sides and top, a brush or vinyl bottom seal for the threshold.
On a standard single-layer steel or aluminium door, 1 to 1.5 inch rigid foam board fits inside the panel frame. On an insulated sandwich door, you usually only need to fill the gap behind the inner skin with a thinner board, or skip the door entirely and spend the effort on the seals. Wooden and older roll-up or wooden-batten doors need gentler treatment: measure the slats, expect to work section by section, and keep fasteners clear of the tracks.
How to Insulate a Garage Door: Step by Step
Plan the Insulation for Your Garage Door
Identify the material before you measure anything, because it decides your approach. Single-layer steel and aluminium doors take panels well. Insulated sandwich doors may already hold a polystyrene or polyurethane core, in which case sealing is the higher-value job. Older wooden doors and track doors tolerate foam board but punish careless drilling.
Measure the height and width of each panel section from the inside, and note the depth of the frame channel where the panel nests. Also measure the full opening: the width across the header, the height from the floor to the top of the frame, and the width of the gap down each side. Write the numbers down.
Then pick the approach. Removable panels held by hook-and-loop or magnets suit rentals and doors you may replace. Reflective foil insulation is cheap and quick, and it does well against radiant heat in a hot sunny garage, but it does almost nothing for conductive loss in a hard winter. Rigid foam board is the right default for cold climates because it resists heat passing straight through.
Clean and Dry the Door
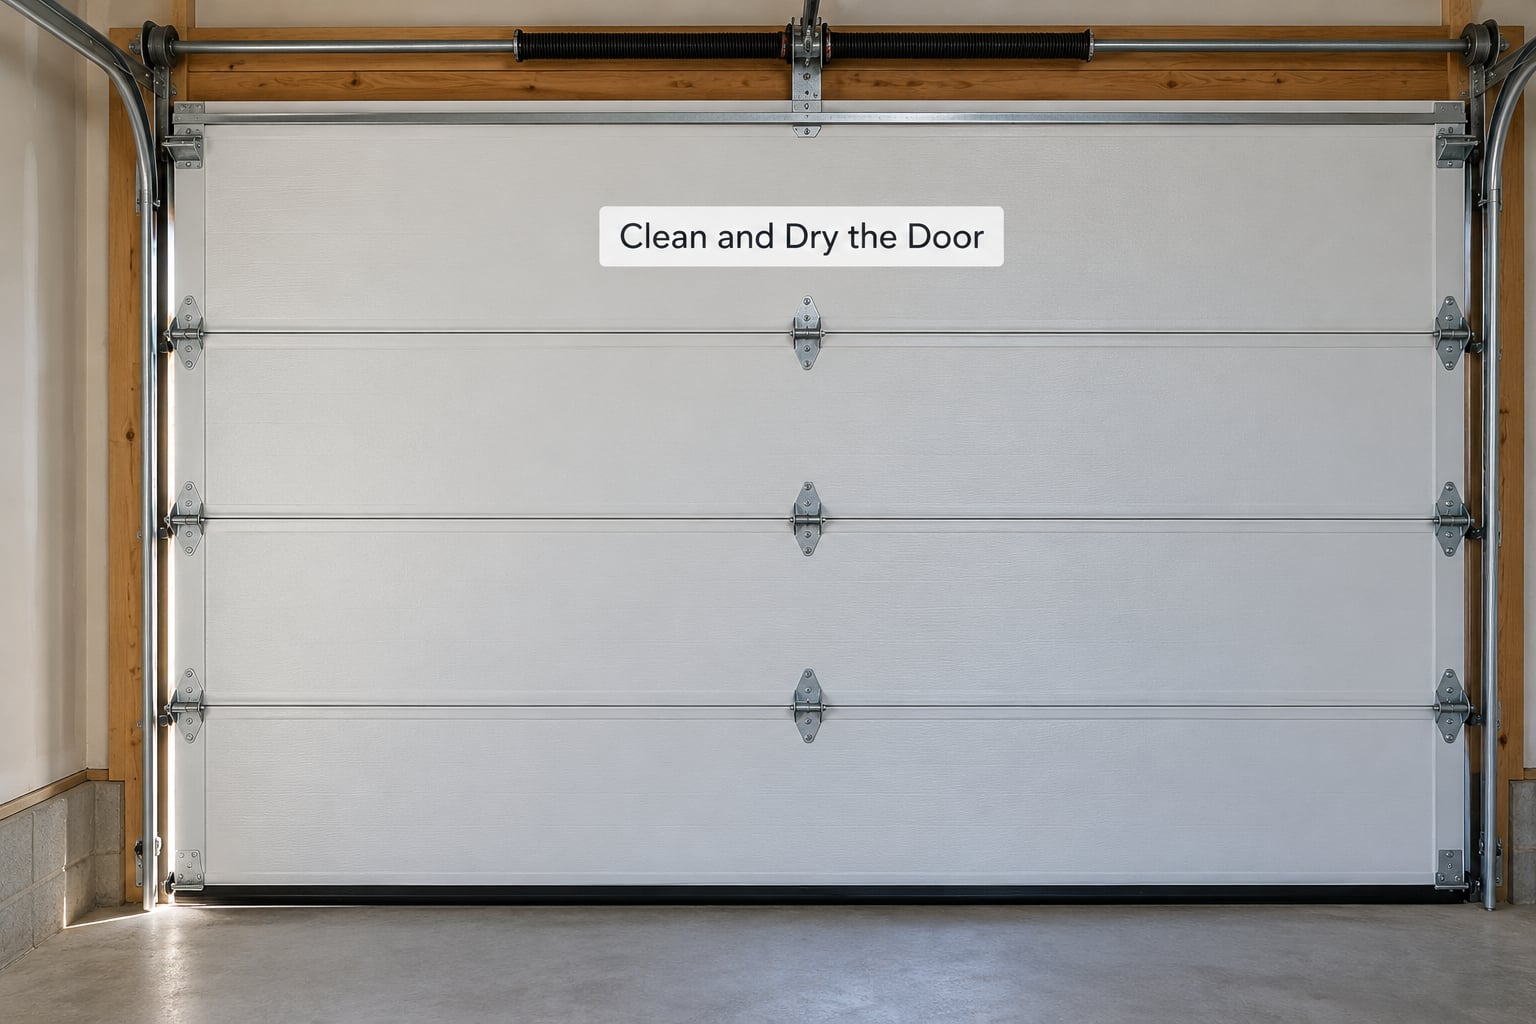
Adhesive fails on dirt, and most failed installs start here. Scrub the inside face of each panel with a mild cleaner and a stiff nylon brush, working into the corners and the channel edges where grime collects.
Let the surface dry completely. Wipe it with a clean damp cloth, then run your hand across it; any dampness or grit means wait. A hair dryer on a cool setting helps on painted doors in humid weather.
Seal Gaps and Edges
Insulation sitting on a leaky door leaks with it. Work the perimeter first: the top header gap, the two side gaps between door and jamb, and the threshold under the bottom seal.
Shine a flashlight or bright lamp along the closed seams from inside the garage in daylight and look for light. Daylight visible at the hinge side, at the lock side, or along the top means air is moving through there. For gaps up to a quarter inch, use backer rod and sealant; for larger gaps, use foam seal or a vinyl strip, and avoid anything that bulges into the closing path.
Pay attention to the horizontal panel seams too. Lift the bottom of one panel and look for daylight between stacked sections, and tighten the hinges if a gap has opened where hinge movement is all that changed. Insulation installed over a visible light leak will never perform the way the label claims.
Install the Insulation
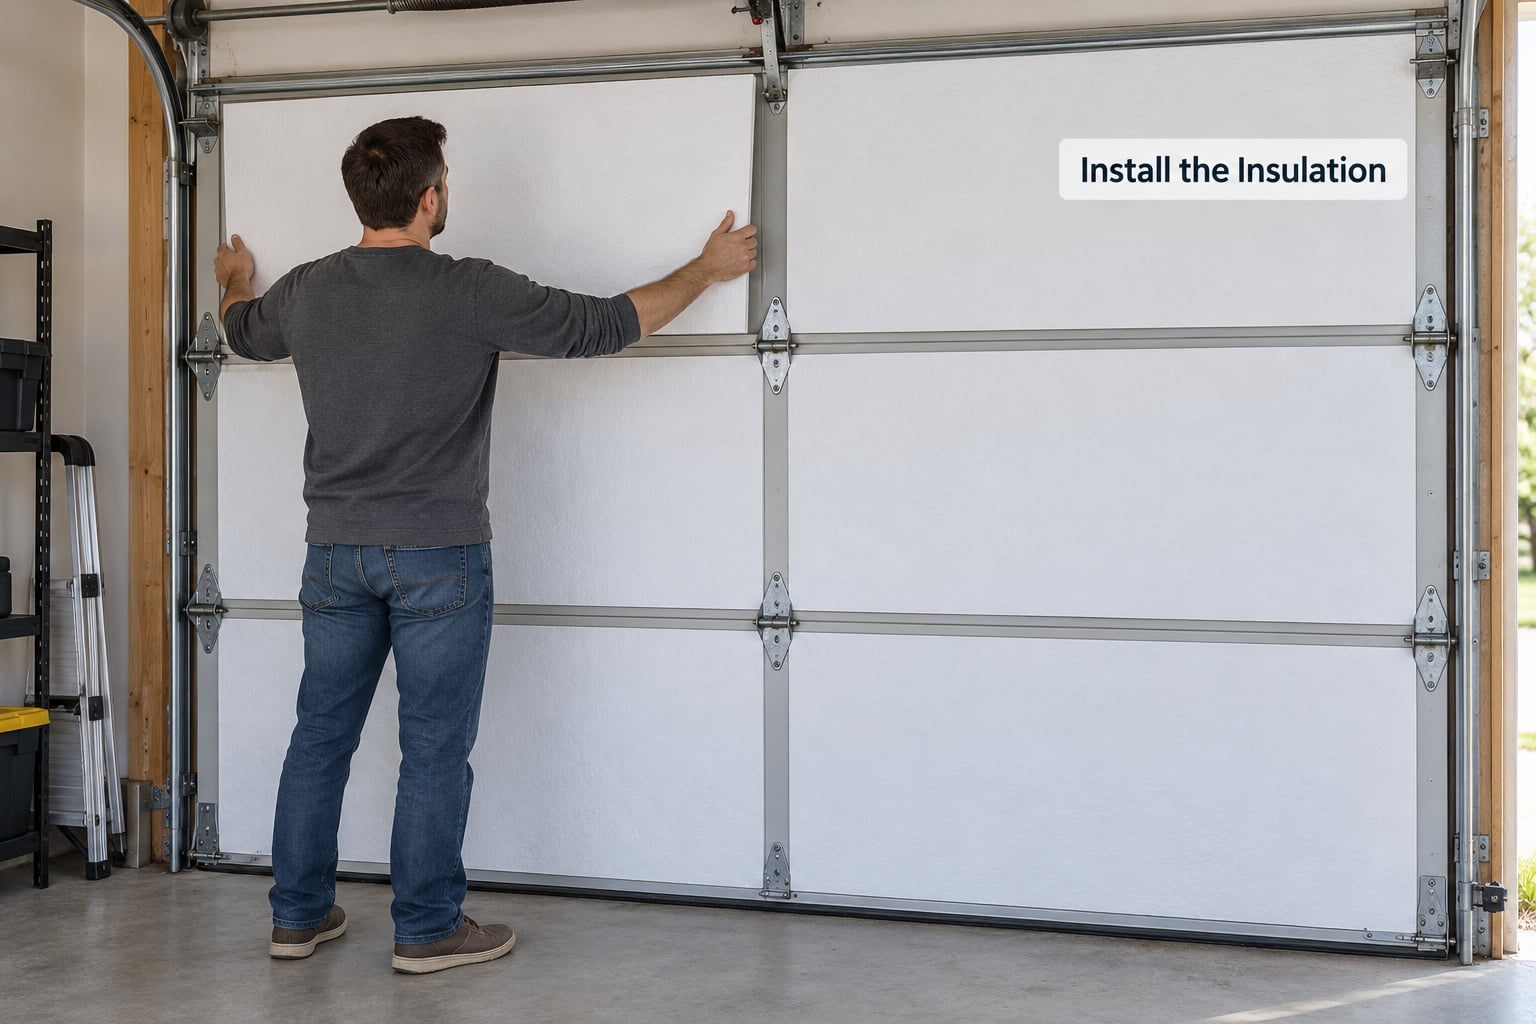
For foam board, work from the bottom panel upward and mark each cut against the section width minus a fraction of an inch. Cut slightly oversize so the board wedges into the channel and holds itself, then trim the excess. Scoring the face with a straightedge and a fresh blade gives a cleaner cut than sawing.
Fit the board into the panel frame, interior side, without pushing it into the door tracks or the hinge stile. Leave the lifting hardware, the lock bar and the roller brackets accessible — insulation that covers a moving bracket gets torn on the first hard close. Around windows, cut the board in two or four pieces so the panes stay clear rather than covering them with an opaque slab.
Attach panels with construction adhesive, or use hook-and-loop strips if you want to pull everything off come spring. Leave access to the emergency release cord and its handle. Some doors also carry a strut or a strut bracket on the top section that must stay free.
Add Bottom and Side Weatherstripping
The bottom seal does more for drafts than any panel. Lift the door with the manual release, slide the old seal off its retainer, and drop in a new one. A vinyl or rubber bottom seal with a rigid backer holds better on concrete than a brush-style seal, which is softer but quiet and forgiving.
On the sides, run vinyl or foam weatherstripping down both jambs and across the header in even lengths. Press it into the corner gaps where sections meet, since those little gaps are where a surprising share of the airflow comes through. Close the door by hand and confirm it still latches without resistance.
Test the Door and Check for Drafts
Run the door up and down three or four times on the opener, then once by hand. Listen and watch for the door rubbing a track, drifting out of square, or stopping before the floor. Any of those means the panel is catching a bracket or the seal is too thick, and you fix it before you call the job done.
Added weight changes how a door balances on its torsion springs. To test: engage the red emergency release cord and pull the door down manually. Lift the door by the handle until it stays put on its own at about waist height, then let go. If it drops fast, the springs need more tension; if it rises, they need less. Do not touch the spring itself — have a door technician adjust the winding bar.
Finally, re-run the light test along the top, sides and bottom seams, and hold a hand near the joints on a windy day. Some daylight means another pass of sealant.
Common Mistakes
Four errors cause most of the trouble: installing onto a dirty or damp surface, covering the windows or the lifting hardware with an opaque panel, blocking the bottom seal so the door cannot close flat, and driving screws deep enough to punch through the outer skin of a thin steel door. Each one shows up later as a torn panel, a door that will not close, or insulation that fell off the first cold week.
Common Mistakes and Fixes
Run through this list before you call the project done.
- Insulating before sealing. Fix: seal the top, sides, bottom and panel seams first, confirm with a light test, then insulate.
- Adhesive on a dusty panel. Fix: clean with a mild solution, dry fully, and press each board firmly for the full cure time before operating the door.
- Covering windows. Fix: cut around each pane and cover the glass with a rated window kit or interior shrink film instead.
- Ignoring the door balance test. Fix: run the halfway-and-let-go check above, and call a technician for any spring adjustment.
- A bottom seal that rubs or blocks. Fix: fit the seal to the retainer and trim a corner if the door binds on a sloped driveway.
- Insulating the door while the walls and ceiling still leak. Fix: air moves through the cheapest path, so insulate the walls, the ceiling or attic floor, and any ductwork first if your goal is a warmer space.
- Using exposed foam in an attached garage. Fix: check your local building and smoke code before leaving foam uncovered; a fire-rated or faced product is the safe default.
Two situations call for a professional rather than a weekend. If your garage has a combustion heater, a vehicle in the running state, or attached living space above, the fire and carbon monoxide stakes are too high for a first-time job. And if the door is out of square, the tracks are sagging, or the springs need adjusting, that is technician work, not weekend work.
For renters or anyone under an HOA rule against permanent changes, removable magnetic or hook-and-loop panels, plus a roll of vinyl weatherstripping on the jambs, leave the door exactly as they found it.
Frequently Asked Questions
What is the best insulation for a garage door?
For most cold climates, 1 to 1.5 inch rigid foam board gives the best balance of cost and R-value, usually around R-5 to R-8 per panel. Reflective foil kits are quick and cheap but mostly stop radiant heat, so they suit hot sunny garages more than hard winters. Pre-cut kits are the easiest route if you want the job done in an afternoon without cutting anything.
Should I insulate the garage door or the whole garage?
Do the whole garage if you want it warmer. Air moves through the cheapest path it can find, so an insulated door in a garage with uninsulated walls and an open attic floor leaks much of that benefit straight away. The door still matters most, because it is the largest opening, but treat it as one piece of the envelope rather than the whole job.
Can you put insulation panels over a garage door with windows?
Yes, as long as the panes stay clear. Cut the board into two or four pieces so each window opening is framed rather than covered, and add a rated window insulation kit or interior shrink film to the glass for the real benefit there. Never cover a window with a solid opaque panel, since the door needs to stay balanced and the hardware needs to stay accessible.
Does garage-door insulation make the door heavier or unsafe?
A full set of foam panels adds roughly 20 to 30 pounds across the door, which can put a lightly set up torsion spring over its comfortable range. That is why you test balance afterward: release the door with the emergency cord, lift it to about waist height, and let go. If it drops fast or rises, have a technician adjust the springs. Never wind or remove a torsion spring yourself.
What type of weatherstripping is best for the bottom of a garage door?
A vinyl or rubber bottom seal with a rigid backer fits most doors and seals well against concrete. A brush-style seal is quieter and tolerates a sloped or uneven threshold, at the cost of less airtight contact. Both beat leaving the old seal in place, and both are far cheaper to replace than a door that will not close flat over a swollen seal.
Conclusion
Start with a light test and a clean door. Seal the top, sides and bottom, replace the bottom seal, fit the panels while leaving hardware and windows clear, then run the balance check and fix any rubbing before the first cold snap. That order is the difference between an insulated door that helps and one that just adds weight.