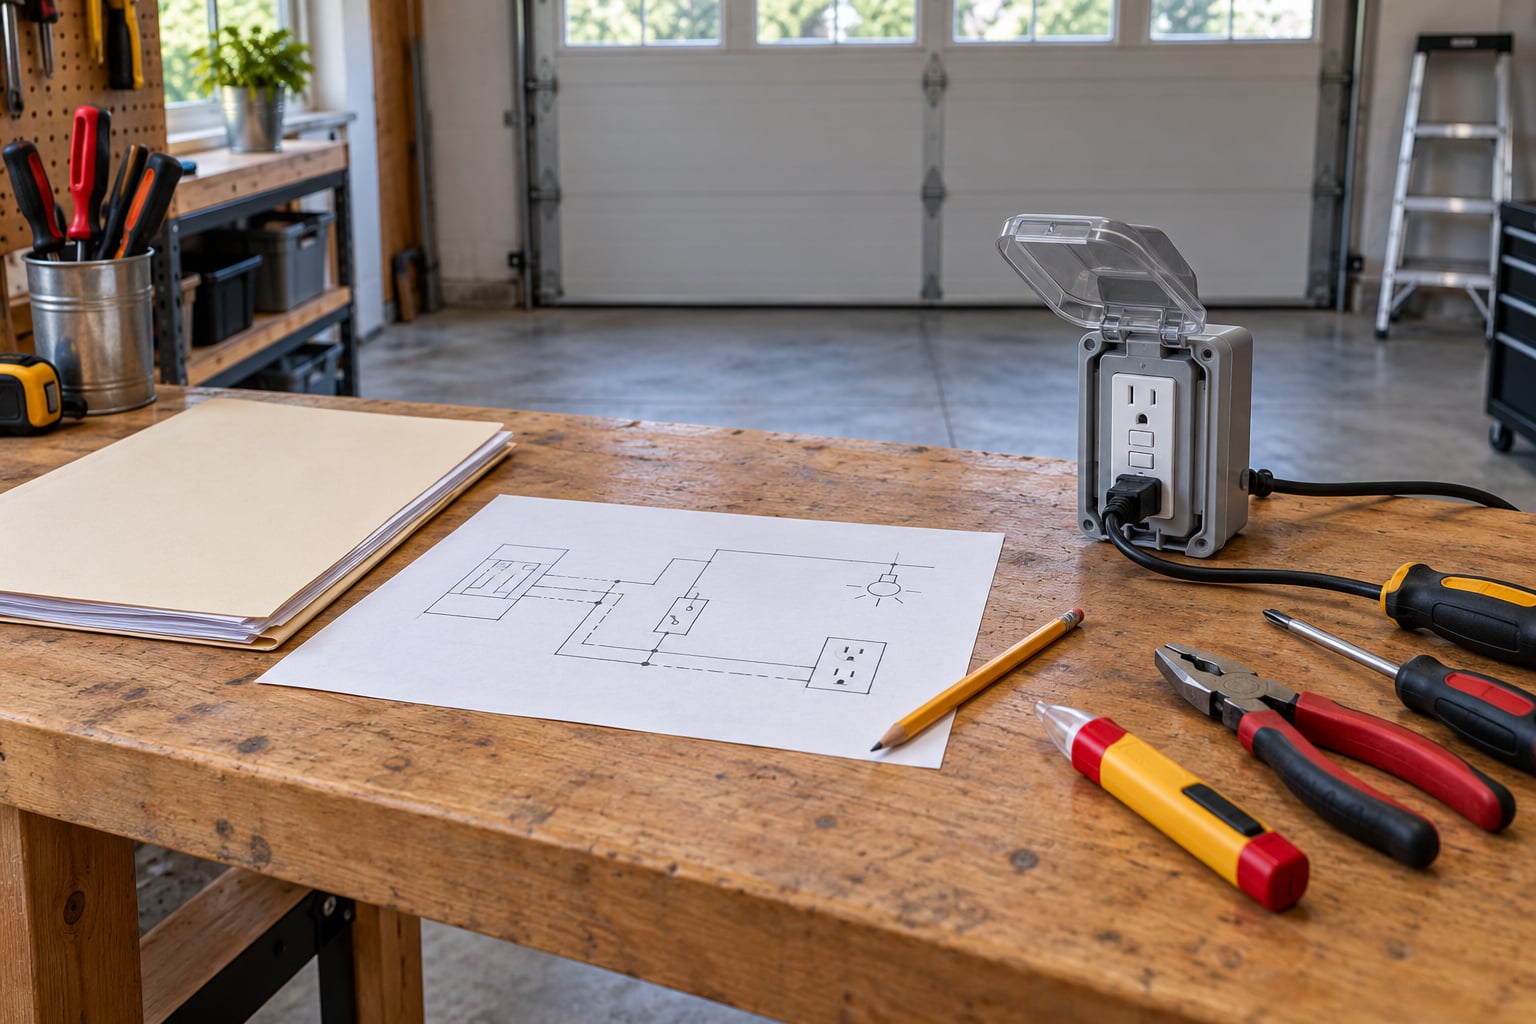
To wire a garage outlet safely, you plan the circuit first, use a GFCI-protected 20-amp circuit, confirm the permit with your local authority, and de-energize and verify the circuit before you touch a single conductor. If any part of that plan is unclear — the panel’s spare capacity, the cable route, an ungrounded box, or the local rules — stop and hand the work to a licensed electrician. Wiring a receptacle in an accessible box is the piece beginners can sometimes do well; extending a circuit from a panel is the piece they should not.
A garage is treated as a damp, potentially hazardous location because of concrete floors, damp concrete block walls and vehicle fluids on the floor. That classification is why a garage receptacle is not just an outlet. It has to be protected, grounded and correctly wired, and most of the mistakes that cause shocks or fires here are simple ones made in a hurry.
Table of Contents
- What You Need
- Step-by-Step: How to Wire a Garage Outlet Safely
- 1. Confirm the circuit and the permit before anything else
- 2. Inspect the box and cable while the power is still on
- 3. Shut off the breaker and verify the circuit is dead twice
- 4. Follow the approved diagram and make only permitted connections
- 5. Ground the box and the device
- 6. Connect hot and neutral, and mind the GFCI terminals
- 7. Pigtail when more than one cable enters the box
- 8. Fit the device, the cover and the box cover plate
- 9. Restore power and test
- 10. Test polarity and each downstream outlet
- Common Mistakes
- Frequently Asked Questions
- Do garage outlets need to be on a 20 amp circuit?
- Do garage outlets need GFCI protection?
- Can I install a garage outlet myself or do I need a permit?
- What do the wire colors mean for a garage outlet?
- How many wires can go in an outlet box?
- When should I call a licensed electrician instead of doing it myself?
- Conclusion
What You Need
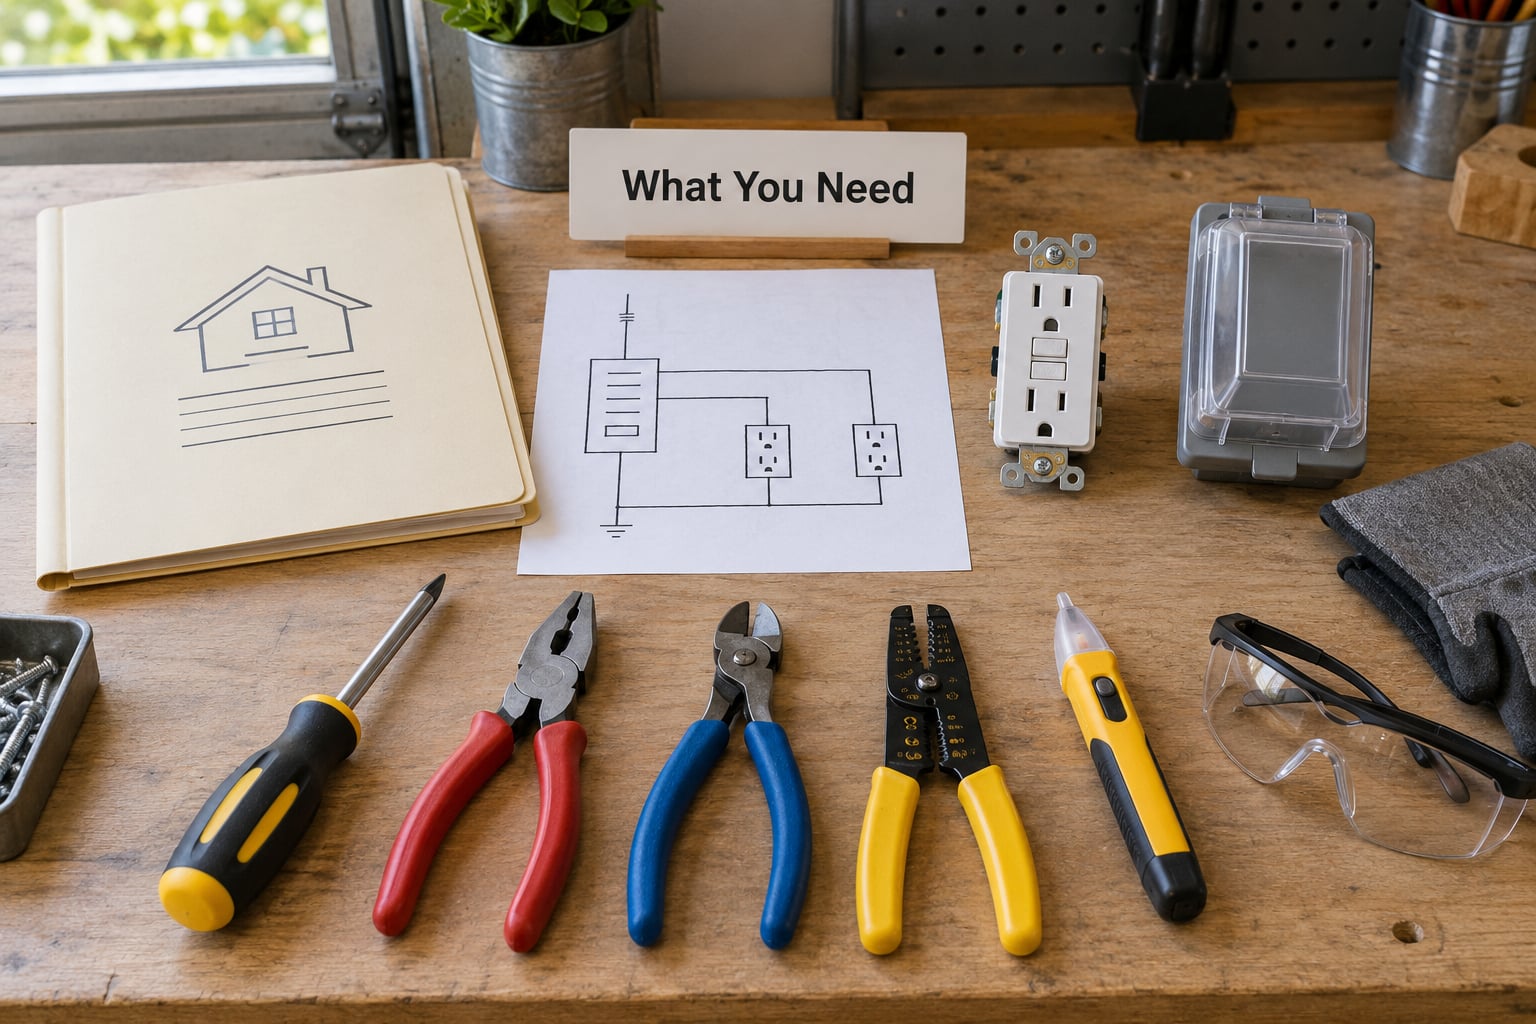
Most of what you need before wiring a garage outlet is paperwork and verification, not tools. Get these confirmed first.
- A plan. A circuit layout showing which existing circuit you are tapping into or which new circuit you are adding, the box locations, and the cable route.
- Permit confirmation. Call your local building or electrical authority and ask whether adding a garage outlet needs a permit. In many jurisdictions, tapping into an existing circuit still triggers one, and new circuit work almost always does.
- The receptacle. A GFCI, tamper-resistant duplex in a 15A or 20A rating, plus a weather-resistant in-use cover if the location is exposed to moisture.
- Cable that matches the breaker. 12/2 NM-B (Romex) for a 20-amp circuit, 14/2 for a 15-amp circuit. Never pair 14/2 with a 20A breaker.
- The box and fittings. A box deep enough for the conductors and device you are using, cable clamps, a ground bar if the box has no ground screw, and wire connectors sized for the conductor count.
- Safety gear. A non-contact voltage tester and a two-pole tester you trust, insulated-handle screwdrivers and wire strippers, and eye protection.
If you have never worked inside a panel or you are unsure whether the circuit you found is what you think it is, that is the signal to hire a licensed electrician for the connection. The outlet wiring is then a small, contained job on a finished circuit.
Step-by-Step: How to Wire a Garage Outlet Safely
Work in this order and do not skip ahead. If any step does not match what you see on site, stop.
1. Confirm the circuit and the permit before anything else
Identify the breaker that feeds the area, write it down, and confirm your local permit requirement. Note whether the circuit is 15 or 20 amp and whether the existing cable is 14/2 or 12/2. A circuit feeding a refrigerator, freezer, microwave, washer or dishwasher should not be shared with garage tools.
2. Inspect the box and cable while the power is still on
Open the box cover and look before you cut anything. You want to confirm the box is securely attached, not filled with old splices and paper, and that the cable entering it is the type you expect. Look for the ground wire or a metal box that serves as the ground path. If you find no ground at all, that is an old two-wire installation and a job for a professional to upgrade, not to improvise.
3. Shut off the breaker and verify the circuit is dead twice
Switch the breaker off, then test the receptacle with a non-contact tester and again with a two-pole tester across all terminals. A non-contact tester alone can give a false negative on a shielded cable or a box that sits against metal, which is exactly where garage boxes end up. Confirm the tester on a known live source before you rely on it.
4. Follow the approved diagram and make only permitted connections
Route the cable the way the plan shows and secure it along the framing. Where cable passes within an inch and a half of a framing member, use a bored hole with a bushing or a listed connector. Keep the run clear of sharp edges and do not bury cable where a future nail could find it.
5. Ground the box and the device
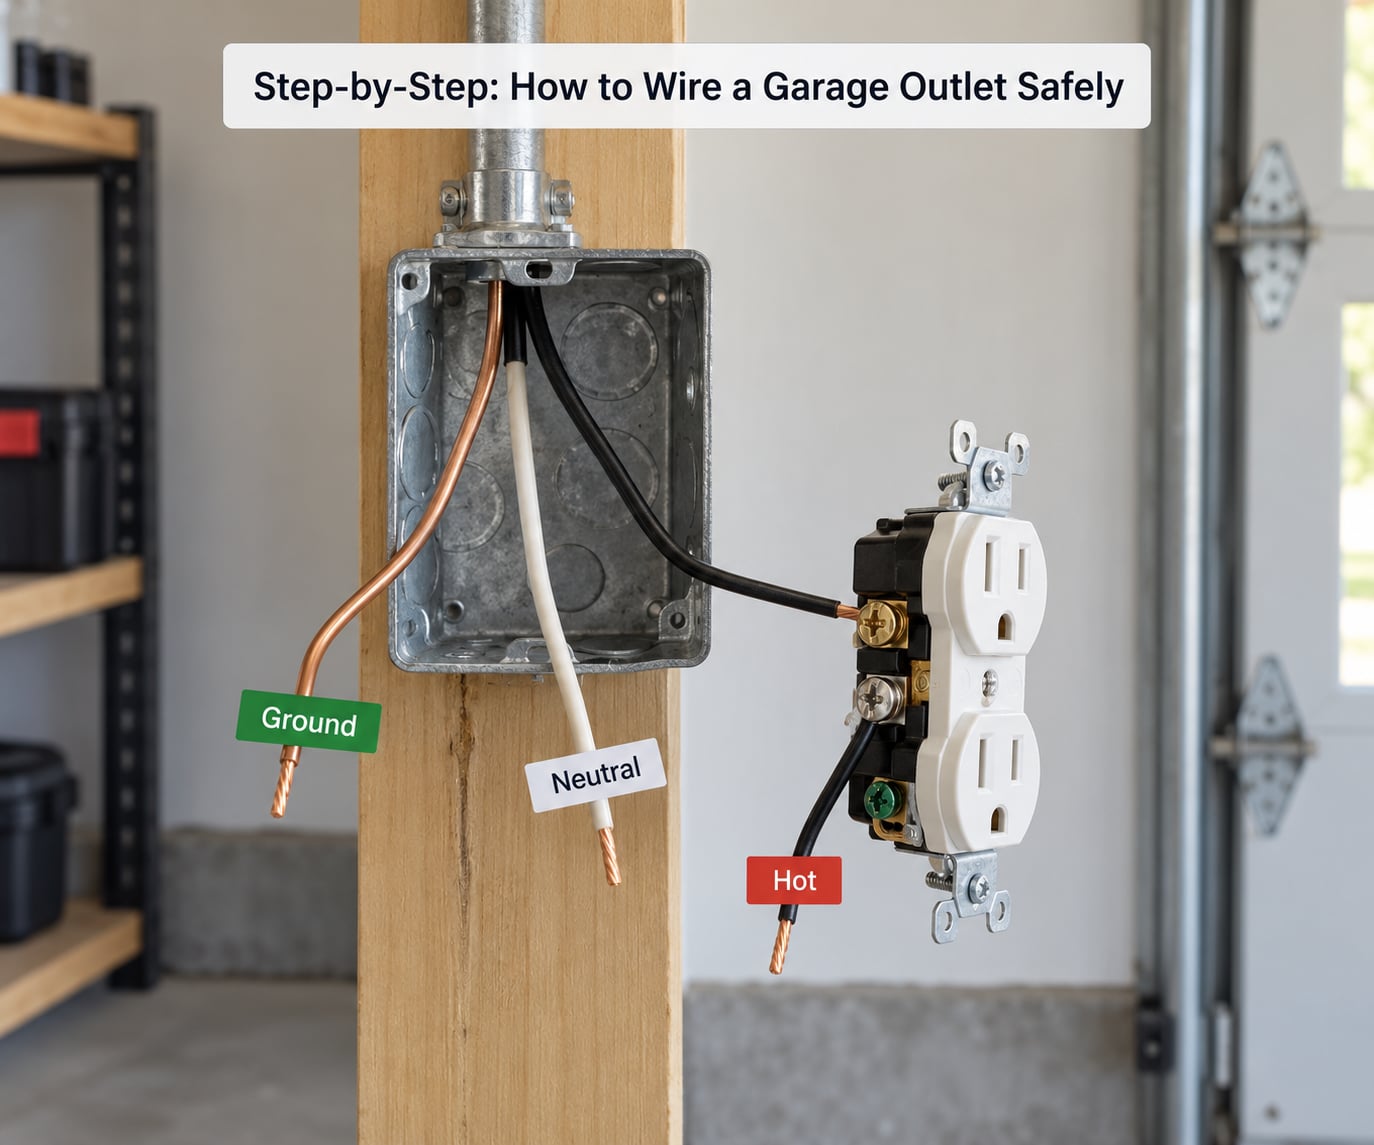
Attach the bare or green ground to the green screw on the receptacle and to the box ground screw or ground bar. When more than two grounds are present, pigtail them together and land one pigtail on the metal box so a loose screw can never disconnect the ground path. A loose ground is the single most consequential mistake in this whole job.
6. Connect hot and neutral, and mind the GFCI terminals
On a standard receptacle the hot goes to the brass screw, the neutral to the silver screw. On a GFCI the terminals are labelled LINE and LOAD, and this is where most DIY errors happen.
- Incoming supply from the source connects to LINE.
- Anything feeding downstream receptacles connects to LOAD.
- Never place the supply wires under the LOAD screws.
Power routed into LOAD is backfed. The GFCI still appears to work, but downstream outlets are left unprotected and most people never notice.
7. Pigtail when more than one cable enters the box
With multiple cables in one box, use pigtails: two short wires under one screw on each terminal, one running to the terminal and one to each cable. Two conductors under a single screw are only allowed where the terminal is listed and marked for two wires. Avoid backstabbed push-in terminals for the pigtails themselves; a loose push-in connection is the most common reason a garage outlet stops working years later.
8. Fit the device, the cover and the box cover plate
Wrap the wire ends so no bare copper sits outside a connector, tighten every screw, tuck the conductors in so nothing is pinched, and set the receptacle in the box. Fit the weather-resistant in-use cover if one is required there, and keep the box flush and unobstructed.
9. Restore power and test
Turn the breaker on and confirm the receptacle works. Press the GFCI test button: it should trip, and the outlet should stop supplying power. Press reset and confirm power returns. If it will not trip, stop using that outlet and have it corrected.
10. Test polarity and each downstream outlet
Verify the receptacle passes a plug-in tester or a two-pole tester for correct polarity and ground. Then check every outlet downstream of the GFCI on that run. Each one should show protected, ground-fault indication if it has it, and correct polarity.
If you are wiring more than one garage outlet on a single run, the first device in the run takes the supply on LINE and passes the rest of the run out of LOAD. Each later device in that chain repeats the pattern. You can also feed every box from the first GFCI instead, which is legal and leaves you free to move devices later, but each device still needs its own LINE and LOAD handled correctly.
Common Mistakes
Almost every garage outlet failure traces back to one of a handful of mistakes. Here is what goes wrong and what fixes it.
- Supply wired to LOAD. The GFCI backfeeds and downstream outlets lose protection while still appearing to work. Fix: incoming supply always on LINE, downstream run on LOAD.
- Loose or missing ground. Shock risk on a failed tool. Fix: pigtail the grounds, land one on the box, tighten it, and add a ground bar where the box has no ground screw.
- Overloading the circuit. A table saw and a compressor on one 15-amp circuit trips constantly. Fix: plan a dedicated 20-amp circuit per heavy tool and check the panel’s spare capacity before you commit.
- Skipping GFCI or AFCI protection. Not permitted where code requires it. Fix: follow the local adopted code and the manufacturer’s instructions on the device.
- Wrong box or cable for the location. Undersized box, or cable that is not permitted in that space. Fix: check box fill against the conductor count and confirm the cable type is approved for that exposure.
- Backstabbed terminals. Push-in connections loosen and heat. Fix: use screw terminals, and wrap the pigtail with electrical tape as added insurance.
- Leaving the panel or box obstructed. Stacking storage against the panel or a box buried behind shelving creates a real hazard. Fix: keep clear working access.
- Testing a circuit incorrectly. Relying on a single non-contact reading. Fix: test twice with two different methods and confirm the tester works on a known live source first.
If you want a short version: shut the breaker off, verify dead with a tester you trust, land the ground first, keep LINE and LOAD straight, and follow your local electrical code and the manufacturer’s instructions. Anything outside that list is a reason to call a licensed electrician.
Frequently Asked Questions
Do garage outlets need to be on a 20 amp circuit?
A 20-amp circuit is the standard choice for garage receptacles and what most plans assume, because power tools draw more than a 15-amp circuit can carry without nuisance tripping. A 15-amp circuit with 14/2 cable is permitted in some jurisdictions for lighter duty receptacles. Match the breaker, the cable gauge and the receptacle rating to each other, and check your local adopted code before you run anything.
Do garage outlets need GFCI protection?
Yes. Garages are treated as damp and potentially hazardous locations, so 125-volt, 15-amp and 20-amp receptacles in a garage require ground fault circuit interrupter protection under the National Electrical Code. The first GFCI in the run protects everything downstream when it is wired with supply on LINE and the rest of the run on LOAD. Wiring it backwards leaves downstream outlets unprotected.
Can I install a garage outlet myself or do I need a permit?
Adding a receptacle to an existing box, with the circuit de-energized and verified, is the part many homeowners handle themselves. Extending a circuit or working inside the panel is licensed work in many jurisdictions, and either job may need a permit and inspection. Call your local authority before you start and confirm whether a permit applies to your specific work.
What do the wire colors mean for a garage outlet?
Black or red is the hot conductor and goes to the brass screw. White or gray is the neutral and goes to the silver screw. Bare copper or green insulation is the ground and goes to the green screw and the box. On a GFCI, incoming supply goes to the LINE terminals and downstream conductors to LOAD. Older two-wire cables have no ground, and that installation needs a proper upgrade rather than a workaround.
How many wires can go in an outlet box?
Box fill limits how many conductors and fittings a box may hold, and exceeding it is a common inspection failure. The box must also be deep enough for the device and the conductors without pinching them. Count every conductor, including pigtails, ground wires and internal clamp conductors, and compare the total volume against the box’s marked capacity before you buy.
When should I call a licensed electrician instead of doing it myself?
Call one when the work involves the panel, a new circuit, a detached building with its own supply, a 240-volt outlet such as an EV charger, old two-wire ungrounded wiring, or a location that is damp or exposed to weather. Also stop if a receptacle runs warm, a breaker trips repeatedly, or you cannot confidently identify the circuit feeding the box.
Conclusion
Start with verification, not tools: identify the circuit and its load, confirm the permit requirement with your local authority, and choose a GFCI-protected 20-amp receptacle with a tamper-resistant device and an in-use cover. Then de-energize and verify the circuit twice, ground the box before anything else, keep supply on LINE and the run on LOAD, and pigtail multiple conductors rather than stacking them.
For the connection itself, the panel, a new circuit, ungrounded old wiring, a detached building or anything 240 volts, hire a licensed electrician. Uncertainty about the box, the circuit, the cable or the grounding is not a problem to work around. It is the signal to make the call.