To sharpen kitchen knives at home, drag the blade across a wet whetstone or diamond stone at a steady 15 to 20 degree angle until a burr, a raised lip of metal, forms along the opposite edge. Then flip the knife, repeat on the second side, refine on a finer grit, and test by slicing paper or a ripe tomato. A whole session takes 15 to 20 minutes.
A dull blade is the more dangerous one. It slips off tomato skins and onions, and it takes real force to push through, which is where most kitchen cuts happen. A sharp knife does the work for you.
Beginners usually worry they will ruin an expensive knife on the first try. That fear is backwards: leaving a dull knife alone is what costs you steel, because a blunt edge chips and rolls instead of slicing. Start with a small paring knife and you will learn the feel in ten minutes.
Table of Contents
- What You Need
- How to Sharpen Kitchen Knives at Home Step by Step
- Prepare the Knife and Sharpening Surface
- How to Sharpen Kitchen Knives at Home Without Overdoing It
- Finish With Honing and Testing
- Common Mistakes
- When to Replace or Professionally Sharpen a Knife
- Frequently Asked Questions
- Does aluminum foil sharpen knives?
- Does a honing rod actually sharpen a knife?
- Should you put water or oil on a sharpening stone?
- What angle should I sharpen a kitchen knife at?
- How many strokes per side should I use on a whetstone?
- Conclusion
What You Need
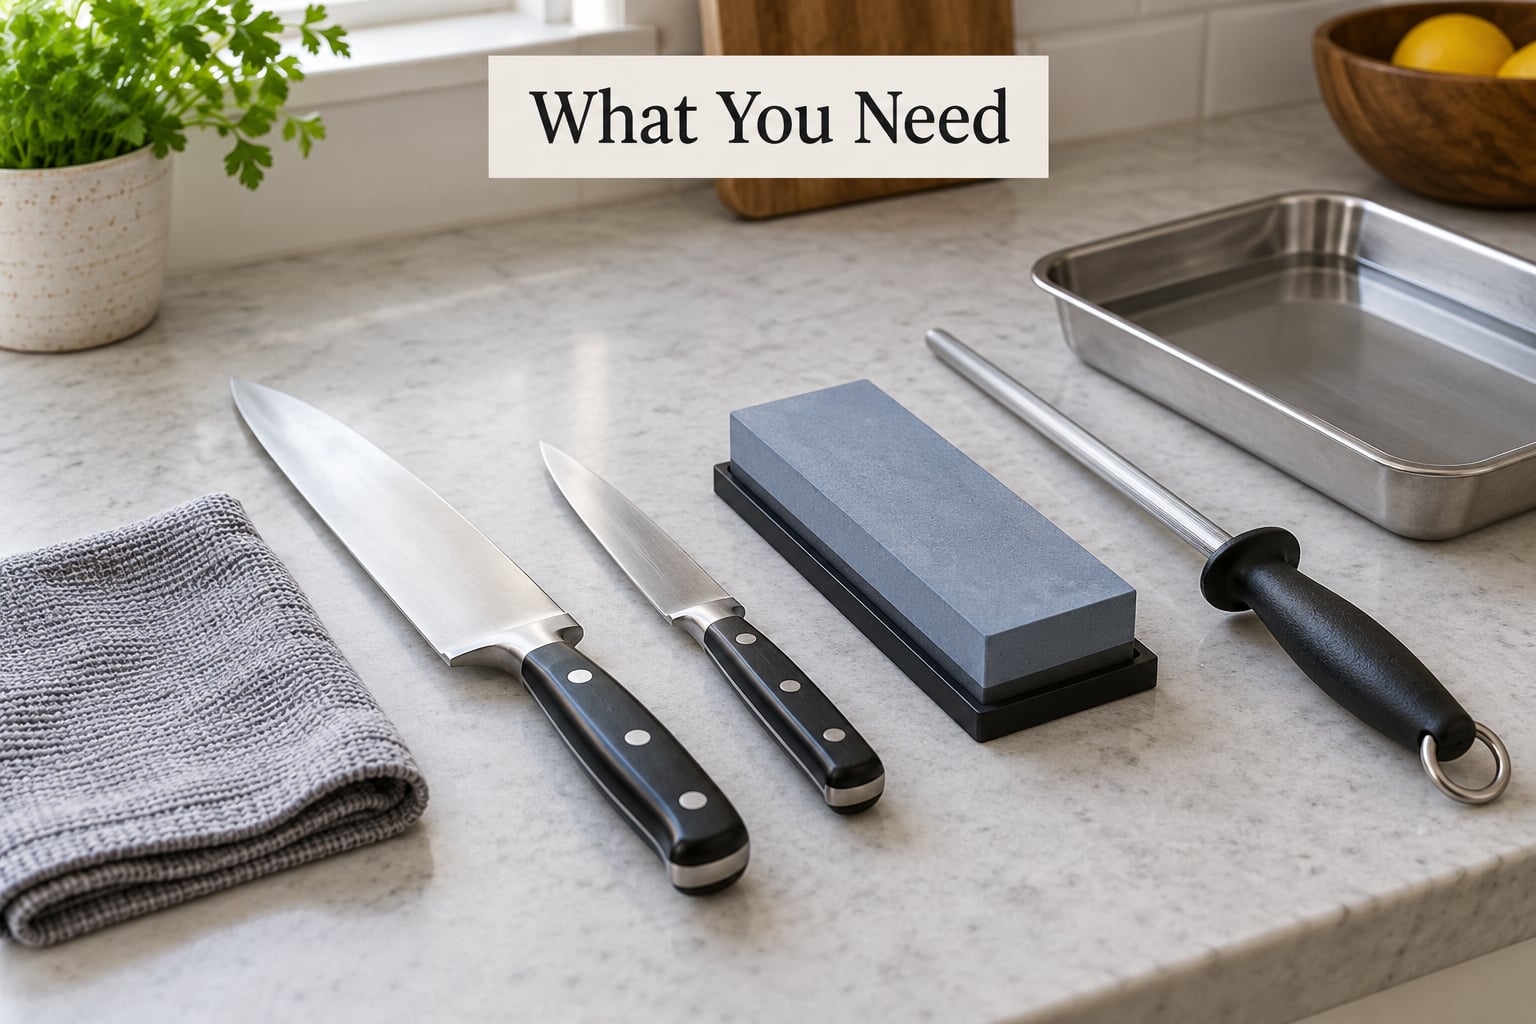
There are five ways to sharpen a kitchen knife at home, and the right one depends on how much control you want and how much patience you have. Here is what each tool actually does, in plain terms.
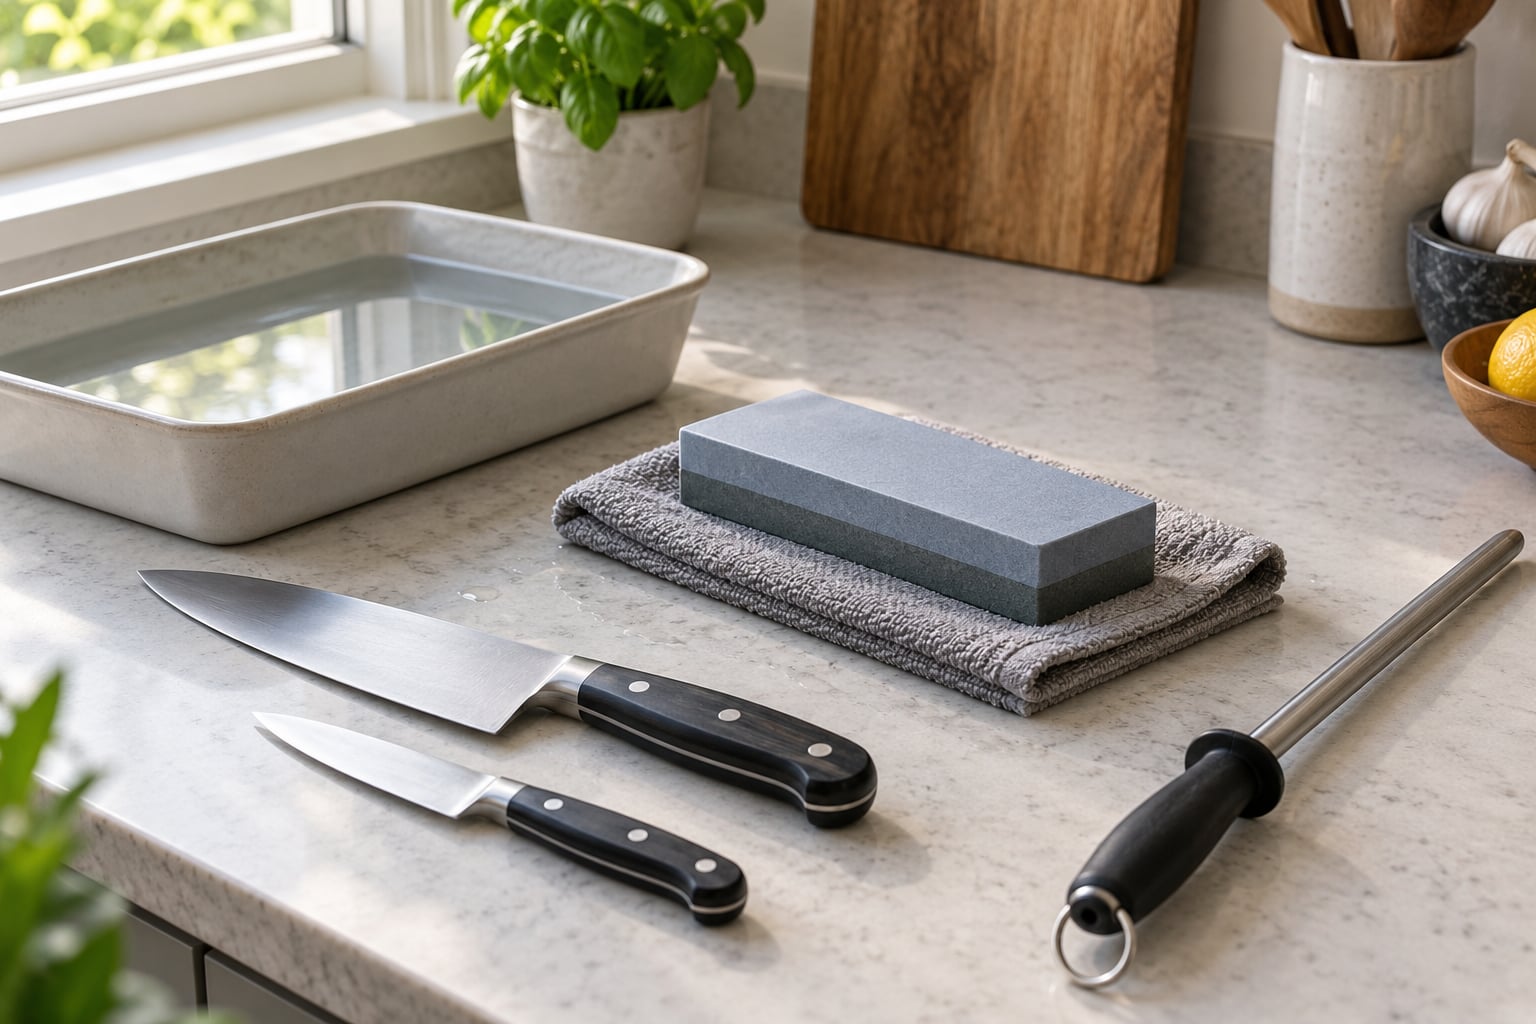
- Whetstone (water stone) — the industry standard and the only tool that lets you set the exact angle yourself. Two-sided stones pair a coarse side with a fine one, usually 1000 on one face and 3000 to 6000 on the other. Steep learning curve, best control.
- Diamond stone — a whetstone with diamond abrasive bonded to a rigid plate. It never needs soaking and it flattens far more slowly than a water stone, which is why many beginners like it. Less forgiving of a sloppy angle than a soft stone, but very consistent.
- Honing rod (honing steel or ceramic) — used to realign an edge that is already sharp. It is maintenance, not sharpening. See the myth-busting section below.
- Manual pull-through sharpener — a plastic or metal unit you drag the knife through a couple of slots. Cheap, fast and nearly foolproof, but the factory angle is fixed and it removes noticeably more steel than a stone.
- Electric sharpener — a motorised wheel with a built-in angle guide. Some professional testers prefer one for exactly that reason: the guide holds the angle for you. A whetstone is still called the standard in most kitchens, and the two camps both produce a good edge.
Before any of that, set up your workspace. You need a damp cotton dish towel folded flat to sit under a water stone so it does not skate, a shallow tray or bowl for the water and slurry that comes off the stone, and a cutting board you do not mind scratching, because your knife is about to touch it while you work.
Then check the knife itself. Look at the blade in good light and decide which side has the working bevel, the ground edge you can see the reflection on. Hold the knife with the handle in one hand and pinch the blade between thumb and forefinger of the other hand near the heel, where the spine is thickest and the angle is easiest to see.
Before you start, know the edge you are working toward. Western knives run 15 to 20 degrees per side, Japanese knives run a thinner 10 to 15 degrees, and serrated bread knives have a different geometry entirely. A thinner edge slices better and rolls faster; a slightly wider one is more forgiving. Most home cooks should match whatever the factory edge already is rather than re-cut the geometry.
How to Sharpen Kitchen Knives at Home Step by Step
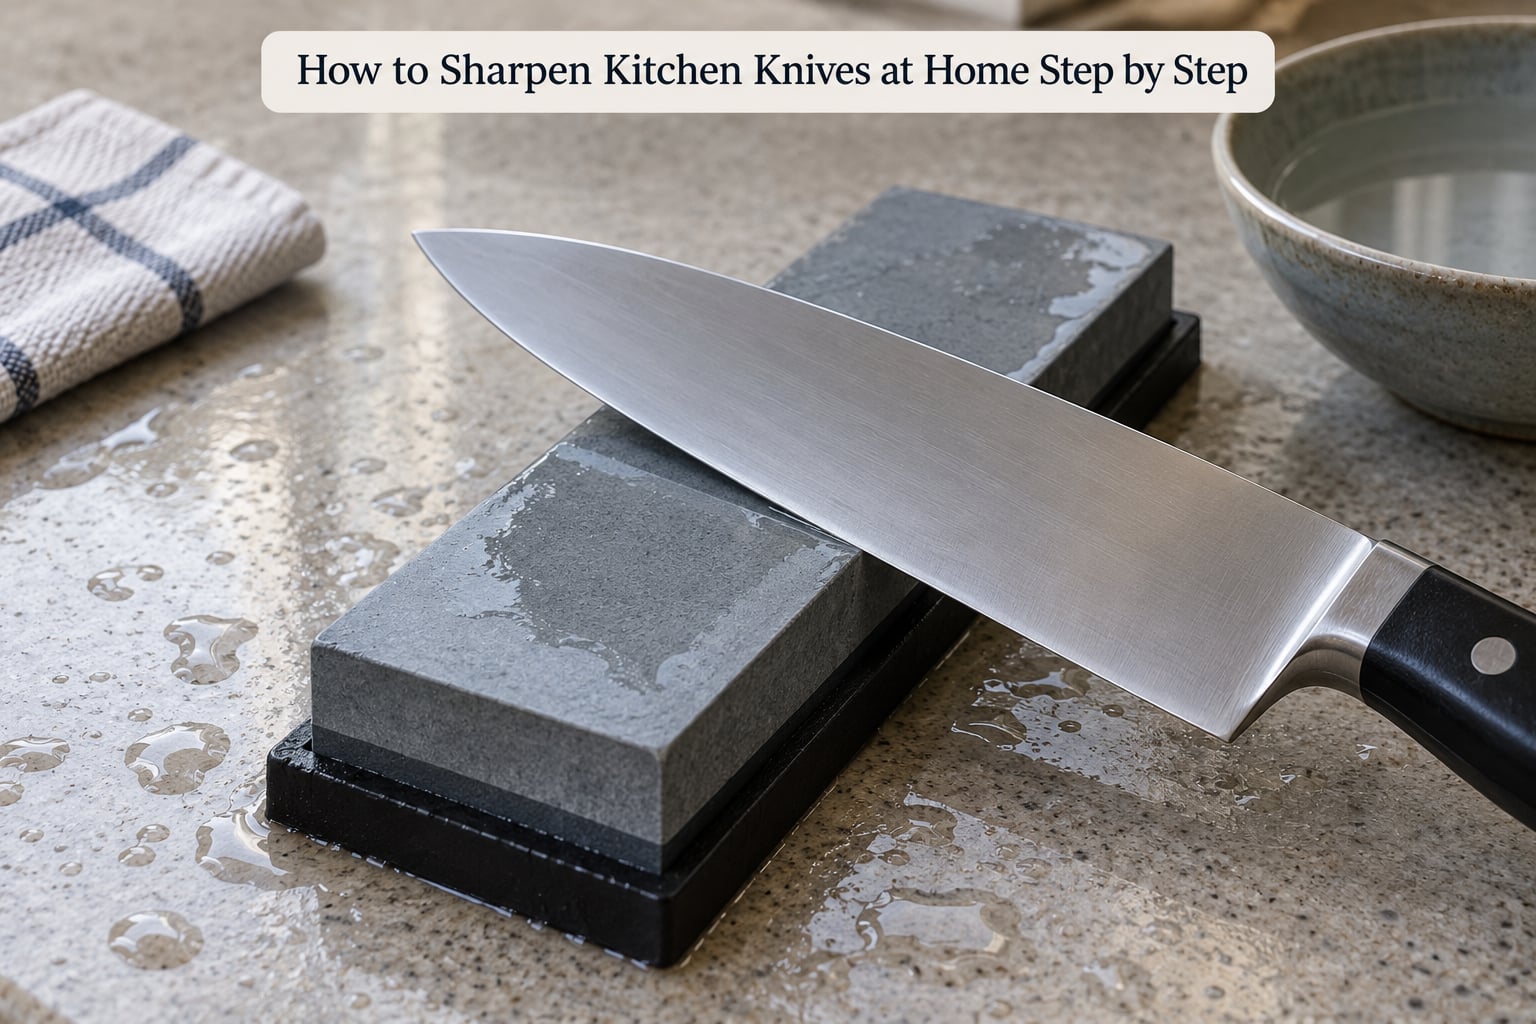
- Soak the stone for 10 to 20 minutes. A water stone needs to be fully saturated, otherwise it will skim over the blade and leave a wavy mess. Lay the towel down first, set the stone on it, then add water until it sits a few millimetres deep in the tray.
- Find your angle: about 15 to 20 degrees per side. Stand the blade upright on the stone, then tilt it until the spine leans back about halfway between vertical and flat. That is roughly 22 degrees. Halve it again and you land near 15, the sweet spot for most Western knives.
- Coarse side first, 10 to 25 strokes. Sweep the full length from heel to tip, keeping the angle unchanged on every single pass. Alternate sides after each stroke, not after each side, so errors cancel out.
- Stop when a burr appears. Run a fingernail gently along the edge away from the blade and you will feel a rough, almost furry line. That is the burr, the metal being pushed off the side you are not yet sharpening. Keep going until it runs the full length of the edge.
- Flip and repeat on the other side. The same angle, the same light pressure, the same stroke count. Expect a slightly quicker burr here, because most of the work is already done.
- Move to the fine side of the stone, or a 3000 grit stone. About 10 to 20 strokes per side polishes away the loose burr and leaves the edge cleaner and a little more durable.
- Remove the burr with light strokes and a strop. A few passes on the fine stone with almost no pressure takes the wire edge off. If you own a leather strop, 10 to 20 alternating passes finish the job properly.
- Test it. Slice a sheet of paper from the spine down toward the tip with no sawing. A ripe tomato that splits cleanly instead of squashing is the second test. Wipe the blade, dry it immediately, and put it away.
Prepare the Knife and Sharpening Surface
Preparation is where most bad first sharpenings are lost. Scrape any old food off the blade with the back of a spoon, rinse it, and dry it fully, because a wet stone plus a wet blade is the fastest way to raise a slurry you cannot see.
Then check the stone. A new stone is flat, and an old one is not: it develops a shallow scoop in the middle where the blade has been riding. A cupped stone cannot produce a straight edge, no matter how steady your hands are. If your strokes have started producing a rough, catch-prone edge in the middle of the blade rather than at the tip, flattening the stone on coarse grit and a flat surface is the fix.
For finding the angle without guessing, rest the spine of the blade against the stone and slide two stacked coins under the handle side. A dime and a penny together are close to the right clearance for a 20 degree edge on a 200 mm knife. If the knife rocks on the coins, they are too thick. A strip of folded cardboard cut into a wedge works the same way and costs nothing.
The marker trick is worth learning too. Draw a dry permanent marker line along the flats of both bevels, then do a dozen strokes. If the line vanishes evenly on both sides, your pressure is right. If it wears through in patches, the middle of the blade is getting all your force, which is exactly the uneven edge that snags instead of slicing.
How to Sharpen Kitchen Knives at Home Without Overdoing It
The goal is to remove the minimum steel that restores the edge. Every extra pass is steel you cannot get back, and beginners almost always grind far past the point where the edge is good.
Use less pressure than you think. Roughly the weight of the knife itself, applied with your fingers, is plenty. A stone at 1000 grit does the work; your arm only supplies direction. If you feel yourself leaning on the blade, that is when the angle wanders and the middle of the edge rounds off.
Watch the secondary bevel. A double beveled knife has a small factory angle on each side, and that is the shape you are restoring. If your strokes run at a noticeably different angle, you start cutting a new bevel at the edge instead, and that micro-bevel is permanent. The symptom is an edge that looks blunt and rounded no matter how long you work on it.
Respect the burr as a stop signal rather than a target. Once it runs the entire length, you have removed enough to sharpen. Chasing a thicker burr, or a nicer-looking reflection, is how a good edge turns into a wedge.
Switch grits with intent. A 400 grit stone is for restoring a badly neglected edge in a hurry, a 1000 grit does the daily work of reshaping a dull edge, and anything at 3000 or finer is for polishing and cleaning up. Using a fine stone to fix a truly dull knife just takes longer and never quite gets there.
Finish With Honing and Testing
Honing comes after sharpening, not instead of it. A steel or ceramic rod straightens the microscopic bends that a knife picks up from cutting on a board or hitting a bone, and it removes no measurable steel. Hold the rod point down and stab down along its length with light pressure, alternating sides, about five passes each. Many serious cooks treat this as a weekly habit that keeps them off the stone for months.
Ceramic and steel rods are close in effect. Ceramic is harder and wears slowly; steel is slightly more aggressive and develops a bit of texture over time. Neither of them will restore a genuinely dull edge, which is the whole misunderstanding most people have about rods.
Stropping is the third rung and the least known. A leather strop with compound does almost no metal removal at all, so it takes a burry edge from fuzzy to clean without touching the geometry. Five to 10 passes per side, light pressure, is plenty.
Then test, rather than assume. The paper test is the most sensitive: a properly sharp edge bites into a sheet and cuts it in one pass. If it snags and tears, keep going. Avoid any test that involves pressing hard against your thumb, because a sharp knife and a distracted moment is how people end up in urgent care.
Common Mistakes
Most disappointing first sharpenings come down to a short list of fixable errors.
- Guessing the angle instead of setting it. Use the coin or cardboard wedge, or the halving trick, until the angle is automatic.
- Skipping the soak. A half-saturated stone glazes over and leaves a wavy edge no amount of careful stroking will fix.
- Leaning on the blade. Heavy pressure makes the angle wander and rounds the middle of the edge. Let the abrasive do the work.
- Cutting into the secondary bevel. A rounded, permanently blunt edge means your strokes were inconsistent. Marking the flats with a dry marker makes the error visible immediately.
- Honing a dull knife and expecting a fix. A rod aligns, it does not remove. A knife that will not slice paper needs stone, not steel.
- Using a cupped stone. If the centre of the edge is rougher than the tip, the stone needs flattening before the knife needs more strokes.
- Grinding away steel chasing perfection. Stop at the burr. Ten minutes of honing will make an honest edge look better than twenty more minutes of grinding.
Now the folk methods. Does aluminum foil sharpen a knife? It works, in the same way that the ceramic base of a mug works: the abrasive is a harder, rougher ceramic than steel, so dragging the edge across it at a shallow angle does remove metal. What you get is a rough, catch-prone edge that dulls within a session or two of real cutting. A folded strip of 400 or 1000 grit sandpaper on a flat surface, lubricated with a few drops of oil, is the best of the improvised options and is what home cooks on forums most often reach for when a stone is not available.
Sharpening with a fork is a party trick, not a technique. Pulling the edge against the gap between two tines puts a curve into the edge in one spot, and a dented edge needs a stone, not another pull. As for WD-40, it is a penetrating water displacer, not a honing oil, and it leaves a film that traps grit against the blade. A drop of light machine oil on a stone is the correct lubricant for a water stone, and nothing at all is correct for a diamond stone.
When to Replace or Professionally Sharpen a Knife
Some blades genuinely should not go over your own kitchen counter, and knowing which is which saves both your knife and your patience.
Single bevel Japanese knives, including gyuto and yanagiba shapes, are sharpened on one side only, with a flat back that must stay flat. Getting that wrong is not a beginner fix. Serrated bread knives and steak knives are another category entirely: the scalloped teeth are set with angled shoulders, and running them across a flat stone at one angle tears the points off. A purpose serrated sharpener exists for a reason.
Chipping is the other signal. A chip in the edge is missing steel, and no amount of honing brings it back. If the damage sits in the front third of the blade near the tip, or in the heel, a sharpener with a built-in angle guide will handle it. If it is a deep notch, or a cheap knife with soft steel that is already scalloped from a cutting board, a professional service will reshape it properly and set a fresh edge. Shops charge a modest per-blade fee and a good edge usually survives six months of normal use once the habits below are in place.
A high-value hand-forged blade is the clearest case for taking it in. So is any knife that has been dropped, or one that rings dull under your thumb instead of feeling like a thin line of nothing. You will not hurt your standing with a shop, and they will tell you honestly whether the edge is repairable.
And a very cheap, thin, stamped knife is a replace, not a repair. The steel is thin, the edge holds maybe two sessions, and a stone will eat it faster than you will notice. Sharpen it enough to cut vegetables safely and spend the effort on the good knife instead.
Frequently Asked Questions
Does aluminum foil sharpen knives?
Yes, partly. The ceramic layer in aluminum foil is harder than knife steel, so dragging the edge across a folded sheet at a shallow angle does remove a little metal. The result is a rough, catch-prone edge that dulls within a session or two, so treat it as an emergency fix. 400 or 1000 grit sandpaper on a flat surface with a drop of oil gives a noticeably better improvised edge.
Does a honing rod actually sharpen a knife?
No, not in the way sharpening does. A honing rod, steel or ceramic, straightens microscopic bends in an edge that is already sharp and removes almost no metal. It is maintenance, not sharpening. A knife that will not slice a sheet of paper needs a whetstone or diamond stone. Hone weekly and you will need the stone a lot less often.
Should you put water or oil on a sharpening stone?
Water on a water stone, and nothing on a diamond stone. A water stone must be soaked for 10 to 20 minutes and kept wet so the slurry can flow, since dry friction burns the edge. A diamond stone is self-lubricating and is used dry. Light machine oil is only for oil stones. WD-40 is not honing oil and traps grit against the blade.
What angle should I sharpen a kitchen knife at?
Match the factory edge, which is usually 15 to 20 degrees per side for Western knives and 10 to 15 degrees for Japanese knives. To find it freehand, stand the blade upright on the stone and tilt it back halfway to flat for roughly 22 degrees, then halve that again. Two stacked coins under the spine is a quick physical check. Consistency matters more than the exact number.
How many strokes per side should I use on a whetstone?
Ten to 25 strokes per side on a 1000 grit stone is a normal range, and fewer if the burr forms quickly. Stroke count is not the real target: the burr, the rough lip of metal along the opposite edge, is. Work until it runs the full length, then stop. A pull-through sharpener is a different thing, where three or four full pulls per side is the whole job.
Conclusion
If you do one thing this week, take a whetstone or a pull-through sharpener out of the cupboard and sharpen your most-used knife. Wash it, dry it immediately, and put it away; the rest follows from there.
Keep three habits in mind: set the angle before you make a stroke, stop when the burr runs the length of the edge, and use the lightest pressure that works. Hone with a rod once a week, wash and hand-dry after every use, and keep the blade off the dishwasher, where heat and detergent chew a good edge apart.
Sharpening is not something you do to a knife. It is fifteen minutes of maintenance, twice a year, that keeps one good blade working for decades instead of a drawer full of dull ones.