If you have never run one before, how to use an electric smoker for the first time comes down to a fixed sequence: season the cabinet if the manual asks for it, fill the water pan, preheat to your recipe temperature, then add dry chips and food and cook to temperature with an independent probe. The appliance holds heat for you. Nearly every first-cook disappointment I hear about comes down to three mistakes — soaked chips, a full chip tray, and trusting the display instead of a thermometer.
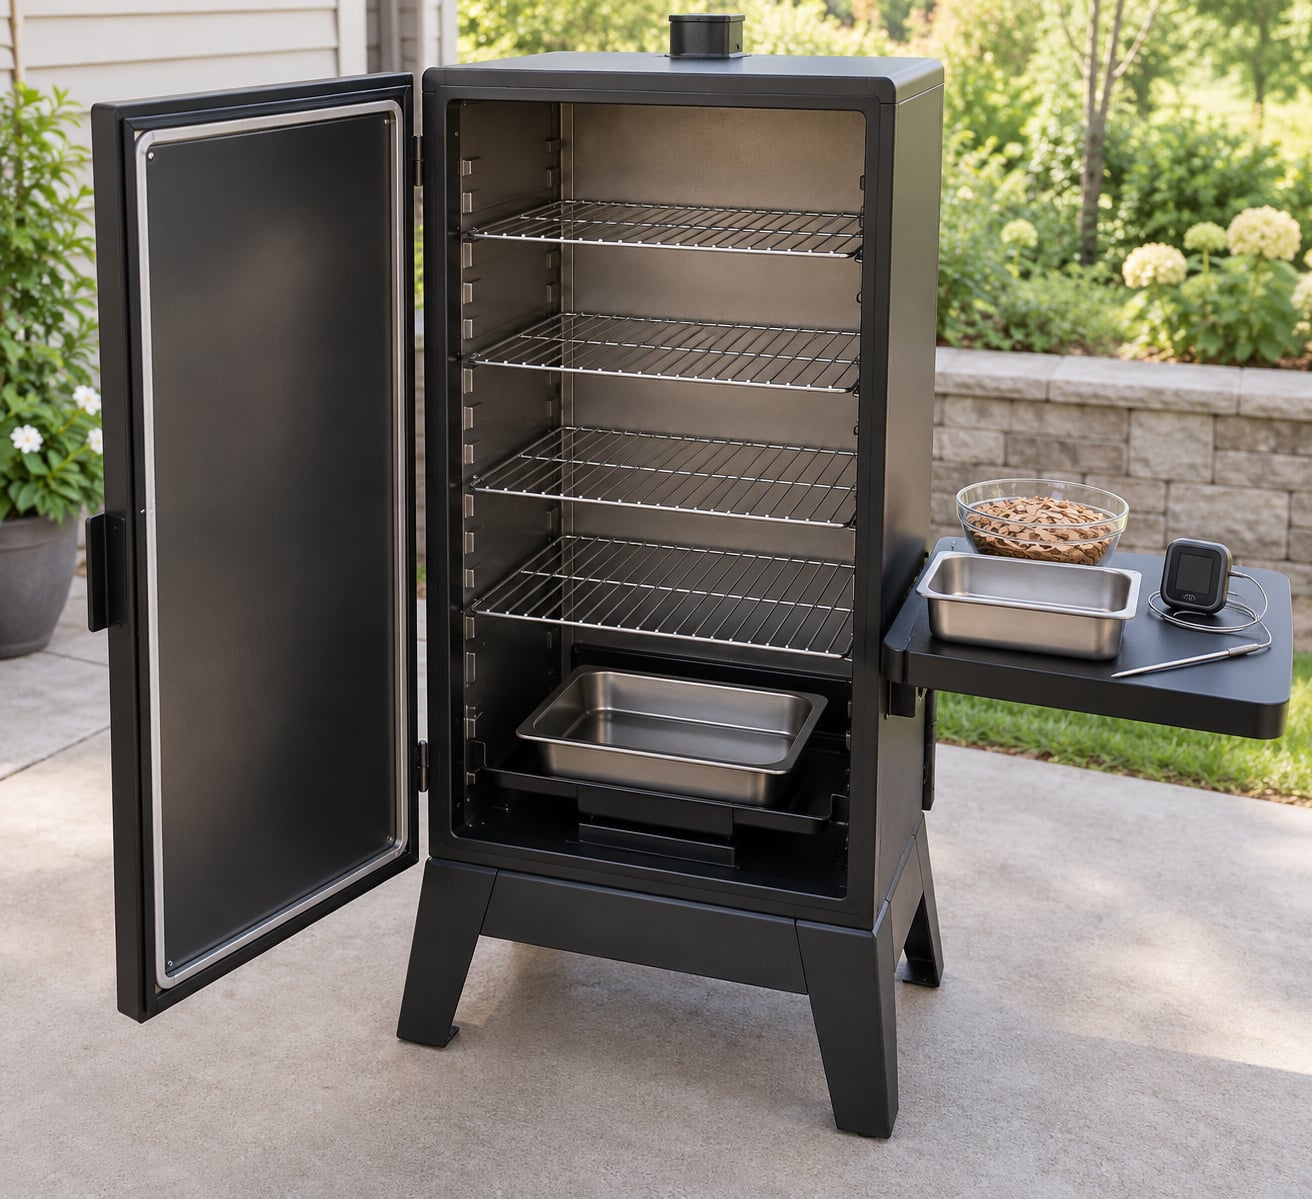
An electric smoker is an outdoor cabinet with a sealed door, an electric heating element instead of charcoal or propane, and a small tray where hardwood chips smoulder above the element. Set a target temperature on the panel and it holds it for hours without a single bag of charcoal. That is the whole appeal for a beginner: you manage food and chips, not fire.
The rest of this guide walks through the process in the order you will actually perform it, with the temperatures, times, and quantities. Expect the first cook to take two to three hours plus seasoning time, and treat it as practice. The goal is a piece of food that tastes good, not a perfect brisket.
Table of Contents
- What You Need
- Step-by-Step: How to Use an Electric Smoker for the First Time
- 1. Set Up the Smoker Outdoors
- 2. Add Wood Chips Before Preheating
- 3. Preheat to the Recipe Temperature
- 4. Prepare and Load the Food
- 5. Smoke, Vent, and Check the Temperature
- 6. Confirm Safe Internal Temperatures
- 7. Rest, Check, and Shut Down
- Common Mistakes
- Mistakes and how to fix them
- When the smoker is not cooperating
- The easiest first cook to practice on
- Frequently Asked Questions
- Do electric smokers need wood chips?
- How long does it take to preheat an electric smoker?
- Can I use an electric smoker indoors?
- How do I control the smoke flavor?
- What temperature should I cook common foods at in an electric smoker?
- Conclusion
What You Need
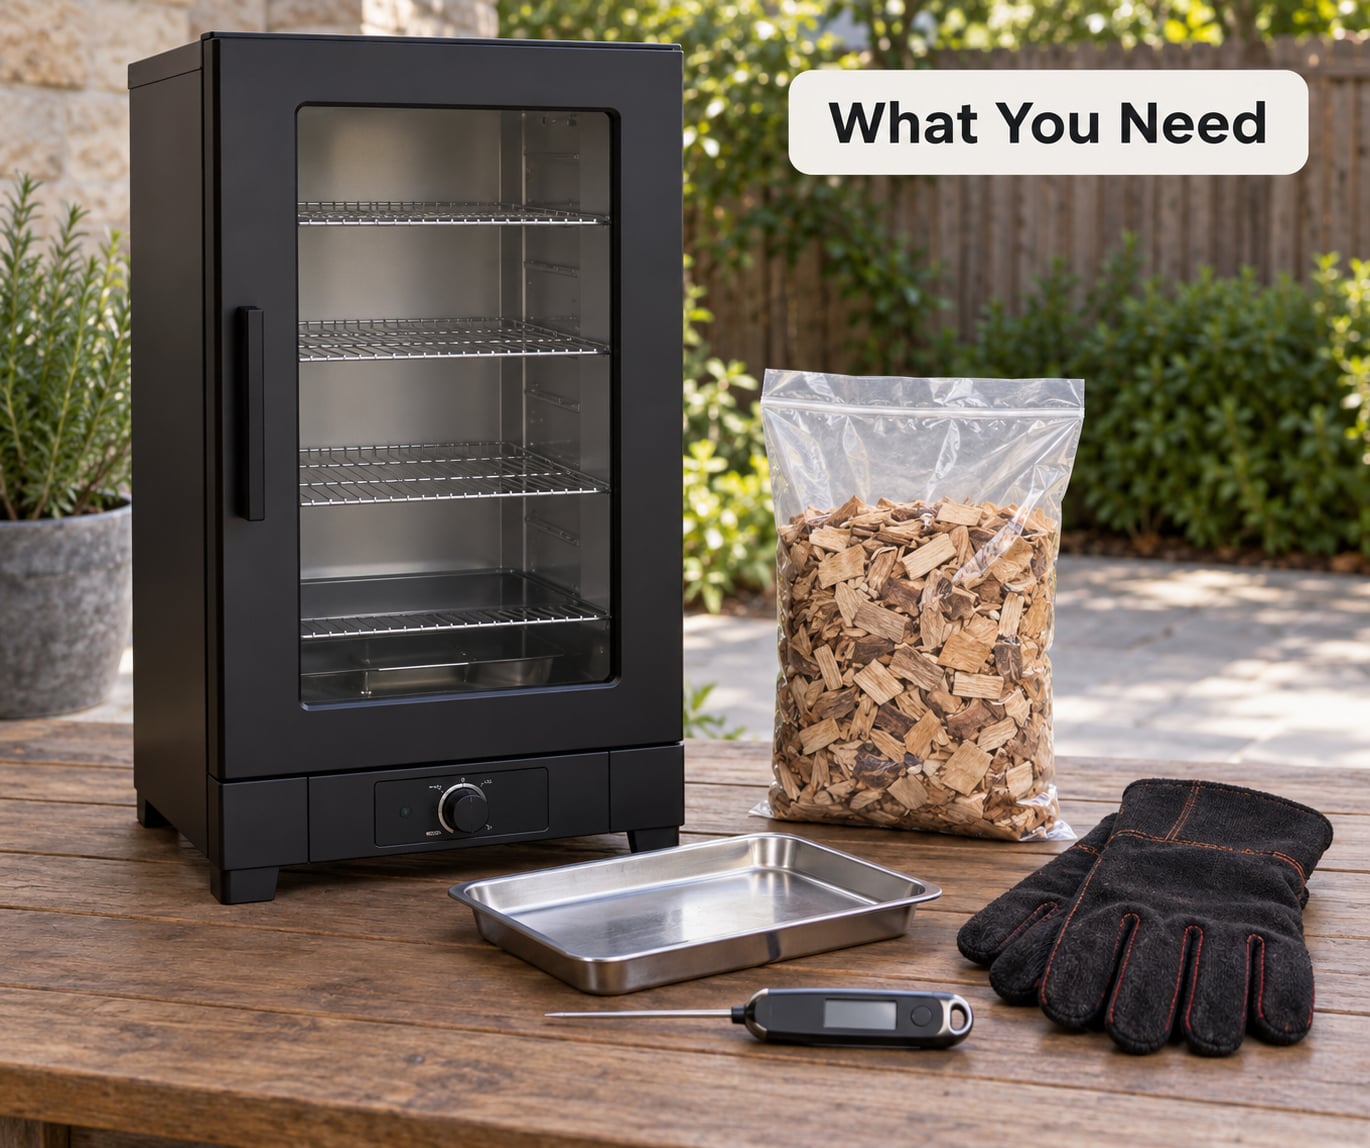
Gather these before you plug anything in. Having them on a table outside saves you from opening a hot smoker door with wet hands half an hour into a cook.
- The smoker itself, plus its manual. Read the manual first — every part of this guide assumes you have not yet.
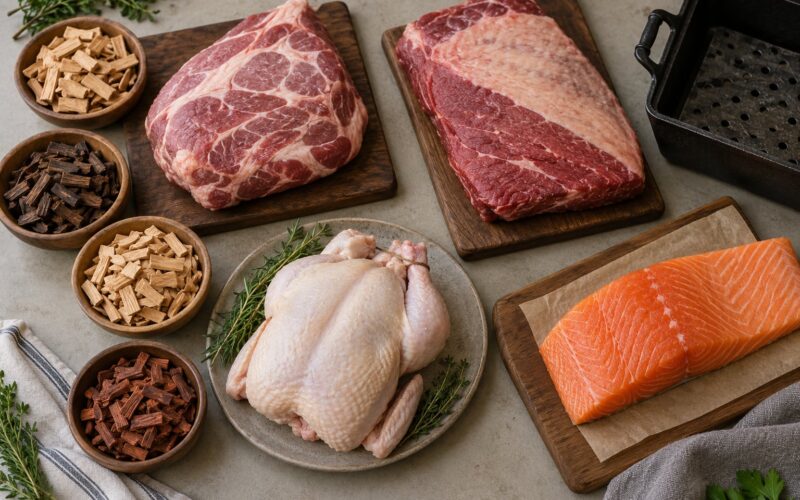
- Wood chips. Unsoaked hardwood chips, roughly four cups for a three to five hour cook. Bagged chips are meant to be dry.
- An independent thermometer. A leave-in meat probe for the food, and ideally a second remote probe that reads the chamber temperature.
- A drip tray or grease pan if your model does not come with one, plus a shallow water pan or water cup.
- Heat-resistant gloves with a grippy palm, for the door, the racks, and the tray.
- A squirt bottle or cup of hot water for topping up the water pan mid-cook.
- Your food, seasoned the night before. Salt and pepper, or a dry rub. Whatever you plan to cook on the first try.
Safety first, because this is a hot appliance that burns wood and produces smoke. Electric smokers are for outdoor use only — carbon monoxide from smoldering chips and grease fires indoors can be fatal. Place the unit on a level, stable, noncombustible surface such as concrete or bare ground, well clear of walls, decks, fences, dry grass, and anything that can melt. Check the manual for the manufacturer’s clearance numbers and follow them.
Run the power cord from a grounded outdoor outlet directly to the smoker, routed so nobody can trip on it. Avoid extension cords unless the manual permits one, since a long thin cord can drop voltage and leave you short of temperature. Give the door a full swing, keep children and pets back, and never move the unit while it is hot.
Step-by-Step: How to Use an Electric Smoker for the First Time
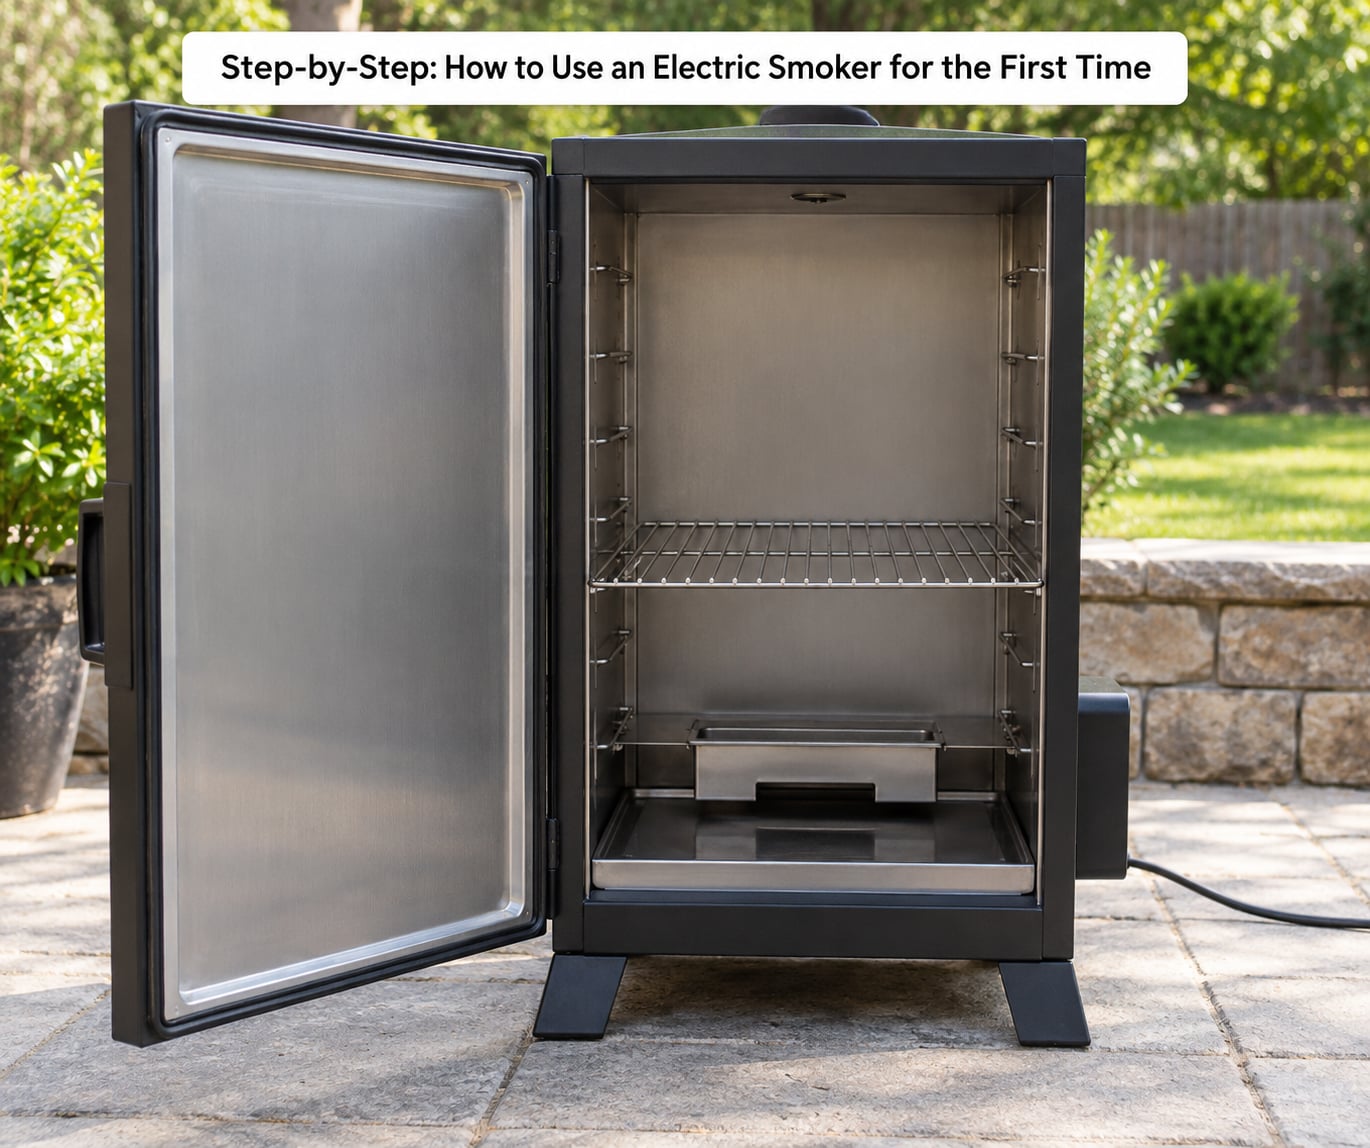
An electric smoker is a convection oven that happens to make smoke. The element heats the sealed chamber, the water pan raises humidity, chips over the element supply the flavor, and the thermostat cycles to hold your set number. Once you see that structure, the process stops being mysterious.
1. Set Up the Smoker Outdoors
Put the smoker on a flat, noncombustible surface with the manufacturer’s clearance on every side. Install the drip tray under the element and the water pan or water cup where your manual shows it.
Check the grates are seated and the grease channel or drip tray is empty from the last cook. Do not preheat a cabinet that is sitting on dry grass, and do not run it in a garage or shed with the door open. Open air, every time.
2. Add Wood Chips Before Preheating
This is where first-timers go wrong, so read it twice: dry chips, never soaked. Wet chips produce steam rather than smoke, and on an electric smoker that added moisture can also stall ignition, so they smoulder badly and give you an acrid, weak flavor instead of a clean one.
Fill the chip tray or firebox the way your manual describes — usually a single loose layer, not packed solid. More is not more flavor. An overfilled tray smoulders unevenly, smothers itself, and gives up a thin grey haze. About four cups covers a three to five hour cook, and you will top up once or twice during a long one.
Two safe habits here. Watch the vent or chimney rather than the tray itself; smoke can stop while chips still look present. And on models with a separate chip loader door, use it, because cracking the main door dumps heat and smoke all over you mid-cook.
3. Preheat to the Recipe Temperature
Set the digital control to your recipe temperature — 225°F for pork butt, ribs, and brisket, or 275°F for chicken, turkey, and fish — and fill the water pan with hot water before you close the door. Most units need 30 to 45 minutes to stabilize, and a thermometer on the top rack is the only way to know it is there.
Do not rely on the panel display alone. The built-in thermostat is usually the least accurate part of the smoker, commonly reading around 20 to 30 degrees off the real chamber temperature, and its sensor may sit nowhere near your food. If it reads low, the meat dries out before it is safe. If it reads high, you cook in a stall. Note the offset on your first two cooks and treat that number as yours.
Also expect little or no visible smoke at 225°F. Chips release smoke at roughly 275°F and above, which is exactly why many recipes push electric smokers to 275°F. Warm outdoor air adds the same problem: the box simply will not make smoke in mild weather until the chamber is hot.
4. Prepare and Load the Food
Season the night before if you can. Pat the surface dry, rub it evenly, and skip the sugary glaze until the last thirty minutes, since sugar burns early in a low cook.
Load large cuts — a pork butt, a brisket flat, a turkey — on the lower racks where the heat and smoke are strongest, and put quicker items like sausage links or fish higher up. Leave a finger’s width of space between pieces so air moves. Crowding drops the temperature and slows the cook.
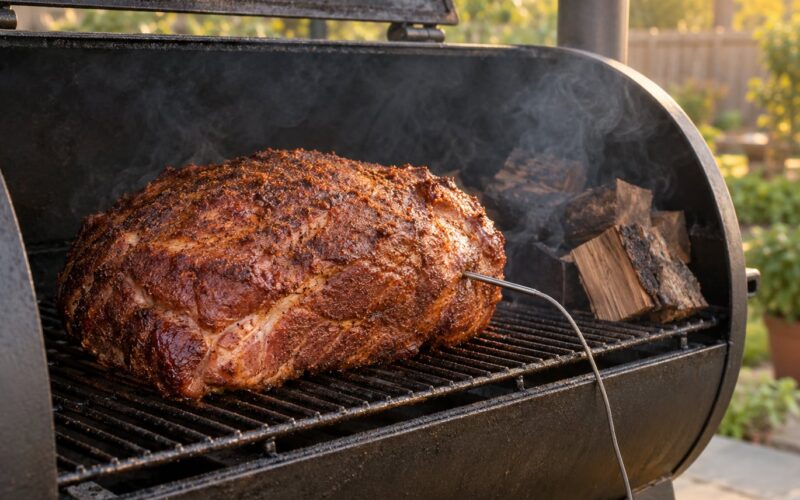
Push your meat probe into the thickest part, away from bone and away from the wall of the smoker, before the food goes in. Slide the rack in, close the door fully and latch it if it has a latch, then settle in. The whole point of this appliance is that you stop opening the door.
5. Smoke, Vent, and Check the Temperature
The first hour is when the food takes on smoke flavor, so keep the box steady during that window. Every door opening drops chamber temperature and vents the smoke you worked to build, and a smoker that has been opened ten times will extend your cook by a long while.
Watch the water level and the chip tray from the probe or loader side rather than through the main door. Top up water with hot water when it drops below a few inches, and add chips when the smoke thins out, usually every 45 to 60 minutes on a long cook. Adjust the set temperature a little if the remote probe shows you drifting.
Leave the top damper alone unless your manual tells you otherwise. Many beginners open vents to get more smoke and end up with heat loss and drying air instead.
6. Confirm Safe Internal Temperatures
Cook to temperature, never to time. A probe reading is the only doneness test; color and juices are guesses.
| Food | Smoker temperature | Rough time | Safe internal temperature | Wood pairing |
|---|---|---|---|---|
| Chicken thighs or breasts | 275°F | 2 to 3 hours | 165°F in the thickest part | Apple, cherry, alder, maple |
| Whole turkey | 275°F | 6 to 10 hours by weight | 165°F in the breast and thigh | Maple, cherry, oak, pecan |
| Pork butt or shoulder | 225°F | 8 to 12 hours | 195°F to 205°F | Hickory, oak, cherry |
| Pork ribs or tenderloin | 225°F | 3 to 6 hours | 145°F minimum, tender when probed | Cherry, apple, hickory |
| Brisket flat | 225°F | 10 to 14 hours | 195°F to 203°F in the flat | Oak, hickory, cherry |
| Whole cuts of beef, lamb, or fish | 225°F to 275°F | Varies by size | 145°F | Alder, oak, hickory |
| Ground meat | 225°F to 250°F | 1 to 2 hours | 160°F | Hickory, oak, maple |
The 165°F figure for poultry, 160°F for ground meats, and 145°F for whole cuts of beef, pork, lamb, and fish are USDA minimums, not restaurant preferences. Many cooks take poultry and pork a few degrees past that for texture, and nobody can fault you for it.
7. Rest, Check, and Shut Down
Take the food out and rest it 15 to 30 minutes, loosely covered. Resting lets the juices redistribute instead of running out onto the tray, and it makes the difference between a slice that stays moist and one that dries out by the second bite.
Re-probe after resting to confirm the temperature held or rose slightly. Then move on to serving and storage rather than the cooker. Unplug only after the control panel is off, and follow the manual on cooling: most units want to cool with the door closed so the thermostat keeps the chamber under control, and some specify a partly open door instead. Do not speed-cool it with a hose.
Clean after every use while it is still warm. Unplug, let it cool to a safe handling temperature, remove the grates, drip tray, water pan, and spent chips, then scrub the interior with hot soapy water and dry everything thoroughly. Leave the door ajar and the grease channel empty overnight. An electric smoker has nowhere to hide grease, and a flare-up on cook three is what grease left on cook one causes.
If you are seasoning the smoker the way many manuals describe, do that burn-in first: wipe the interior surfaces and racks with a thin coat of cooking oil, run the empty unit at 250 to 275°F for two to three hours with no food and no chips until near the end, then let it cool fully. Newer manufacturers sometimes ship units that need no cure at all, so the manual wins over this paragraph.
Common Mistakes
Mistakes and how to fix them
| Mistake | Why it causes trouble | Fix |
|---|---|---|
| Soaking wood chips | Wet chips make steam, not smoke, and can smoulder unevenly | Use chips straight from the bag, dry |
| Overfilling the chip tray | Chips smother each other and produce a thin, acrid haze | One loose layer, about four cups for three to five hours |
| Chips loaded before preheat | They burn off early and you get smoked standing at an open door | Preheat first, add chips once the box is at temperature |
| Trusting the panel display | The built-in thermostat often runs 20 to 30 degrees off the real chamber temperature | Verify with a remote probe and remember your offset |
| Opening the door often | Every opening vents heat and smoke and lengthens the cook | Use a loader door or a mirror, and check in less often |
| Crowding the grate | Airflow drops, temperature falls, food dries out | Space pieces a finger’s width apart |
| Skipping the water pan | Dry heat shrinks the surface and dries out lean cuts | Fill it with hot water before preheat and top it up during the cook |
| Cooking in mild weather at 225°F | The chamber may not get hot enough for chips to produce real smoke | Push to 275°F for smoke flavor in warm conditions |
| Cooking indoors or on a deck | Carbon monoxide risk and a serious fire hazard | Outdoors on a noncombustible surface only |
When the smoker is not cooperating
If it will not reach temperature, check the obvious first: the unit on a flat noncombustible surface with clearance on every side, the door latched, a grounded outlet, and a short cord run. Grease-packed vents and a clogged element are common on a used unit. On a cold day, the element fights the weather, and a 275°F set point may never arrive — preheat with the water pan in and chips out, give it longer, and cook to the food’s temperature rather than the box’s.
If it reaches temperature but produces no smoke, you are almost always below the smoke threshold. Push the setting to 275°F, let the box stabilize, then add chips. Confirm the tray is actually lit by watching smoke at the vent rather than looking at the tray. If it smokes at first and then stops, the chips burned through — top up with dry chips, add hot water if the pan is dry, and leave the door closed while it recovers.
If chips burn in minutes rather than over an hour, the tray is packed too deep. Remove some, spread the rest in a single layer, and use a smaller handful next time. If the smoke comes on thick during preheat and fogs your glasses, you loaded chips too early — the fix is simply to wait until the smoker is up to temperature.
One habit pays off more than any other: write down what you set, what your probe actually read, what you loaded, and how long it took. Two cooks of notes and you will know your smoker better than any manual describes, including how much it overshoots on preheat and how long your chips last.
The easiest first cook to practice on
Choose bone-in chicken thighs at 275°F with a simple salt, pepper, and paprika rub. They forgive everything — no stall, no bark to lose, no hours of guesswork — and they teach the whole machine: preheat, smoke, probe, rest. Budget about three hours end to end.
For comparison, an instant-read thermometer plus a leave-in probe is enough for this cook; a second remote chamber probe is worth adding once you move to low-and-slow cuts like a pork butt. Which wood you start with barely matters. Apple, cherry, and alder are mild enough that a heavy-handed hand will not make the food taste like a campfire.
Frequently Asked Questions
Do electric smokers need wood chips?
Yes, wood chips are the flavor, not the heat. The electric element does all the heating, and the chips smoulder over it purely to make smoke. Without chips you are cooking in a convection oven and the food will taste roasted. Use dry hardwood chips straight from the bag, about four cups for a three to five hour cook, and add more during long cooks when the smoke thins out.
How long does it take to preheat an electric smoker?
Most electric smokers need 30 to 45 minutes to stabilize at temperature, and some take longer in cold weather. Fill the water pan first, then set the target temperature and wait until a remote probe on the top rack confirms the real chamber heat. Do not load chips during preheat, since they burn off before the food goes in and leave you standing at an open door breathing smoke.
Can I use an electric smoker indoors?
No. Even with the door open, an electric smoker releases carbon monoxide and can start a grease fire, so it belongs outdoors on a level noncombustible surface with clearance from walls, decks, and dry vegetation. Plug it directly into a grounded outdoor outlet rather than running a long extension cord. Keep children and pets back and never move or open the unit while it is hot.
How do I control the smoke flavor?
Smoke flavor comes from three levers: the wood you choose, how much of it you use, and the temperature. Chips only produce real smoke at roughly 275°F, so cooking at 225°F gives you less of it. Keep the chip tray to a single loose layer, top up in small handfuls instead of dumping a fresh cup in, and leave the damper alone. Mild woods like apple, cherry, and alder are hard to overdo.
What temperature should I cook common foods at in an electric smoker?
Cook poultry such as chicken or turkey at 275°F, and cook pork butt, ribs, brisket, and ground meats at 225°F. Confirm doneness with a probe rather than the clock: 165°F for poultry, 160°F for ground meat, and 145°F for whole cuts of beef, pork, lamb, and fish are USDA minimums. Many cooks take poultry and pork a little past those numbers for texture.
Conclusion
Learning how to use an electric smoker for the first time is mostly about order of operations and three habits: dry chips in a loose layer, hot water in the pan before preheat, and a probe thermometer instead of the panel display. Get that sequence right and the appliance does the hard part for you.
So start here. Read the manual, especially the seasoning requirement and the clearance numbers. Place the smoker outdoors on a noncombustible surface with the drip tray and water pan set. Add a measured amount of dry chips once the box is at temperature. Preheat for 30 to 45 minutes, verify with a remote probe, note any offset from the display, then load well-spaced food and cook to a safe internal temperature rather than to the clock. Doing it properly in 2026 starts with chicken thighs as the practice run.