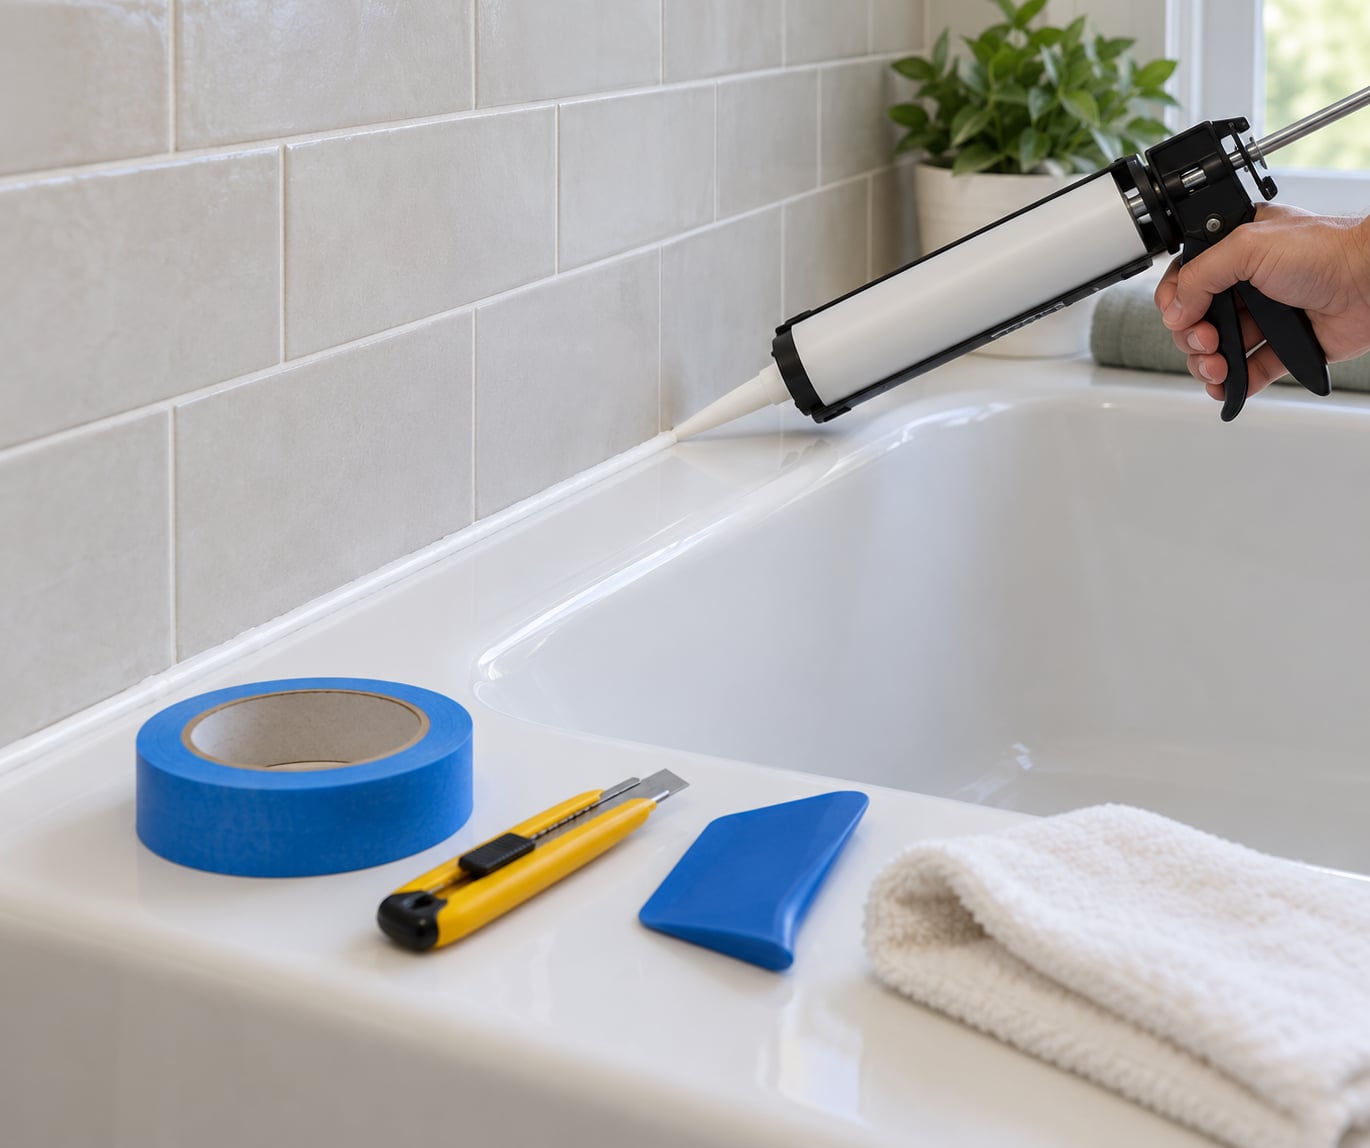
How to caulk a bathtub properly comes down to three things: cut out every trace of the old bead, clean and completely dry the joint, then lay one continuous line of 100% kitchen-and-bath silicone. Miss the first step and the new bead peels off within a few months, which is the single most repeated complaint on home improvement forums. Hands-on time is roughly 60 to 90 minutes, and the tub stays unusable until the label cure time has passed.
The bead looks like a five-minute job. Almost all of the actual work happens before the caulk gun comes out of the drawer, and a good bead is about 80 percent preparation.
Understanding why the joint fails changes how you caulk it. Tile, grout and the backing board behind your surround expand and contract with heat and humidity, while an acrylic or fibreglass tub flexes every time someone steps in or leans on the rim. Grout is rigid, so it cracks or grinds away. Caulk is the only flexible element in the line, and it fails when it is stretched instead of squeezed. Fill the tub while you work and the seal sits in compression, which is the state it was designed for.
One more thing before you start: cutting out a bead sometimes opens a problem that caulk cannot fix. Damp backing board, a soft sub-floor, or a stain on the ceiling below the tub all mean this has outgrown a tube of sealant.
Table of Contents
- What You Need
- Required
- Helpful, not essential
- Step-by-Step: How to Caulk a Bathtub Properly
- Step 1: Inspect and Protect the Bathtub Joint
- Step 2: Remove the Old Caulk
- Step 3: Clean and Dry the Joint
- Step 4: Choose the Right Bathtub Caulk
- Step 5: Apply a Consistent Bead
- Step 6: Tool, Smooth, and Allow the Caulk to Cure
- Common Mistakes
- Applying Caulk Over Old Caulk
- Using the Wrong Type of Caulk
- Not Letting the Joint Dry Completely
- Breaking the Bead or Using Too Much Pressure
- Exposing the New Seal to Water Too Soon
- Frequently Asked Questions
- Can I caulk over old bathtub caulk?
- What type of caulk is best for a bathtub?
- How long does bathtub caulk need to dry before using the tub?
- How do I remove old caulk without scratching the tub?
- Can I caulk a bathtub over mold?
- Why is my new bathtub caulk peeling away?
- Final Checklist
What You Need
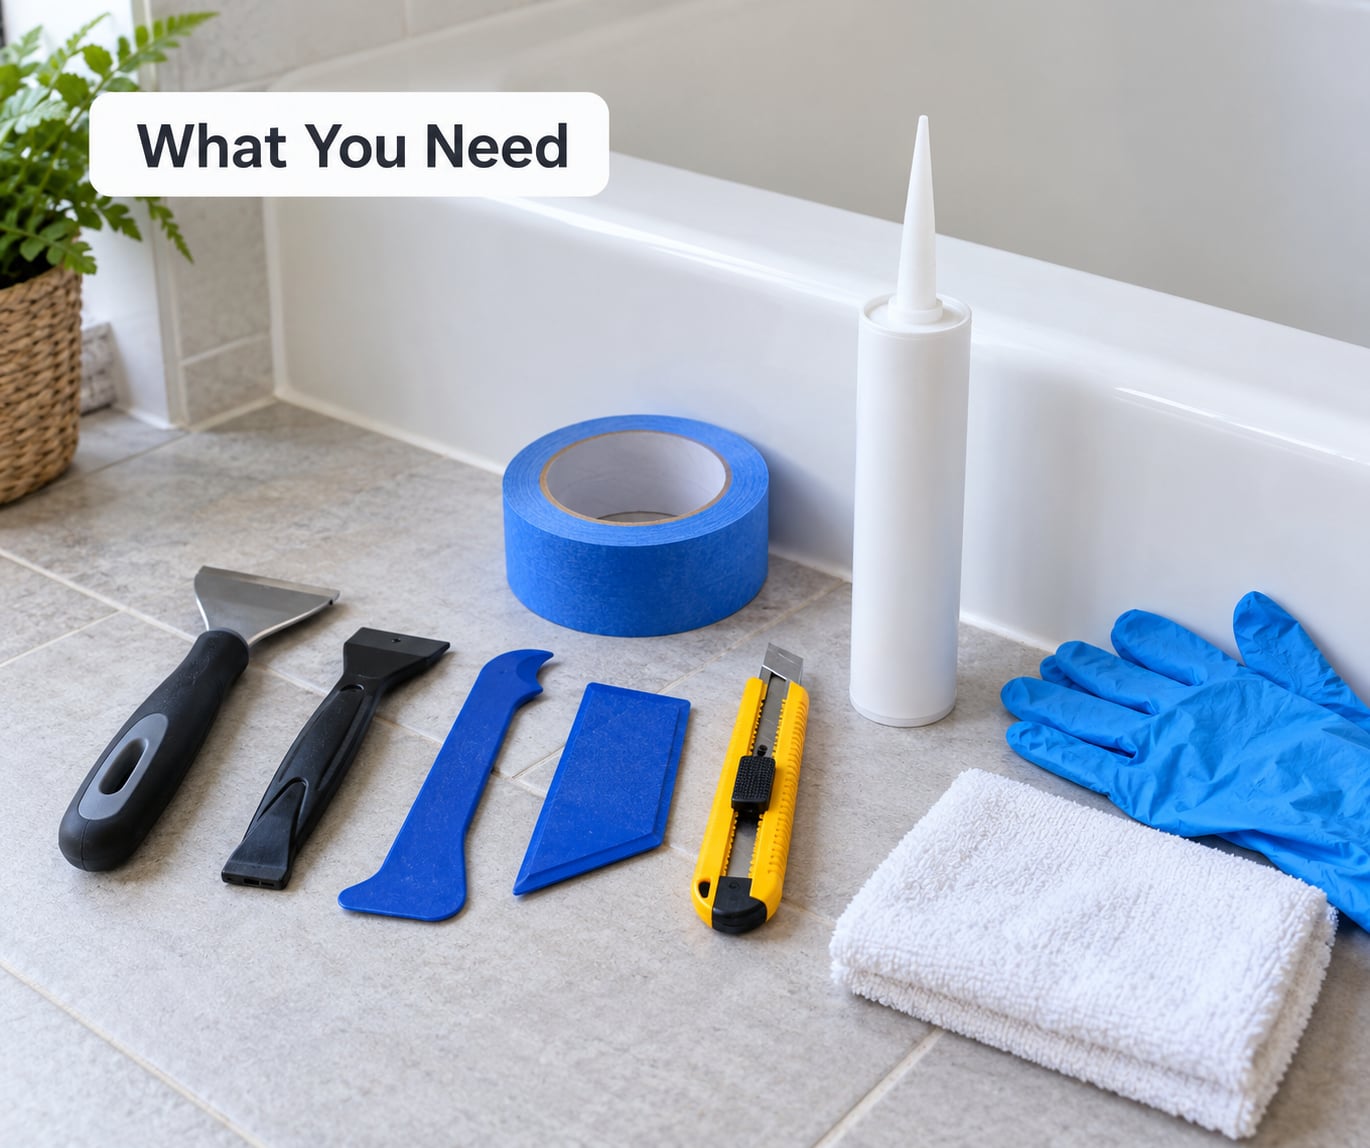
Lay everything out before you cut the first length of caulk. Scrambling for a rag with wet hands on your knees is how people end up smearing the joint they just cleaned.
Required
- A caulk gun. A ratchet-drive gun with a rotating frame gives you even pressure. A dripless style that releases the handle when you stop squeezing is easier on a long bead.
- A caulk removal tool or utility knife with a fresh blade, plus a putty knife for the flat edges.
- One tube of 100% silicone kitchen-and-bath caulk with a mildew-resistant additive, sized for the joint plus about 30 percent waste.
- Isopropyl alcohol and a clean lint-free rag for the final wipe-down.
- Painter’s tape, low-tack if possible.
- Nitrile gloves, paper towels and a shop vacuum to catch falling debris.
Helpful, not essential
- A caulk softener gel, which loosens stubborn residue and takes most of the scraping out of Step 2.
- A plastic razor scraper for acrylic or fibreglass tubs, where a steel blade will leave permanent scratches.
- A caulk finishing tool for consistent concave beads.
- Backer rod, if the gap is wider than about 6 mm (1/4 inch) and you are filling an alcove joint rather than a tub rim.
- A box fan or dehumidifier to speed the dry-out.
Check the tube before you load the gun. Two things matter: the label must say kitchen and bath or shower rated, and the cure time it prints is the number you plan your evening around. Fast-cure formulas are shorter, not longer.
Step-by-Step: How to Caulk a Bathtub Properly
Step 1: Inspect and Protect the Bathtub Joint
Run your finger along the full length of the existing bead before you touch anything. Loose, cracked, peeling or rubbery caulk has already lost the job, and mould growing out from under the edge means the joint needs more than a new layer on top.
Look for what the old caulk is hiding. Dark staining or a soft, spongy feel on the tile grout or backer board tells you water has already got in behind the surround. So does a stain or bulge on the ceiling in the room below.
Tape a folded towel or a sheet of painter’s plastic over the tub’s rim and any fixtures nearby. It costs nothing and it means a stray bead lands on paper rather than on an enamel finish.
How to caulk a bathtub properly starts here. If the tub visibly shifts when you load it or press on the rim, no sealant will hold, and that is a different problem entirely.
Step 2: Remove the Old Caulk
Slice the bead out in long pieces rather than chipping at it. Hold the knife nearly flat to the surface with the blade pointing away from you, and cut down the middle of the joint first, then peel the two halves out.
Pull up and away from the tub as the knife frees the piece. The reason is mechanical: if you lever against the tub, the blade rides into the enamel or acrylic and marks it.
Work along the joint in sections rather than trying to clear the whole alcove at once. Vacuum as you go, because chips of old caulk drop into the drain and hide there.
For residue that will not budge, apply a caulk softener, let it sit for the time on the label, then push the loosened material out with the flat of the putty knife. On a plastic tub, switch to the plastic scraper and keep the blade nearly flat.
If pulling the old bead exposes damp material, dark rot, or a section of loose backer board, stop. No amount of prep fixes it, and sealing over it hides the problem until it is much bigger.
Step 3: Clean and Dry the Joint
Brush or vacuum out every loose fragment, then wipe the joint with a rag dampened with isopropyl alcohol. Alcohol removes soap scum, dust and the oily film that stops sealant from gripping, and it evaporates fast.
Pay attention to the hidden edges. New caulk grips the sides and bottom of the joint, not just the visible face, so those two thin lines need cleaning as carefully as the middle.
Now dry it properly. Wipe it dry, then run a fan or a dehumidifier across the joint for several hours, and overnight if the room is damp. A surface that feels dry can still hold moisture inside a porous grout line, which is why a bead laid over damp backing peels off in weeks.
Run your fingernail along the joint when you think it is ready. If any black soot transfers, keep going.
Step 4: Choose the Right Bathtub Caulk
Three sealant families cover almost every tub joint, and only one of them belongs in a permanently wet tub surround.
- 100% silicone, kitchen-and-bath rated. The best choice for a tub rim or surround. It flexes with the joint, shrugs off standing water, resists mould growth better than the alternatives, and typically outlasts its neighbours by years. The trade-off is that it cannot be painted, it needs a longer cure, and it cleans up with alcohol or a silicone remover rather than a wet rag.
- Acrylic latex (including siliconized acrylic). Cheaper, faster to cure, easy to clean up with warm water, and paintable. But it hardens into something closer to a rubber band than rubber, holds moisture at the surface, and mould tends to find it sooner in a wet tub. Fine for a dry bathroom corner, marginal for a tub.
- Hybrid or polyurethane sealant. Tough, paintable and fast-curing, with excellent adhesion to a wide range of substrates. It can also trap moisture against the joint and is more expensive. A reasonable choice on a tub surround where paintability matters.
Match the colour to your grout, not your tile. White and almond or biscuit tones cover most installations, and clear works well on light tile where you want the seam to disappear.
Step 5: Apply a Consistent Bead
Fill the tub with water before you caulk. A typical tub holds 200 to 300 lb of water, and that weight settles the whole assembly so the joint sits at its widest. This is the step people argue about online and the forums are consistent: caulk with the bath full. The bead goes on in compression and stays there.
Tape both edges of the joint if you want a straight line, pressing the tape down firmly so it cannot lift. Tape buys you a clean edge and it is much easier to fix a wobble than to shave one back later.
Cut the nozzle at a 45-degree angle with a sharp knife, starting small and cutting larger only if you need it. Roughly 3 to 5 mm (1/8 to 3/16 inch) suits a standard tub rim; wider is fine on a deep joint and too wide on a narrow one. Always cut, never tear, because a torn nozzle gives you an unpredictable hole.
Pierce the inner foil seal at the back of the nozzle with the rod on the back of your gun. Push the gun over the seal and pull the rod back once. Skip this and the caulk sits behind an unbroken foil and appears to be empty.
Load the tube, hold the gun at about 45 degrees, and squeeze the trigger steadily as you move along the joint. Aim for a speed somewhere between six and ten inches per second: fast enough to keep up, slow enough to lay a bead slightly larger than the gap.
Fill the gap and a bit more. Excess is easy to remove while the caulk is workable; a starved bead leaves voids that water finds first.
At every corner, stop, lift the gun, and restart in the new direction. Turning the tube while it is moving smears the corner and is the most visible flaw on the whole job.
If you run out mid-bead, stop and push a plug into the tube immediately, screw the nozzle back on, and cut a fresh small opening. A skin that forms inside the nozzle will spit a blob into the middle of your clean line.
When the bead is down, leave the water in the tub until the sealant has cured.
Step 6: Tool, Smooth, and Allow the Caulk to Cure
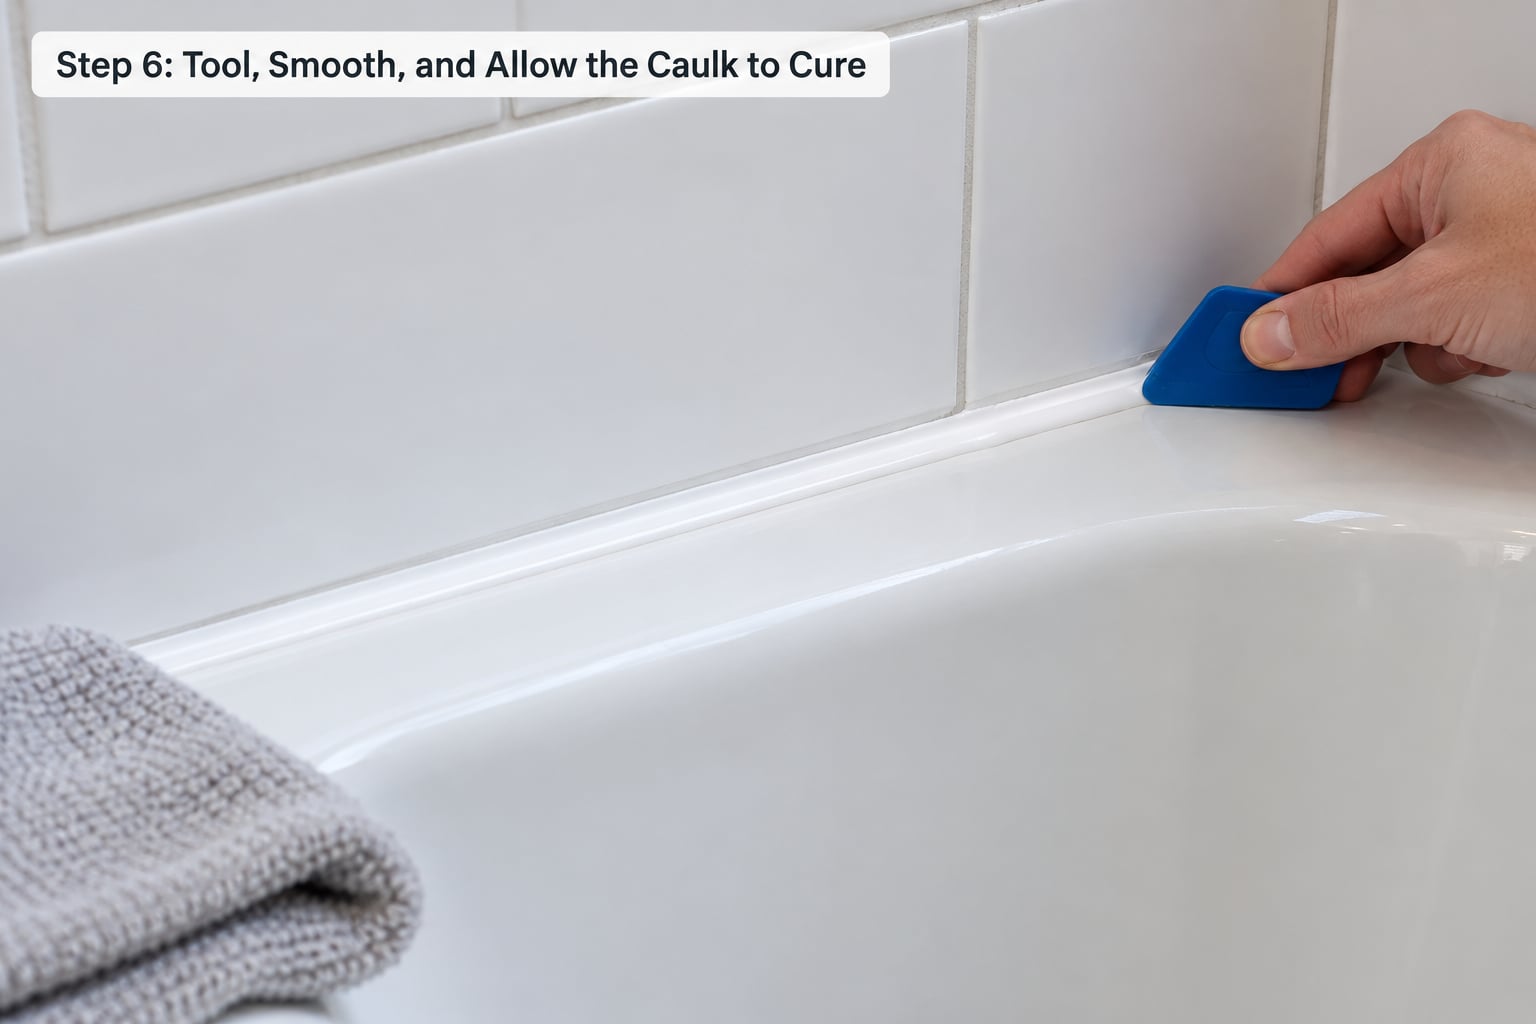
You have a short window to work with, and it is shorter than most people expect. A skin forms on the bead within about 10 minutes, the bead stays workable for roughly 5 to 15 minutes depending on temperature and humidity, and after about 15 minutes touching it damages the surface.
Smooth in a single pass with a wet fingertip or a plastic finishing tool, pulling along the joint rather than across it. A light film of dish soap and water on your finger slows the skin over and leaves a slightly concave profile that sheds water instead of holding it. Wipe your finger on a damp rag between passes so you do not drag bits of cured caulk along the fresh line.
A finger is fine. A tool is more consistent across a long run and gives you the same profile every time, which matters more on an alcove wall than on a short tub rim.
Pull the painter’s tape while the bead is still soft, no more than about five minutes after laying it. Peel it back at a low angle rather than straight up, and never leave tape on to “set overnight” because the bond to the caulk can beat the bond to your tile.
Step back and check the line for gaps, thin spots, and voids at the corners. Anything missed can still be fixed with a fingertip right now.
Now wait. Give it 24 hours before any water touches the joint, or whatever the tube states if it says longer. A bead that feels dry to the touch has only skinned over; the rubber underneath needs the full time to cross-link. Give it 24 hours before loading the tub with water, and 24 to 48 hours before a shower.
You can test a bead without guessing. Run a finger lightly along the top edge the next day. It should feel firm and slightly elastic with no tack, no give and no indentation, and the line should be continuous with no visible cracks down its length.
Common Mistakes
Most failed bathtub beads come down to one of five errors, and each one has a straightforward correction.
Applying Caulk Over Old Caulk
New caulk will not bond to old caulk, so painting over the existing bead just stacks a new skin on a loose, contaminated layer. Water gets behind it and the whole strip comes away, usually in one long ribbon months later.
Cut it all out. Forums are blunt about this: remove it completely and start clean, because blending into the old bead saves twenty minutes and costs you the whole repair. The same applies to the patch jobs that leave a short piece of old caulk buried under the new line at the corner.
Using the Wrong Type of Caulk
General-purpose interior latex caulk is not built for a tub that holds standing water. It absorbs moisture, hardens into something brittle, and gives mould a surface to grip. The mould then appears behind the bead where you cannot see it.
Use a tube labelled for kitchen and bath, shower or tub, and confirm it is 100% silicone or a hybrid. If the label does not mention wet-area use, it is the wrong tube, whatever the hardware aisle says.
Not Letting the Joint Dry Completely
Caulk cures by losing moisture into the air. A damp backing surface means the sealant is trying to cure in two directions at once, so it never forms a proper bond and peels off along one edge instead of lifting cleanly.
Tell the difference between surface dryness and a wet substrate. If a rag pressed into the joint returns damp, or the joint stays cool and dark compared with the surrounding tile, it is not dry yet. If the backing is genuinely wet from a leak, fixing the caulk is wasted effort.
Breaking the Bead or Using Too Much Pressure
Inconsistent gun pressure creates thin sections, gaps and heavy buildup all along the same joint. Squeeze-release-squeeze-squeeze gives you a wavy bead with weak spots, and those weak spots are where cracks start.
Find a rhythm before you reach the tub: press, glide, release, press. Practise a short bead on a piece of cardboard first. If you are reacting to the bead rather than guiding it, move slower.
Exposing the New Seal to Water Too Soon
Running a shower over a bead that has only skinned over washes uncured sealant out of the line and deforms what stays. Two hours is not enough for almost any product, no matter what the touch-dry time on the tube suggests.
Follow the label’s water-ready time rather than the touch-dry time, then add margin. If you caulk in the evening, the tub is usable the next evening, not the next morning.
A few habits stretch a good bead well past five years. Run the exhaust fan during every shower and for 20 to 30 minutes afterwards, because ventilation is the biggest single factor in how quickly mould returns. Squeegee the tub walls and the bead itself after each shower so standing water does not sit in the seam. Expect to re-caulk somewhere between three and five years in a poorly ventilated bathroom and five to ten years with good silicone and a fan running reliably.
Stop and call a professional if the tub moves under load, the tiles flex when pressed, the backer board is soft, or there is a stain on the ceiling below. Flexible tiles and damp substrate are renovation problems, and a new bead over them hides the evidence while the damage spreads.
Frequently Asked Questions
Can I caulk over old bathtub caulk?
No. New sealant does not bond to old caulk, so a bead laid over the old one sticks to a loose, contaminated layer and usually peels away within weeks or months. Cut the old bead out completely with a utility knife or caulk removal tool, clean the residue, let the joint dry, then start fresh.
What type of caulk is best for a bathtub?
A 100% silicone sealant rated for kitchen and bath, with a mildew-resistant additive, is the best choice for a tub rim or surround. Acrylic latex cures faster and paints easily but is less flexible and holds moisture, while hybrids are tougher and paintable but cost more. Pure silicone will not take paint.
How long does bathtub caulk need to dry before using the tub?
Wait at least 24 hours before the tub gets wet, and 24 to 48 hours before a shower, unless your tube specifies something longer. Touch-dry only means a skin has formed on the surface. The sealant underneath keeps curing for hours after that, and water exposure during that window weakens the bond.
How do I remove old caulk without scratching the tub?
Hold the blade nearly flat and cut down the middle of the joint, then pull the pieces up and away from the tub instead of levering against it. On acrylic or fibreglass, use a plastic scraper rather than steel, and a caulk softener gel will loosen stubborn residue so you barely have to scrape at all.
Can I caulk a bathtub over mold?
Not safely. Mould grows underneath the bead, so sealing over it traps the growth against a damp joint and it returns within weeks. Cut the bead out, clean the joint with a diluted bleach solution or a dedicated mould remover, scrub the hidden edges with a stiff toothbrush, dry it fully, and only then apply new caulk.
Why is my new bathtub caulk peeling away?
The four usual causes are caulk applied over old caulk, a damp or contaminated backing surface, caulk left in tension because the tub was empty while you worked, and the joint moving more than the sealant could absorb. Check the edges you cut out: if they are clean and the gap was sealed while the tub was full, the cause is almost always moisture or the wrong sealant type.
Put the tub back to use once the cure time has passed, and keep the fan running after every shower. If the bead is holding a full year without peeling or spotting, you did the prep properly.
Final Checklist
Before water goes back in, walk through this in order. It takes a minute and it catches the mistakes that matter.
- Old caulk gone. The joint is bare down to the tub and the tile, with no residue or loose fragments anywhere along it.
- Joint clean and dry. Wiped with isopropyl alcohol, with the hidden edges included, and bone dry with no cool or damp spots.
- Right sealant. A tube labelled for kitchen and bath, opened within its shelf life, with a nozzle cut small and the inner foil pierced.
- Tub filled. The water was in place while you laid the bead, so the joint sealed in compression.
- Continuous bead. No gaps, thin spots or voids, corners tooled cleanly, and any tape already pulled.
- Cure time honoured. At least 24 hours, or the label’s figure if it is longer, before anyone fills, showers or leans on the new seal.
If a line has held for a year with a fan running and it still peels, the cause is in the joint rather than the caulk, and it is time to look at the substrate.