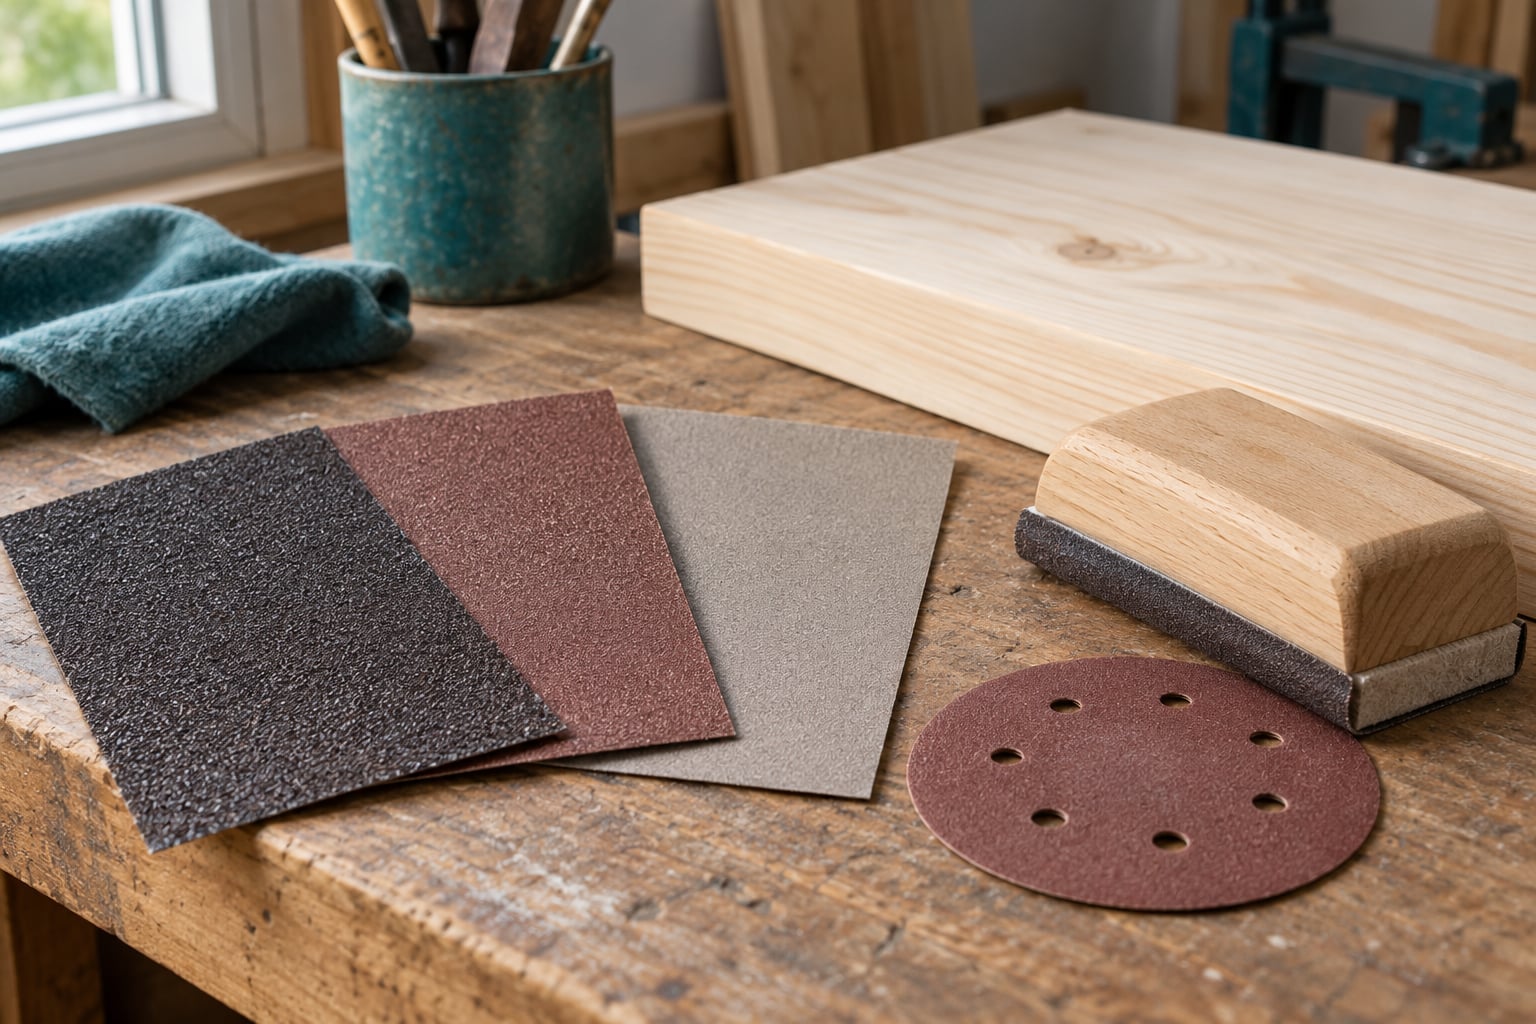
Sanding grit progression is the ordered set of grit numbers you work through on a surface, always moving from coarse to fine, so each paper removes the scratches the one before it made. The golden rule is simple: change to the next finer grit only when the current grit has cut evenly and the surface no longer feels gritty.
Every shop has watched someone jump from 80 grit straight to 220, put a coat of stain on, and find the deep scratches reappearing like they were never sanded. That failure is what this guide is about.
Table of Contents
- What Is Sanding Grit Progression?
- The golden rule of sanding
- Grit numbers and abrasive materials are two different things
- Why Does Grit Progression Matter for Wood?
- How a sanding grit progression ends on bare wood
- What Grit Sequence Should You Use?
- How Do You Know When to Move to the Next Grit?
- How Do You Choose Sandpaper for Each Grit?
- Sanding Grit Progression for Common Woodworking Jobs
- A basic furniture project
- A tabletop
- A small box
- A prefinished or painted surface
- Stopping points by finish
- Common Sanding Grit Mistakes
- Why is your wood fuzzy after sanding?
- Swirl marks that appear after finishing
- Frequently Asked Questions
- What does the grit number mean on sandpaper?
- Is it necessary to sand through every grit number?
- What grit should I use before painting a wood project?
- What is the best final grit for an oil finish?
- Should I sand between coats of varnish or polyurethane?
- Conclusion
What Is Sanding Grit Progression?
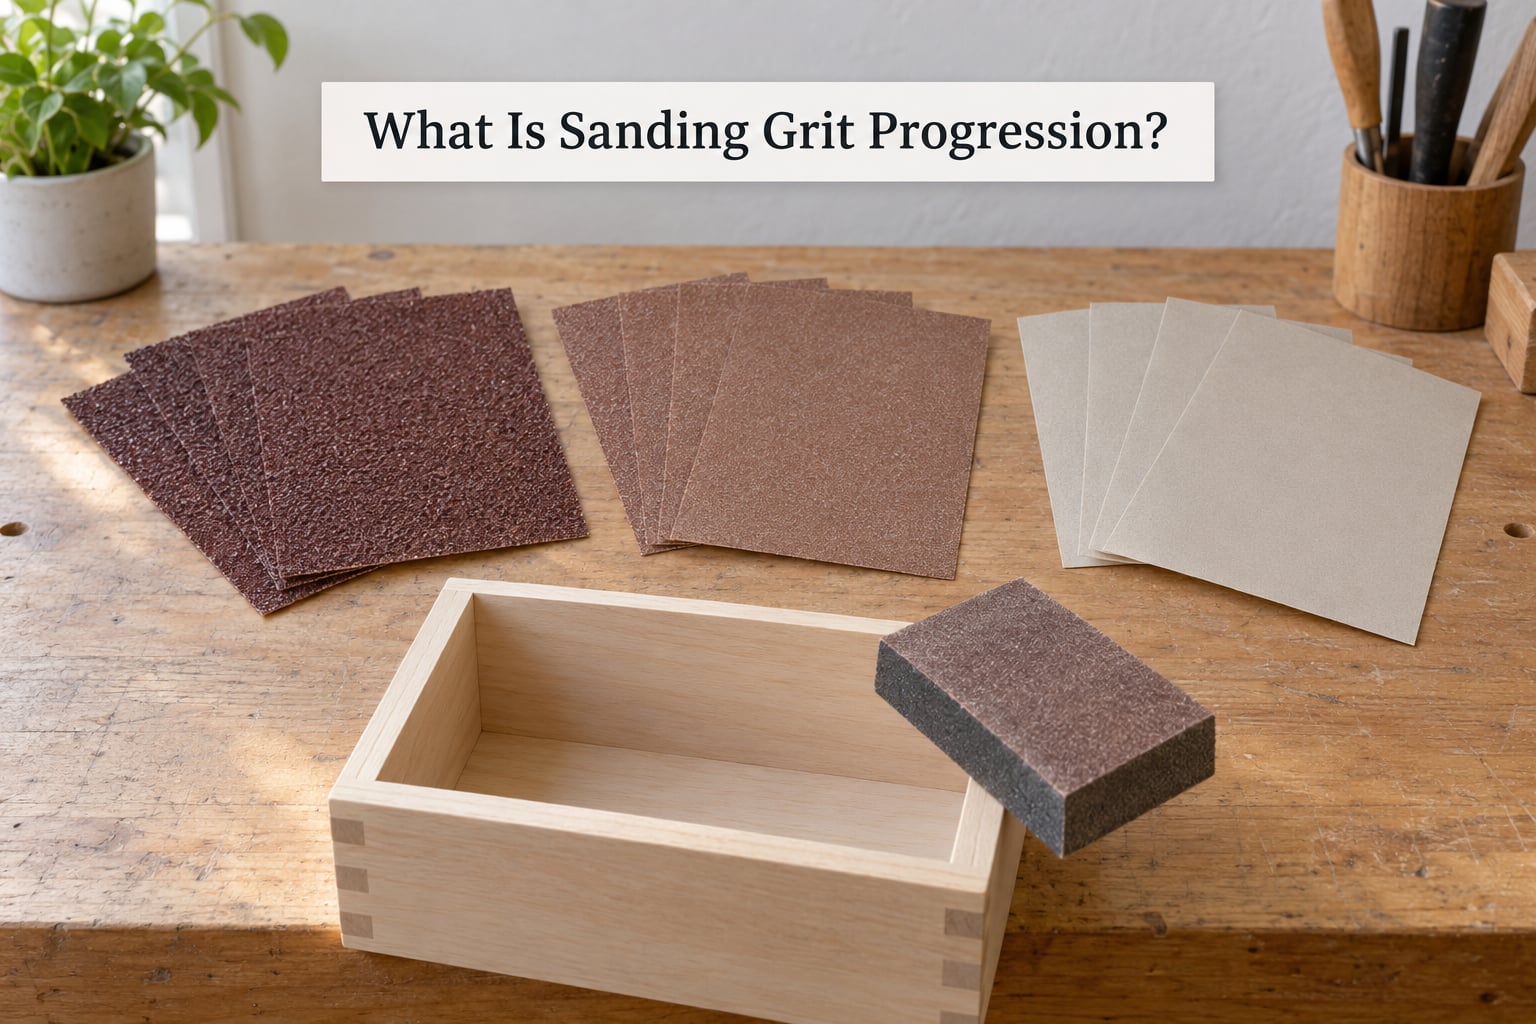
Sanding grit progression is the ordered sequence of sandpaper grit numbers you work through on a surface, going from coarse to fine, so each grit removes the scratches left by the previous one. Grit numbers count particle size in the abrasive, and the scale runs opposite to the way it looks: low numbers are coarse, high numbers are fine.
Each grit cuts a scratch pattern of a predictable depth. The next grit only does its job if it is fine enough to erase that pattern completely, but still coarse enough to keep cutting. Too coarse and you remove wood you did not need to. Too fine and it polishes around the deeper marks instead of removing them.
The golden rule of sanding
The golden rule is that you never move up more than one grade at a time. A 60 grit scratch needs an 80 or 100 grit paper to erase it, not a 180. One practical limit woodworkers report is a 50 percent increase in grit number per pass, so 60, then 120, then 180, then 220 is a defensible shortcut while 60 straight to 220 is not.
Grit numbers and abrasive materials are two different things
Two separate things get mixed up here. The grit number is particle size, which sets how deep the scratches go. The abrasive material is what the particles are made of, which sets how sharp they stay and how long they last. A sheet of 120 grit aluminium oxide and a sheet of 120 grit silicon carbide cut the same depth of scratch and behave completely differently in your hand.
Grading systems also confuse people. North American paper usually uses CAMI numbers, while much of Europe uses the FEPA P-grading, where the number carries a P in front, such as P120. FEPA numbers are deliberately close to their CAMI equivalents, so P120 and 120 grit cut about the same. The trouble starts with sheets that print a bare number with no system named at all.
Why Does Grit Progression Matter for Wood?
Wood is soft enough to scratch easily and honest enough to show every scratch you leave. Under clear finish, a scratch deeper than the coating sits above it, so light hits it at a different angle and the defect shows as a dull line. Stain is even less forgiving, because thinner stain collects differently along a deep scratch than across flat grain.
Each grit also changes how the surface looks. Coarse paper tears the surface fibre up, leaving deep valleys that catch light. Finer paper shaves those valleys down until the surface looks flat and dull. Keep going and you get a burnished, almost polished surface that can look wonderful bare but behaves badly under finish.
How a sanding grit progression ends on bare wood
For bare wood intended for stain or oil, 220 grit is the usual stopping point. Furniture makers repeat this constantly: do not go past 220 on bare wood before staining, because finer paper burnishes the fibres flat and closes the pores, so stain sits on the surface instead of soaking in evenly and the result looks blotchy.
Finer grits do have their place. A 320 or 400 finish-sanded surface is smooth enough for a rubbed oil on a small box, and finer grits are correct between finish coats. But finer is not automatically better, and treating it that way is one of the most common beginner mistakes.
What Grit Sequence Should You Use?
Start where the surface actually is. A flat, planed board needs far less work than a rough-sawn face or a piece with old paint on it, and picking too coarse a starting grit costs you time you will spend re-sanding the damage.
| Grade | CAMI | FEPA | Typical use |
|---|---|---|---|
| Very coarse | 24, 30, 36, 40 | P24 to P40 | Stripping paint, varnish and heavy surface coatings; shaping rough lumber |
| Coarse | 50, 60 | P50, P60 | Removing old finish, levelling a rough surface, flattening ridges |
| Medium | 80, 100, 120 | P80 to P120 | General correction work, the usual first grit on planed bare wood |
| Fine | 150, 180, 220 | P150 to P220 | Final sanding of bare wood before stain or oil; scuffing between paint coats |
| Very fine | 240, 320, 400 | P240 to P400 | Between coats of polyurethane and lacquer, wet sanding, final smoothing |
| Ultra fine | 500, 600, 800, 1000 | P500 to P1000 | Final scuffing, polishing, working between lacquer and spray finishes |
Which is coarser, 40 or 60 grit? 40 is coarser. The lower the number, the bigger the particles and the deeper the scratches, and that is the rule in every band of the table above.
Now match the sequence to the condition you are facing.
| Surface condition | Start at | Work through | Stop at |
|---|---|---|---|
| Old floor with years of coating | 24 or 40 | 80, 120, 220 | 220, then scuff before each new coat |
| Stripped furniture with paint residue | 60 | 80, 120, 180, 220 | 220 |
| Planed hardwood board | 100 or 120 | 150, 180, 220 | 220 |
| Rough-sawn softwood | 80 | 120, 180, 220 | 220 |
| Cabinet doors with old finish | 60 | 100, 150, 220 | 220 |
| Previously painted surface | 120 | 150 or 180 | 150, paint fills the rest |
| Drywall joint compound | 120 | 150 or 180 | 220 for the final pass |
A complete example on a planed maple side table would run 120, then 150, then 180, then 220. Take a pass at 120 until the surface looks dull and even, vacuum or brush it, move to 150 and repeat the process, then 180 and 220. Most of your time belongs on the first two grits, because that is where material is actually removed. If you are still cutting hard at the final grit, the previous step was not done.
How Do You Know When to Move to the Next Grit?
Run your hand across the surface with the grain. If you feel distinct ridges, valleys or a gritty catch, you are not finished. Grit that has done its job leaves a surface that feels uniformly smooth and looks flat and dull under the light, not shiny in patches.
Light is the honest inspector here. Move a lamp so it rakes across the surface at a low angle, or hold the piece up to a window with the light coming from behind your shoulder. Raking light turns every remaining scratch into a shadow line, and it also shows swirl marks from a random orbit sander that look invisible under overhead light.
Change paper when two conditions are true: the scratches from the previous grit are gone, and the paper has stopped cutting. Fresh paper dulls as it is used, and once it glides instead of bites, you are polishing a surface that still has defects in it. A sheet is done when it feels smooth but has stopped leaving a fresh mark you can feel.
Clean between every step. A vacuum or a tack cloth takes away dust and loose fibre that would otherwise lodge under the next sheet and scratch the surface you just cleaned up. Dust that gets pressed into damp stain later becomes a permanent nub, and you cannot sand it out without going back to the bare wood.
How Do You Choose Sandpaper for Each Grit?
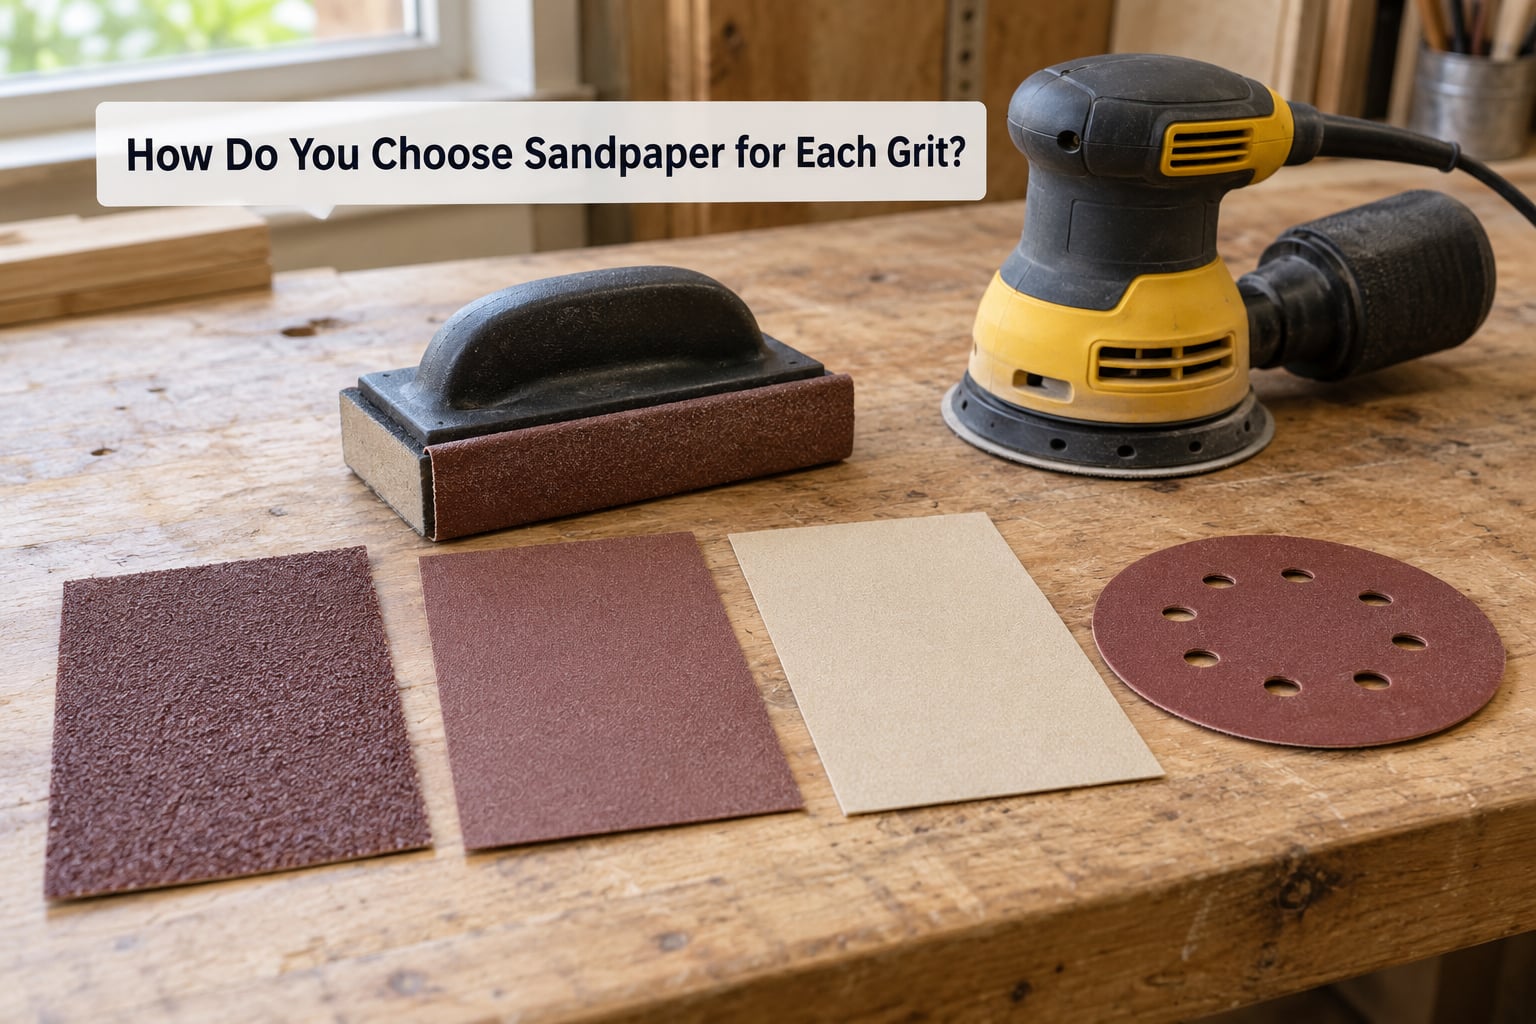
Aluminium oxide is the general-purpose abrasive in most workshops. It is cheap, hard enough for wood, and lasts well on hardwood. It is the default choice for hand sanding, random orbit sanders and belt sanders.
Silicon carbide is sharper and more friable, so it cuts faster and stays sharp longer, but it wears sooner and loads up quickly on softwood and paint residue. It is the standard choice for wet sanding, for finishing coats between paint and varnish, and for anything where a slick surface matters more than sheet life.
Garnet is a natural abrasive that is cheap and friable. It gives a smooth, even scratch pattern on softwood and is a good budget pick for hand sanding furniture, but it dulls fast and clogs early on resinous or painted wood.
Zirconia alumina and ceramic abrasives are for heavy removal. Both hold their edge under load and resist loading, which makes them the practical choice for coarse grits on hardwood floors, for belt sanders, and for any job where heat and pressure would burnish ordinary paper. They cost more per sheet and make no sense on the fine finishing grits.
| Abrasive | Character | Use it on |
|---|---|---|
| Aluminium oxide | Tough, all-round, moderate cost | Hand sanding, random orbit and belt work on hardwood |
| Silicon carbide | Sharp, fast cutting, loads quickly | Wet sanding, between finish coats, softwood cleanup |
| Garnet | Friable, smooth scratch pattern, low cost | Hand sanding furniture and softwood |
| Zirconia alumina | Hard, long life under load | Coarse grits, floor work, belt sanders |
| Ceramic | Very hard, sharpest cut, premium price | Hardwood floors, heavy stock removal, long sessions |
Matching grit to tool matters as much as matching abrasive. Belt sanders work well at coarse and medium grits where the grit has to survive belt tension and heat. Random orbit sanders shine from 80 through 220, and they are the fastest way to level a panel while leaving the least amount of material behind. A sanding block or a folded sheet is unbeatable on edges, profiles and small parts, and it gives you the most control over pressure.
Sanding Grit Progression for Common Woodworking Jobs
A basic furniture project
For a chair frame or a small side table in planed hardwood, run 120, 150, 180 and 220, always with the grain. On legs and turned details, use a sanding block so the paper follows the profile instead of cutting it flat. Finish at 220 and stop.
A tabletop
A tabletop is mostly flat surface, so this is where a random orbit sander earns its place. Start at 120, then 150, 180 and 220, and let the machine weight do the work. Extra pressure on a random orbit sander does not sand faster, it just puts swirl marks into the surface that you will still be chasing at 220.
A small box
Small work rarely needs a power sander. Start at 150 and go to 180, then 220, and stop there. If you want a silky bare-wood feel, finish at 320 and wipe on a light coat of oil straight away, because oil on bare wood leaves a patchy result unless the surface has been smoothed properly.
A prefinished or painted surface
Do not fight the old finish. Cut through it with 60 or 80, then run 100, 150 and 220, and expect to spend real time on that first step. Long painting and wallpaper layers often need 40 grit, and stripping with a chemical remover still leaves a residue that 80 grit removes better than any amount of scrubbing with a sponge.
Stopping points by finish
| Finish | Final grit on bare wood | Between coats |
|---|---|---|
| Oil | 220, or 150 on softwood | Wipe with a clean cloth, no sanding |
| Stain | 220 | Scuff at 220 if the label asks for it |
| Polyurethane | 220 before the first coat | 320 to 400 once cured |
| Lacquer | 220 | 320, or 400 between spray coats |
| Paint | 150 or 180 | 150 to 220 on cured paint |
| Drywall compound | 220 | 220 with a sanding sponge for the edges |
Common Sanding Grit Mistakes
Skipping grits is the first one, and it is the expensive one. A coarse scratch that survives under clear finish cannot be fixed with a wipe of thinner, a touch-up coat, or another coat of anything. You go back to bare wood.
Sanding too aggressively is the second. Heavy pressure on a belt or random orbit sander polishes the contact area and leaves the rest of the surface untouched, and heat from friction dulls the paper faster than it needs to. Let the abrasive and the machine weight do the cutting.
Throwing away usable paper wastes both money and time. A sheet that feels smooth but still cuts is fine; a sheet that glides and heats up is finished. Most sheets die from clogging before they wear out, so keep a used sheet for final scuffing duties and rescue the good half of a torn sheet.
Skipping the cleanup between steps embeds dust in the surface you just finished. That dust becomes a nub under finish, and nubs cannot be sanded out of cured clear coat without cutting through it.
Chasing the finest grit is a habit worth losing. Sanding a stain-ready surface to 400 grit does not make the finish better, and it burnishes the grain so the stain sits unevenly.
Why is your wood fuzzy after sanding?
Fuzzy, woolly fibres appear when paper dulls and rubs rather than cuts, when grit pressure is too heavy for the abrasive, and in softwoods with lots of resin. Dull paper tears the fibre up instead of shearing it cleanly. A dull sheet cannot fix this either, because it keeps tearing. Stop, clear the dust, and go back one step with fresh paper, moving along the grain with light pressure. The fuzz clears up by 180 or 220 as long as the fibre has not been raised permanently.
Swirl marks that appear after finishing
Swirl marks are scratches from a random orbit sander that only show under finish. They come from pressing the machine down too hard, leaning on it, or letting the pad sit still in one spot. Raking light across the surface finds them before the finish does, and a clean pass at 180 followed by 220 removes them before they become permanent.
Frequently Asked Questions
What does the grit number mean on sandpaper?
The grit number tells you the size of the abrasive particles, and the scale runs opposite to what most people expect. Low numbers are coarse grits that cut fast and leave deep scratches. High numbers are fine grits that cut slowly and leave a smooth, nearly polished surface. So 40 is aggressive and 220 is fairly fine, and every job moves from low numbers to high numbers.
Is it necessary to sand through every grit number?
Not every number, but each step must fully remove the scratches left by the step before. Jumping more than one grade, or about 50 percent in grit number, leaves marks the next paper is too fine to reach and they reappear under stain or finish. You can occasionally skip ahead when the surface is already smooth, but stepping through the grades is the safer habit.
What grit should I use before painting a wood project?
For bare wood under paint, work up to 150 or 180 grit and stop, because paint fills small scratches anyway and 220 is wasted effort there. Sand with the grain along the length of the board, remove all the dust, then prime and fill the nail holes. On a surface that already has paint on it, 120 to 150 grit is enough for the prep pass.
What is the best final grit for an oil finish?
Most furniture makers stop at 220 grit for oil, and use 150 on softwood where the grain is softer and torn more easily. Anything finer, such as 320 or 400, burnishes the fibres flat and closes the pores, so the oil sits on top rather than soaking in and the finish looks patchy. For a bare-wood oiled look, sand to 220 and wipe the oil on immediately.
Should I sand between coats of varnish or polyurethane?
Yes, but lightly, and only once the coat has cured enough to handle. Knock the surface down with 320 to 400 grit, or a sanding sponge loaded with 320 grit, and wipe away the dust before the next coat. Skipping this step leaves dust nibs and bubbles locked into the finish. Lacquer is thinner than polyurethane, so a 320 grit scuff is plenty there.
Conclusion
Pick the starting grit that matches the surface in front of you, not the one in the video you watched. Work up one grade at a time, let each paper cut until the scratches are gone under raking light, vacuum between every step, and stop at the grit your finish actually needs. Get those four things right and the sanding grit progression takes care of itself.