Learning how to patch drywall holes neatly comes down to one decision: match the repair to the size of the damage. Spackle handles nail holes, a self-adhesive patch or a scrap of drywall covers anything up to about 6 inches, and bigger breaks need a cut panel screwed to fresh backing.
A small hole takes 20 minutes plus drying. A large one eats most of a weekend, almost all of it waiting on compound to dry, so plan the coats around when you actually want the wall painted. Most beginners get a clean result by taking thinner coats than feel necessary and feathering the edges wider than they think they should.
Table of Contents
- What You Need
- Step-by-Step: How to Patch Drywall Holes Neatly
- 1. Identify the Hole and Choose the Repair
- 2. Prepare the Area and Remove Loose Material
- 3. Fill Small Holes and Screw Holes
- 4. Patch Medium Holes
- 5. Repair Large Holes or Missing Sections
- 6. Apply Joint Compound and Feather the Edges
- 7. Sand the Repair Until Smooth
- 8. Finish, Prime, and Paint
- How to Patch Drywall Holes Neatly on Textured Walls and Ceilings
- Common Mistakes
- Frequently Asked Questions
- What is the easiest way to fix a small hole in drywall?
- How long should drywall compound dry before sanding and painting?
- Do I need a drywall patch for a small hole?
- Should I use spackle or joint compound for a wall repair?
- How do I make a patched hole blend in with the wall?
- When should I call a professional instead of repairing drywall?
- Final Check Before You Paint
What You Need
Gather everything before you open the tub. Running to the store halfway through a wet coat is how repairs end up looking rushed.
For holes under a quarter inch (nail holes, screw heads, anchor points, small dents): lightweight spackle or a paintable caulk-style filler, a putty knife, 120 to 220 grit sandpaper or a sanding sponge, and a damp cloth.
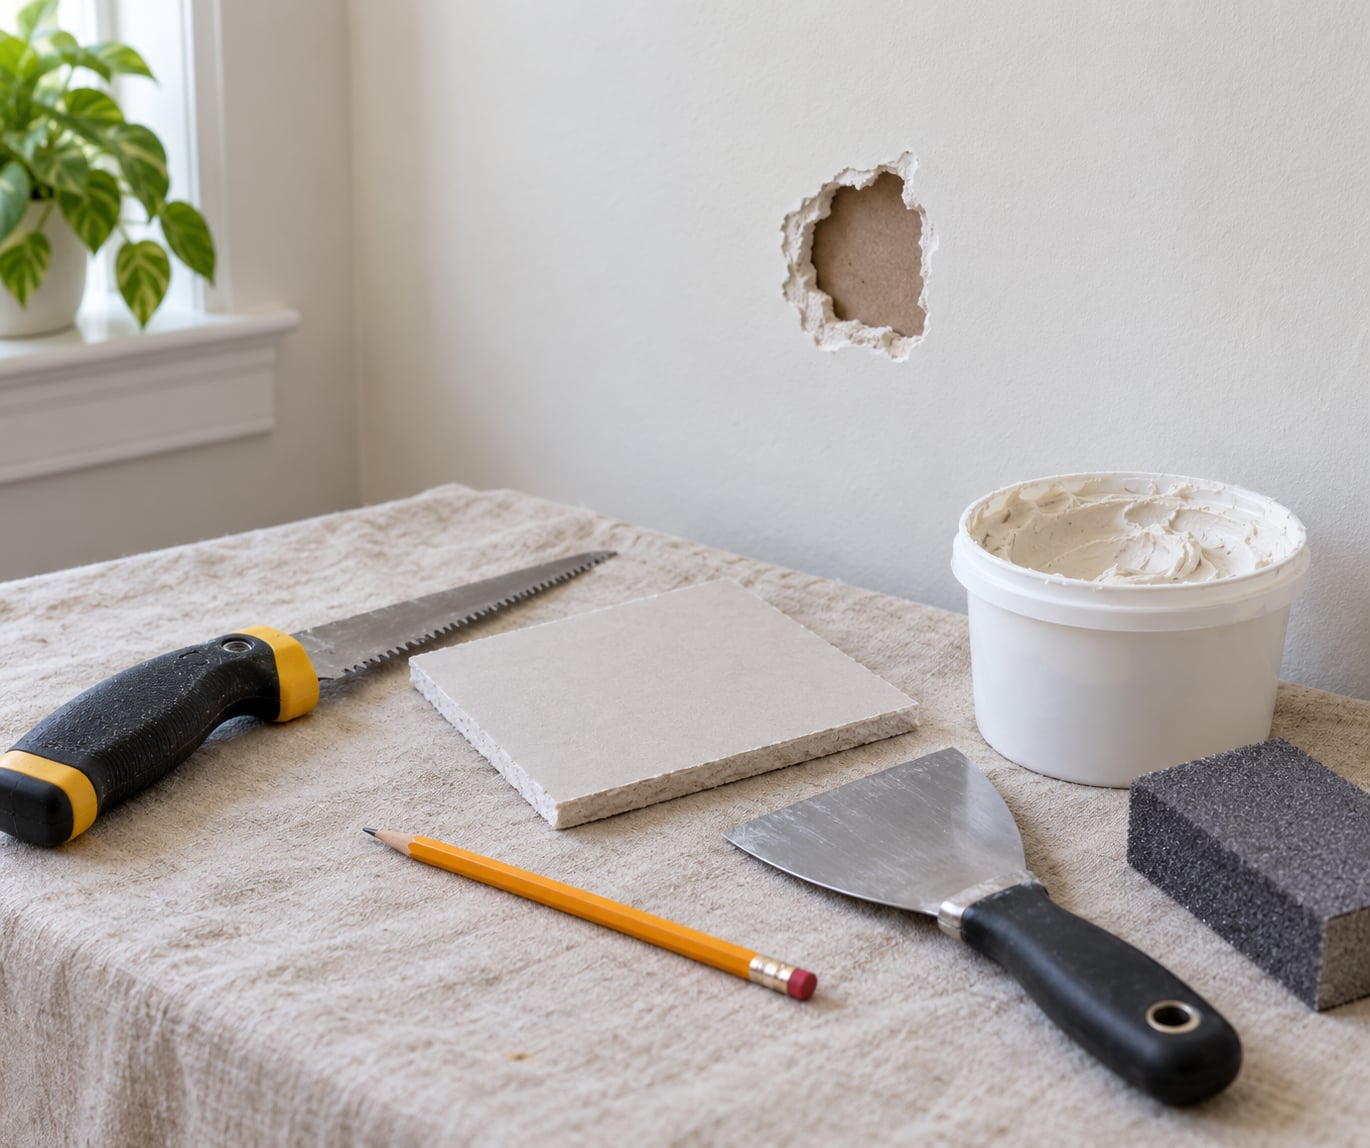
For holes from a quarter inch to 6 inches (doorknob strikes, missing anchor plugs, small plumbing access openings): everything above plus a self-adhesive aluminum or fiberglass mesh patch, or a piece of scrap drywall the same thickness as the wall (usually 1/2 inch on modern homes, 5/8 inch on older ones), drywall screws, a utility knife, a drywall saw, and either ready-mixed all-purpose joint compound or quick-set compound.
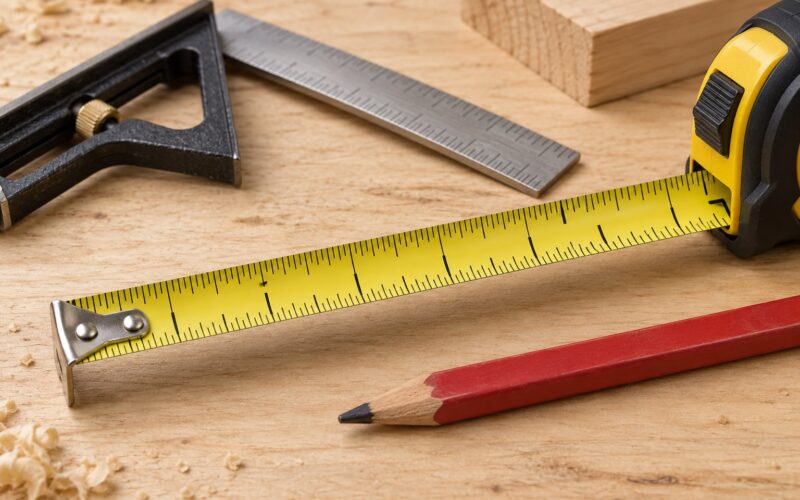
For holes larger than 6 inches or missing corners: everything medium-sized requires, plus 1 by 3 inch furring strips or short pieces of wood, a carpenter’s square for straight cuts, a stud finder, joint tape, and more screws than you think you need.
A dust mask and goggles are not optional once a saw or sander starts up. Before you cut anything near an outlet or switch, switch off the breaker for that circuit and confirm the power is dead with a tester, because cables and plumbing often run through the same cavity you are about to open.
Step-by-Step: How to Patch Drywall Holes Neatly
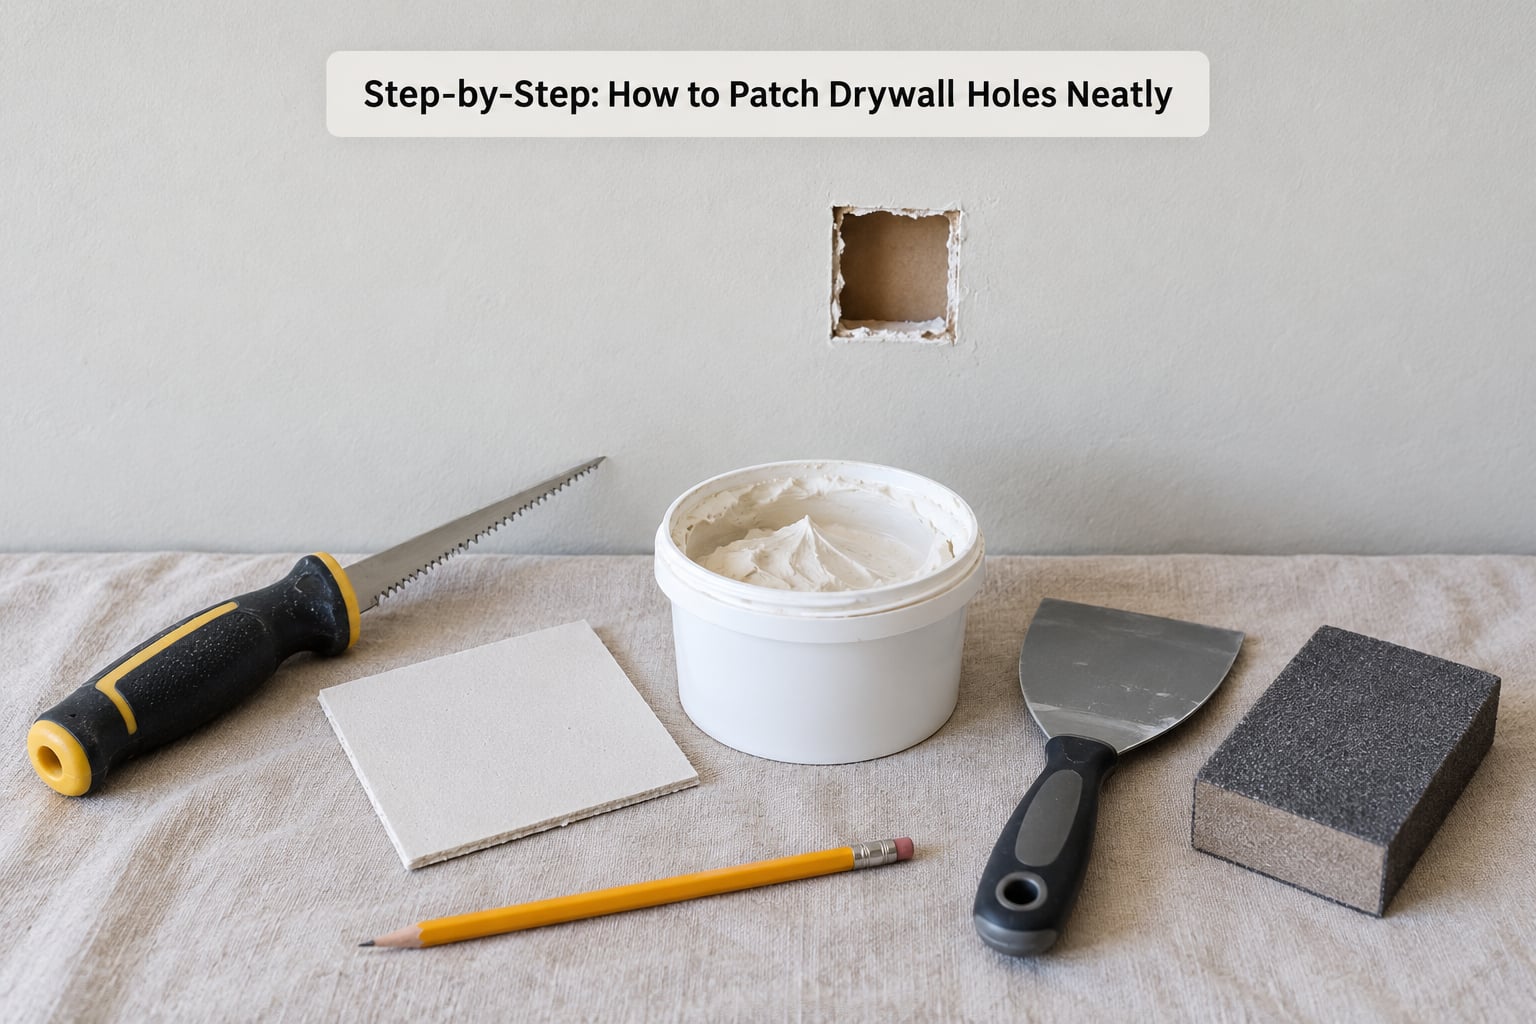
1. Identify the Hole and Choose the Repair
Look at the damage before you touch it. Recessed fastener holes and small punctures only need filler, while a hole with ragged paper edges or a crack running out from it needs a cut patch that covers the whole weak zone.
Run a stud finder across and around the opening. Knowing where the studs are decides whether you can screw the patch straight into framing or whether you need to add backing between studs. It also tells you where to keep the saw away from wires and pipes.
For the method itself: filler alone for anything under 1/4 inch, a self-adhesive patch or California-style patch for a quarter inch to 4 inches, and a squared-off piece of drywall fastened to furring strips for anything wider.
2. Prepare the Area and Remove Loose Material
Clear the debris, then score away any dangling paper or crumbled gypsum. Loose paper is what causes a patch edge to lift later, so cut it back to solid material rather than trying to cover it.
Square up the opening with a utility knife or drywall saw so the edges are straight and the shape is repeatable. Then wipe the area and lay down a drop cloth or tape sheet, because sanding dust settles everywhere and cleaning it out of a carpet takes an hour.
3. Fill Small Holes and Screw Holes
For a popped nail head, drive a drywall screw a little deeper next to it so the loose paper tightens back down, then skim the hole.
Load a small amount of filler onto the putty knife, press it into the hole with a light stroke, and pull the blade flat across the surface. Leave the filler sitting a fraction below the wall, not flush and not domed. Once it dries hard to the touch, a light second pass handles shrinkage and gives you a surface that takes paint evenly.
4. Patch Medium Holes
A self-adhesive mesh patch works for holes between about 1/2 inch and 4 inches. Peel the backing, center the patch so it overlaps the hole evenly on all sides, and press it down hard with the flat of your hand. The adhesive needs a few seconds of pressure, not a rub.
For a stronger fix, cut a square of scrap drywall 2 to 4 inches wider than the opening, apply a thin bed of quick-set compound around the back of the hole, set the piece in place, and drive a couple of screws through it into a stud if one is in range.
Either way, the back of the patch must sit flush against the wall face with no gap behind it. A patch set too deep rocks when you press it and cracks through the new compound as the wall flexes.
5. Repair Large Holes or Missing Sections
Cut a clean rectangle instead of following the torn edge. Mark the opening with a carpenter’s square so all four sides are straight, then cut on your line with a drywall saw.
Cut two pieces of 1 by 3 furring strip and fasten them inside the cavity, either alongside the studs or spanning between them, so the new panel lands on solid wood on at least two sides. Then cut a piece of drywall to the exact size of the opening, back it with the strips, and screw it up every 6 to 8 inches with the screw heads sunk just below the paper without tearing it.
Cover the seams with joint tape bedded in compound, and let everything dry fully. You need one panel plus strips for a simple hole; two panels only make sense if the damage is irregular and you would rather cut a clean rectangle than trace the old edges.
6. Apply Joint Compound and Feather the Edges
Ready-mixed all-purpose compound is easier for beginners and dries in about 24 hours per coat. Quick-set compound hardens in 20, 45, or 90 minutes depending on the tub, which is useful on ceilings but shrinks more and needs a second finish coat.
Spread a thin coat with a 6 or 8 inch knife, pulling it lengthwise in one direction and crosswise in the other so the surface ends up slightly crisscrossed rather than combed. Keep the compound thinner near the edges and thicker in the middle, fading out over a foot or more around the repair.
Let each coat harden completely before the next. Three skim coats feathered wider each time beats one thick coat, because thick coats shrink deeply and crack along the edge.
7. Sand the Repair Until Smooth
Sand with 120 to 150 grit on a sanding block or sponge for the final pass, using light circular or back-and-forth strokes. The repair should feel level with the surrounding wall and show no ridges where your knife left marks.
Keep the sandpaper on the patch, not on the wall around it. The old paint is thinner than your compound, and enthusiastic sanding will scuff or burnish it into a shiny ring that shows under the topcoat. If the repair still feels hollow or low after sanding, add one more thin coat and let it dry again.
Vacuum the dust off the repair and wipe it with a damp cloth. Paint will not stick to a dusty surface, and the dust also tells you how the light hits the patch once it is wet.
8. Finish, Prime, and Paint
Paint the whole wall, not just the patch. Fresh paint on old paint with a slightly different sheen reads as a halo around the repair even when the mud work is perfect.
Prime the compound first if the wall is a different color, if the repair covers an area you will paint a different shade, or if you used heavy quick-set compound. Bare compound drinks the first coat differently from the surrounding wall, and skipping primer is the most common reason a patch shows up after painting.
How to Patch Drywall Holes Neatly on Textured Walls and Ceilings
On a textured wall, you will need to match the texture after priming. Practice a texture spray on a piece of cardboard first, then blend it lightly over the repair so the edges of the sprayed area disappear into the surrounding pattern. Orange peel and knockdown textures spray well; popcorn is easier to feather from a stiff brush than to match with a can.
Check your work with a flashlight held flat against the wall, which rakes across the surface and reveals ridges that look invisible under overhead lighting. Most people who are unhappy with a patch are seeing a shadow, not a gap.
On ceilings, gravity works against every coat. Apply less compound, prop the patch up so it cannot sag into the cavity while the screws set, and expect to add a second skim coat before it looks right.
Common Mistakes
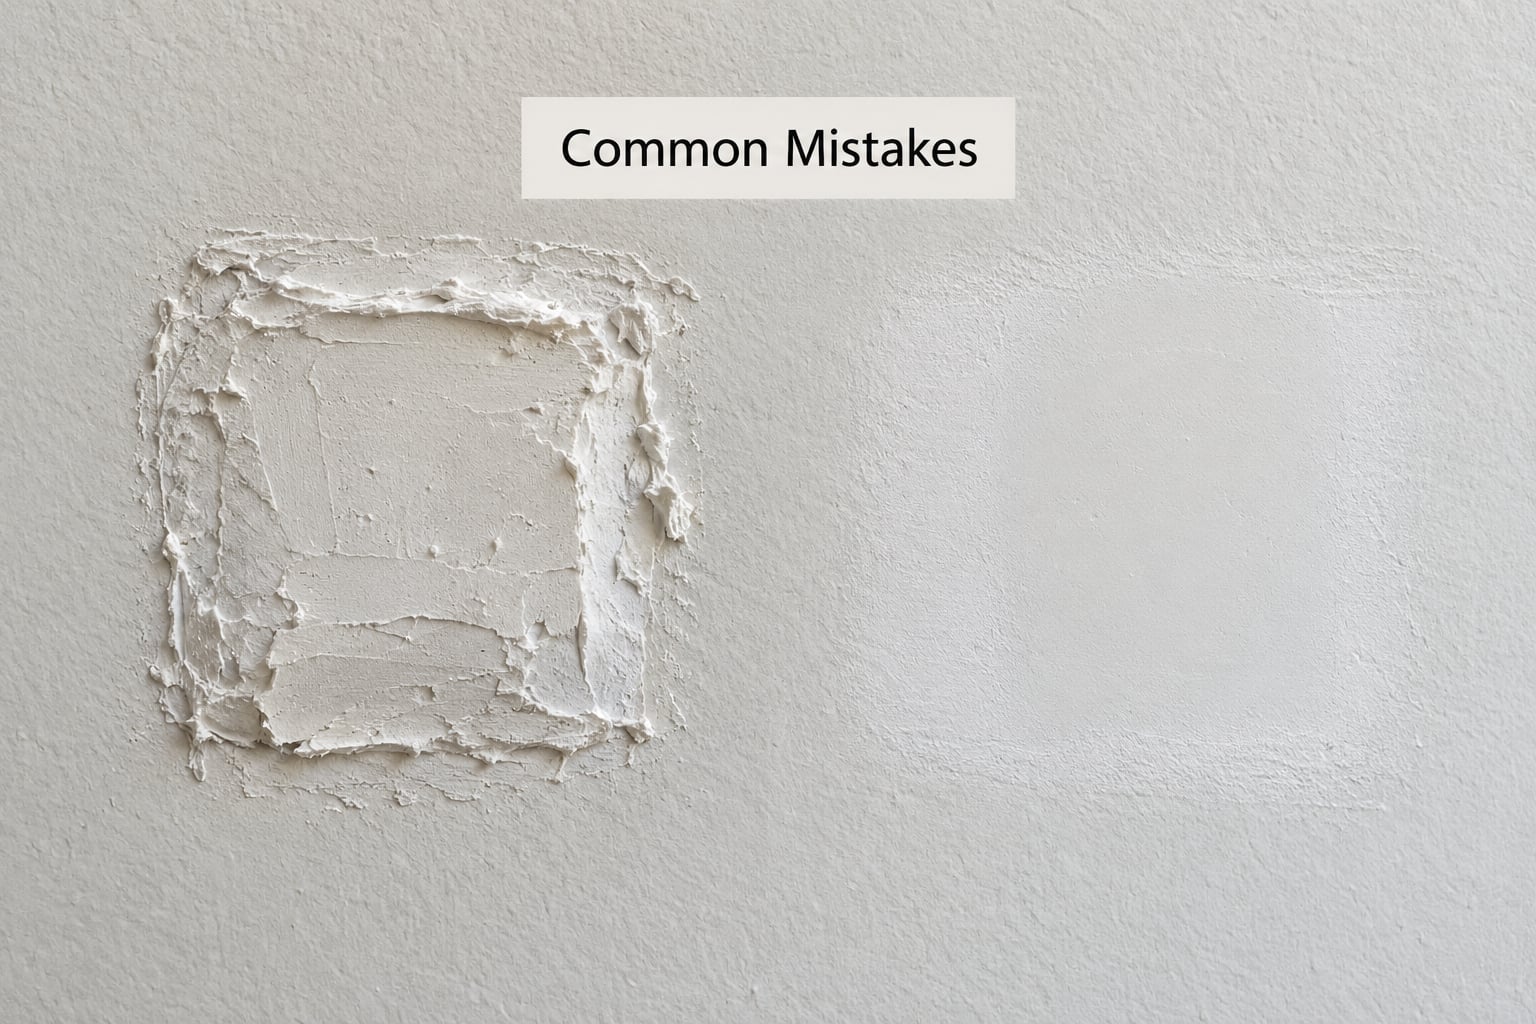
Two mistakes show up more than any others in drywall repairs: loading too much compound in one pass, and sanding before the coat is fully dry. Everything else below is a variation on those two habits.
- Slapping on thick coats. Heavy coats shrink as they cure and crack along the outside edge. Fix: thin coats, three of them, each feathered wider than the last.
- Sanding wet or almost-dry compound. Damp mud gums up the paper, tears it, and leaves a raised lip. Fix: wait until the compound is uniformly pale and hard across the whole patch, not just the surface.
- Skipping the backing on large holes. A panel screwed only into drywall dust has nothing to grab and pushes out. Fix: screw into furring strips or studs, at least two edges.
- Leaving a gap behind the patch. A patch set too deep rocks under pressure and cracks later. Fix: seat it flat on the wall face before you fasten anything.
- Cutting ragged openings. Torn paper and uneven edges make the patch sit crooked and show under paint. Fix: square the cut with a utility knife or carpenter’s square.
- Sanding the surrounding paint. The scuffed halo is the most visible flaw in an otherwise good repair. Fix: keep the paper on the repair and use light pressure.
- Painting over a dusty patch. Dust kills adhesion and highlights every ridge. Fix: vacuum, then wipe with a damp cloth.
- Painting the patch a different shade than the wall. Same colour, different sheen, obvious outline. Fix: prime the compound and repaint the full wall.
One more that trips people up: mixing quick-set compound in a thick batch. It starts setting in the bucket while you work, and old compound that has been retempered lumps and refuses to spread flat.
Frequently Asked Questions
What is the easiest way to fix a small hole in drywall?
For anything under a quarter inch, press lightweight spackle into the hole with a putty knife, pull the blade flat to leave it slightly below the surface, and let it dry. A second thin coat fixes shrinkage, then sand lightly with 150 to 220 grit and paint the whole wall. Do not sand the old paint around it or the repair will ring.
How long should drywall compound dry before sanding and painting?
Ready-mixed all-purpose compound needs about 24 hours per coat in normal indoor conditions, sometimes longer in cold or humid weather. Quick-set compound hardens in 20, 45, or 90 minutes depending on the setting time printed on the tub, but it shrinks more and wants a second finish coat. Judge by the colour: the whole patch should go uniformly pale before you sand.
Do I need a drywall patch for a small hole?
No. Nail holes, screw holes, and small anchor holes do fine with filler alone, and a patch on top of them actually creates more edge to sand later. A patch earns its place once the opening is wider than about a quarter inch, or once the paper around the hole is torn and needs to be cut back to solid material.
Should I use spackle or joint compound for a wall repair?
Spackle is lighter, shrinks very little, and dries fast, which makes it ideal for pinholes and small dents. Joint compound is heavier and stronger, so it is the right choice for taped seams, screw holes, larger patches, and any repair in a high-traffic spot. On a doorknob hole, use compound plus a metal patch so the wall can take the impact again.
How do I make a patched hole blend in with the wall?
Feather the compound out over a foot or more around the repair, thin each coat more than the last, and sand with light pressure on the patch only. Prime the compound, then paint the entire wall with the same paint and sheen you used before, and match any wall texture with a light pass of a texture spray practised on cardboard first.
When should I call a professional instead of repairing drywall?
Call a pro when the damage wraps around an outlet or switch, when water or mould caused it, when the hole sits in a load-bearing wall or near plumbing, when a ceiling patch keeps sagging, or when the wall is textured you cannot reproduce. Matching a sprayed texture or making a large cut in a finished ceiling is a skill trade, not a weekend project.
Final Check Before You Paint
Run your hand across the repair, then rake a flashlight along the wall. If it feels flush and no shadow line appears, the mud work is done.
Wipe it down one more time with a damp cloth, prime the compound if the colour or sheen is changing, and repaint the full wall rather than the patch. Start by matching the repair method to the size of the hole, because every later step goes faster when the patch fits the damage to begin with.
If you get the size wrong on the first attempt, the fix is rarely more compound. It is almost always cutting back to solid material, backing the patch properly, and taking thinner coats than feel necessary. That is the whole trick to patching drywall holes neatly, and it is why the method matters more than the product.