You can square up lumber with hand tools by working in one fixed order: flatten a face, flatten the second face to match it, square one edge against that face, then bring the opposite edge parallel to it. Every later step uses the surface you just finished as its reference, so the order is not negotiable.
Budget roughly two evenings for a single rough board in softwood, less for a narrow one. The skill is not strength, it is reading the wood.
Table of Contents
- What You Need to Square Up Lumber with Hand Tools
- Step-by-Step: Checking and Squaring Rough Lumber
- 1. Inspect the Board and Select Two Adjacent Reference Surfaces
- 2. Check the First Face for Flatness and Straightness
- 3. Establish a Straight Reference Edge
- 4. Verify That the First Face and Edge Are Square
- 5. Bring the Remaining Faces and End to Those References
- 6. Check the Whole Board for Twist and Cup
- 7. Test the Board Before Final Shaping
- Common Mistakes That Ruin a Hand-Milled Board
- Frequently Asked Questions
- What is the best way to square up lumber with hand tools?
- Can I square rough lumber with just a hand plane and a combination square?
- How do I check whether a board is square?
- Which face and edge should I flatten first?
- How do I fix a warped or twisted board with hand tools?
- Is a winding sticks jig necessary for squaring lumber?
- Conclusion
What You Need to Square Up Lumber with Hand Tools
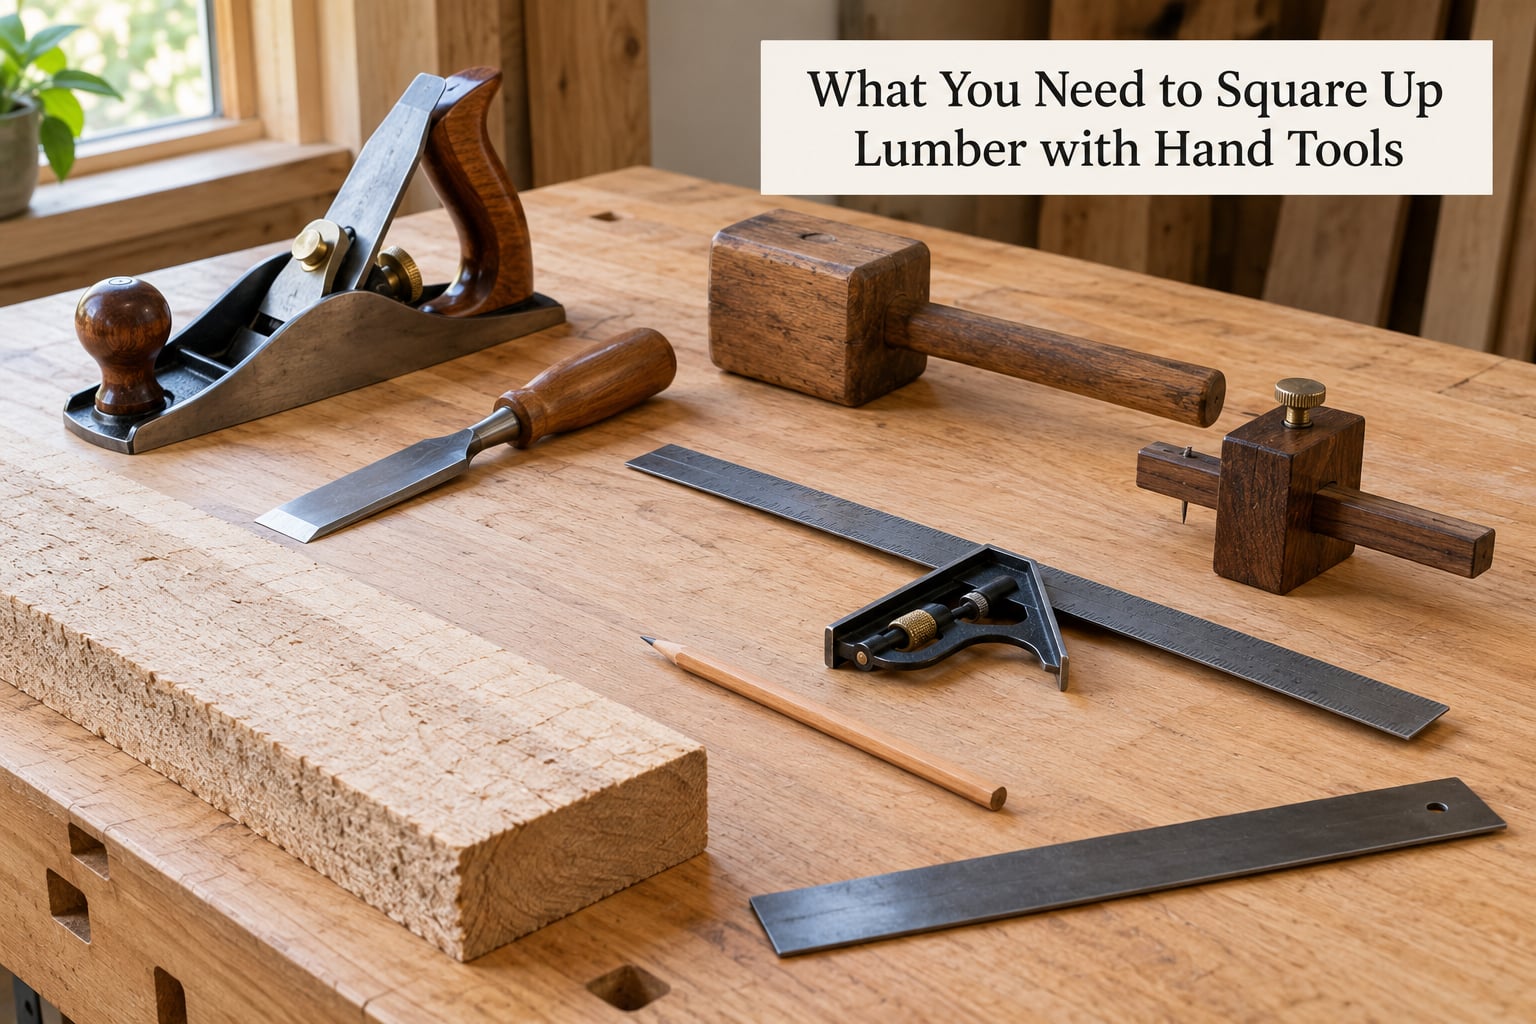
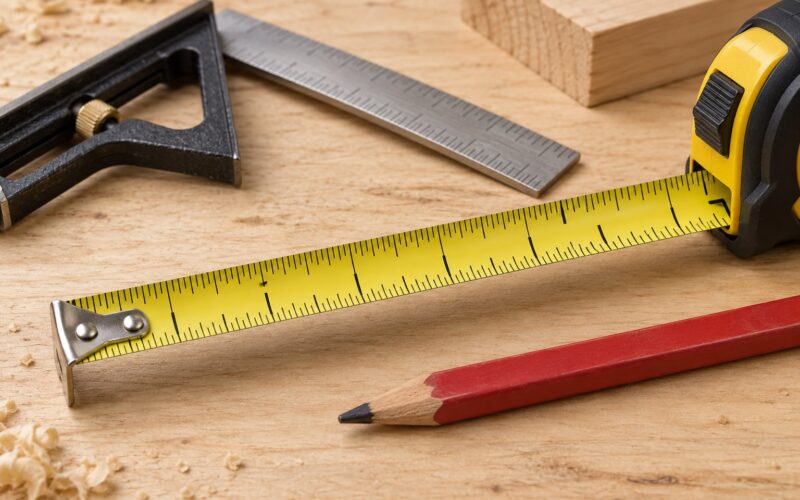
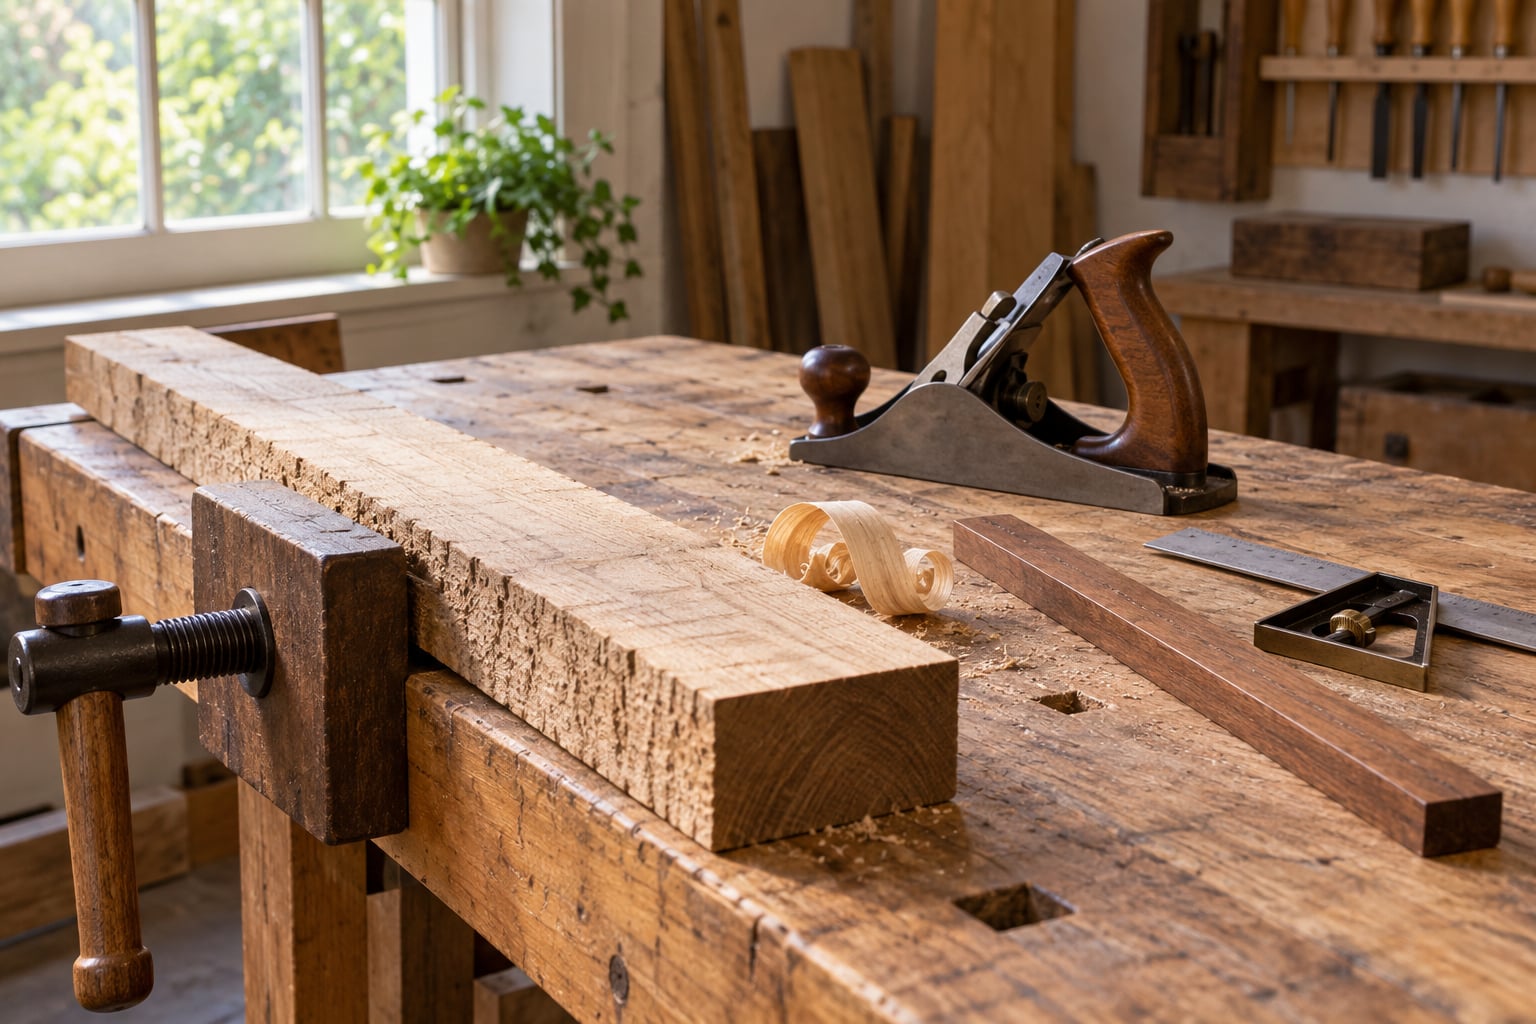
Four tools are essential: a hand plane, a straightedge, a combination square, and something to mark with. A marking gauge and a try square make the edge work far easier, and a hand saw is needed if you intend to bring the board to final width rather than just make it flat and square.
Check the straightedge first. Hold it against a known flat surface or lay it on edge and look down it, and a bow in the reference will convince you that a perfectly flat board is warped. The same goes for the square: a cheap one with a loose blade is the most common reason beginners think they cannot get 90 degrees.
- Removing saw marks and heavy roughness: reach for a scrub plane or jack plane. Wide, flat sole and a coarse blade that cuts fast.
- Flattening a face toward a reference: jack plane. Its long sole bridges low spots so they stay low instead of disappearing.
- Finishing and removing ridges: smoothing plane. The narrower sole follows dips rather than planing into thin air.
- Trimming a narrow edge or end: block plane. Small enough to work one-handed on a workpiece resting in your lap.
- Finding high spots: winding sticks or a straightedge. They show where the gap is, which is where the high spot sits.
- Marking a 90 degree line: combination square or try square. It sets the line at a true right angle to the reference face.
Winding sticks are two straight lengths joined at the ends that make a bridge you can sight along. You do not need them. A good straightedge, a known-flat table top, or even the edge of a piece of glass works, and forum regulars have reported getting acceptable results with a chalk dust light test.
Step-by-Step: Checking and Squaring Rough Lumber
1. Inspect the Board and Select Two Adjacent Reference Surfaces
Before you touch a plane to it, look the whole board over. Note knots, splits, shakes, embedded stones, and any area that will not be part of the finished piece. A board that tapers badly or has a long shake through the middle may not be worth the time, and that is easier to see now than halfway through.
Then choose the two surfaces you will establish first: the flattest-looking face and the straightest-looking edge that is adjacent to it. These are your references. Everything else gets made to match them, so choosing well on minute one saves an hour of correction later.
2. Check the First Face for Flatness and Straightness
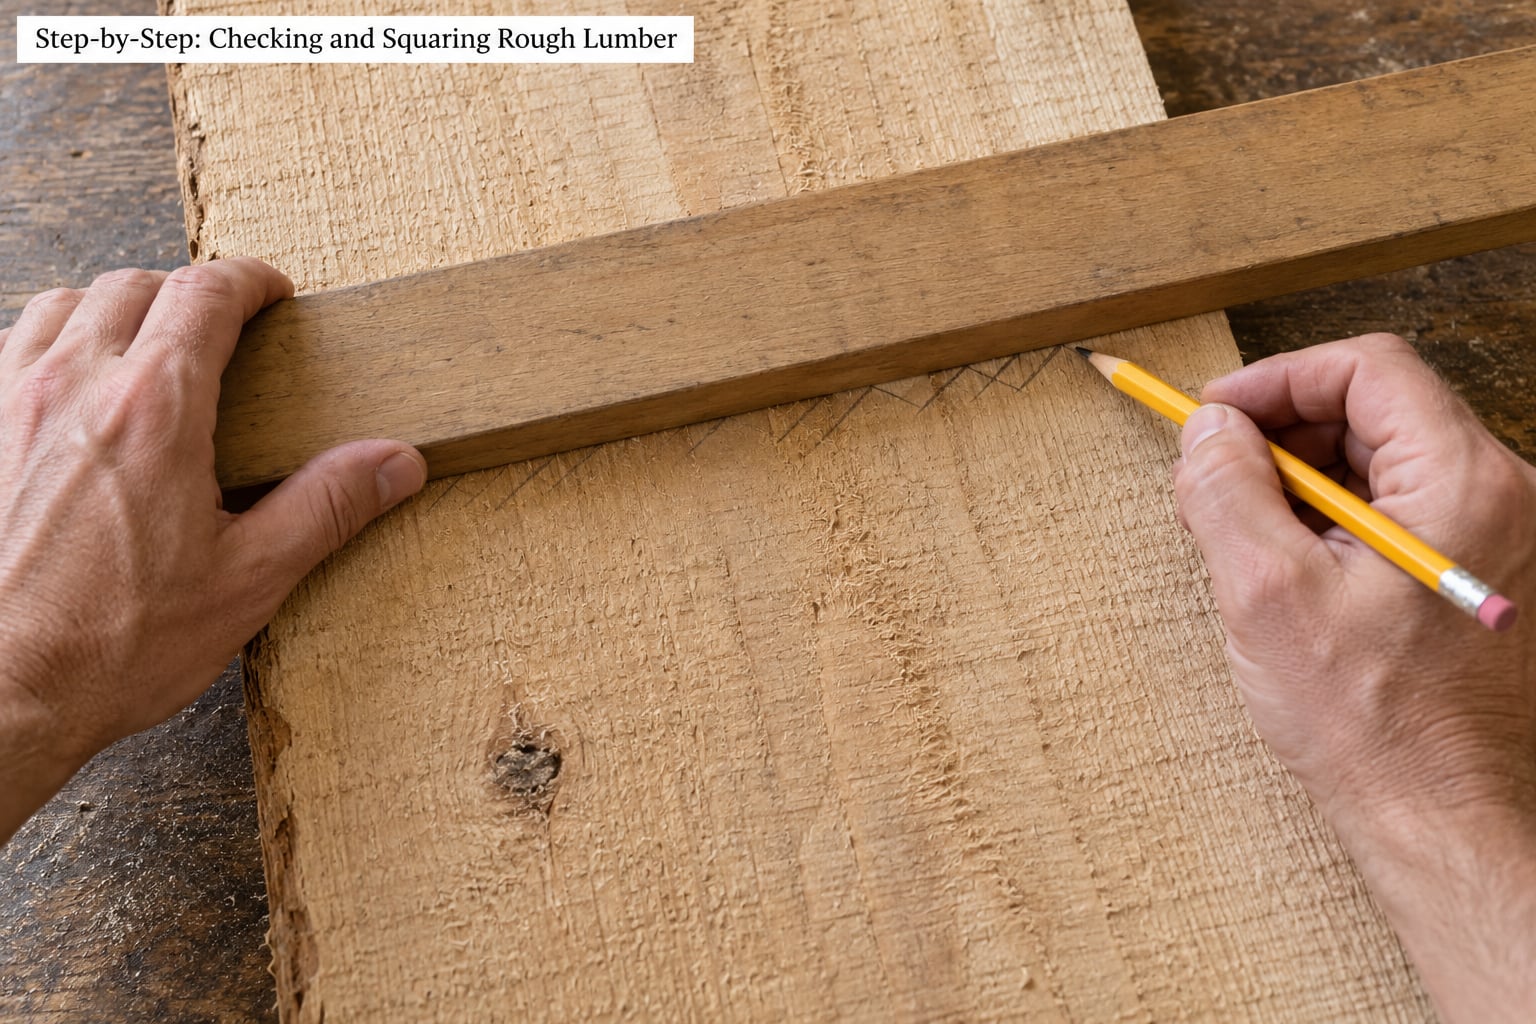
Set the straightedge across the face at several points, including both ends, and mark every place where daylight shows under the edge. Those marks are your high spots. Follow the length as well as the width, because a board can be flat across but humped along its length.
Start at a high spot and take a light pass with the jack plane, along the grain, working from the middle of the board toward each end. Never start at the far end and work back, because the blade catches the torn fibres at the exit and lifts them into a tear-out ridge you will spend ten minutes removing later. You are done with this face when the straightedge shows no light anywhere along the board, and the plane puts off a shaving the full width of its sole.
3. Establish a Straight Reference Edge
Put the combination square on the flat face near one end and draw a line at 90 degrees across the edge. Repeat at the other end, and if the two lines do not point at the same spot on the edge, that edge is not square to the face. Correct the edge before you go any further.
Once the line is consistent, set your marking gauge on the face and scribe a line along the edge, then a matching line at the width you want. Plane the high spots only. Narrowing one corner while leaving the other creates a taper, and taking light passes at one end of the board rather than the middle creates a bow, so check the edge in several places and not just where you last stopped.
4. Verify That the First Face and Edge Are Square
Set the combination square on the flat face with its stock against the edge. Both the face of the stock and the blade should sit flush along the whole length of the board, with no wedge-shaped gap opening at either end. A gap at one end means the edge leans away from the face. A gap that narrows steadily from end to end means the board is tapered.
Take more light passes on whichever surface is proud, then check again. Working out of square by a noticeable amount with a worn square is a frustrating loop, so if your contact pattern will not improve, suspect the tool before you suspect the wood.
5. Bring the Remaining Faces and End to Those References
Flip the board and use the face you just finished as your reference. Run the straightedge across this second face and mark the high spots, then plane to the reference you established rather than to your eye. Boards wider than your plane sole need a bridge: lay two sticks along the width, rest the straightedge on them, and check the gap in the middle of the board.
The opposite long edge is brought to the same width as the marked reference edge. You can saw it off with a hand saw using a straightedge clamped to the board as a guide, then pare the saw marks off with a block plane, or plane it directly if the waste is small. A chisel and mallet handle end grain and clean up where a saw left a step; tear-out at the end grain is not a mistake, it just needs paring rather than more planing.
6. Check the Whole Board for Twist and Cup
Hold the board at eye level and sight along the length. If one corner sits higher than the opposite corner, the board has twist, and it will not sit flat on a table until you remove it. Check by setting the board down and seeing whether it rocks, then by sighting down the reference edge from one corner to the other.
Cup is a curve across the width, which is why a board can be dead flat on one face and still trap daylight under the middle. Small amounts of twist come out as you alternate between the two faces and take lighter passes on the corners that stand proud. Resist the urge to remove a lot at once. A board that is badly twisted, resinous, or wider than your longest straightedge is the case where a machine is genuinely the right answer.
7. Test the Board Before Final Shaping
Run every check again in several places: straightedge on both faces, square on all four edges, and the board rocked on a flat surface to be sure it does not rock. Then measure the two corner-to-corner diagonals. On a square board they are the same length. On a rectangular board, a difference of more than about 1/8 inch over a 4 foot length means the corners are out of square and you have more planing or sawing to do.
That diagonal check is the real test of squareness, and it catches an error that a square at one point will miss. A board can be perfect at the near end and out by several degrees at the far end, which is exactly what happens when you check a long board with a 12 inch square and assume the rest matches.
Flattening and squaring are different jobs that people run together. Flattening removes cup and twist from two faces until both are truly flat. Squaring makes those faces parallel to each other and brings the edges to 90 degrees against them. Doing a beautiful flattening job and stopping there leaves you with a warped but honest board, and gluing that into a panel is how cupped tabletops happen.
A jointer, planer and table saw get a board to four square in a few minutes. A hand plane does something a jointer will not: it can flatten a face, because the sole only touches the high spots and a short blade can follow the reference. A planer, by contrast, will happily take a twisted board and give you two parallel faces that are still not flat, which is a common source of frustration for people who own the machine but not the jointer.
Common Mistakes That Ruin a Hand-Milled Board
Checking only one face. You cannot tell a straight edge from a tapered one without a second reference, and the second face is the one that proves the first one was done. Always finish both faces before you judge the edges.
Trusting a square at a single point. A 12 inch square on an 8 foot board tells you about 12 inches of it. Move along the board in overlapping sections, and finish with the diagonal measurement.
Planing toward the end of the board. This lifts fibres at the exit and leaves a ridge you will mistake for a high spot. Start in the middle and work toward the ends.
Removing too much in one pass. Take off 1/16 inch on a rough board and less as it improves. Every extra 1/32 inch is sixteen times as much work, and you can flatten a board all the way back to a wavy surface by chasing the last light spot.
Judging twist from one diagonal. Sight along the length at eye level and check both diagonals, or a board can be square in one direction and badly twisted in the other.
Trying to fix twist by flattening one face harder. A twisted board has to be planed on alternating faces with progressively lighter passes at the corners, not rescued by removing more wood from one side.
Two honest limits. Boards wider than your longest straightedge, heavily figured boards, and resinous softwoods like pine are slow going, because the resin gums the sole and the figure fights the grain direction. If you need a dead flat panel for a glued top and your only tools are a smoothing plane, starting from a board that is already milled costs you less in time and in frustration than doing it yourself.
Frequently Asked Questions
What is the best way to square up lumber with hand tools?
Flatten one face, flatten the second face to match it, square one edge against that flat face, then bring the opposite edge parallel to it. The order matters because each step uses the finished surface as its reference. Verify with a diagonal measurement at the end, since a board can measure square at one end and drift several degrees by the other.
Can I square rough lumber with just a hand plane and a combination square?
Yes, for most boards. Those two tools plus a straightedge cover flattening both faces and squaring the edges. You also need something to mark with, and a straightedge that is straight itself. If you want the board at a final width, add a hand saw and clamp a straightedge to the board as a sawing guide, then clean the saw marks off with the plane.
How do I check whether a board is square?
Measure both corner-to-corner diagonals and compare them. Equal diagonals mean the corners are square. On a rectangular board, a difference of more than about 1/8 inch across a 4 foot length is a real error. Also set a combination square on the face against the edge and look for a wedge-shaped gap, which tells you the edge is out of 90 degrees.
Which face and edge should I flatten first?
Choose the flattest looking face and the straightest adjacent edge, and establish those two first. Every remaining surface gets made to match them. Choosing badly is the expensive mistake, so spend a few minutes looking down both long edges in good light before removing any wood.
How do I fix a warped or twisted board with hand tools?
Sight along the board at eye level to find which corner stands proud, then plane alternating faces with progressively lighter passes at that corner until the board stops rocking on a flat surface. Bow is a curve along the length and crook is a curve along the edge, so check the diagonals too. Take less than 1/32 inch per pass once you are close.
Is a winding sticks jig necessary for squaring lumber?
No. Winding sticks are a reference that makes the gap under your board easy to see, but a sound straightedge, a known flat table top, or a chalk dust test works just as well. What is not optional is checking in several places, since a straightedge held down at one spot only tells you about that spot.
Conclusion
Squaring up lumber with hand tools comes down to two reference surfaces and strict order. Flatten the flattest face, flatten the second face to it, square the straightest adjacent edge against that face, then bring the remaining edge and end to the same references.
Start today by picking your board, setting it on a flat surface in good light, and marking the flattest face and the straightest edge before any cutting. Check with a straightedge and a combination square rather than trusting your eye, and finish with the diagonal measurement. Repeat the check more often than feels necessary, and take less material per pass than you want to. That discipline, not the tools, is what produces a board that is flat, straight, and truly square.