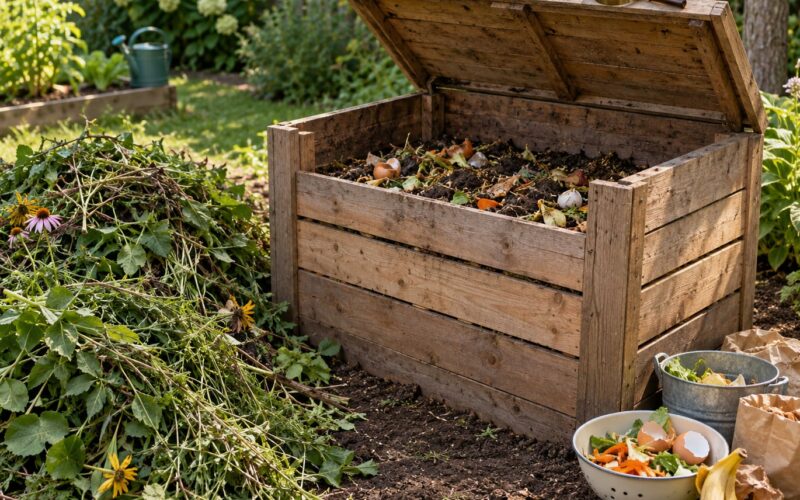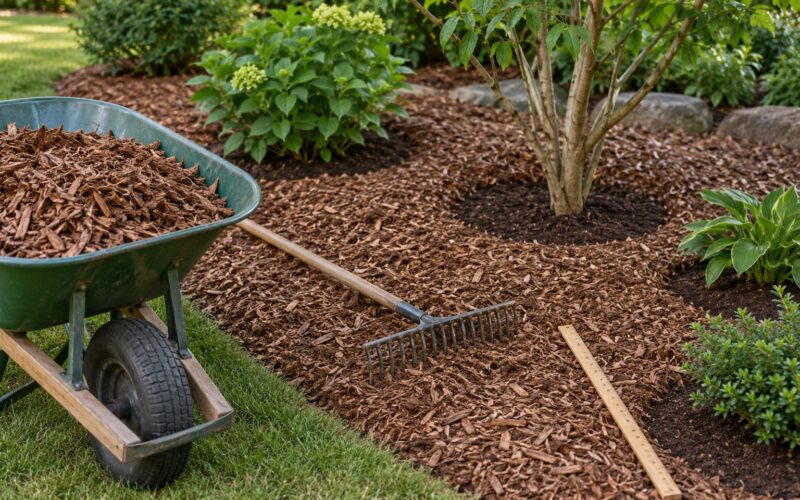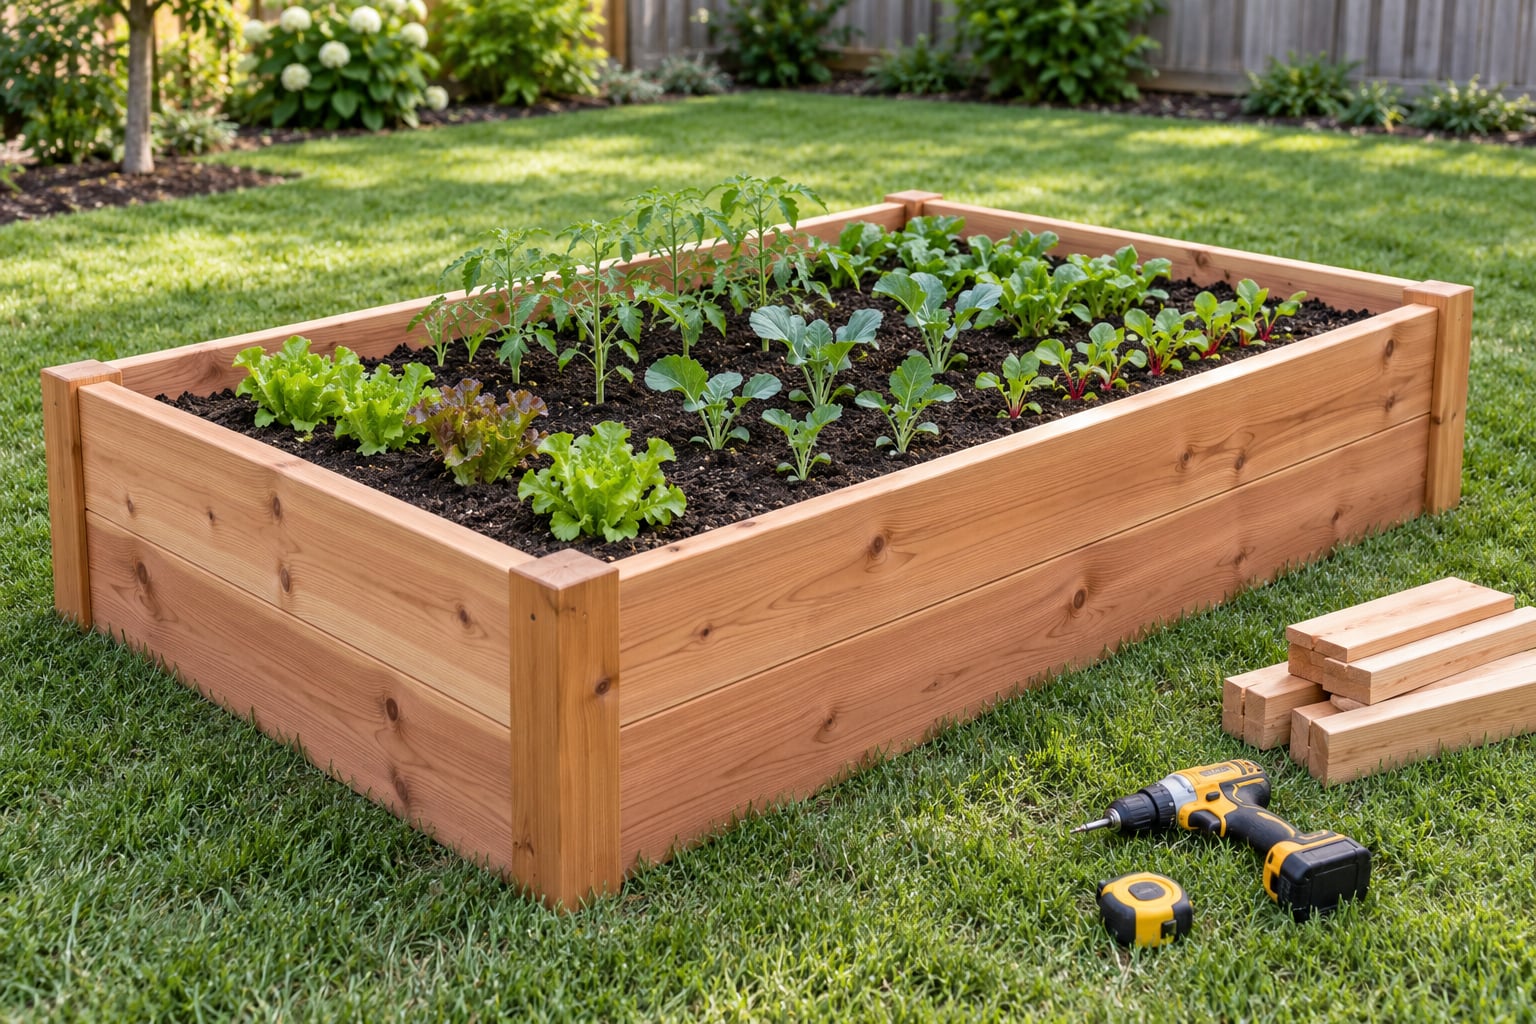
A raised garden bed is a framed box of soil set above ground level, and building one takes an afternoon once the lumber is cut. The standard beginner project is a 4 by 8 foot box made from four 2×12 boards held together with exterior deck screws, then filled with a compost-based soil mix. Grab a tape measure, a speed square, a drill and a circular saw, and you can have a finished bed this weekend.
If you have never built raised garden beds before, the part that trips people up is not the drilling. It is sizing the bed to your reach, squaring the frame on flat ground before it ever touches the lawn, and resisting the urge to fill it with whatever soil came out of the backyard. Get those three right and the rest is repetition.
Updated for October 2026.
Table of Contents
- What You Need
- Step-by-Step: How to Build Raised Garden Beds
- Choose the Bed Size and Layout
- Cut the Lumber and Prepare the Corners
- Assemble the Raised Bed
- Add Drainage Protection and Finish the Bed
- Fill the Bed and Prepare the Soil
- Common Mistakes
- Frequently Asked Questions
- How deep should a raised garden bed be?
- Should the bottom of a raised garden bed have a liner?
- What wood is best for building a raised garden bed?
- How wide should a raised bed be so I can reach the plants?
- What soil should I put in a raised garden bed?
- How do I keep the soil in a raised bed from washing away?
- Conclusion
What You Need
Roughly nine out of ten first builds are a 4×8 bed. It holds enough soil to grow a serious run of vegetables, it fits against a fence, and every plant sits within arm’s reach. A 4×4 is a better starter if you want to learn on a smaller budget, and an L-shape or pair of beds makes sense if you are feeding more than two people.
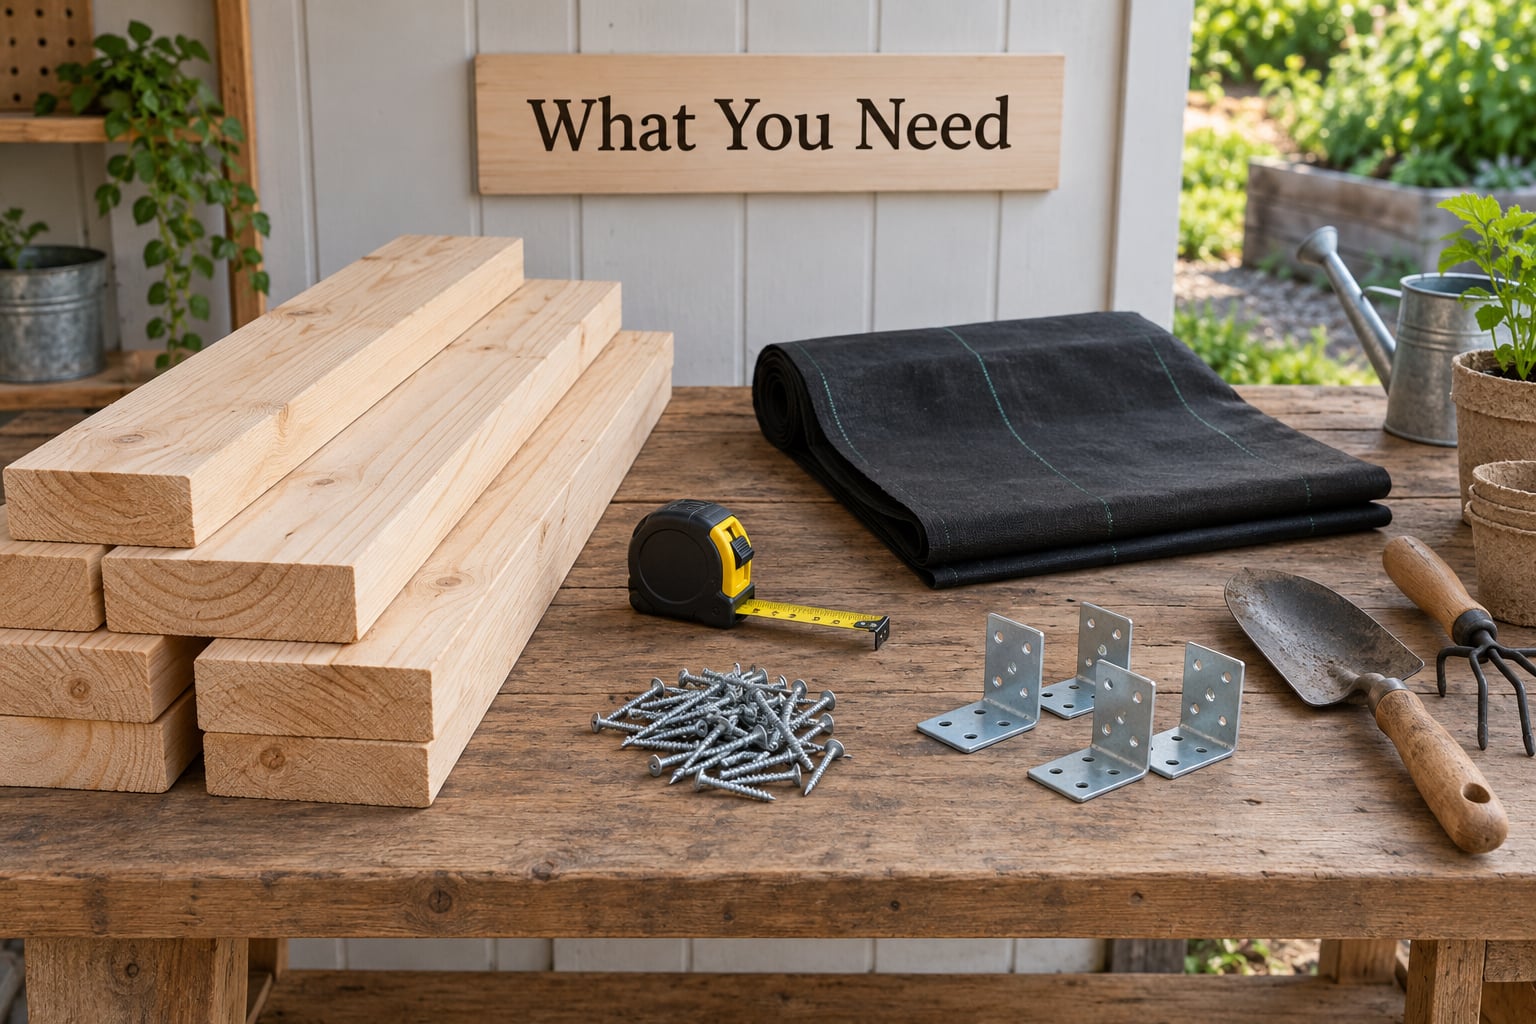
For a 4×8 bed at 12 inches tall, here is the cut list. Nominal lumber sizes are what the board is called at the store, so a 2×12 measures about 1.5 by 11.5 inches after milling.
- 4 boards of 2x12x8 ft for the long and short sides
- 4 posts of 4x4x24 in as internal corner supports (optional but they stop the frame racking)
- 1 box of 3-inch exterior deck screws (roughly 60 to 80 screws)
- 2 pieces of 3-inch plywood or 2×4 cleats for a top cap rail on each long side
- 1 roll of weed barrier fabric large enough to cover the 4×8 base with overlap
- Two 8-inch or 16-inch stakes to pin the frame to the ground
Hand tools: a tape measure, a speed square, a pencil, a circular saw or handsaw, a cordless drill with a 1/8-inch bit, a hammer, a spade, a wheelbarrow, and a spirit level at least 24 inches long. A drill driver with a spare battery saves you a lot of standing around, because you will be driving 60-plus screws in the same position.
Before you cut anything, spend ten minutes on site prep. Watch the spot for a day and note where the shadows fall at noon, check that a hose or spigot reaches it, and make sure the ground is as close to level as you can get. Vegetables want six to eight hours of direct sun, and a bed sitting in the shade of a fence will disappoint you no matter how well it is built.
Stay away from ground under black walnut and similar trees, since juglone in the leaf litter stunts most vegetables. Avoid low spots that collect water and any place where runoff from the roof or driveway would wash across the finished bed.
Step-by-Step: How to Build Raised Garden Beds
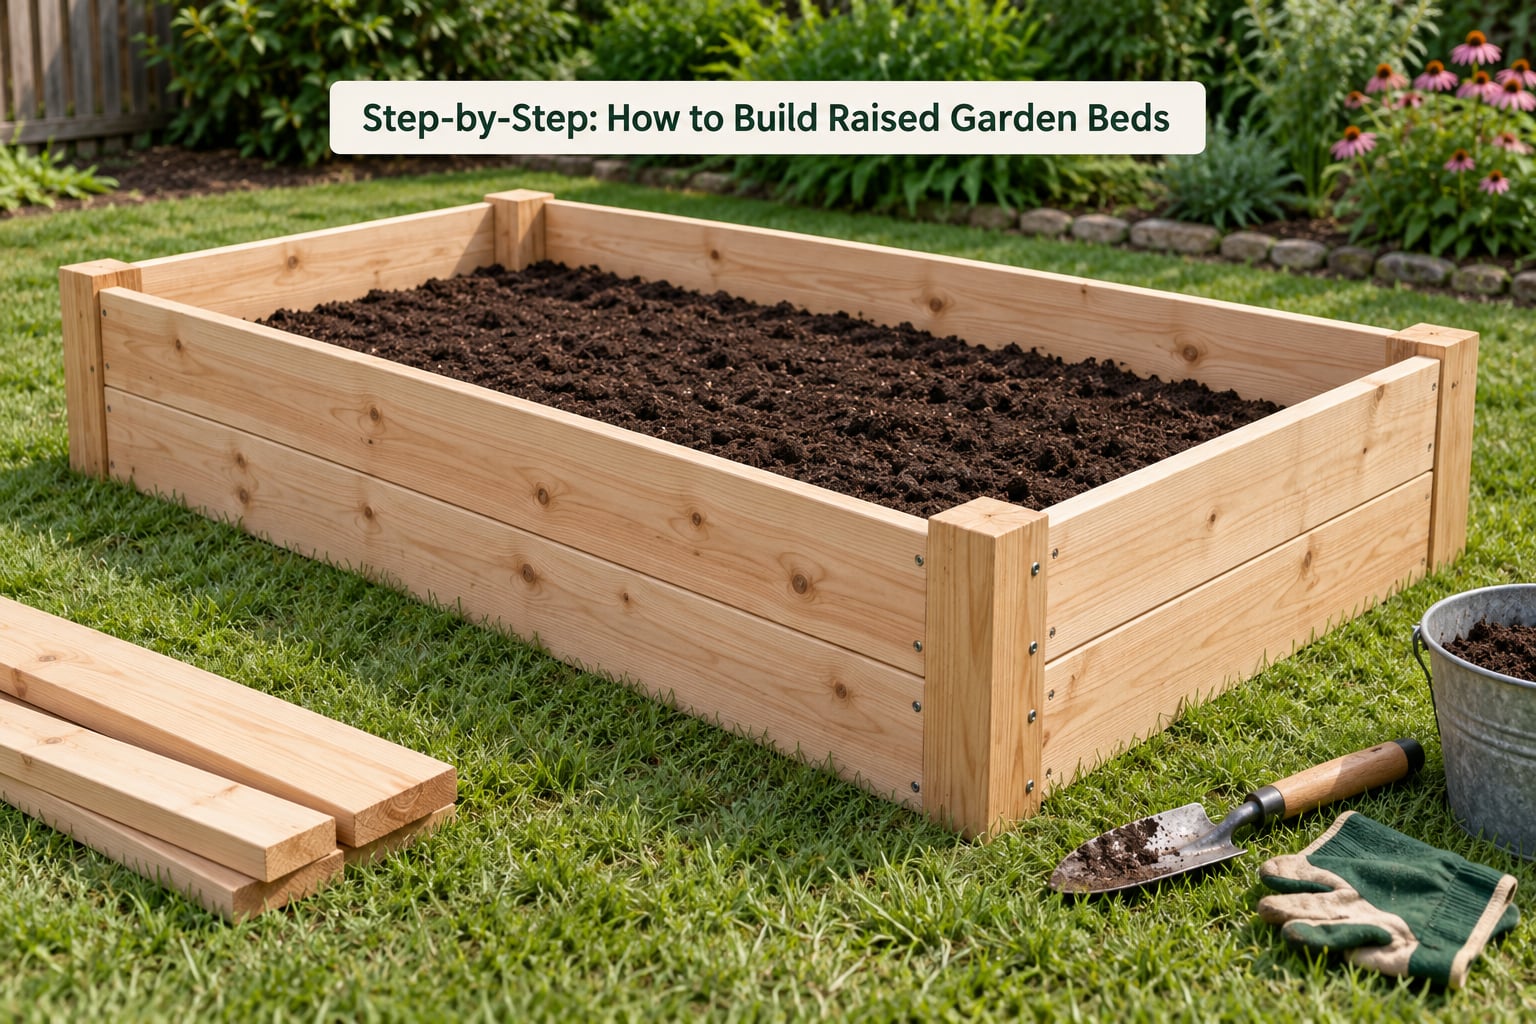
Choose the Bed Size and Layout
The width rule is simple: keep the bed 4 feet wide or narrower so you can reach the center from both sides without stepping on the soil. Length is flexible because you can walk along it, but anything over 6 feet needs a center post or a diagonal brace to stop the sidewalls bowing outward once the soil is wet and heavy.
Depth depends on what you are growing. Salads, herbs and most annual vegetables do fine at 10 to 12 inches. Root crops like carrots and potatoes want 16 inches or more, and fruit bushes and small trees need at least 18 to 24 inches of root room.
Plan your paths before you build. Leave 2 to 3 feet between beds if you want to kneel, wheel a wheelbarrow or push a lawn mower. Mark the footprint with stakes and string, then walk the outline and make sure you can reach the middle of the bed from where you will actually stand.
Cut the Lumber and Prepare the Corners
To build raised garden beds with square corners that stay square, assemble the whole frame flat on a driveway or garage floor first, then move it into place. Working on flat ground is the single biggest reason finished beds look tidy instead of wobbly.
Lay the two long 8-foot boards parallel on a flat surface and set the two short boards against their ends to make a rectangle. The cleanest corner joint uses four 4×4 posts set inside the frame, one at each corner. Each board then butts into a post and gets screwed through from the outside, which hides the joint completely and gives you a solid surface to work from.
If you would rather skip the posts, drive two 3-inch deck screws at each corner at opposite angles, working from one board into the other. Pre-drilling each hole with a 1/8-inch bit is worth the extra minute on hardwood species like cedar and redwood. It stops the screw from splitting the board and makes a noticeably tighter corner.
Cut the cap rails next. They screw along the top of the long sides, give you somewhere to rest a knee while working, and stiffen the wall against bowing. Rip them from 2×4 stock if you have it, or use 3-inch plywood cut to the same length as the bed’s long side.
Assemble the Raised Bed
With the frame lying flat, square it before you fasten anything permanent. Measure corner to corner in both directions; when the two diagonals match, you have a true rectangle. If they differ, push the long board slightly until they agree, then fasten.
Drive the screws from the outside face of the boards into the corner posts. Start at the top corner, work down, and check squareness again as you go, because lumber is rarely straight off the rack. When the diagonals still match after the last screw, the frame is done.
Carry or drag the frame to its prepared spot. Set it on the ground and use the spirit level along every side. Where the ground slopes, dig the high side down rather than propping the frame up with rocks, because a propped frame rakes the whole thing out of square over a season of freeze and thaw.
For a bed longer than 6 feet, add a center post on each long side and run a brace from the bottom of the end post to the top of the center post. That single diagonal does more for the frame than any number of extra screws.
Add Drainage Protection and Finish the Bed
Lay weed barrier fabric over the base of the bed, cutting it to overlap up the inside of the walls by several inches. It lets water drain while stopping annual weeds from climbing up through the mix, and it slows the soil from washing out over the first season.
Pin the frame to the ground with stakes driven on the outside of the corner posts. Check the level again after the fabric goes down, since the fabric layer can lift a corner by an inch or two on soft soil.
Two optional touches pay off later. Cap the rim with the rails you cut earlier, and leave a 6-inch gap on one end so you can slide a flat board in and pull out the last of the old soil without dismantling the frame.
Fill the Bed and Prepare the Soil
Do not fill with straight topsoil from your yard. It compacts into a brick-like mass by the end of the first season and drains badly, which is the single most common complaint about finished beds. A workable raised bed soil mix is roughly 40 percent compost, 40 percent good-quality topsoil or garden soil, and 20 percent aeration material such as perlite, vermiculite or coconut coir.
Fill in lifts of 6 inches or so, watering each lift lightly before adding the next. Packing soil down as you go removes the large air pockets that make roots spread. Stop about 2 inches below the rim so the mix has room to settle and so rain does not wash straight over the edge.
Leave the filled bed alone for a week or two before planting. Freshly mixed soil settles noticeably, and a seed tray perched on an uncompacted surface will end up sitting in a puddle. Once it settles, tamp the edges down and top up any low spots.
Common Mistakes
- Building the bed too wide. Anything past 4 feet means you step on soil to reach plants, and compacted soil stops roots from moving. The fix is to build two narrow beds instead of one wide one.
- Using reclaimed lumber of unknown history. Pallet wood and salvaged planks may carry creosote or an older arsenic-based preservative. Never use anything that smells chemical or was once in contact with a painted or stained surface; for food crops, buy stock you can identify.
- Skipping the liner. Without a barrier at the base, weeds come up through the mix and fine soil washes out during heavy rain. Cut a single sheet of weed barrier fabric and overlap it up the walls.
- Building on unlevel ground. An out-of-square frame twists and gaps as the lumber moves with freeze and thaw. Dig to level, shim the low side with compacted soil, then re-check the diagonals.
- Omitting bracing on long sides. A 6-foot wall of wet soil pushes hard enough to bow a 2×12 outward. Add a center post and one diagonal brace per long side on beds longer than 6 feet.
- Filling with straight native topsoil. No organic matter, no aeration, and the mix hardens within a year. Blend in compost and an aeration material from the start, because you cannot easily add either later.
One more comes up constantly: getting the rim tight and flat. Builders on r/DIY describe finishing many beds and still being unable to cut a frame with a tight, even top edge. The reason is almost always assembling on uneven ground rather than flat, or measuring each board instead of marking a single cut line across both ends. Mark once, cut across, and check the diagonals before the final screw.
Builders on r/selfreliance and r/gardening also point out that a real first build runs well past a bare lumber figure once you add hardware, soil, plants and any trellising or row covers. If you are planning a layout, start with one 4×8 and add a second bed the following season.
Frequently Asked Questions
How deep should a raised garden bed be?
Most vegetables and herbs grow well in a bed 10 to 12 inches deep, which also keeps the soil volume and cost manageable. Root crops such as carrots, beets and potatoes want 16 inches or more. Fruit bushes and small trees need 18 to 24 inches of soil depth for root room and steady moisture. Match depth to what you actually plan to grow rather than filling deeper for its own sake.
Should the bottom of a raised garden bed have a liner?
A liner is not strictly required, but it solves two common problems at once. Weed barrier fabric or cardboard laid across the base suppresses annual weeds that would otherwise push up through the mix, and it stops fine soil from washing out during heavy rain. Cut it to the bed size with extra length so it overlaps up the inside walls, and leave the bed open at the bottom for drainage.
What wood is best for building a raised garden bed?
Western Red Cedar is the best all-round choice. It resists rot naturally, stays dimensionally stable in changing weather, needs no treatment, and its aromatic oils discourage insects. Redwood performs similarly. Douglas fir and untreated pine cost less and last roughly 7 to 10 years. Avoid creosote-treated railway sleepers and old pre-2004 pressure-treated lumber anywhere you intend to grow edibles.
How wide should a raised bed be so I can reach the plants?
Keep the bed 4 feet wide or narrower. At that width you can reach the center from either side without stepping on the soil, which keeps the mix from compacting and lets roots spread the full width of the bed. Length can run as long as you like, but add a center post and a diagonal brace on each long side once you pass 6 feet to stop the walls bowing out.
What soil should I put in a raised garden bed?
Use a blended mix rather than straight native topsoil. A reliable recipe is roughly 40 percent finished compost, 40 percent quality topsoil or garden soil, and 20 percent aeration material such as perlite, vermiculite or coconut coir. Fill in 6-inch lifts, watering each one lightly, and stop about 2 inches below the rim so the mix can settle without spilling over the edge.
How do I keep the soil in a raised bed from washing away?
Lay a permeable liner such as weed barrier fabric or plain cardboard across the bottom and overlap it several inches up the inside walls. Water gently rather than blasting the surface, mulch the top with straw, shredded bark or compost once plants are established, and check the mix level each season since it drops as soil settles. Do not use solid plastic, which traps water and rots the timber faster.
Conclusion
Start with the location and the dimensions, because everything else depends on them. Pick a spot with six to eight hours of sun, a hose within reach, and enough width that you can reach the middle of the bed without standing on the soil.
Use durable material, then slow down on the frame. Build on flat ground, brace any side longer than 6 feet, and check the diagonals before the last screw goes in. Line the base, fill with a compost blend rather than straight yard soil, and stop 2 inches below the rim.
One bed is enough for a first season. Get that one right, learn what your spot drains like, and the second one takes half a day.