Cold weather does very little to a camera body on its own. What damages gear is the change: warm, moisture-laden air touching a cold lens, a lithium-ion battery that can no longer deliver current below freezing, and meltwater working its way into a button seal. Knowing how to care for camera gear in cold weather is mostly about managing those three transitions, and it takes about ten extra minutes on each side of a shoot. Current for 2026, and it applies whether you are shooting a ski race, a frozen lake at dawn, or your own front step in a snowstorm.
Most of the fear around winter gear is out of proportion to the risk. The gear is a tool, and the tool is rated for conditions far worse than a normal cold morning. A little discipline beats a padded bag.
Table of Contents
- What You Need
- Step-by-Step: How to Care for Camera Gear in Cold Weather
- Prepare the Camera Before You Leave
- Keep Batteries Warm and Ready
- Protect the Camera and Lens During the Shoot
- Transport Gear in a Layered Camera Bag
- Handle Condensation and Ice Safely
- Inspect and Dry Everything Indoors
- Common Mistakes
- Frequently Asked Questions
- How do I prevent condensation when bringing a cold camera indoors?
- Should I leave my camera in its bag while it warms up?
- Do camera batteries stop working in cold weather?
- Can I use a hair dryer to remove ice or frost from a camera?
- Is weather-resistant camera gear safe in rain and snow?
- What should I do if the memory-card slot gets wet?
What You Need
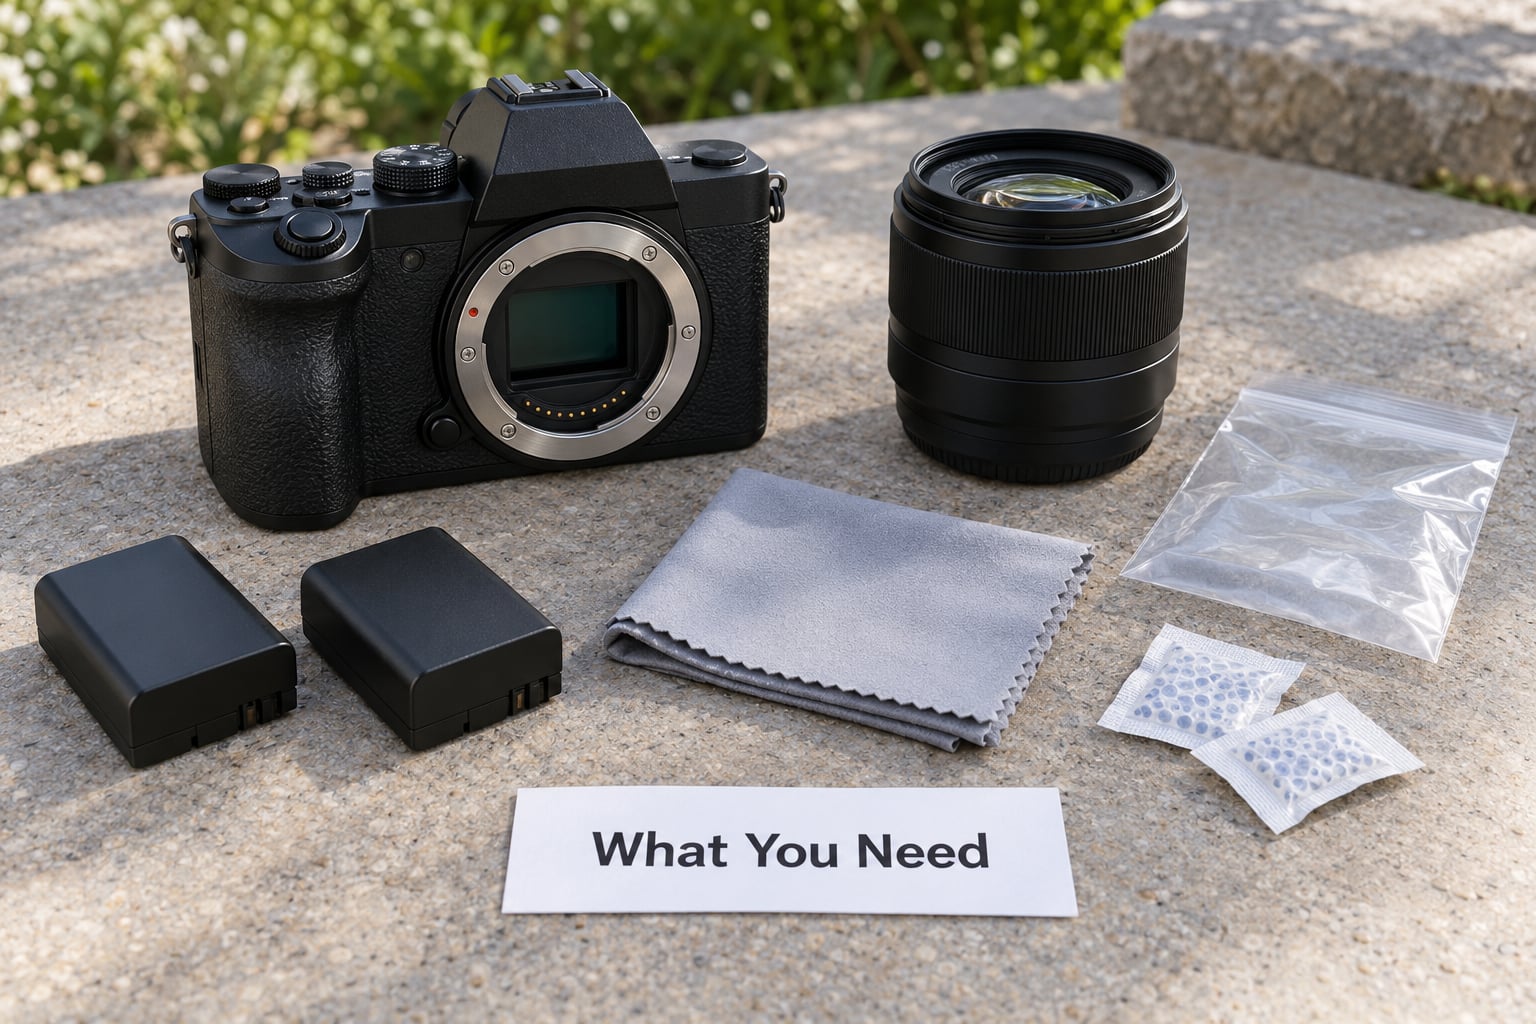
Gather this before you leave the house, not in a car park with numb fingers.
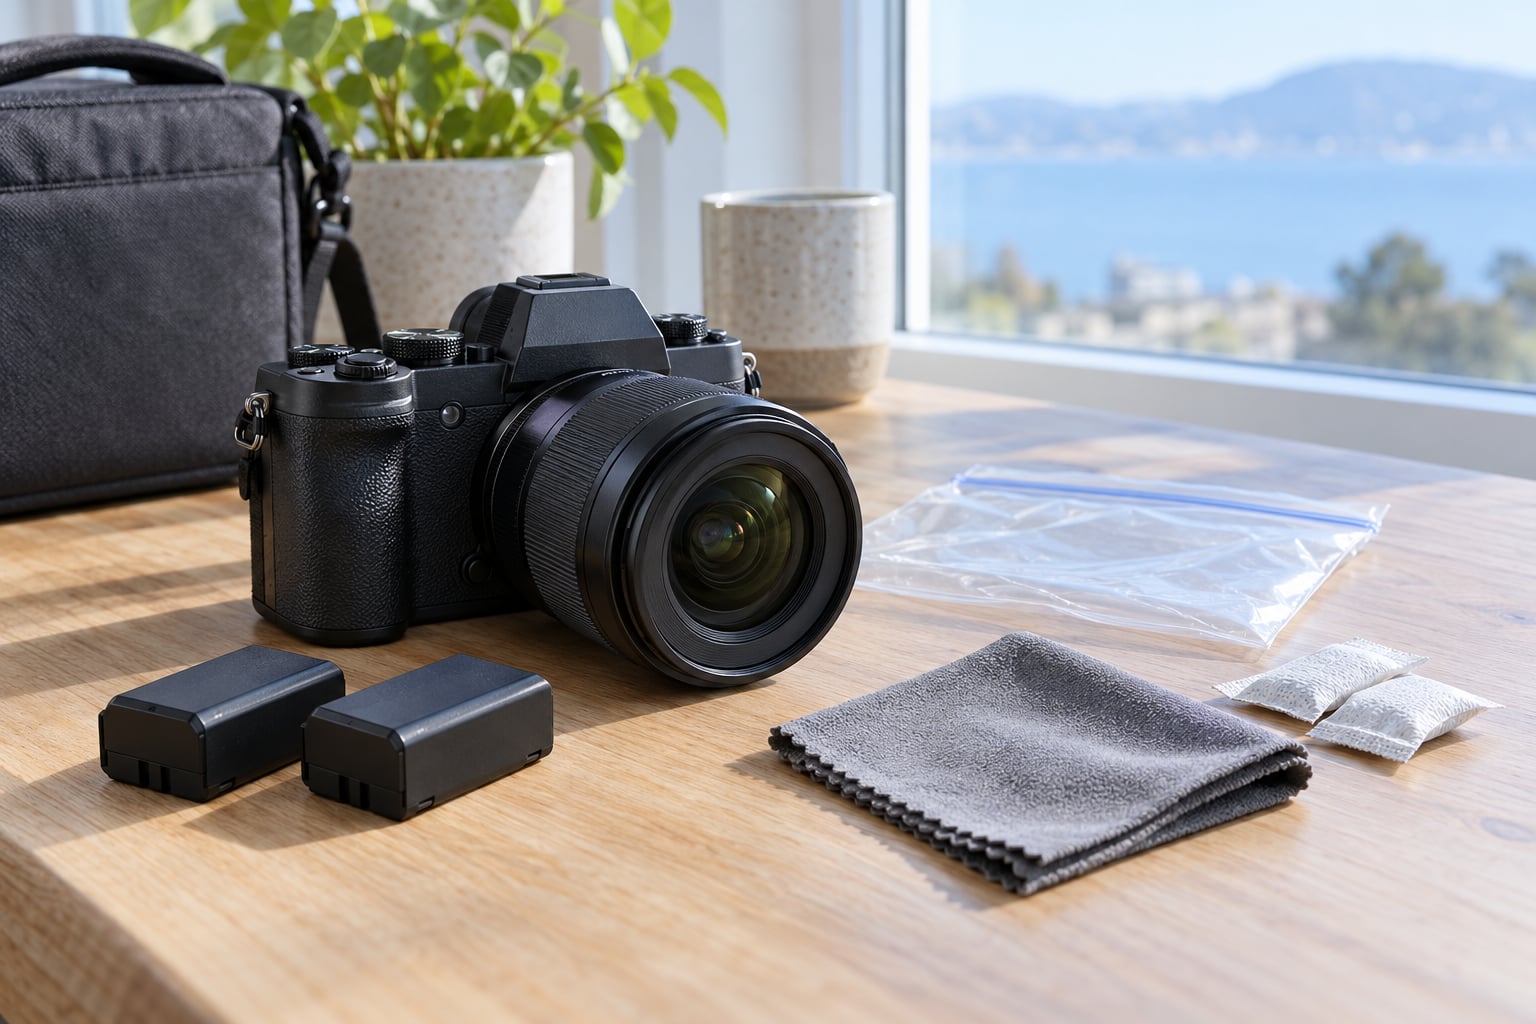
- Two or more spare charged batteries, more if you are shooting video or astrophotography. Cold cuts usable capacity, and the first battery rarely lasts a full session.
- A padded camera bag with a weather-resistant outer shell and enough padding that a bag of batteries cannot press hard on a mount or the rear element.
- Heavy-duty zip-top bags, the sacrificial kind. Two or three of them, sized to swallow the body and the lenses separately.
- Silica-gel packets, the rechargeable type if you have them. These pull moisture out of a closed bag and a damp camera case.
- A blower bulb for grit. Not a compressed-air can, and not a vacuum, both of which push dust further into the mechanism.
- Microfibre cloths and a blower for glass. Chamois leather is not the tool; it traps grit.
- Thin liner gloves with capacitive fingertips, worn inside a heavier insulated pair. You need bare-feeling fingers to turn dials without stripping off a glove every five minutes.
- A small towel for snow melt off the body before it soaks into the bag lining.
- Manufacturer-approved cleaning material for the sensor and rear element, plus the blower. If you are not comfortable with a sensor cleaning kit, leave the sensor alone.
All of it serves four purposes: limiting moisture, slowing temperature change, reducing static, and avoiding impact. A static-dissipating wrist strap is worth adding if you shoot somewhere genuinely dry, because dry cold air and synthetic outer layers are a good combination for building a charge.
Step-by-Step: How to Care for Camera Gear in Cold Weather
Prepare the Camera Before You Leave
Do your prep indoors, in a dry room, at room temperature. Charge every battery you intend to bring and check firmware and card formatting while the body is comfortable to hold.
Install the battery shortly before you walk out, not the night before in a cold hallway. A body that has sat at room temperature for hours and goes straight into a sealed bag is doing exactly the right thing; a body warmed in a car first is already starting to collect condensation before you reach the trailhead.
Check that the lens mount is clean, the rear element is clear, and the rubber door seals close properly when you press them. A seal that has been pried with a fingernail or frozen shut is a seal that leaks next time. Wipe the outside of the glass rather than trying to clean the front element deeply, and leave the sensor alone.
You will know preparation worked because the body goes into the bag warm and the bag closes without forcing. A bag that needs to be squeezed shut is one that will not seal properly, and a bag that does not seal does nothing for you.
Keep Batteries Warm and Ready
This is the number one winter problem, and the least warned-about. Lithium-ion chemistry cannot deliver its rated current below about 0 C, so a battery sitting in the camera or clipped to the bag comes back with a low or empty reading while the charge is still sitting there chemically intact. Warm it and the capacity returns. Nothing is broken.
Keep spares in an inner jacket pocket, not a bag pocket and not a glove. Body heat does the work. Rotate them: when the in-camera battery drops below half, swap in the warm one and pocket the cold one until it has recovered.
Do not wedge batteries into a laptop sleeve, against a hot water bottle, or between bare skin and a thick insulating layer. Body warmth is what you want, direct contact is not, and a cell that goes from pocket warmth to sub-zero air in a single second is the fastest way to make a camera complain.
Two things surprise people. First, a charge reading taken in the cold is unreliable, which is why photographers on camera forums swear by charging everything indoors overnight and treating the morning reading as meaningless. Second, charging a battery straight out of the cold is a bad idea: give it time to reach room temperature first, and never charge a battery that is damp, damaged, or bulged.
People who want to keep shooting without swapping can charge in-camera over USB-C while a power bank sits in an inner pocket. It works and it is genuinely useful on a long day, but the power bank is itself a lithium-ion pack that has to stay warm, so it goes in the pocket too.
Protect the Camera and Lens During the Shoot
Weather-sealed bodies from the major manufacturers handle falling snow, sleet, and blowing snow well. They are not waterproof, they are not a submarine, and they will not save you from immersion or from a lens left face-up in a wet bag. Sealing also does nothing whatsoever about condensation, because condensation forms inside, in air that was already inside the sealed chamber.
Keep the camera out of the cold for no longer than you need to. Between setups, cap the lens and put the body back in the bag. The lens is the expensive part and it is also the part that swings between temperatures fastest, so it gains most from being capped and pocketed.
Brush snow off with your hand or the blower before it melts. Meltwater plus grit is a slurry, and a slurry on the front element is a scratch. Wipe in straight passes with a clean microfibre cloth, never in circles, and never dry-wipe a gritty surface because that is what puts the scratches in.
Worth saying plainly: going out into the cold is not the dangerous part. Everyone who shoots winter reports that the camera works fine in the bag and only needs turning on a minute before a shot. The return trip into warmth is where gear gets hurt.
Transport Gear in a Layered Camera Bag
Think of the bag as two compartments: the part that touches the weather, and the part that holds the electronics. The outer shell gets wet. The inner compartment stays dry. Everything you can do is stop the two from sharing.
When you get wet from rain or snowmelt, deal with the outer layer first at the door. Wipe the bag down, remove the damp outer jacket or shell and stuff it into a separate bag, and change any gloves that are soaked. Then bring the camera compartment into the warm room. Doing the wet gear first means the vapour you are about to create rises past dry gear instead of through it.
Inside the bag, keep hard objects away from the lens hoods. A full water bottle, a tripod leg, or a battery brick pressed against a hood is how you crack a glass element without ever dropping the camera.
Keep a sacrificial zip-top bag in the main compartment, ready for a body that has taken a direct soaking. Seal it, put silica gel inside, and leave it closed until the gear is properly dry. Opening a wet body to a warm dry room because you want to look inside is the single most expensive impulse in winter photography.
Handle Condensation and Ice Safely
Condensation and frost look similar and behave completely differently, so it is worth telling them apart before you act.
Frost is on the outside. It forms in minutes, it looks crystalline or white, and it is a freezing problem. Condensation is a film or fog, it usually appears on the inside of glass or the body, it forms minutes to an hour after a temperature change, and it is a humidity problem. A rear element that fogs but whose front is clear is condensation, and you cannot wipe a rear element without taking the lens apart.
The mechanism is simple. Warm air holds water. When that air touches a surface colder than its dew point, the water comes out of suspension and forms droplets. That is why condensation appears on the coldest thing, and why it appears on the way into the warm room rather than on the way out into the cold. The gear did not get wet. The air did.
The procedure, in order, takes 30 to 60 minutes for a normal temperature step:
- Power the camera off before anything else. Do not take pictures through a fogged viewfinder to see how bad it is.
- Open the battery compartment, remove the battery, and take the card out.
- Seal the body and the lenses in zip-top bags, or better, put them in one bag with plenty of silica gel packets and seal it.
- Bring the sealed bag indoors and leave it closed. Let the gear reach room temperature on its own.
- Open the bag only when the metal no longer feels cold to the touch, which normally takes 30 minutes for a 10 to 20 degree change and an hour or more for a big one.
- Power on, check the rear element and the viewfinder, and if you see spotting, leave the body off and give it longer.
This works in both directions, and the second direction is the one people skip. Sealing a warm body into a bag before you put it in a cold vehicle means the moisture is trapped outside the gear, and the same waiting rule applies on the way out.
For ice and frost on the front element, do not rub it and do not breathe on it, since breath adds moisture to a cold surface. Do not use a hair dryer or any heat gun, because coatings, rubberised barrels, and adhesives on modern lenses are damaged quickly by directed heat, and hot air also melts ice faster than the glass can take the gradient. A blower clears loose snow, and for a stubborn patch of rime, capping the lens, pocketing the body and letting it warm is slower and safer than any heat source.
Inspect and Dry Everything Indoors
Work through this before the gear goes back on the shelf.
- Body exterior: wipe meltwater off the mount plate and the dials, then check for ice in the seams around the grip.
- Rear element and sensor: take a look through the mount with the cap off and the lens off. A clean viewfinder with a spotted rear element points to fungus, which grows on organic coatings and wants cleaning sooner rather than later.
- Battery compartment: look for moisture and for frost damage on the contacts. Wipe the contacts with a dry cloth, never with a solvent.
- Card slot: check the slot and the rubber door seal. Grit and ice collect here, and a door that does not close is a door that will let water in next time.
- Lenses: check the front element, the rear element, the barrel for condensation under the hood, and the mount for ice.
- Bag and clothing: dry the bag, leave silica gel inside overnight, and never seal damp gear in a closed bag, because you have just built a greenhouse.
Remove any moisture gently with a cloth and a blower bulb. Do not use compressed air, which drives grit past seals and into mechanisms where it is far harder to reach. Let everything reach room temperature before you power up, and if liquid has entered the body, stop and get it to an authorised service centre rather than powering it on to see what happens.
One more piece of gear-care advice that is easy to skip: a damp camera in a closed bag is the worst possible combination, and a bag of wet gloves next to a body is a small version of it. Dry things first, and give the silica gel the night to work.
Common Mistakes
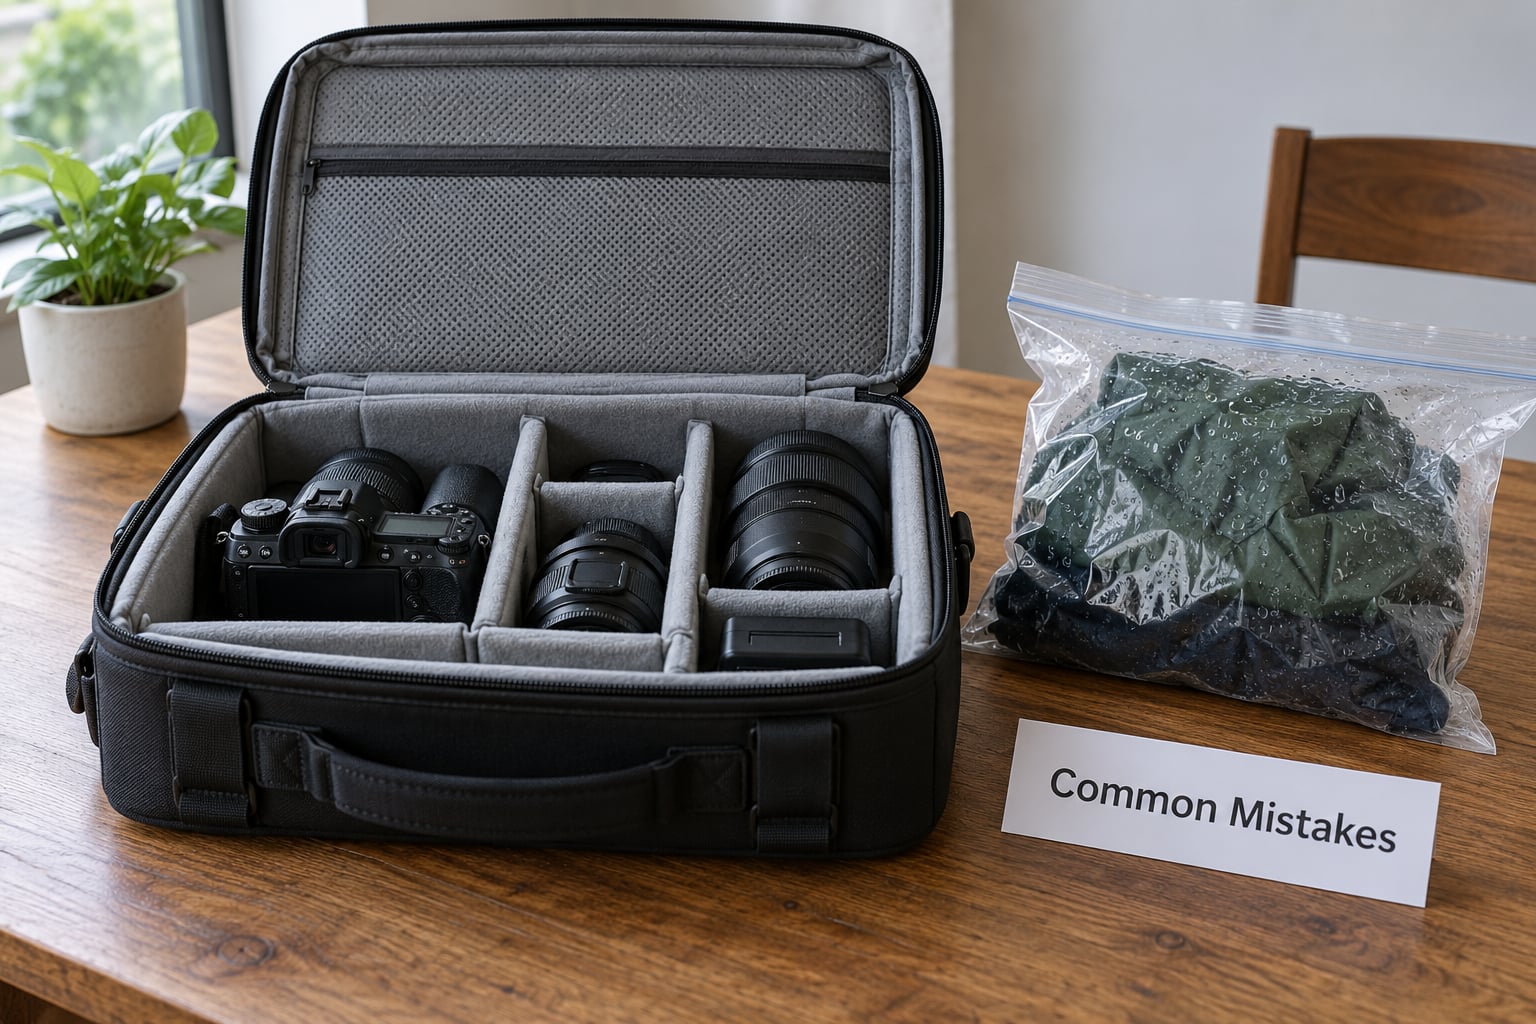
Each of these is common, easy to justify in the moment, and reversible only sometimes.
Bringing a cold camera into a warm car or room and opening the bag. This is the one that actually causes damage, and it is why the sealed bag exists. The safer version is to leave the gear sealed until it has warmed, which takes half an hour and costs you nothing but patience.
Reaching for a hair dryer or a heater to clear ice. Heat ruins lens coatings and can warp barrels, and a frozen camera that is forced to operate can do damage internally. Cap the lens, pocket the body, and wait.
Storing batteries against bare skin or in a pocket next to a chemical hand warmer. Body warmth is the goal, direct contact is not, and a hot pack can cook a cell. Use an inner jacket pocket with the batteries in a small separate pouch.
Dropping a warm pocket battery back into a cold body. This one shows up again and again in forum threads. A battery that has just come from a warm pocket into a sub-zero chamber can trigger an immediate shutdown or an error. Let the battery and the body come closer in temperature first, or accept the swap order of cold into warm and deal with the warm pack separately.
Sealing wet gear in a bag for the night. You are creating the exact conditions that cause internal condensation. Dry what you can, use silica gel, leave the bag open to moving room air, and only zip it once the gear is dry to the touch.
Wiping grit across a lens in a circle. Circular motion grinds particles into the coating. Brush first, then wipe in straight passes with clean microfibre, changing cloths often.
Assuming weather sealing means waterproof. Sealed bodies resist rain, snow and spray. They are not rated for immersion, and sealing does nothing about condensation inside the chamber, which is the failure you are most likely to hit.
A useful habit that costs nothing: charge everything indoors overnight before every winter shoot, ignore the morning charge reading, and treat a camera that has been sitting in a freezing car as perfectly fine. The dangerous car is the warm one after a cold shoot, not the cold one.
Frequently Asked Questions
How do I prevent condensation when bringing a cold camera indoors?
Seal the body and lenses in zip-top bags before you come inside, ideally with silica gel packets inside, and leave them sealed until the gear reaches room temperature. Condensation forms when warm room air meets a surface colder than its dew point, so the bag keeps that moisture outside the gear. Thirty minutes suits a 10 to 20 degree change; an hour or more suits a bigger one. Opening the bag early is what causes the problem, not the cold itself.
Should I leave my camera in its bag while it warms up?
Yes, and that is exactly what the method depends on. Once the bag is sealed, leave it closed and let the metal warm naturally to the touch before you open it. Powering on a camera that is still cold and damp risks the electronics, and opening the bag early exposes warm moist air to cold glass, which is the whole cause of the fog. The same rule applies in reverse when a warm camera goes into a cold vehicle or bag.
Do camera batteries stop working in cold weather?
They lose usable capacity long before they stop working. Lithium-ion cells cannot deliver rated current below about 0 C, so a camera may show a low or empty battery while the charge is still there chemically. Warm the cell and the capacity comes back. Keep spares in an inner jacket pocket and rotate them rather than reading the in-camera gauge, which is unreliable in the cold. Third-party packs tend to perform worse than the maker’s own in low temperatures.
Can I use a hair dryer to remove ice or frost from a camera?
No. Directed heat from a hair dryer or heat gun will damage lens coatings, adhesives and rubberised barrels, and warm air can melt ice faster than the glass tolerates the temperature change. Do not rub the ice and do not breathe on it, since breath adds moisture to a cold surface. Use a blower for loose snow, then cap the lens, put the body in your jacket and let it warm on its own, which takes longer and costs nothing.
Is weather-resistant camera gear safe in rain and snow?
Weather-sealed bodies from the major manufacturers handle rain, sleet and blowing snow well, and they are a real benefit in winter. They are not waterproof and will not survive immersion, so avoid puddles, waves and spray at close range. Sealing also does not prevent condensation, which forms inside the chamber from air that was already there. Keep the bag dry from the inside out and treat a soaked body as a separate problem.
What should I do if the memory-card slot gets wet?
Power the camera off, remove the battery, and take the card out straight away. Let the slot air dry completely at room temperature with the compartment door open, and keep silica gel near it. Do not insert a card, poke a cotton bud into the contacts, or use a compressed-air can, which can force moisture deeper. Once the slot is bone dry, try the card in a reader before putting it back in the body.
Start with the two habits that prevent most winter damage: keep spare batteries in an inner pocket, and seal the gear in a zip-top bag before it crosses any temperature boundary in either direction. Everything else on this page is repair. Gear is a tool built to work in weather, and the people who shoot all winter are not being careful, they are just skipping the ten minutes that the cold punishes you for ignoring.