Starting seeds indoors is simple once you get the three things right: a sterile soilless seed-starting mix, bottom warmth until the seed sprouts, and strong light the moment it does. Put those together and you can raise sturdy transplants in six to eight weeks, ready to go into the garden a few weeks after your last spring frost.
The payoff is real. Indoor starting buys you six to eight extra weeks of growing season, opens up heirloom and specialty varieties that nurseries never stock as plants, and protects young transplants from the late frost that ruins a direct-sown bed. Most beginners lose their first tray to one of two things: watering too much, or leaving seedlings under light that is too weak or too far away.
I grew my first tray badly. I used garden soil from the yard, buried the seeds a quarter inch deep, and put the container on a windowsill in February. Nothing came up for eleven days, and what did come up was pale, bent, and dead within a week. The fix was not complicated. It was sterile mix, a warm surface for germination, a light two to three inches above the leaves, and less water than instinct demands.
This guide walks through the whole process in order: what to gather, eight steps from filling the tray to preparing for transplant, and a troubleshooting chapter for when seedlings go sideways. Numbers are included throughout, because advice without measurements is where most seed-starting guides lose you.
Table of Contents
- What You Need
- Soil: a sterile, soilless seed-starting mix
- Containers: anything with drainage holes
- Warmth: a heat mat holding soil at 65-85°F
- Light: a full-spectrum LED grow light
- Useful extras
- Three ways to build the setup
- Step-by-Step: How to Start Seeds Indoors
- Step 1: Choose a Seed-Starting Location
- Step 2: Fill Containers and Prepare the Soil
- Step 3: Sow the Seeds at the Right Depth
- Step 4: Cover, Label, and Keep the Seeds Warm
- Step 5: Give Seedlings the Right Light
- Step 6: Water Without Damping Off the Seedlings
- Step 7: Thin and Care for Young Seedlings
- Step 8: Begin Light Fertilization and Prepare to Transplant
- Common Mistakes
- 1. Burying seeds too deep
- 2. Overwatering
- 3. Weak or distant light
- 4. Overheating
- 5. Still, humid air under a closed dome
- 6. Fertilizing too early
- 7. Crowding
- 8. Planting out without hardening off
- Symptom, cause, fix at a glance
- Frequently Asked Questions
- What are the most common mistakes when starting seeds indoors?
- Which seeds should not be started indoors?
- Does hydrogen peroxide make seeds germinate faster?
- How close should a grow light be to seedlings?
- Can I start seeds indoors without a grow light?
- How long does it take seeds to germinate indoors?
- Conclusion
What You Need
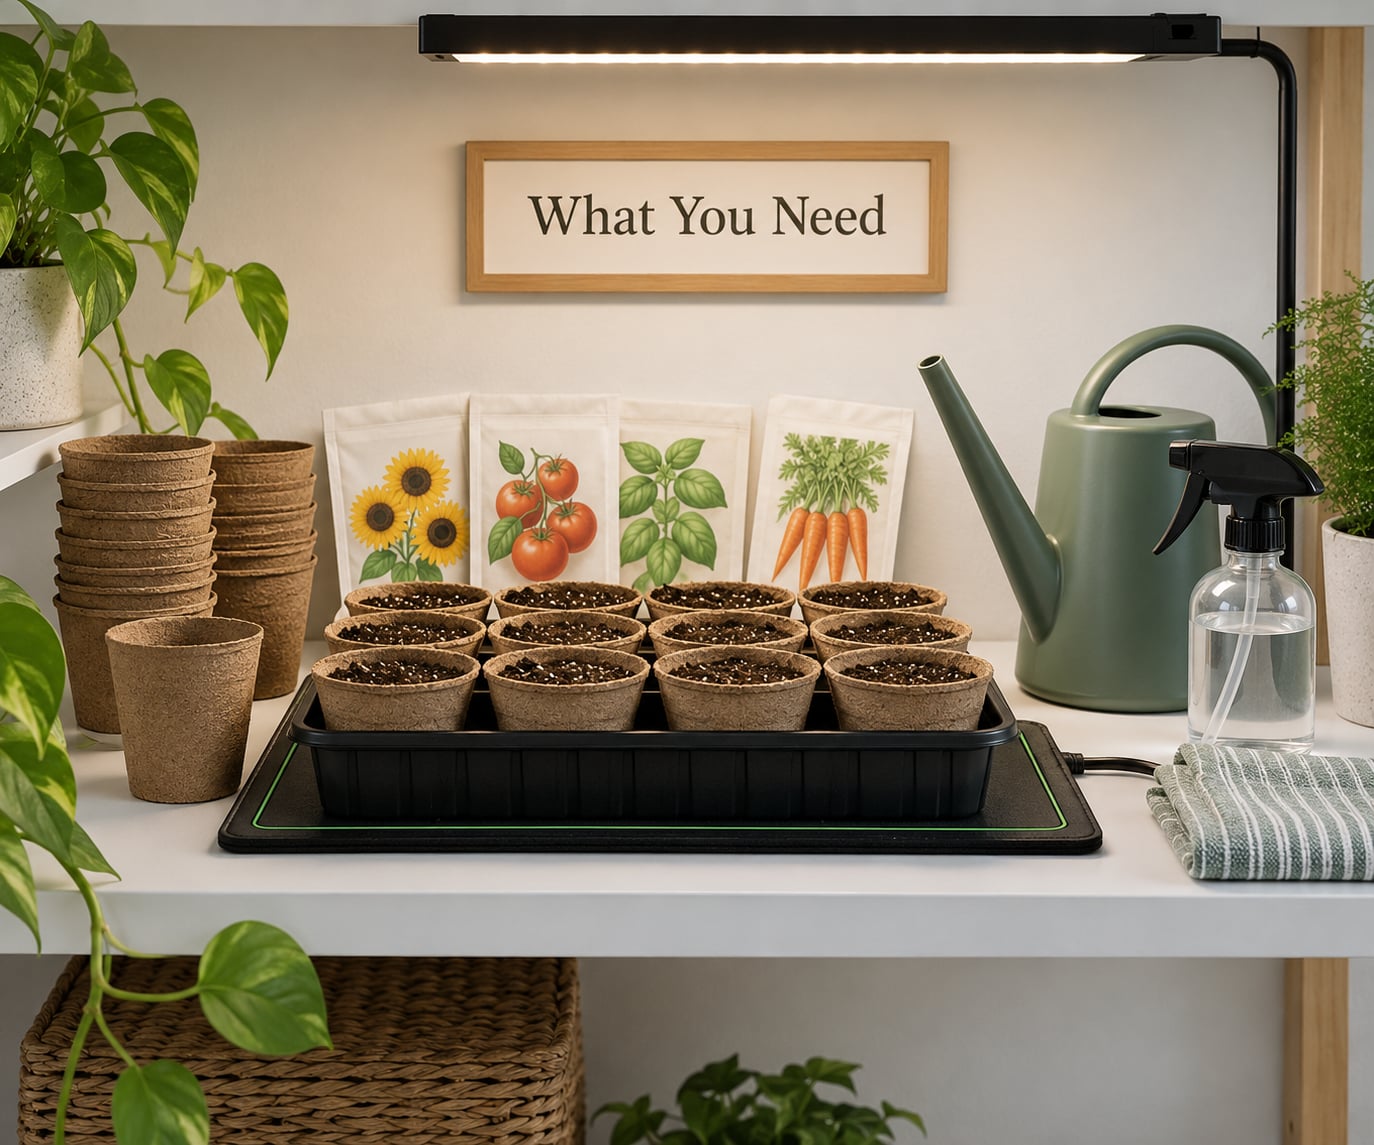
Four things carry the whole method. Everything else is a convenience.
Soil: a sterile, soilless seed-starting mix
Buy a mix labeled for seed starting, not a general potting mix and never garden soil. Seed-starting blends are peat or coco coir with perlite, screened and pasteurized, so they hold air around a young root while staying moist. Potting mix is denser and often carries fungus gnats. Garden soil brings its own insects, weed seed and pathogens, which is how damping off outbreaks start.
Containers: anything with drainage holes
Drainage is the one non-negotiable feature. A six-cell or twelve-cell tray, a shallow pan, or a set of plastic cups with holes punched in the bottom all work. Egg cartons, yogurt cups and small yogurt-style pots work too. Avoid containers with no holes: water sits in the bottom and rots the stems.
Warmth: a heat mat holding soil at 65-85°F
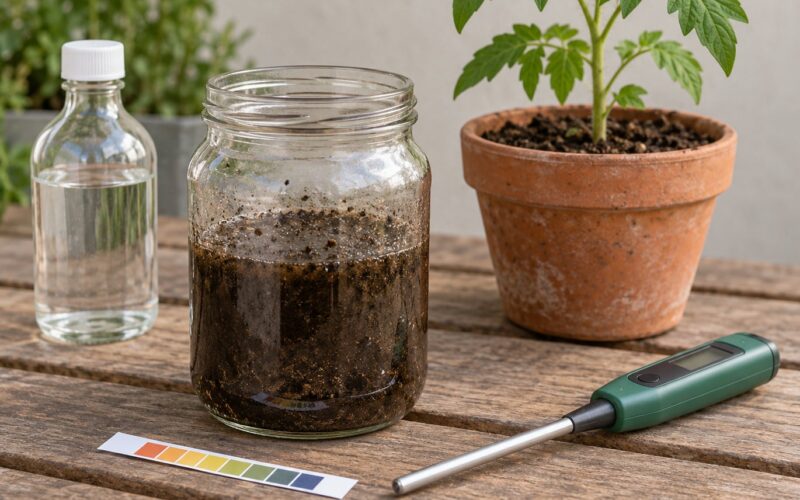
Most vegetable and flower seeds germinate fastest when the soil sits between 70°F and 80°F. A basic seedling heat mat with a thermostat holds that range; the seed packet or a soil thermometer tells you when you have it. If you would rather not buy one, the top of a refrigerator usually runs cool enough for many crops, though it is less consistent.
Light: a full-spectrum LED grow light
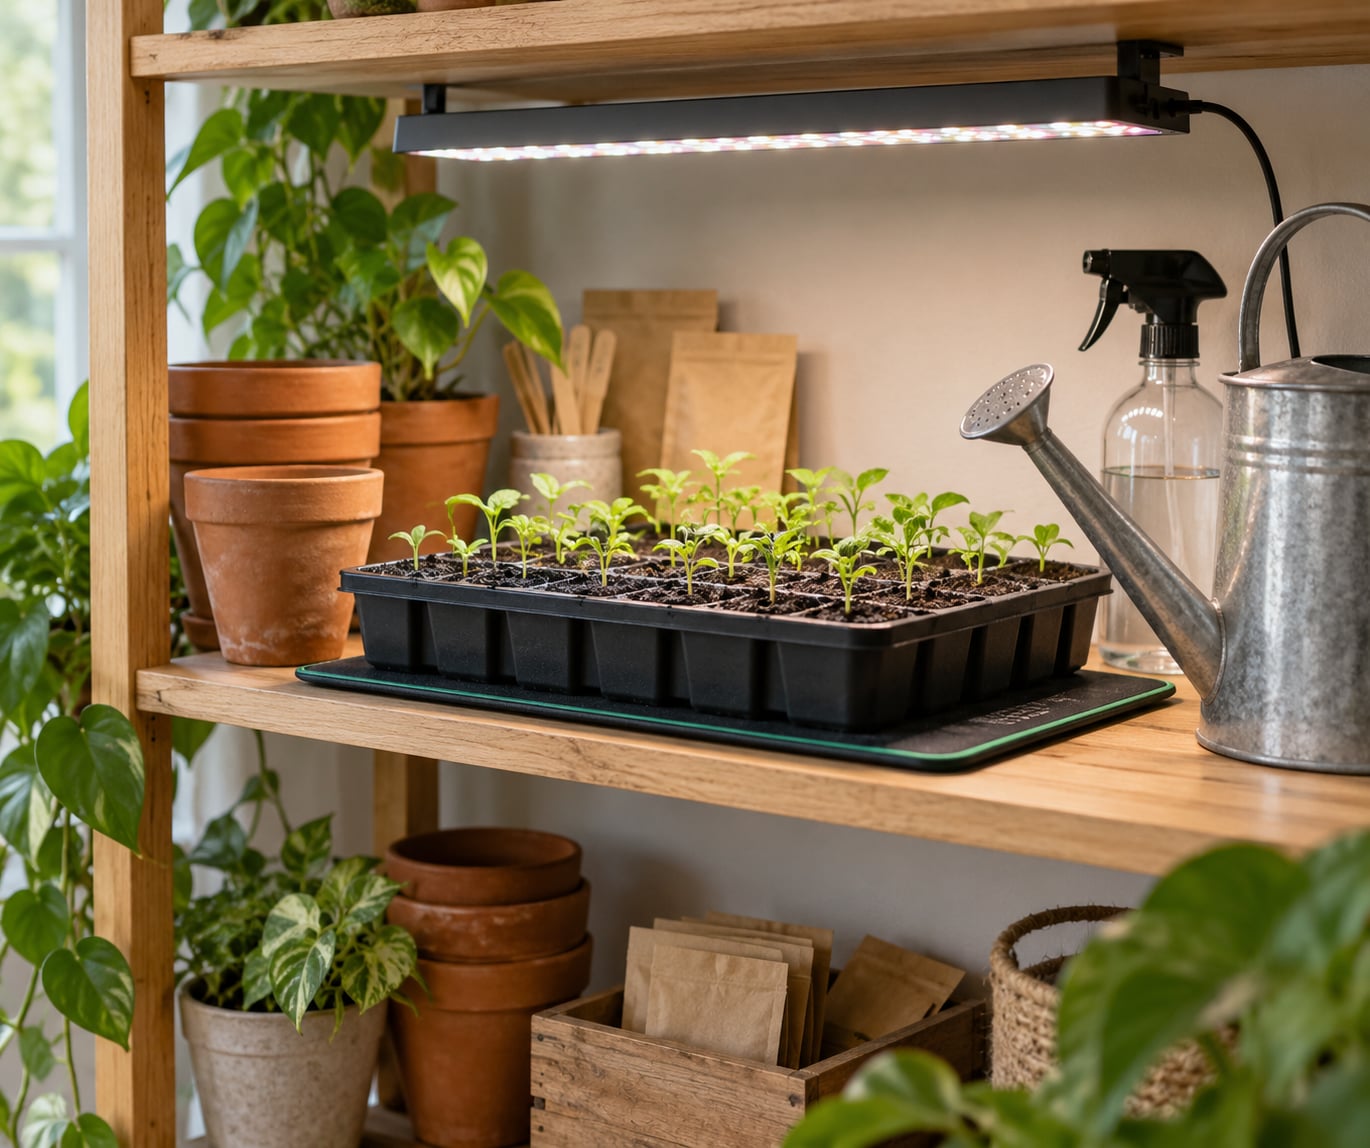
Hang a full-spectrum LED fixture two to three inches above the seedling canopy and run it 16 to 18 hours a day on a timer. That distance and that duration are the two numbers most beginners get wrong. A south-facing window rarely delivers enough light in winter or early spring to keep seedlings compact.
Useful extras
A small oscillating fan, a mister or fine spray bottle, plant labels or a marker, a cheap thermometer, and a watering can with a gentle rose all earn their space. A bag of vermiculite or perlite helps if your mix compacts when wet. A blackout curtain or a card box over the shelf helps if a window nearby reflects light back at night.
Three ways to build the setup
- Free tier: egg cartons or yogurt cups, a bag of seed-starting mix, a sunny south window, and a fan you already own. Add a light only if the window is dim or the seedlings stretch.
- Modest tier: one twelve-cell tray with a clear dome, a small heat mat, a clamp fan, and a two-foot LED light on a timer. This is the setup that covers ninety percent of home growers.
- Full tier: a boot shelf or wire rack holding two or three trays, a light bar per shelf, a thermostat-controlled mat, and a wall fan for circulation. Best if you sow tomatoes, peppers and a cut-flower run in the same season.
Pick a location before you buy anything. A shelf near an outlet, out of drafts, with room to hang a light two to three inches above a tray, saves you from building the setup twice.
Step-by-Step: How to Start Seeds Indoors
Step 1: Choose a Seed-Starting Location
Look for three conditions: warmth, light, and a clean surface you can defend from drafts and pets. A shelf in a spare room, a closet top with the door left open, or a laundry room shelf near an outlet all function fine. The spot should hold a steady temperature without swinging by ten degrees overnight, because swings slow germination and encourage mold.
Test your light before you sow. Put your hand flat on the surface where the tray will sit, palm down. A bright window reads clearly, a dim room does not. If your hand casts a soft shadow in the middle of the day, the spot can support slow growth but will produce leggy seedlings without a fixture above it.
Step 2: Fill Containers and Prepare the Soil
Fill every cell with moist seed-starting mix, then firm it gently with your fingertips until the surface is flat and slightly compressed. You want the mix damp like a wrung-out sponge, not dripping. Filling dry and watering afterward pushes seeds too deep and leaves air pockets at the edges.
Make a shallow hole or a furrow about a quarter inch deep, then drop one or two seeds into each hole. A dibber, the end of a chopstick, or a finger works. Before sowing anything, test the mix: squeeze a handful. It should hold together and break apart with a light touch, no more.
Step 3: Sow the Seeds at the Right Depth
Cover lightly with the same mix, following one rule: three times the seed’s diameter. A tomato seed is small, so a scant eighth inch covers it. A bean or squash seed gets three-quarters to an inch. Buried too deep, a seed spends its energy pushing up instead of rooting down, and many never break the surface at all.
Handle small seeds with a dry fingertip or a damp paintbrush. Press the covering down lightly with your finger so the seed makes contact with the mix, then stop compacting. Heavy packing squeezes out the air a germinating seed needs.
Step 4: Cover, Label, and Keep the Seeds Warm
A clear dome or a sheet of plastic wrap over the tray holds humidity and keeps the mix from drying out during the days when nothing has sprouted yet. The cover should touch the mix lightly so the air underneath stays humid, and it should have a small vent hole or sit slightly ajar.
Remove the cover the day after the first sprouts push through. Seedlings in a sealed dome stay soft and stretch toward the light, and mold outbreaks almost always trace back to a dome left on with no air movement. Water droplets running down the inside of a dome are a sign to take it off sooner rather than later.
Set the tray on a heat mat at 65-85°F for warm-soil crops such as tomatoes and peppers, closer to 65°F for brassicas and lettuces. Run the mat until most seeds have sprouted, then turn it off, because sunlight and room heat usually take over from there.
Step 5: Give Seedlings the Right Light
This is the step that decides whether you end up with compact plants or floppy ones. Hang the LED fixture two to three inches above the tallest leaves, turn it on, and set a timer for 16 to 18 hours a day. Sixteen hours on and eight hours off gives seedlings a dark rest period, which many growers believe keeps growth compact.
Lower the light as the seedlings grow, checking daily. Keep it close enough that a hand held under the canopy feels warm without feeling scorched. Leggy seedlings almost always tell the same story: the light was too far away, the window was too dim, and moving the fixture closer fixed it.
Signs of not enough light are tall, thin stems, pale yellow-green leaves, and a lean toward the window. Raising the light will not repair stretched stems, but it stops further stretching. If you see scorched brown patches or wilted leaves right under the fixture, drop it another inch and shorten the photoperiod.
Step 6: Water Without Damping Off the Seedlings
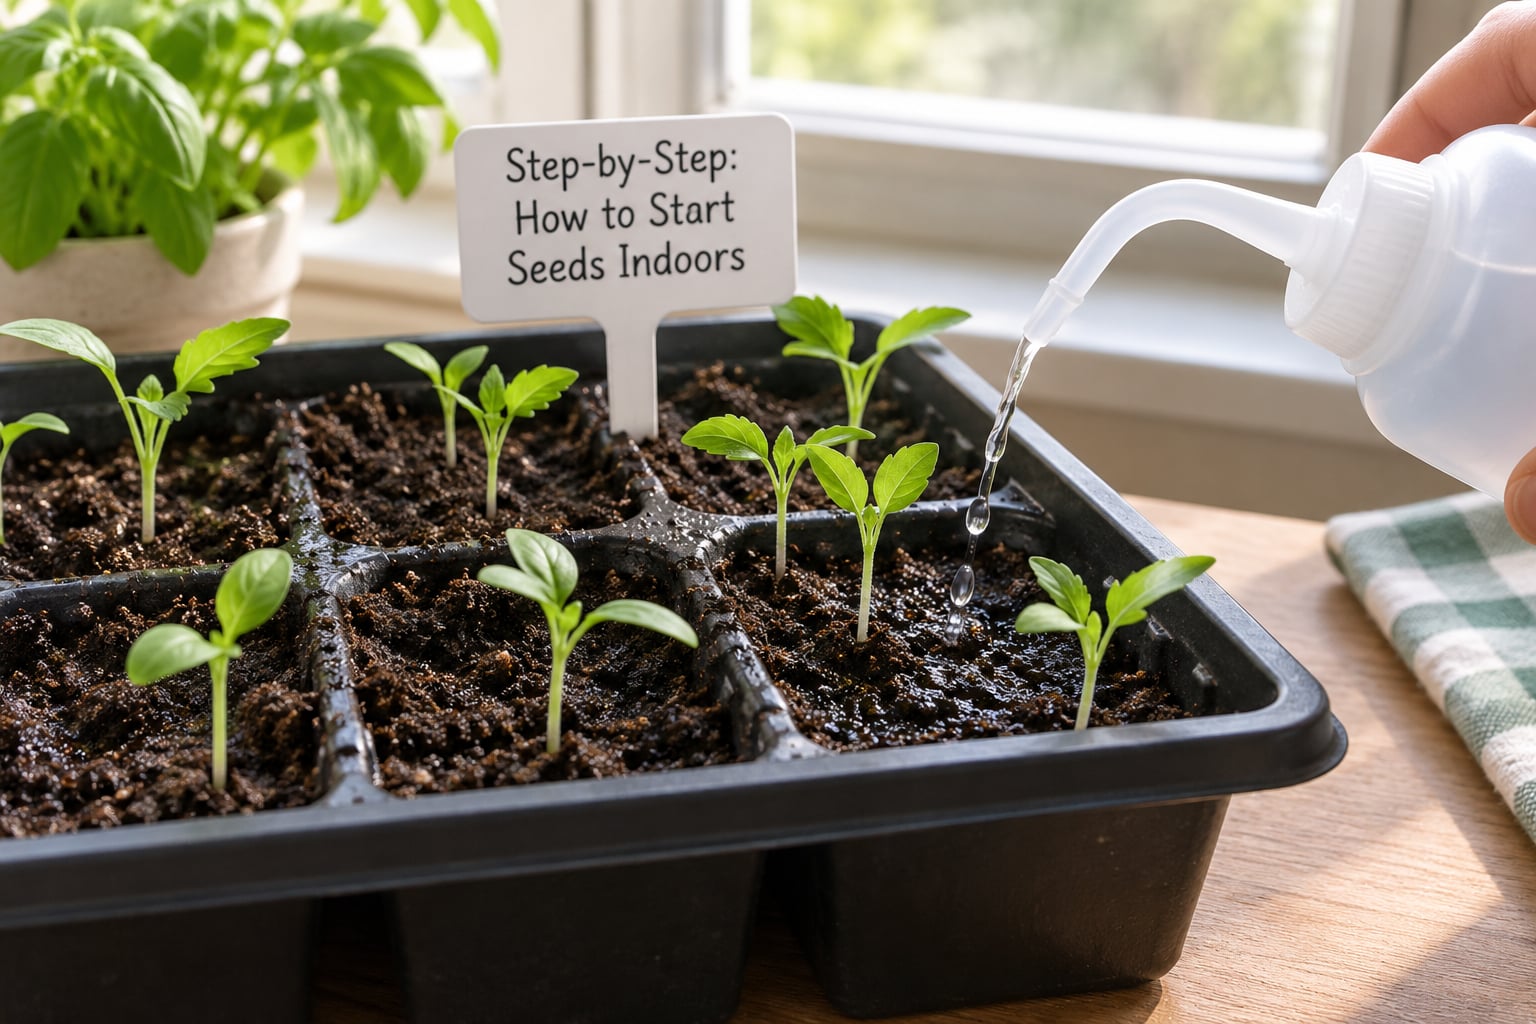
Bottom watering beats top watering for trays. Set the container in a shallow pan of water for fifteen to thirty minutes, let the mix drink from below, then drain the pan completely. This gives even moisture without knocking seeds out of their planting hole or burying tiny leaves under a splash of soil.
Water from the top only when you must, and use a fine rose or spray so you do not displace the mix. Check moisture by lifting one cell out of the tray and squeezing it, or by pressing a finger a quarter inch into the surface. Water when the top layer feels dry to the touch, not on a fixed schedule.
Overwatering is the single most common way home seed starts fail, and mold across an entire tray is usually the result. Soggy mix starves roots of oxygen, and a stem that collapses at the soil line a day or two after sprouting has damping off, a fungal disease that thrives in wet, crowded, still conditions.
Step 7: Thin and Care for Young Seedlings
When the first true leaves appear, thin crowded cells to one strong seedling. True leaves are the second set of leaves, which look different from the smooth seed leaves, or cotyledons, that came up first. Pinch the unwanted seedling at soil level rather than pulling it, so you do not disturb the roots of the keeper.
Small cells kept from an early stage dry out fast, which is why many growers start in tiny cells where moisture is easy to control, then pot up later into separate cups.
Run a small fan across the tray on low, moving air for a few hours a day. Stems become sturdy by resisting a little movement, and constant airflow dries the surface of the mix, which is exactly what you want. Skipping the fan is the beginner mistake I regret most, because a still tray is how damp soil turns into damping off.
Step 8: Begin Light Fertilization and Prepare to Transplant
Once the first true leaves are open, start feeding. Mix a balanced liquid fertilizer at roughly one-quarter to one-half of the label strength and apply it every week or two in place of plain water. Feed a seedling before it is established and you burn the roots, which is why you wait for true leaves rather than feeding at germination.
Before a seedling moves up in size or goes outside, it needs to survive the change. Hold seedlings a few days at room temperature with the mat off, then move on to hardening off. Most tomatoes and peppers need six to eight weeks indoors; brassicas are fast at four to six. Count backward from your last frost date and add a week, because seed packets list time from sowing to transplant, and seedlings that get too large before planting are harder to move.
A one-week hardening schedule works for most crops: day one, an hour outside in shade; day two, two hours; day three, four hours of sun plus the rest of the day in shade. On days four through six, add direct sun an hour at a time. Move the seedlings indoors at night if the temperature drops, and on day seven plant them in the evening so they recover overnight.
Common Mistakes
Almost every indoor seed failure traces to one of eight things. Here is what goes wrong, why, and the fix.
1. Burying seeds too deep
Seedlings that never emerge were probably planted too deep. Cover at three times the seed’s diameter, and push the seed into the wet mix rather than laying it on top of dry mix, where it can sit unconnected until it dries out.
2. Overwatering
Constantly wet mix starves roots of oxygen and invites damping off. Water when the surface feels dry, drain the pan after bottom watering, and never leave a tray standing in water.
3. Weak or distant light
A dim window or a fixture held too high produces long, pale, weak stems. Move the light to two or three inches above the canopy and run it 16 to 18 hours daily. You cannot undo existing stretching, but the next batch will be better.
4. Overheating
A mat left on full under a close light can cook a tray. Run the mat only until most seeds sprout, and check soil temperature with a thermometer instead of guessing from the air temperature.
5. Still, humid air under a closed dome
Domes trap moisture and stillness, which is a mold nursery. Vent or remove the cover at first emergence, and add gentle air movement from a fan.
6. Fertilizing too early
Seedlings do not need food until the first true leaves open. Early feeding in an undiluted solution scalds young roots and stunts growth. Start weak, then work up.
7. Crowding
Cells packed with multiple seedlings compete for light and air, and disease spreads faster between crowded stems. Thin early, at the true-leaf stage, to one strong plant per cell.
8. Planting out without hardening off
Moving seedlings straight from a grow light into full sun and wind scorches them, and that shock can set a plant back for weeks. Spend five to seven days stepping their exposure up, then transplant in the evening.
Symptom, cause, fix at a glance
| Symptom | Likely cause | Fix |
|---|---|---|
| Nothing germinated after twice the packet’s time | Seeds too deep, or too old | Re-sow at three times seed diameter with fresh seed |
| White or green fuzz on the surface | Mold from overwatering and still air | Remove affected cells, cut water, run a fan, improve drainage |
| Stems pinching at soil line and collapsing | Damping off | Cut watering, add airflow, increase light, re-sow in fresh mix |
| Tall, thin stems leaning toward glass | Light too weak or too far away | Lower the fixture to 2-3 inches, extend to 16-18 hours |
| Brown, scorched patches under the light | Light too intense or too close | Raise the fixture an inch, reduce hours, check daily |
| Mix dry within a day on a heat mat | Warm air drying the surface | Bottom water more often, use a dome until sprouts appear |
| Wilted seedling after watering | Seedling too large for its cell, or damaged roots | Pot up into a deeper cell, or transplant if roots look healthy |
| Small flies circling the tray | Fungus gnats in over-moist mix | Let the surface dry, top-dress with perlite, use yellow sticky traps |
Two habits prevent most of that list. Check the mix every morning with a finger instead of watering on a schedule, and check the light distance every day as seedlings grow. That is most of the work of indoor seed starting.
Frequently Asked Questions
What are the most common mistakes when starting seeds indoors?
The big four are burying seeds too deep, overwatering, weak light, and still air. Plant each seed at three times its diameter, water only when the surface feels dry, hold the light two to three inches above the canopy, and run a small fan. A sealed dome left on too long is the usual cause of mold.
Which seeds should not be started indoors?
Beans, corn, peas, cucumbers, squash, melons and most root crops do poorly indoors because their roots dislike disturbance and transplanting sets them back. Sow them directly in the garden once the soil warms. Lettuce, brassicas, tomatoes and peppers are the classic indoor crops, along with most herbs and cut-flower varieties.
Does hydrogen peroxide make seeds germinate faster?
A very dilute hydrogen peroxide soak can help break dormancy on hard-coated seeds and sterilize a mix surface, but it does not reliably speed up most vegetable seeds, and stronger solutions burn roots and stall germination. If you use it, keep it near one part peroxide to ten parts water and soak only the hard-coated seeds. Warm, moist mix does more.
How close should a grow light be to seedlings?
Two to three inches above the tallest leaves, with the fixture lowered as plants grow. That distance keeps light intensity high enough to prevent leggy stems without scorching foliage. Check daily in the first two weeks, since seedlings can double in height that fast under a fixture.
Can I start seeds indoors without a grow light?
You can, but only with a very bright south-facing window and a spot that gets direct sun for most of the day. Even then, seedlings usually stretch toward the glass, because window light is far dimmer than it looks. If your plants lean and the stems are thin and pale, a timed LED fixture is the fix.
How long does it take seeds to germinate indoors?
Most tomato and pepper seeds sprout in five to ten days, brassicas and lettuces in three to seven, and herbs in seven to fourteen. If nothing appears after roughly the packet’s germination window doubled over, something is wrong. Re-sow with fresh seed rather than waiting, since a thin spring tray has no chance of catching up.
Conclusion
Starting seeds indoors comes down to three habits: warmth until a seed sprouts, light two to three inches above the canopy for the sixteen hours it needs every day, and less water than feels comfortable. Everything else, the trays and the domes and the perlite, is detail.
Find your last frost date, count back six to eight weeks, and sow the first tray this week. Peppers take the longest, so start them first and let tomatoes follow a week later. You can always sow a second round later; you cannot buy back six weeks of season once they are gone.