To photograph indoors without flash, open the aperture as wide as your lens allows, keep the shutter speed above the blur threshold for your subject, and raise the ISO to cover whatever light is left over. Then find the best light in the room first, because settings can only work with the light you have. It takes about ten minutes to set up and gets easier after a few tries.
Table of Contents
- Essential Camera Settings
- What You Need to Photograph Indoors Without Flash
- Step-by-Step
- How to Photograph Indoors Without Flash: Find the Best Light
- Set Up a Stable Camera Position
- Choose the Right Camera Mode
- Use a Reflector or White Card
- Focus Carefully on the Important Detail
- Compose for Cleaner Indoor Photos
- Take a Test Shot and Adjust
- Shoot a Small Test Series
- Common Mistakes
- Underexposing and then brightening in editing
- Mixed lighting
- Blown-out windows behind a dark subject
- Motion blur blamed on the subject
- Pushing ISO past the point of usefulness
- Leaving a cluttered background
- Relying on the auto flash
- Stuck indoors right now with no gear
- Already shot too dark?
- Frequently Asked Questions
- Can I photograph indoors without flash using a phone camera?
- What is the best indoor light source for photography without flash?
- How do I prevent blurry photos when shooting indoors without flash?
- Should I use manual mode or aperture priority indoors?
- How do I set white balance when using window light?
- Do I need a tripod to photograph indoors without flash?
- Conclusion
Essential Camera Settings
- Aperture: f/1.4, f/1.8 or f/2.8 to let as much light into the lens as possible. A kit lens at f/5.6 loses roughly four stops compared to a fast prime.
- Shutter speed: 1/60s or slower for a still subject on a tripod. 1/125s minimum for a child or pet. 1/250s for anything actually moving.
- ISO: 800, 1600 or higher indoors. Modern cameras handle grain well, and minor noise can be cleaned up later.
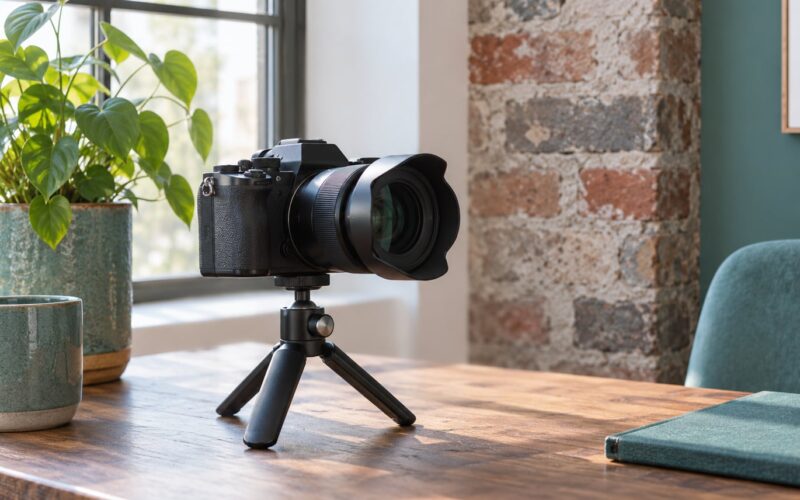
- Stabilisation: tripod, timer release or braced arms before you touch anything else.
- File type: RAW, so you can recover shadow detail and fix white balance after the fact.
One thing worth saying up front: there is no magic setting. Every extra stop of light has to come from somewhere, and the only real question is which of the three controls you spend it on. People on photography forums keep arriving at the same answer, which is to push ISO rather than aperture, because a sharp grainy photo beats a clean blurry one every time.
What You Need to Photograph Indoors Without Flash
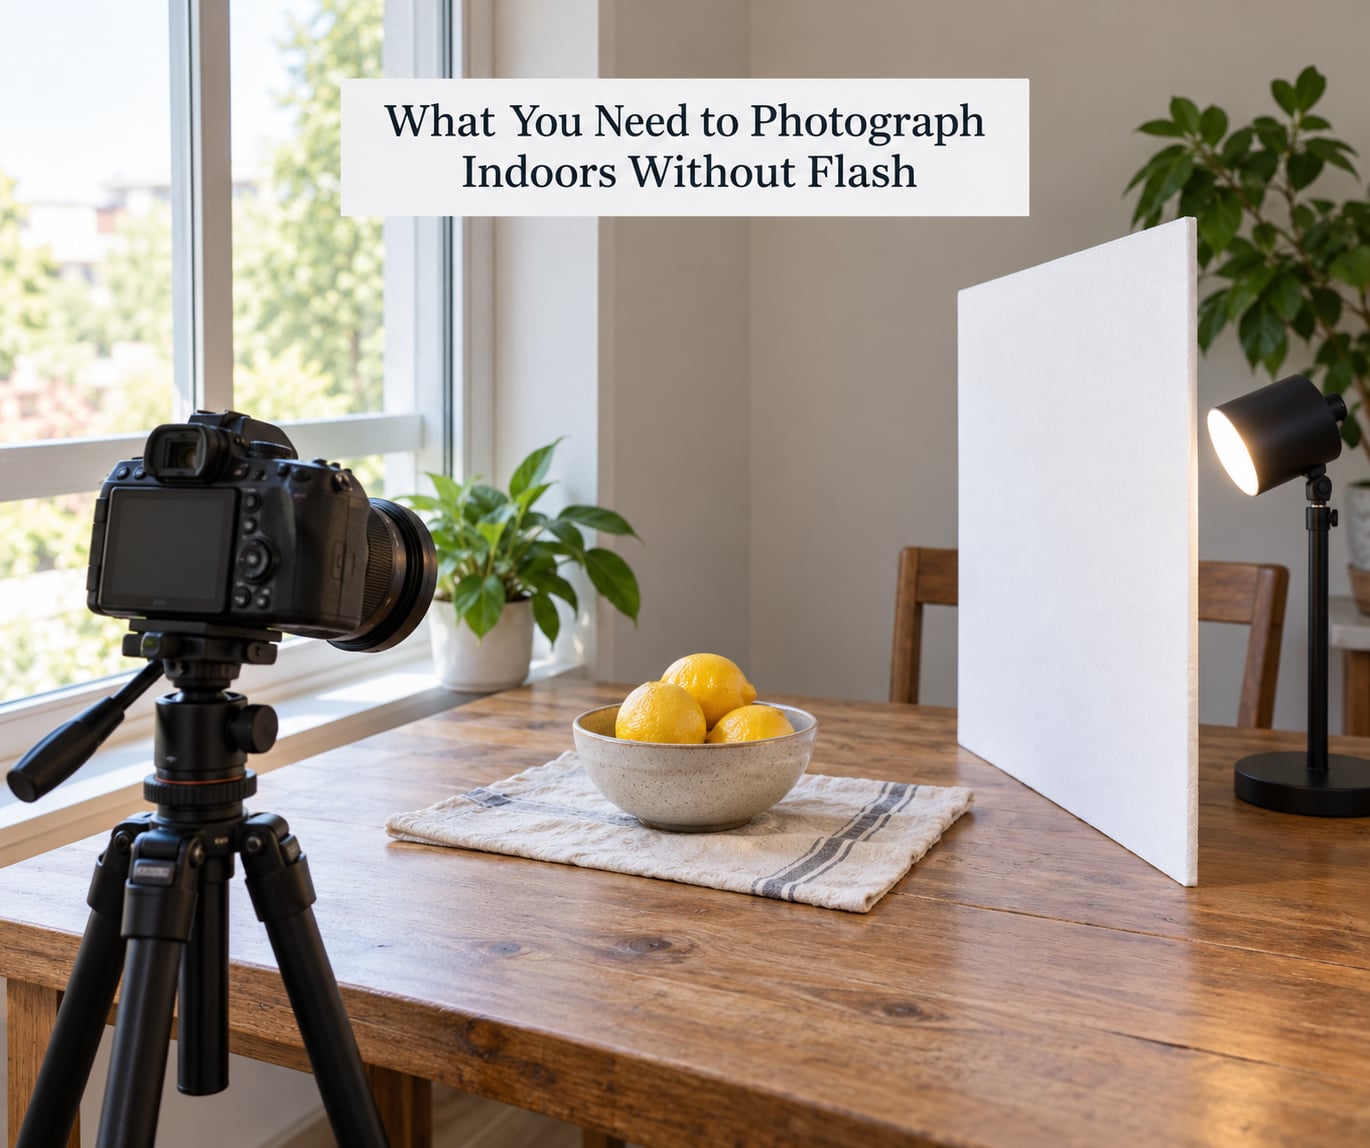
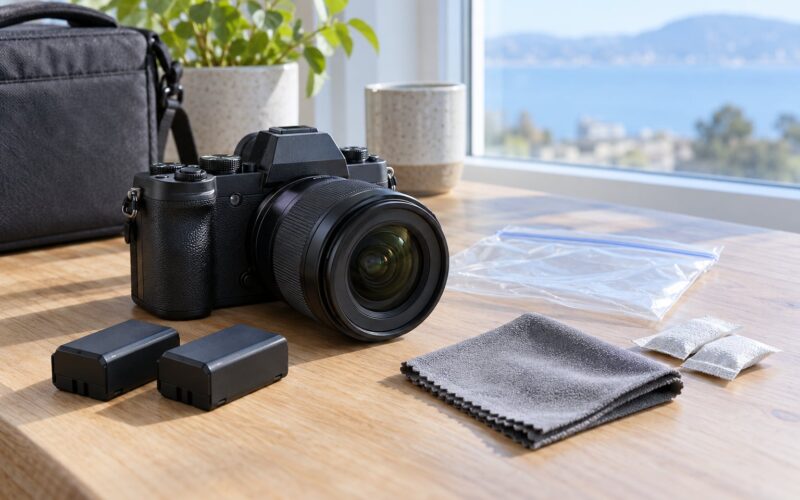
The short list. A camera with any lens, something to steady it on, and a source of light in the room that is not your flash.
- Camera: any interchangeable lens camera. A mirrorless body with a kit lens handles most indoor situations. A phone camera works too, and we cover that in the FAQ.
- Lens: a fast prime is the single biggest upgrade you can make. Something in the f/1.4 to f/2 range. Focal length matters less indoors than people expect, because the room is usually too small to step back anyway.
- Support: a tripod is ideal but not required. A stack of books, a kitchen counter, a braced elbow, or the two-second timer on your camera all work.
- Light source: a window is the best one in the house. Failing that, a desk lamp, an open doorway, a torch, or even a phone screen held above the subject.
- Optional: a white foam board or sheet of paper for bouncing, a grey card or colour reference for white balance, and a lens cloth.
If you own nothing beyond a phone and a window, you can still do this well. The technique is the same; only the numbers change.
Step-by-Step
How to Photograph Indoors Without Flash: Find the Best Light
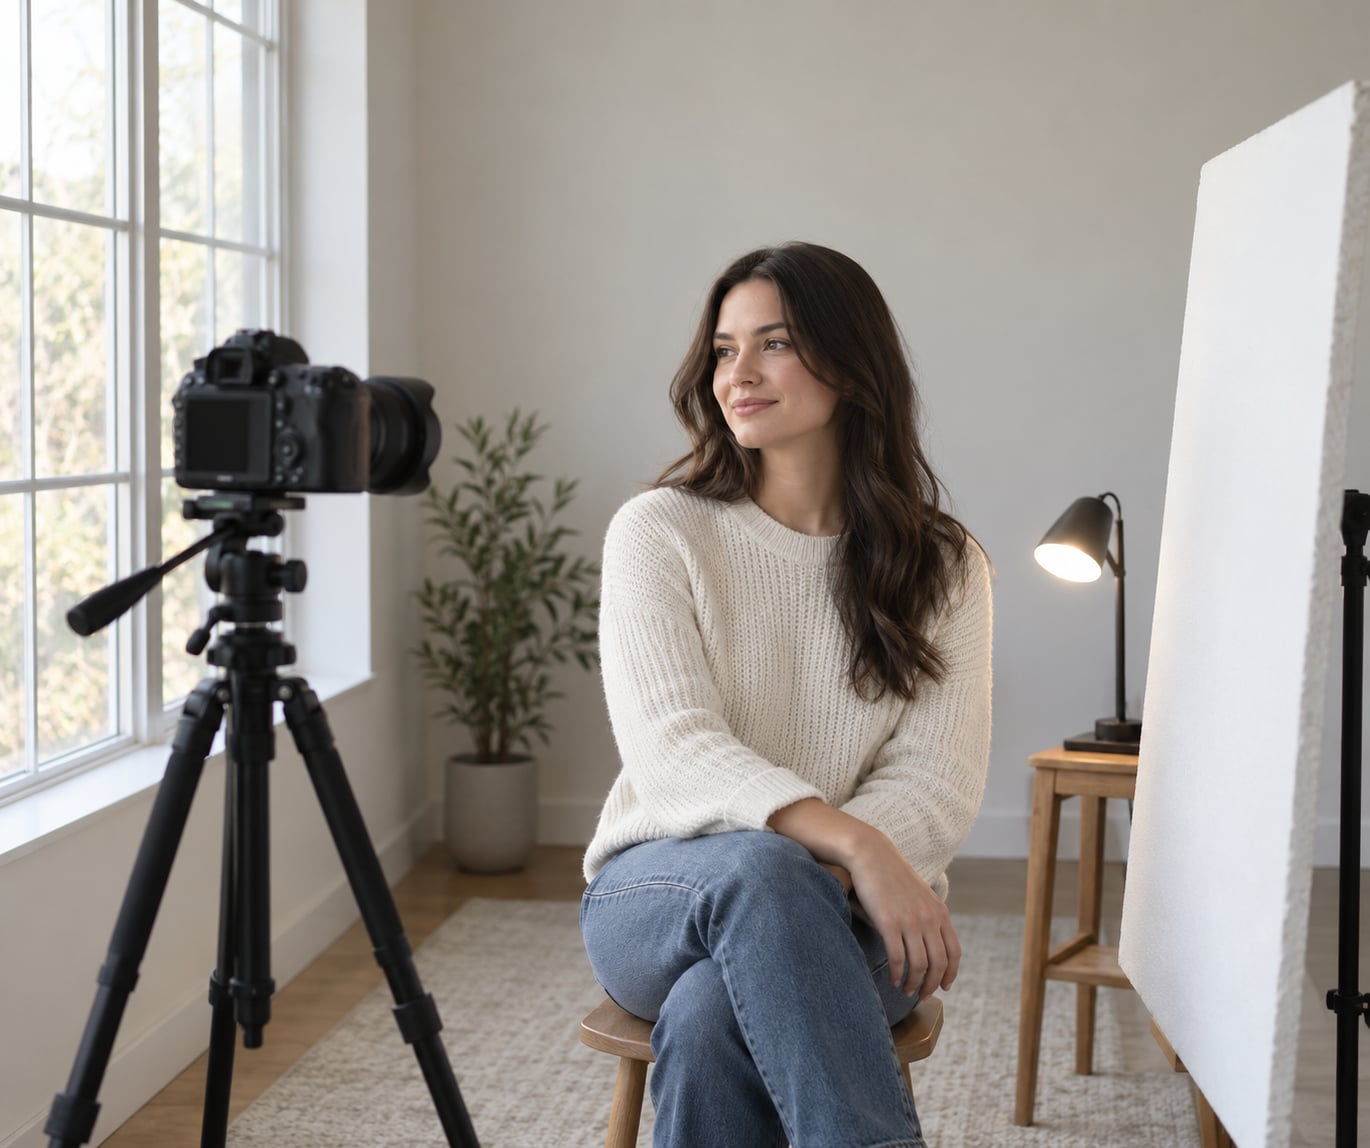
Put your subject close to the window and turn them about 45 degrees toward it. That way the light falls across the face rather than straight into it, which keeps both eyes and cheekbones readable instead of flattening everything out.
Avoid mixed colour temperatures where you can. A warm ceiling bulb and cool window light in the same frame produces a colour cast you cannot fully correct later. Turn off the overhead lights, or shoot with only one source and shoot RAW so you can set white balance afterwards.
Timing matters more than people expect. Midday sun through a window gives harsh, high-contrast light. Golden hour and twilight give softer, warmer light that flatters people far better. Photojournalists working interiors start from an assumption of about EV 8, which is roughly a dim but ordinary indoor room, and adjust from there.
Set Up a Stable Camera Position
Camera shake is the single most common reason indoor photos look soft, and it has nothing to do with the subject moving. If your shutter speed drops below roughly 1/60s and the camera is in your hands, you will get motion blur from your own pulse.
That 1/60s is the hand-hold floor. With stabilisation in the lens or the body, you can often work down to 1/30s or 1/15s before the shake shows. On a tripod, 1/4s is fine for a completely still subject.
Use a two-second timer or a remote release rather than the shutter button. Pressing the shutter at 1/20s adds a sharp jolt to the movement you were trying to avoid. Forum advice on this is unanimous and I agree with all of it.
Choose the Right Camera Mode
Manual mode gives you full control and repeatable results, which is what you want when the light keeps changing between shots. Aperture priority is a reasonable second choice for beginners, since the camera handles shutter and ISO while you pick the aperture.
Here is the starting point most people land on, roughly by light level:
- Dim room, evening, no window: widest aperture available (f/1.4 to f/2.8), 1/60s on a support, ISO 3200 to 6400.
- Average lit room, one lamp on: f/1.8 to f/2.8, 1/125s, ISO 1600 to 3200.
- Bright room, subject by a window: f/2 to f/4, 1/250s, ISO 400 to 1600.
- Moving subject in a dim room: widest aperture available, 1/250s minimum, ISO 3200 to 6400.
These are starting points, not rules. Check the histogram and adjust. One photographer whose work I have seen shoots an indoor frame at f/2.5, 1/20s and ISO 5000 on a Canon 5D Mark III and reports it as not visibly grainy; an older Canon 60D body at the same settings gave a coarser, more textured result.
Whatever you choose, shoot RAW. It costs nothing and gives you far more room to fix shadow detail and white balance than a JPEG does.
Use a Reflector or White Card
Side light from a window leaves one half of the face in shadow. Fix it by putting a white foam board, a sheet of A3 paper or even a pale wall on the opposite side to bounce light back into the shadow.
Keep it simple. A reflector only adds fill, it never creates harder light than the window already does. Aluminium foil on a piece of card stock is a stronger reflector if you need more, but go easy, because it will start behaving like a small flash if you bring it too close.
If you have nothing at all, move your subject so the window is more to the side and slightly above eye level. That alone flatters more faces than any reflector.
Focus Carefully on the Important Detail
Autofocus struggles in dim light, and the hunt you see on the display is a real limitation of contrast detection in low light rather than anything you did wrong.
Switch to single-point autofocus and place the point on the eye for a portrait, the front edge of a plate for food, or the label for a product shot. Back-button focusing helps too, because it decouples focus from the shutter press.
If focusing is still unreliable, focus manually on something at the same distance and stop down slightly for depth of field. A torch or phone light aimed at the wall behind the subject for a few seconds is a last resort that works better than it sounds.
Compose for Cleaner Indoor Photos
Rooms are full of things that were never meant to be in your photograph. Before you frame, walk to where the camera will be and look at the background with fresh eyes. Then move the subject ten centimetres rather than rearranging the furniture.
Use a wider lens when the room is too small to step back, and use the depth of field that wide aperture gives you to let the background fall away. Negative space above a table, beside a portrait or in a corner of a frame gives the image room to breathe.
Shoot from a comfortable height rather than the one that feels natural to you. Standing at your subject’s eye level changes the whole character of the photo.
Take a Test Shot and Adjust
Take one frame before you take ten. Look at the histogram: if the highlight warning is blinking or the graph is jammed hard against the right edge, you are clipping the window and losing the brightest detail in the frame.
Then look at the shadows. If they are crushed to solid black, lift the exposure and accept more noise, which is the better trade. Mixed indoor lighting shows up as yellow or green skin tones, and a RAW file plus a manual white balance adjustment fixes almost all of that in about fifteen seconds.
Sharpness is the last check. If the image looks soft at 100 percent, it is usually either the shutter speed or the focus, not the lens.
Shoot a Small Test Series
Do not commit to one frame. Shoot six or eight variations: a stop over, a stop under, the subject turned a little more toward the light, white balance shifted one way and then the other.
Compare them side by side at full size, not on the camera screen. Most people find their best frame is not the technically brightest one but the one where the face looks relaxed and the shadows still have detail. Keep that exposure as your baseline and adjust from there for the rest of the session.
Common Mistakes
Underexposing and then brightening in editing
This is the mistake that makes grain far worse than raising ISO in the camera. When you darken an image and then push the brightness back up, you are amplifying the shadow noise as well as the shadow detail. Photographers describe this habit on r/photography as the main reason their indoor photos look muddy. Expose slightly bright in camera and darken instead, which costs almost no quality.
Mixed lighting
A warm bulb, a cool window and an overhead fitting produce three colour temperatures in one frame. Turn off what you can, position your subject in only one source, and set white balance manually from a RAW file.
Blown-out windows behind a dark subject
The camera is metering for the window. Step back and expose for the face, or move the subject so the window is behind the camera rather than behind them. With a RAW file you can recover some of a bright window, but not a clipped face.
Motion blur blamed on the subject
Before you decide the subject moved, check whether the shutter speed was below the hand-hold floor for your position. If the camera was in your hands below 1/60s, the shake is the cause, not the subject.
Pushing ISO past the point of usefulness
Noise does not scale linearly. ISO 1600 to ISO 3200 is often clean, while ISO 12800 can be unusable. Find your camera’s usable ceiling by shooting a frame at a high ISO and checking it at 100 percent on a decent screen, then stay at or below it. When you need light beyond that, slow the shutter on a tripod instead.
Leaving a cluttered background
A step forward or sideways usually fixes it. A wider lens and a wide aperture separate subject from background, which removes most of the clutter without moving anything.
Relying on the auto flash
Auto flash fires at full power, flattens the light, reddens the eyes and ruins any ambient mood in the room. Turn it off. If you need more light than the room gives you, a second lamp aimed at a wall beats a pop-up flash every time.
Stuck indoors right now with no gear
Here is the zero-cost version. Put the subject beside the largest window you have. Turn off every ceiling light. Hold a sheet of white paper opposite the subject to soften the shadow side. Rest the camera on a stack of books or the floor, tap to focus on the subject and use the timer. That is enough for a good photo.
Already shot too dark?
Open the RAW file and apply luminance noise reduction first, which handles the grain, before you lift the shadows, which reveals more of it. Reduce the blacks only slightly, since heavy shadow lifting is what makes corrected images look plastic. A moderate noise reduction at 100 percent zoom, then a gentle sharpening pass, will clean up most indoor frames.
Frequently Asked Questions
Can I photograph indoors without flash using a phone camera?
Yes, and most phone cameras handle this better than people expect. Use Pro or Manual mode if your phone has it, set the ISO manually between 800 and 3200, and keep the shutter at 1/60s or faster. Tap the subject to focus, then press and hold to lock focus and exposure so it does not hunt in the dim light. Hold the phone still against something solid or use the timer, and shoot at the highest resolution. RAW capture is available on the more recent flagships and gives you much better shadow recovery.
What is the best indoor light source for photography without flash?
A large window is the best source you will find in any home, because it is big, soft and directional. Put your subject about a metre inside it, facing 45 degrees toward the glass, and turn off ceiling lights so you are not mixing colour temperatures. If no window is available, a single lamp with a shade, bounced off a pale wall, gives a similar soft quality. Multiple lights from different directions flatten a face, so fewer and bigger beats more and smaller.
How do I prevent blurry photos when shooting indoors without flash?
Keep the shutter speed above the hand-hold floor of roughly 1/60s, and use support whenever you go below it. A tripod, a braced elbow, a flat surface or a two-second timer all stop the shake that ruins an otherwise well-exposed frame. If the subject is moving, raise the speed to 1/125s for a child or pet and 1/250s for fast action, and widen the aperture or raise ISO to pay for it. In-body or lens stabilisation buys you a few extra stops but never replaces holding still.
Should I use manual mode or aperture priority indoors?
Manual is better once you understand it, because the light in a room changes as your subject moves and aperture priority will keep compensating in ways you did not choose. Aperture priority works well while you are learning, since the camera handles shutter and ISO while you pick the aperture. Start in manual around f/2, 1/125s and ISO 3200, take a test frame, check the histogram and adjust. Whichever mode you use, shoot RAW so white balance stays adjustable afterwards.
How do I set white balance when using window light?
Set it manually rather than leaving it on auto, because auto white balance shifts between frames and will make a series of photos inconsistent. Under an overcast sky, around 6500 to 7000K gives a neutral result. Under direct sun, around 5200K. If you have no grey card, put a piece of white paper in the frame beside the subject as a reference and adjust from that. Shooting RAW means the in-camera setting is only a preview, so a rough value is fine if you plan to correct it later.
Do I need a tripod to photograph indoors without flash?
No, but it is the cheapest way to get better images. Without one you are limited to about 1/60s and faster, which forces a higher ISO or a wider aperture than you would otherwise use. With stabilisation you can often manage 1/30s. If you have no tripod, brace the camera against a wall, a door frame, a tree outside or a stack of books, tuck your elbows into your ribs, and use the timer instead of the shutter button. Every one of those gives you two or three stops more usable light.
Conclusion
Start with the light, not the settings. Put your subject beside the largest window in the room, turn off the ceiling lights, rest the camera on something solid, and take one test frame before you touch a single dial. Open the aperture wide, keep the shutter above 1/60s, raise ISO until the histogram looks right, then shoot RAW and adjust from there.
That is the whole technique. Everything else is a variation on it. Once you have shot a few rooms this way, tell me what you are photographing and which camera you are using, and I can give you a tighter starting point.