If you want to know how to shoot in manual mode for beginners, here is the short version: turn the mode dial to M, set the aperture to f/5.6, set the shutter speed to 1/125 second, set ISO to 200, focus on your subject and take one frame. Review that frame, then change a single setting at a time until the picture looks the way you want. It takes about ten minutes to learn and a week to stop feeling nervous about it.
The reason people think manual mode is difficult is that it gets described as a technical subject rather than three decisions. It is really three decisions: how much light comes through the lens, how long the sensor is exposed, and how sensitive the sensor is while that happens. Once you can see what each one does, the dials stop being intimidating.
Table of Contents
- What You Need
- Step-by-Step: How To Shoot In Manual Mode For Beginners
- 1. Switch the camera to manual mode
- 2. Start with a safe exposure you can copy
- 3. Control light and background blur with aperture
- 4. Control motion and brightness with shutter speed
- 5. Raise ISO only when the light asks you to
- 6. Focus on the subject and take a test frame
- 7. Change one setting at a time
- 8. Review the shot and repeat it
- Common Mistakes
- Frequently Asked Questions
- Is shooting in manual mode hard?
- Do most photographers shoot in manual mode?
- Can you use exposure compensation in manual mode?
- Do I need a special camera to learn manual mode?
- Why are my manual mode photos too dark or too blurry?
- What is the 20-60-20 rule in photography?
- Conclusion
What You Need
You need a camera with an M position on its mode dial. That covers most Canon, Nikon, Sony and Fujifilm DSLRs and mirrorless bodies released in the last fifteen years, plus plenty of older ones. A phone with a manual or pro mode works the same way, just with sliders instead of dials.
You do not need a new camera. A camera that struggles with high ISO is more annoying in manual mode, but it is not a blocker — beginners who learn the triangle on an older body can switch to a newer one later without relearning anything.
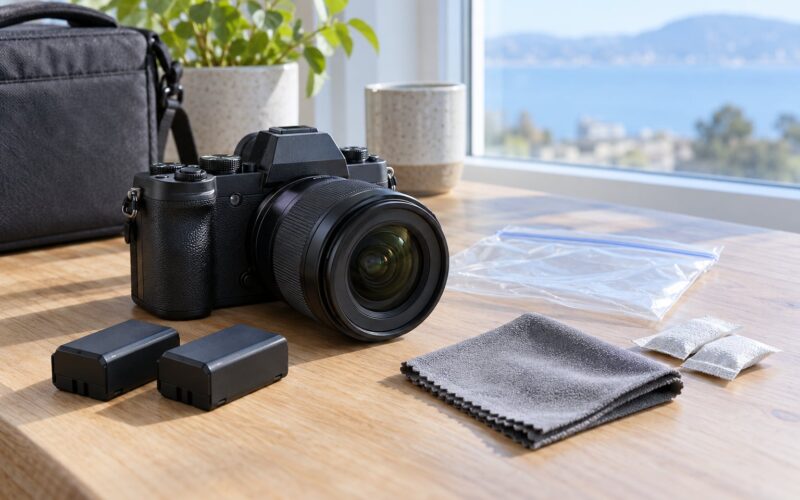
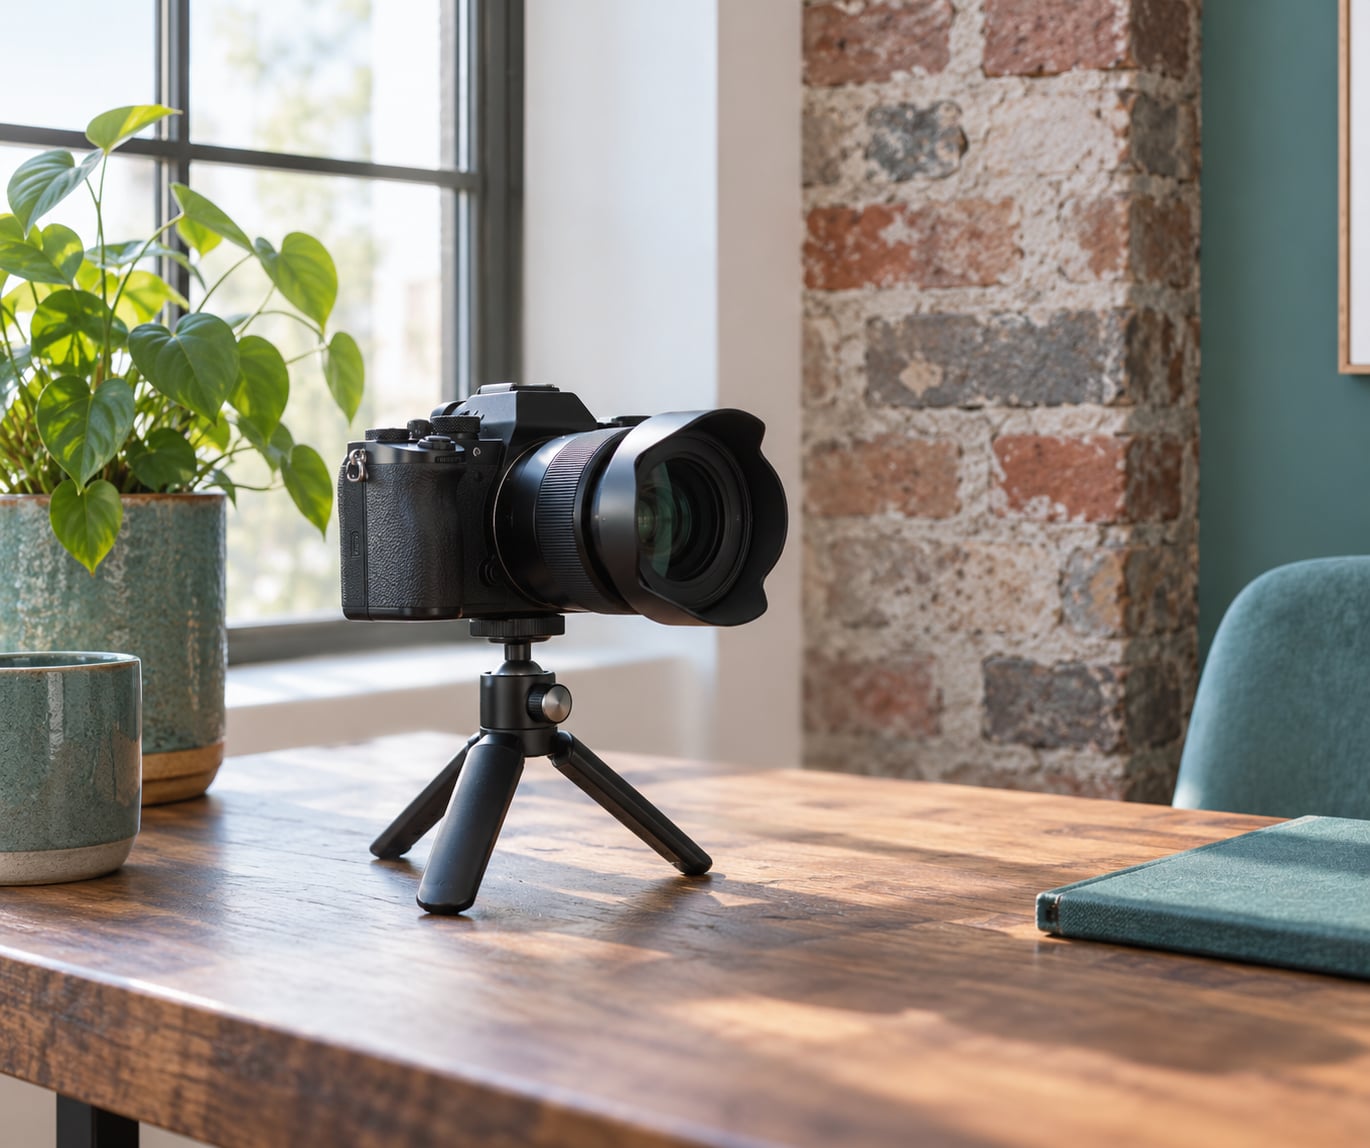
Two optional items help. A small tripod lets you use shutter speeds slower than your hands can hold. A spare battery matters more than people expect, because screen zooming and live view drain batteries quickly while you are learning.
For a practice subject, pick something textured and stationary: a brick wall, a plant in a pot, or a mug on a table. Texture shows you immediately whether focus landed, and nothing moves while you work out the settings.
Step-by-Step: How To Shoot In Manual Mode For Beginners
1. Switch the camera to manual mode
Rotate the mode dial until the mark sits on M. On Canon bodies the dial is on the top plate near the shutter button, and the M position is usually a click away from Av. Nikon bodies place it in the same spot, but Nikon’s M sits next to A and S. Sony and Fujifilm mirrorless cameras often skip a physical dial, so look for a M or Manual entry in the shooting mode menu instead.
Turn the release mode dial to single frame while you learn, and make sure the drive mode is not set to a timer. You want a photo when you press the button, not eight seconds later.
How to tell it worked: the top LCD or the rear screen now shows an aperture value and a shutter speed value that stay where you put them. If the numbers jump back on their own, you are still in an automatic mode.
2. Start with a safe exposure you can copy
Do not invent numbers on the first day. Stand near a window in bright, even light, aim at your practice subject and set f/5.6, 1/125 second, ISO 200. That combination works indoors near a window and outside on an overcast day.
Take the frame and look at the rear screen. Nicely exposed means the subject is well lit without looking pale or washed out. Adjust from what you see rather than from what the manual says the light was doing.
3. Control light and background blur with aperture
Aperture is written as an f-number: f/1.8, f/2.8, f/5.6, f/8, f/11. Small numbers mean a wide opening that lets in more light and blurs the background into smooth shapes. Large numbers mean a narrow opening, less light and less background blur.
For a beginner, f/5.6 or f/8 is the sweet spot. Wide apertures such as f/1.8 need much faster shutter speeds in dim light, and narrow ones like f/16 or f/22 soften everything through diffraction — the lens optics bending light slightly — so avoid them unless you need the depth of field.
How to tell it worked: photograph a subject with something well behind it. At f/2.8 the background turns soft while the subject stays sharp. At f/11 the background stays readable.
4. Control motion and brightness with shutter speed
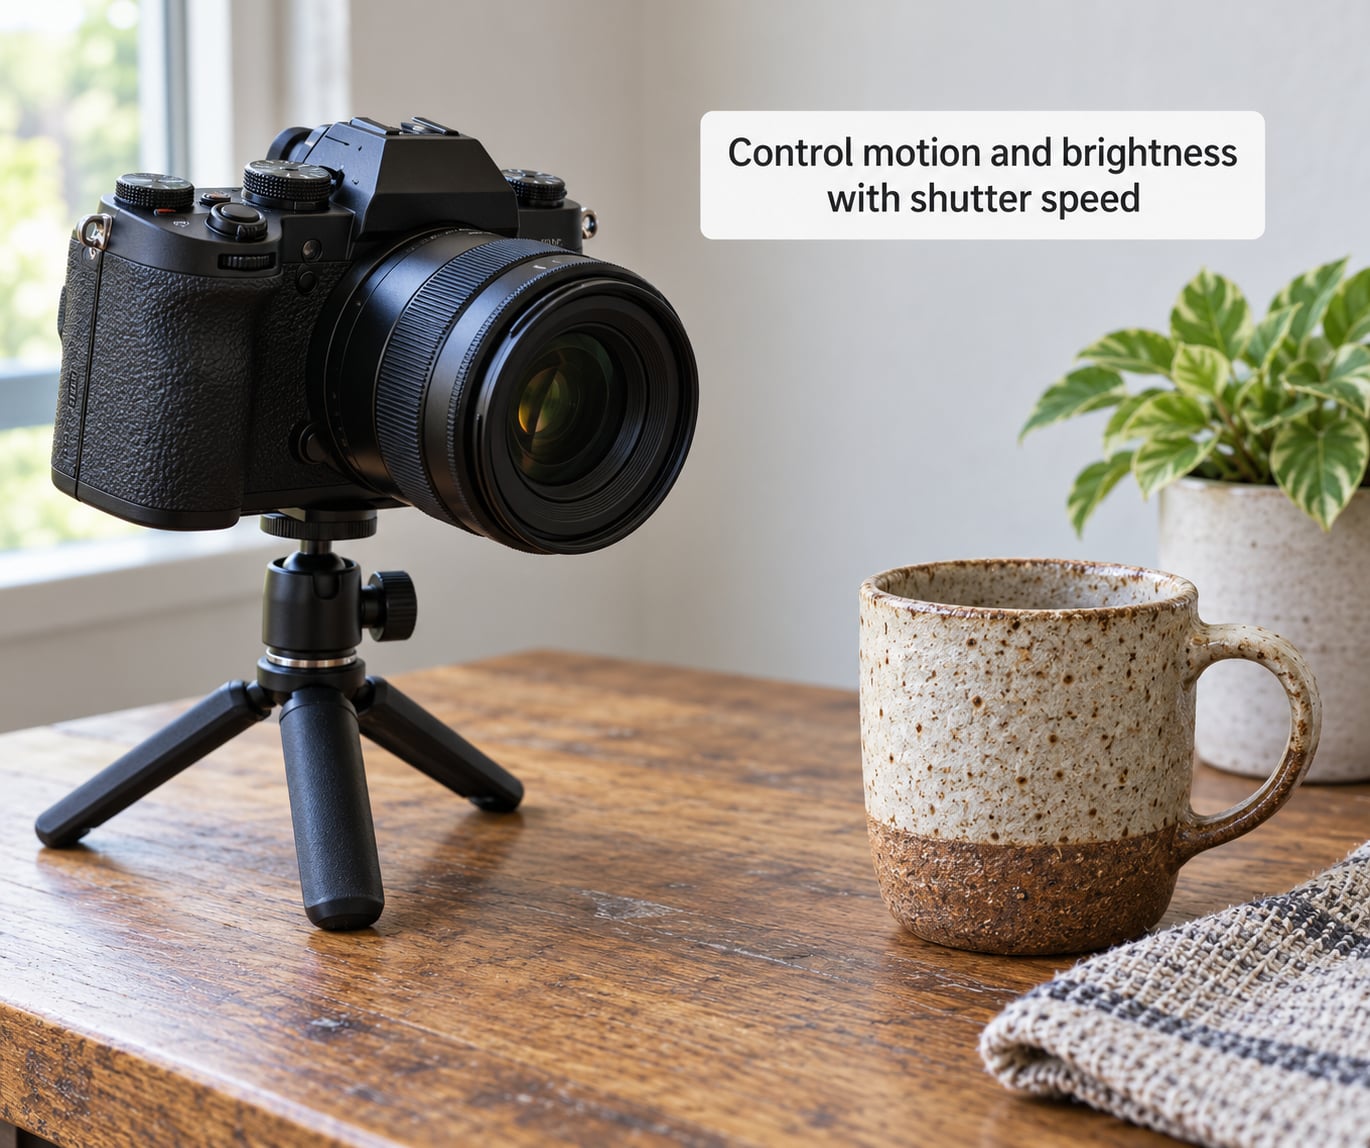
Shutter speed controls how long the sensor records light, and in doing so it controls motion. At 1/1000 second a running dog or a passing car freezes solid. At 1/15 second, moving water smears and light trails start appearing.
Handheld has a floor. The widely repeated rule is 1 over the focal length, so a 50mm lens wants 1/50 second or faster and an 18-200mm zoom wants 1/200 second. Go slower and you get handheld shake, which looks like a soft photo rather than a blurry one.
How to tell it worked: check the EXIF data on the playback screen, which usually shows the focal length and the shutter speed. Zoom in to 100% on a straight edge in the frame. If it wobbles, your speed is too slow for that lens.
5. Raise ISO only when the light asks you to
ISO is the sensor’s sensitivity. ISO 100 to 400 gives the cleanest files; higher numbers brighten the image at the cost of noise, which is the grainy speckled look in shadows. Modern bodies hold decent quality to around ISO 3200 before it becomes obvious.
The rule that experienced photographers repeat is to use the lowest ISO that still lets you get the aperture and shutter speed you want. That is a quote from r/AskPhotography advice that shows up constantly, and it is correct: change ISO last, only when light forces it.
How to tell it worked: shoot the same frame at ISO 100 and ISO 6400 in the same light, then zoom to 100% on the shadow area. The higher ISO version will show colour speckles and lost texture.
6. Focus on the subject and take a test frame
Switch the lens to manual focus by turning the focus ring switch on the side to MF. Turn the ring until your subject is sharp, then take one frame and open it on the rear screen at 100%.
If your camera offers manual focus assist, turn it on. Focus peaking highlights in-focus areas in red or white, magnification lets you zoom to 100% while focusing, and a focus magnifier loupe is common on newer Sony and Fujifilm bodies. One of those three turns a guessing game into something you can verify.
How to tell it worked: the edge of your subject looks crisp at 100% with no soft halo. Soft focus that gets sharper as you zoom in is almost always manual focus turned on by accident.
7. Change one setting at a time
When the frame is too dark, resist the urge to move three dials. Open the aperture one stop, or speed up the shutter one stop, and look again. One stop means doubling or halving the light: 1/125 to 1/60, f/5.6 to f/4, ISO 400 to ISO 800.
Most cameras click these changes in thirds of a stop, and the exposure meter indicator at the bottom of the viewfinder shows where you sit between too dark and too bright. Aim for the marker near the middle. Many bodies also show a histogram on the review screen; a graph pushed hard against the right edge means blown highlights you cannot recover.
How to tell it worked: after each single change, the meter indicator moves and then stays where you put it. A meter that jumps back to centre every time you touch a dial means auto ISO or an auto exposure mode is still doing some of the work.
8. Review the shot and repeat it
Look at four things after each frame: exposure, focus, sharpness and where the subject sits in the frame. Fix one, shoot again, repeat. Ten frames of that loop teaches more than an hour of reading about it.
Once your starting numbers work in one lighting condition, write them on a note in your phone. That saved recipe is the whole point of manual mode: consistent exposures across a series of frames instead of a fresh guess on every shot.
Common Mistakes
Blurry subjects. Almost always too slow a shutter speed or focus landing just in front of the subject. Raise the speed to at least 1 over the focal length and use continuous autofocus plus burst mode for anything that moves.
Everything is too dark. The light fell and you did not compensate. Before touching anything, ask which of your three settings was the priority — the one you most care about. Then change one of the other two by a stop, and check the histogram again.
Blown sky with a black subject. The camera exposed for the dark foreground and lost the sky. Underexpose by roughly a stop and a half, then lift the shadows in editing. Expose for the highlights, because clipped shadows can be recovered and clipped highlights cannot.
Grainy, colour-speckled photos. You pushed ISO too far. Drop ISO one or two stops, open the aperture a stop, or accept a slower shutter on a tripod instead.
No background blur on a portrait. You picked f/8 out of habit. Wide open, f/1.8 to f/2.8, and the background separates from the subject.
Changing three settings at once. This is the mistake that makes manual mode feel impossible. You cannot tell which change fixed the problem, so your instinct to abandon manual mode is really just confusion about cause and effect.
One reassurance worth having: none of these are camera faults. Forum threads on DPReview and r/Beginning_Photography are full of beginners blaming their camera for what was a settings problem, and almost every one of those problems disappears with a slower shutter speed or a lower ISO.
Frequently Asked Questions
Is shooting in manual mode hard?
It is three decisions instead of one. In an automatic mode the camera picks aperture, shutter speed and ISO for you; in manual you pick each, and the only skill involved is knowing which one to change for the problem in front of you. The first session is slow. By the third, your hand knows the dials.
Do most photographers shoot in manual mode?
Very few shoot full manual all the time. Working photographers tend to use aperture priority when light changes quickly or the priority is depth of field, and manual when the light holds steady or the scene is tricky. Manual is the best teaching tool even when it is not the default, because it shows you every decision the camera would otherwise make.
Can you use exposure compensation in manual mode?
No, not in true manual mode. Exposure compensation only tells an automatic exposure system to aim higher or lower, and manual has no such system. You make the identical adjustment by changing shutter speed or aperture by the same number of stops, which is why the stop counting still matters.
Do I need a special camera to learn manual mode?
Any camera with an M position on the dial or a manual option in the shooting menu will do, including most phones. Older bodies handle high ISO less gracefully, so you may raise ISO sooner than you would like, but that is a small trade. Understanding the exposure triangle matters far more than the camera body.
Why are my manual mode photos too dark or too blurry?
Too dark usually means the light changed and you did not adjust, or auto ISO moved after you set it. Too blurry means the shutter speed was slower than your handheld limit of one over the focal length. Fix darkness by changing one setting by a stop at a time, and fix blur by speeding up the shutter or using a tripod.
What is the 20-60-20 rule in photography?
It is a time-of-day guideline: roughly 20 percent of a day is golden hour around sunrise and sunset, 60 percent is blue hour and overcast light, and 20 percent is harsh midday sun. Shooters use it to plan when to go out. It has nothing to do with how the exposure triangle works, so treat it as a planning habit rather than a settings rule.
Conclusion
Start inside by a window with your practice subject. Turn the dial to M, set f/5.6, 1/125 second and ISO 200, focus on the subject, and take one frame. Look at it at 100% and check the histogram before changing anything.
From there, make one deliberate change per frame. That single habit is the difference between manual mode feeling random and feeling repeatable, and it is the whole answer to how to shoot in manual mode for beginners: three settings, one change at a time, one frame reviewed every time.