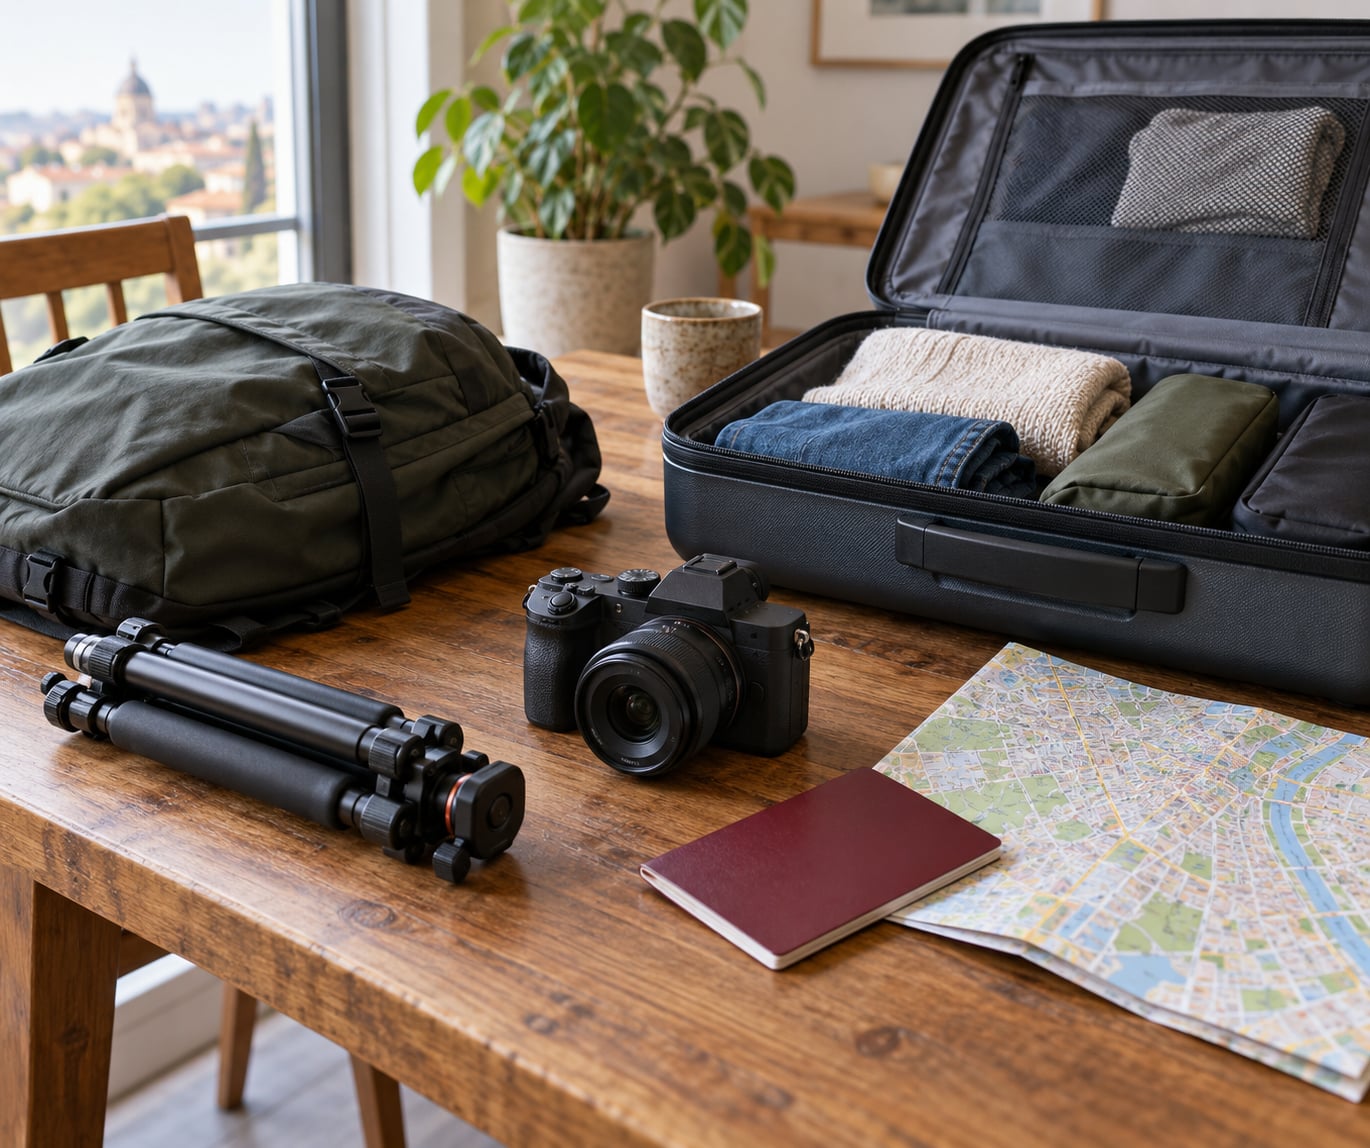
To choose a tripod for travel, work through five numbers in order: your heaviest camera-and-lens weight, the tallest height you need with the center column lowered, the folded length that has to survive your airline, the packed weight you are happy to carry, and whether you shoot stills or video. Brand and material come last.
I have carried a tripod through more airports than I would like to admit, and the pattern is consistent. The tripods that caused problems were never the cheap ones. They were the ones I bought on a spec sheet without checking the folded length against the airline’s limit, or the ones whose rated capacity was fine but whose head felt vague at full tilt.
Last updated for October 2026. Everything below is written for US travelers flying domestic and short-haul international.
Table of Contents
- What You Need
- 1. The trip type and the terrain
- 2. Your actual camera kit
- 3. Your packed-size ceiling
- 4. The stability and movement you need
- Step-by-Step: How to Choose a Tripod for Travel
- Step 1: Set Your Travel and Photography Priorities
- Step 2: Check the Folded Length and Carry-On Fit
- Step 3: Compare Weight and Portability
- Step 4: Evaluate Stability and Load Capacity
- Step 5: Choose Materials That Suit Travel Conditions
- Step 6: Look for Features That Make Packing Easier
- Step 7: Test the Tripod Before Buying It
- Also Consider Price, Warranty, and Where to Buy
- Common Mistakes
- Frequently Asked Questions
- Is a full-size tripod too heavy for travel?
- Can I carry a tripod in hand luggage?
- Is carbon fiber better than aluminum for a travel tripod?
- How much load capacity does a travel tripod need?
- Do I need a tripod with a monopod feature?
- How do I test a tripod before buying it?
What You Need
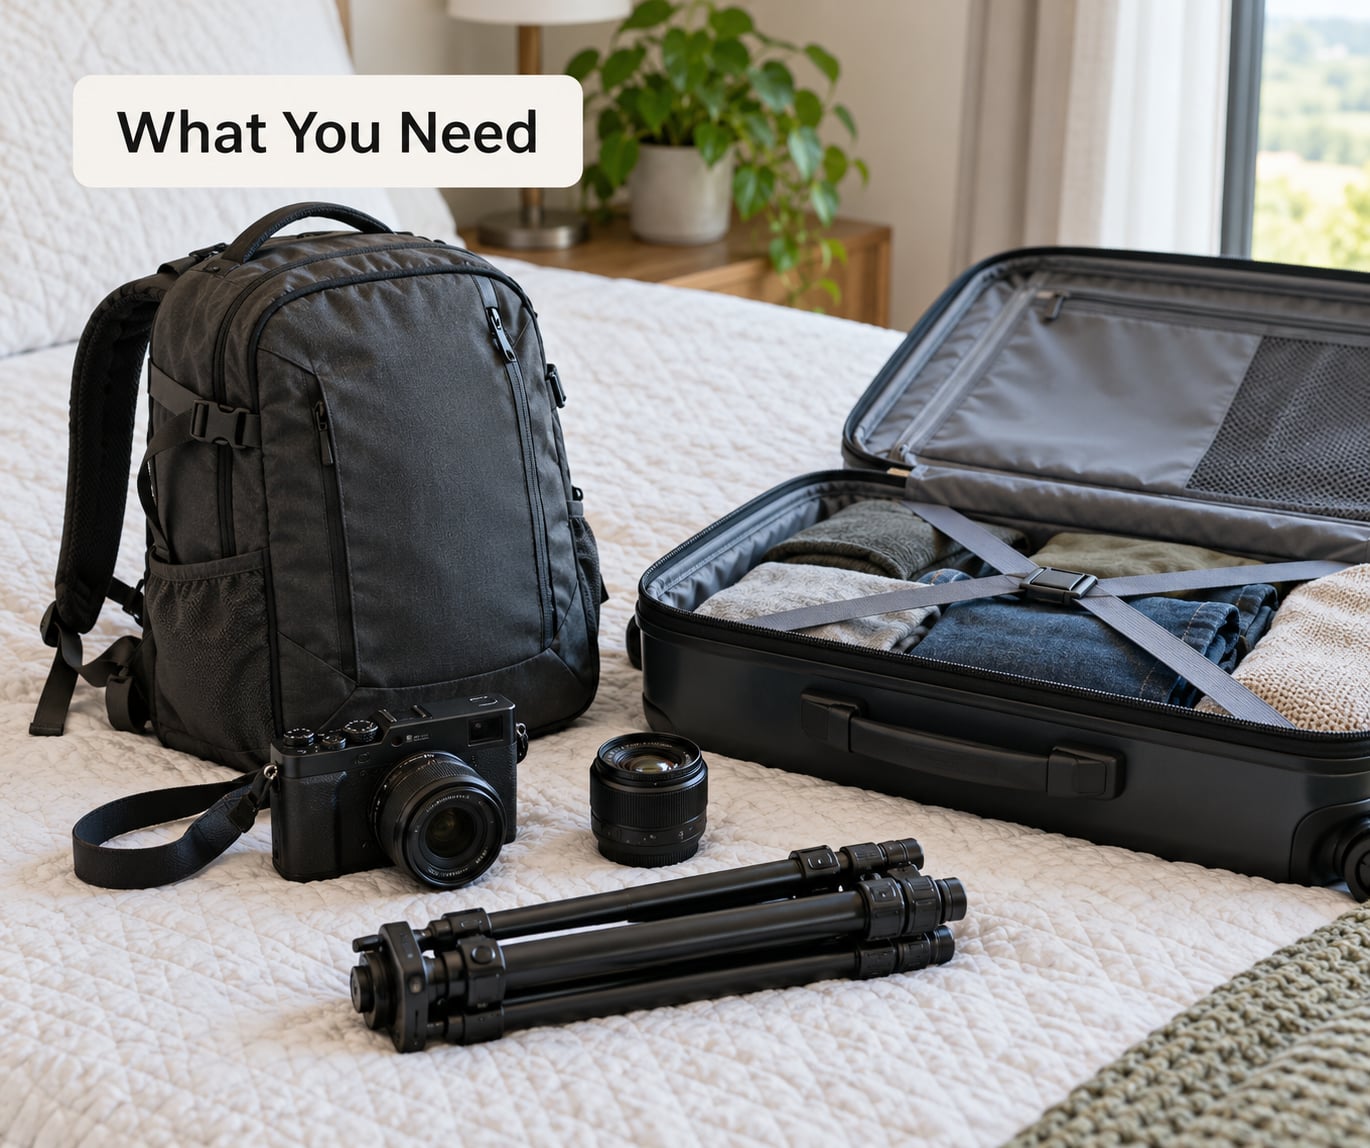
Before you open a single product page, write down four things. It takes five minutes and it removes most of the wrong purchases people make.
1. The trip type and the terrain
A weekend in a city with a compact mirrorless body and a 35mm lens is a completely different problem from a week of hiking in the Rockies with a telephoto. City work means you assemble and disassemble a tripod dozens of times a day on sidewalks, steps and café tables. Backpacking means every gram gets carried for hours, and you need a tripod that can stand on uneven dirt and roots.
Wind matters more than most people expect. Coastal overlooks, harbor promenades and open ridgelines will shake a small tripod with a heavy lens on it. If your trips include exposed viewpoints, say so, and weight your decision toward stiffness.
2. Your actual camera kit
Weigh your body, the lens you will actually mount, and anything that stays attached: a battery grip, a cage, an external battery, a top handle. Add it up in ounces on a luggage scale. Then multiply by 1.5 to get the load capacity you should look for. A mirrorless body with a standard zoom commonly lands in the 5 to 8 pound range, so a 10 to 12 pound rating is the sensible floor for that kit.
This is the step where the pocket-sized options quietly fall away. A folding tabletop tripod that folds to 7 inches and weighs 12 ounces is a phone accessory. It will not hold a mirrorless body steady, and the frustration shows up the first evening you try a long exposure at dusk.
3. Your packed-size ceiling
Decide where the tripod rides. A folded length of 15 to 16 inches fits inside a typical carry-on and sits comfortably along a backpack side pocket. Anything past 20 inches stops being a carry-on item and becomes a checked-bag gamble or an external-strap attachment, which most airlines and some airports dislike.
Overhead bin space is a second, separate constraint. Even a carry-on that passes the sizer on the concourse can lose a bin fight to a roller bag, and a tripod is the first thing an agent will ask you to gate-check.
4. The stability and movement you need
Stills want a ball head: fast, level, one-handed. Video wants a fluid head with controllable drag. Solo self-portraits want a handle-mounted lever or a geared head, because you need to reframe yourself without walking around the camera. Decide this before you look at materials, because the head is often a bigger part of the total weight than the legs are.
Step-by-Step: How to Choose a Tripod for Travel
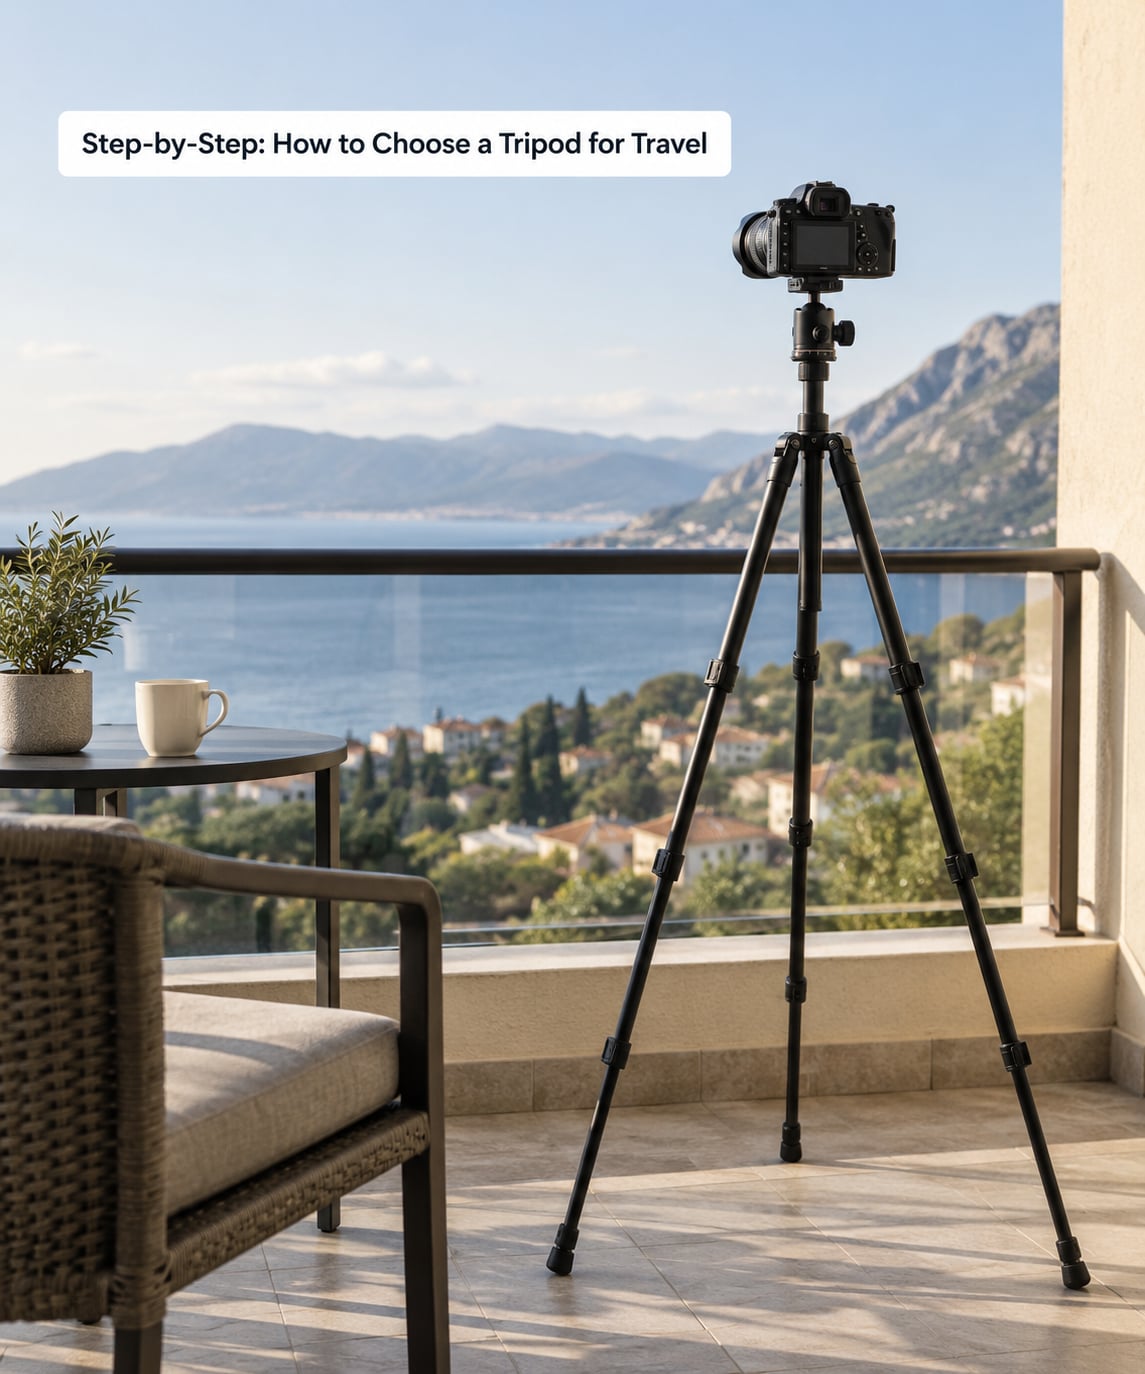
Seven features decide whether a travel tripod works for you, in this order. Follow them top to bottom and most of the noise in the category drops away.
Step 1: Set Your Travel and Photography Priorities
Write one sentence describing what you shoot, where, and for how long the tripod needs to be up. Wide scenic shots at sunrise mean low wind, short setup, and stability at a low angle. Street work means speed and a head that stays level in a hurry. Night skies and long exposures mean a rig that holds completely still and a lock system that does not creep.
Also list the shots you would skip the tripod for. A tripod that handles your top three situations well is worth more than one that is technically capable of everything and awkward in all of it.
Step 2: Check the Folded Length and Carry-On Fit
Folded length is the single most important travel number, and the reason it comes before weight. Measure the tripod fully collapsed, and check whether that measurement includes the ball head. Most travel heads detach and clamp to a leg or tuck under the top section, which keeps the packed length honest. A non-detachable head can add two inches, which is the difference between fitting your bag and standing at the sizer on the jet bridge.
| Bag rule | Approximate limit | What it means for a folded tripod |
|---|---|---|
| Backpack or daypack | 16 in or less | Comfortable in a side pocket or along the back panel |
| Personal item | About 14 in | Only the shortest ultracompact models qualify |
| Ryanair and similar low-cost carriers | 15.7 in | The tightest common limit; check before booking |
| Typical US carry-on | 16 in | The default target for most travel tripods |
| Frontier | 18 in | Extra slack for a 17 in tripod |
| Rail and coach travel | Varies by operator | Long items often have to be stowed; check the operator rules |
A tripod clears a security checkpoint with no issue. It is an ordinary piece of equipment, and the question that matters is not the checkpoint, it is the sizer at the gate.
Two questions come up constantly in travel forums: can a tripod ride in hand luggage, and can it go through security. The answer to the second is straightforwardly yes, in both carry-on and checked luggage. The answer to the first depends entirely on whether your collapsed tripod fits inside the bag rather than poking out of it, so a short folded length solves a problem that no amount of confidence will.
Step 3: Compare Weight and Portability
Packed weight is the total you carry: legs, head, center column, case, and any spikes or remote you keep attached. Manufacturers quote the weight of the bare legs more often than not, and a ball head can add a pound on its own.
The under 3.5 pound mark is a reasonable line for a kit you carry daily. Below about 2 pounds you will notice the difference on a long walk, and the savings usually come from one of three places: a smaller head, fewer leg sections, or the omission of a center column. Each has a real cost, so decide which cost you can accept.
Fewer leg sections means a shorter folded length and less setup time, at the price of a lower maximum height and a bit more vibration under a heavy load. Dropping the center column cuts weight and length, and you give up vertical framing flexibility. A lighter head is the cleanest cut if you shoot stills, since you lose the fluid drag you might want for video.
There is a balance worth stating plainly: the heaviest tripod is not always the most comfortable option, and the lightest is not always the most usable. A tripod you are willing to take out of the bag wins.
Step 4: Evaluate Stability and Load Capacity
Apply the 1.5x rule. Rated capacity must be at least one and a half times your heaviest camera, lens, and attached rig, and the reason is that published numbers are measured under ideal conditions with a static load centered on the head. Real rigs sit off-axis, swing as you pan, and meet gusts. Manufacturers typically also assume a head you already own and a well-gripped ball.
A worked example: a mirrorless body with a 24-70mm zoom and a battery grip is a common travel setup weighing roughly 6 to 7 pounds with the grip attached. At 1.5x, you want a tripod rated for 10 pounds or more, which puts you in the class of tripods that hold 12 to 15 pounds comfortably.
Stability is more than the number. Look at leg diameter, because narrow sections twist under a heavy lens in wind, and at the leg locks, because loose sections create a visible wobble that shows up in long exposures. Fewer, thicker sections damp vibration better than several thin ones.
Then examine the center column. Many travel tripods include a short column that raises the camera a few inches, useful for macro and low-angle work and a common source of shake if it is extended under a heavy load. A reversible or removable column is more useful: it lets you shoot from a low angle or a tabletop, and removing it cuts the weight. Ignore maximum height with the column fully extended and read maximum height with the column down instead. For a five-foot-ten traveler, that number should reach roughly 60 to 62 inches, which is about eye level without a ladder.
Step 5: Choose Materials That Suit Travel Conditions
Carbon fiber and aluminum are the two practical options, and neither wins everywhere.
| Factor | Carbon fiber | Aluminum |
|---|---|---|
| Packed weight | Lighter, typically 20 to 30 percent lighter in the same class | Heavier, and you feel it on long walks |
| Cost | Higher | Lower for the same capacity |
| Vibration damping | Damps down the staccato of walking better | Transmits more of the shock of footfalls |
| Durability | Resists scratches, holds shape, weaker at impact points | Dents and scratches, hard to ding permanently |
| Cold weather | Hands lose dexterity; carbon does not itself become brittle in ordinary cold | Same dexterity issue, heavier to handle |
| Repairability | Not repairable in the field | Straightenable, and replacement parts are easier to find |
A travel tripod is a travel tripod: it gets dropped, checked, and rained on. Carbon fiber earns its place on a long walk, on a cold mountain trail, or when you want the lightest kit you can get. Aluminum is the better call on a city weekend where the tripod lives in a closet between outings, on a beach trip where sand and salt rule, and any time you want a rig that can take a knock and still work.
Travel forums keep coming back to the same question, and the honest answer is that the difference shows up in grams and in feel, not in whether the tripod survives the trip. Both survive.
Step 6: Look for Features That Make Packing Easier
Some travel features earn their weight, and some are just complexity. Focus on this list.
Leg locks. Twist locks are faster and lighter, and flip locks are more robust and easier to operate with cold hands or gloves. Forum complaints about locks loosening or stripping usually trace back to over-tightening a twist lock or to a tripod that has run out of thread engagement, so tighten firmly and fully, not past the point of effort. Reverse-fold legs keep the packed length down by hanging the upper sections alongside the lower ones, and they are the main reason many travel tripods hit 15 inches instead of 19.
Quick-release plate. An Arca-Swiss compatible plate is the near-universal standard, and it means your camera moves between tripods in seconds. A proprietary plate ties you to one head and one brand.
Modularity. A removable center column, a column that reverses for low angles, and legs that convert to a monopod are genuinely useful. A monopod conversion is a second camera position at shoulder height for a long lens, which is a real advantage on a walking safari or a crowded viewpoint. Do not buy for a feature you will not use.
Ball hook. The hook under the center column is a ballast hook, not a carry handle. Hang a small bag from it and a heavy rig stops walking in a gust. Do not swing your camera off it.
Tabletop mode. Standing the legs at a low angle lets you shoot food, small objects, and low-angle scenes on a café table, which turns the tripod into a tabletop support on trips where you rarely set it up tall.
Skip the gimmicks: decorative bubble levels when the head already has a compass, built-in Bluetooth remotes, and anything that adds a knob you will never touch.
Step 7: Test the Tripod Before Buying It
Most people buy a tripod sight-unseen. Five minutes with the actual unit prevents a disappointing trip. Here is the protocol I use.
1. Set it up cold. Time yourself from bag to deployed. If a competent photographer needs more than about a minute, you will resent it on a street at dusk.
2. Mount your real camera and lens. Not the body alone. With a heavy lens, loosen the top section and check for play at the collar.
3. Push every leg lock to its stop and give each leg a hard twist, then a hard pull. A twist lock that creeps under a sideways load is a defect, not a preference.
4. Extend the center column and check for wobble at full extension with the load on it. That is what wobble tells you about torsional rigidity.
5. Turn the ball head through its full range. It should move smoothly, hold any position without drifting, and lock firmly without a hollow feeling in the housing.
6. Collapse it and lay it next to your bag. If it does not fit, you have your answer now rather than at the airport.
7. Shake the setup. A hard lateral shake should damp out in about a second. If it oscillates for three, keep looking.
If you cannot test the exact unit, test the same model. Reviewers who measure the real thing, in the field, with a named camera, are more trustworthy than a spec list, and forums that repeatedly cross-reference an independent testing site rather than a manufacturer page reflect that instinct.
Also Consider Price, Warranty, and Where to Buy
Price follows three inputs: material, capacity rating, and how many moving parts the manufacturer got right. Entry tripods use aluminum tubes, twist locks, and a lightweight head, which is why they weigh more. Mid-range carbon adds better damping and lighter hardware. Above that you are paying for head quality, machining tolerances, and a warranty that stands behind the locks.
A capability ladder is more useful than a number. The entry tier gives you a solid stills tripod that will hold a kit under about 6 pounds and probably need a checked bag. The middle tier gives you carbon tubes, a usable ball head, and a folded length that fits a carry-on. The top tier adds a head you can leave mounted, faster locks, and a monopod or modular column.
Warranty length tracks build quality more closely than price. Read what is covered, because a five-year warranty that excludes the leg locks is worth less than a three-year one that includes them. Buy from an authorized retailer so the warranty attaches to the serial number, and check at checkout that the listing names the exact tripod, the head, and the accessories in the box. Carbon legs plus a separate head order is the most common mix-up, and it is a bad morning if the head arrives in a second box on a different day.
Common Mistakes
Here are the errors that come up again and again, each with the fix.
Shopping by load capacity alone. A 20 pound rating tells you nothing about how it feels with 7 pounds on it at an angle. Judge the rig in the hand, at full extension, and check leg diameter alongside the number.
Ignoring folded length. Buyers fall in love with a tripod that folds to 22 inches and then discover it cannot be carried on. Check the number first, before weight, before material, before anything else.
Trusting a pocket mini tripod with a mirrorless body. The 7 inch folding tripod and the mirrorless camera are two different products. Keep the pocket one for a phone, and carry a real tripod for the camera.
Reading maximum height with the column extended. The number is measured in a lab with a light head and no wind. Read height with the column down, and check it reaches your eye level.
Buying an over-complicated head. Fluid drag controls, interchangeable pan handles and ball heads with two clamp handles add weight and confusion. A well-made ball head with a single large knob and a separate pan friction dial does everything most travelers need.
Over-tightening twist locks. Cranking a twist lock past firm is how threads get stripped. Tighten until snug, then a quarter turn more at most.
Overlooking shutter slap and clockwork. On a light mirrorless body, the shutter can jar the sensor. Hang a thin strap from the tripod’s center column lug and let the strap rest under the camera as a shock absorber, or engage mirror lock-up and electronic shutter when your camera offers it.
Skipping the test. Buying a tripod you have never deployed means finding out about a wobbly column or a loose leg on day two of the trip, when there is no time to fix it.
A few habits keep a travel tripod working for years. Rinse sand and salt off the legs with fresh water after a beach or coastal day, before the grit scores the tubes. Keep the threaded sections clean, and use a silicone-based lubricant on leg and head threads once a year. Retighten nothing obsessively. And if you carry a tripod often, a padded case that doubles as a lens wrap is worth the small extra bulk.
Frequently Asked Questions
Is a full-size tripod too heavy for travel?
A full-size tripod is usually too heavy for travel, because most weigh 6 to 10 pounds before you add a head. A travel tripod in the 2 to 3.5 pound class folds to 15 or 16 inches and still rates enough capacity for a mirrorless body with a standard zoom. The rule of thumb is that anything under about 3.5 pounds including the head is a daily carry, and anything heavier is a trip where you already have a vehicle.
Can I carry a tripod in hand luggage?
You can carry a tripod in hand luggage if it fits fully inside the bag. A folded length of 15 to 16 inches works with the typical 16 inch carry-on, but low-cost carriers around 15.7 inches and personal item limits near 14 inches are tighter. Security screening is not the issue, since a tripod is permitted in both carry-on and checked bags. The gate sizer is the real test.
Is carbon fiber better than aluminum for a travel tripod?
Carbon fiber is better for travel when weight is the deciding factor, typically running 20 to 30 percent lighter in the same class with better damping of footfall vibration. Aluminum is better when budget matters, when the tripod takes knocks, or when you want something a shop can straighten. Neither is dramatically more durable on a normal trip, and both handle a full year of travel well.
How much load capacity does a travel tripod need?
Buy a rating at least one and a half times your heaviest camera, lens, and attached rig. A mirrorless body with a standard zoom and a battery grip commonly weighs 6 to 7 pounds, which means you want a tripod rated for 10 pounds or more. Published ratings assume a static, centered load, so the margin is there for off-axis weight and wind, not padding.
Do I need a tripod with a monopod feature?
Only if you shoot with a long lens on a walking trip, where shoulder-height framing is the shot you need. A monopod conversion gives you a single-leg support for a telephoto, and it costs very little on modular tripods. If your kit is a compact body with a standard zoom, you will rarely use it, and you can pick a lighter tripod instead.
How do I test a tripod before buying it?
Time the setup cold, mount your real camera and lens, then push and twist every leg lock hard to check for creep. Check for play at the fully extended center column, turn the ball head through its full range for smooth movement and firm locking, then collapse the tripod and lay it beside your bag. Five minutes catches almost every problem worth knowing about.
Start with one number: weigh your camera and lens, multiply by 1.5, and read that rating next to the folded length. If the length fits your airline and the weight fits your shoulder, the rest of the decision is material, head, and feel, and five minutes with the tripod in your hands will settle it.