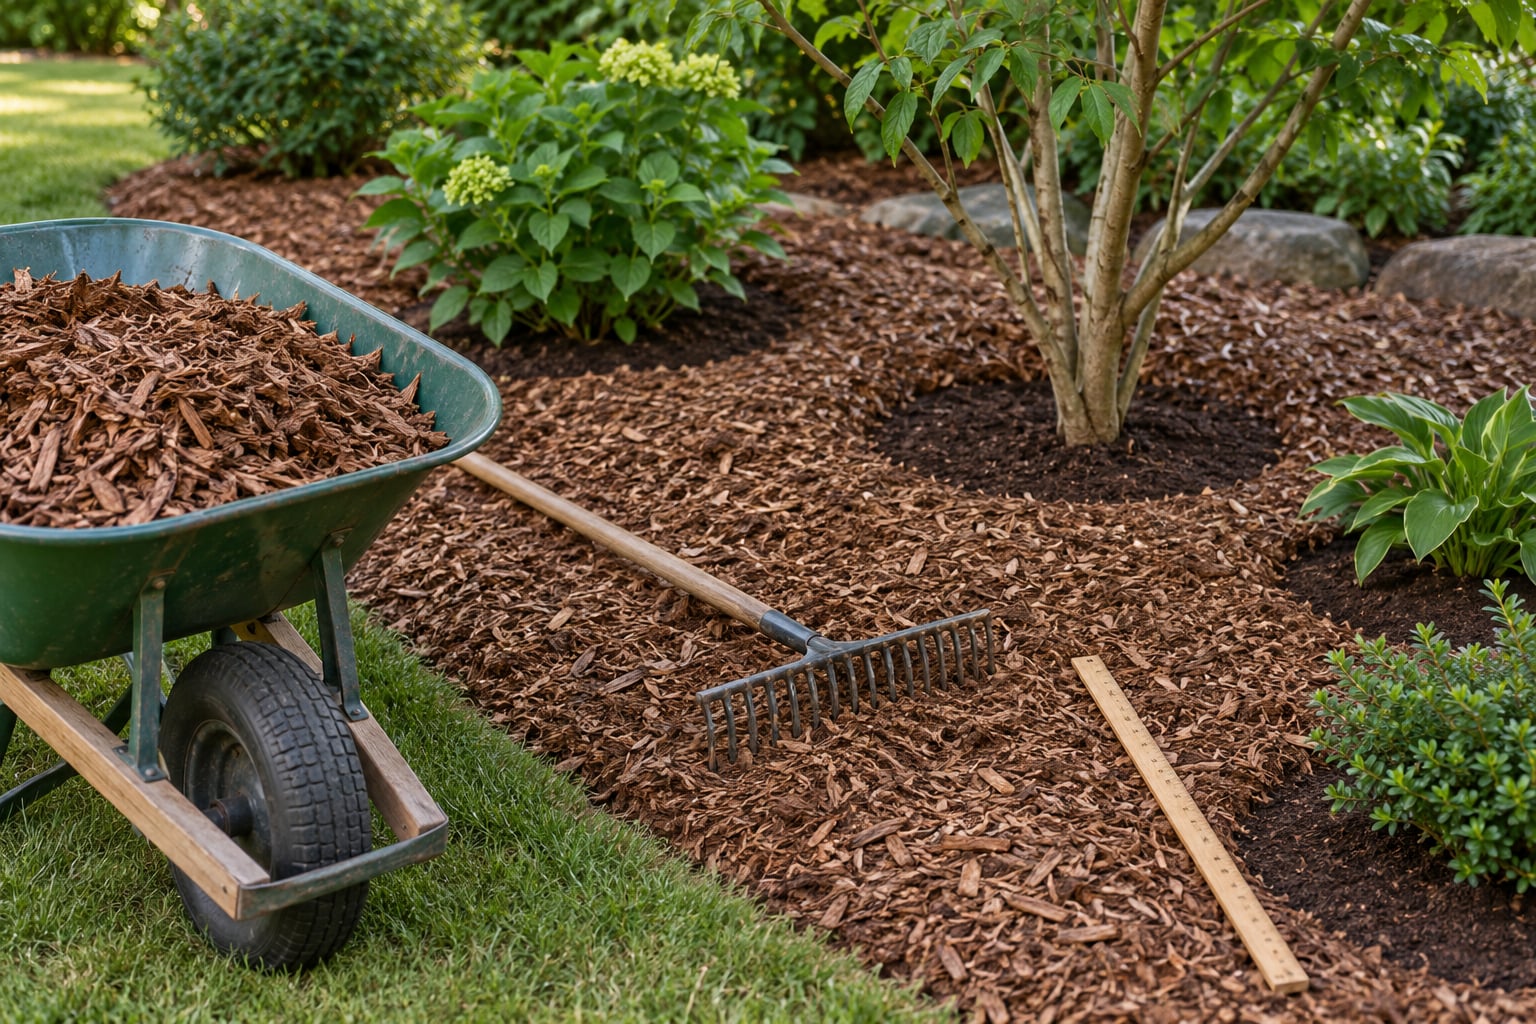
How to mulch garden beds correctly comes down to three numbers: lay 2 to 3 inches of mulch over the soil in most beds, drop to 1 to 2 inches around annual flowers and vegetables, and leave a clear gap around every stem and trunk. Get the depth right and a single afternoon of work cuts watering, slows weeds and keeps soil temperature steady through summer and winter.
Mulch is not a decoration, though that is how it sells. It is a layer that stops evaporation, blocks the light weed seeds need to sprout, and breaks down slowly enough to feed soil life. Done properly it can keep a vegetable bed through a hot dry spell with half the watering it would otherwise take.
Done badly, it causes the two problems gardeners complain about most: stems rotting under a wet mulch collar, and old mulch buried so deep that perennials and shrubs stop coming back. The steps below take about an hour per bed once the mulch is delivered, and the work is simple enough that a first-timer gets it right.
Table of Contents
- What You Need
- Step-by-Step: How to Mulch Garden Beds Correctly
- 1. Prepare the bed and check the soil
- 2. Choose mulch that suits the planting area
- 3. Apply the right depth evenly
- 4. Keep mulch away from plants and structures
- 5. Water and maintain the mulch
- Common Mistakes
- Frequently Asked Questions
- Should mulch touch my plants and tree trunks?
- Is compost enough on its own?
- How deep should mulch be in a raised bed?
- Does mulch cause pests or disease?
- When should I replace old mulch?
- What is the 3-3-3 rule for mulch?
- Final Advice
What You Need
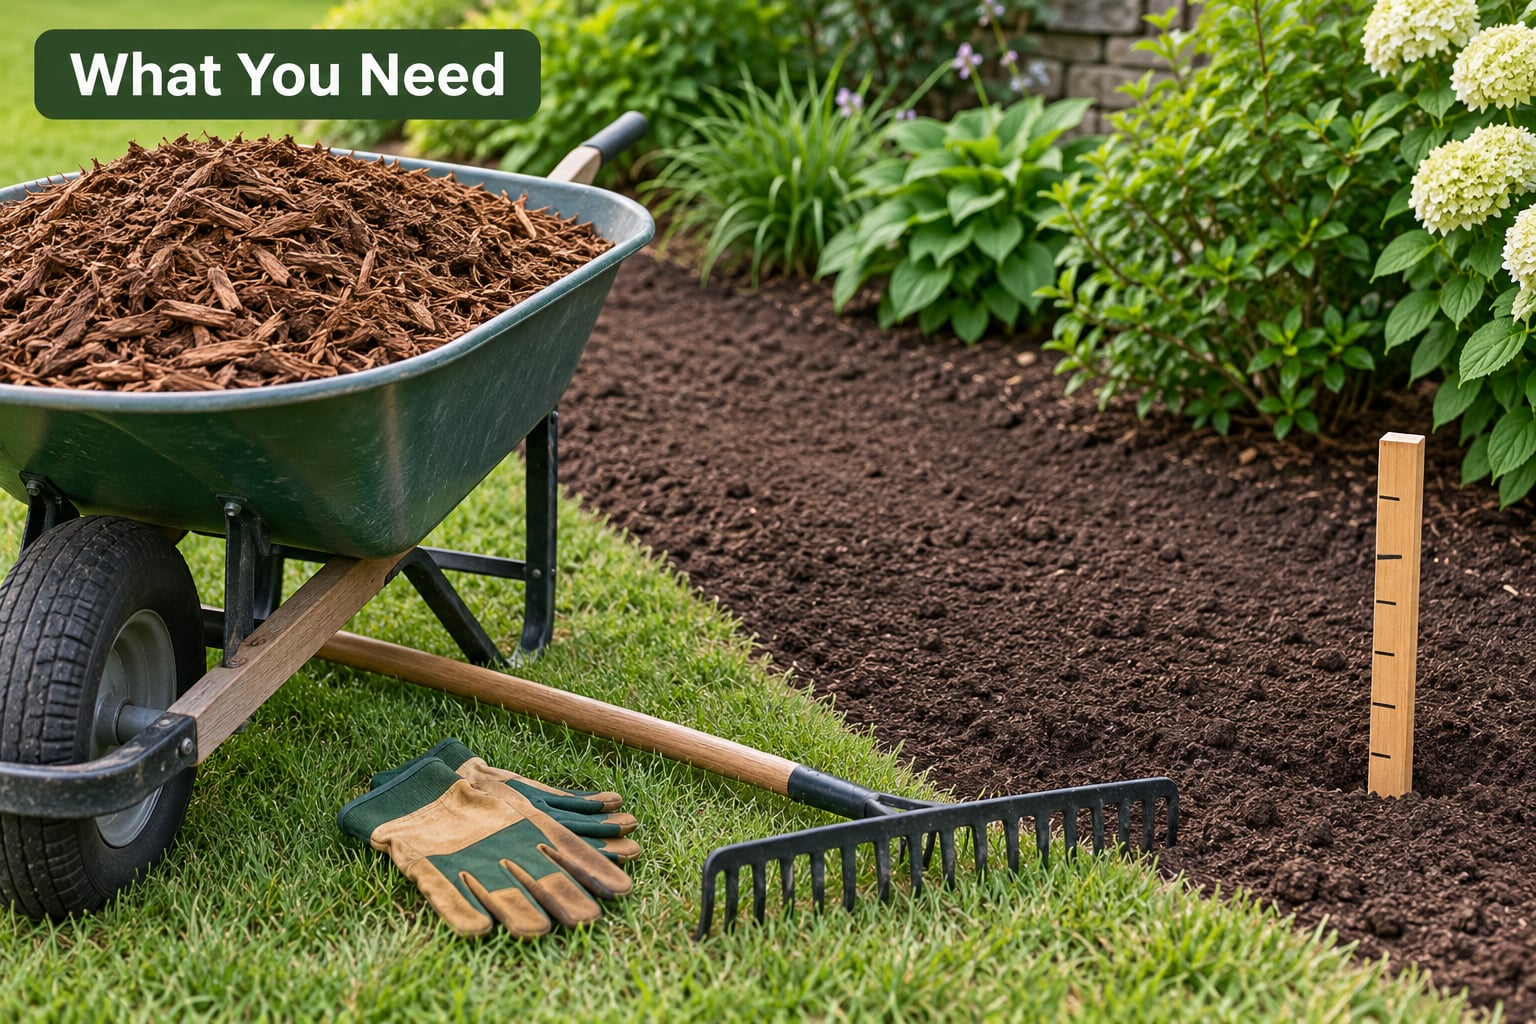
The tool list is short, and most people already own half of it. Buy or borrow the rest before the truck arrives, because a mid-job trip for a measuring stick is how beds end up uneven.
- Mulch: enough for your square footage at the depth you plan. Buy by the cubic yard for beds over 100 square feet, by the bag for raised beds and small borders.
- Rake: a bow rake spreads and levels; a garden rake breaks up clods before mulching.
- Shovel or scoop: for moving mulch out of the pile in manageable amounts.
- Wheelbarrow: one per person working. Two people with one wheelbarrow will finish a small bed twice as fast.
- Measuring stick or tape: a ruler, a marked stake or a depth gauge is the only reliable way to hit the same depth across a whole bed.
- Gloves: mulch splinters and untreated wood products can be rough on bare hands.
- Watering source: a hose or sprinkler, because mulch goes on moist soil and gets soaked in afterward.
- Hand fork or cultivator: useful for fluffing a compacted old layer rather than replacing it.
For a brand-new bed over lawn you also want plain corrugated cardboard with no stickers or tape, landscape staples, and a hose for watering the sod down.
Step-by-Step: How to Mulch Garden Beds Correctly
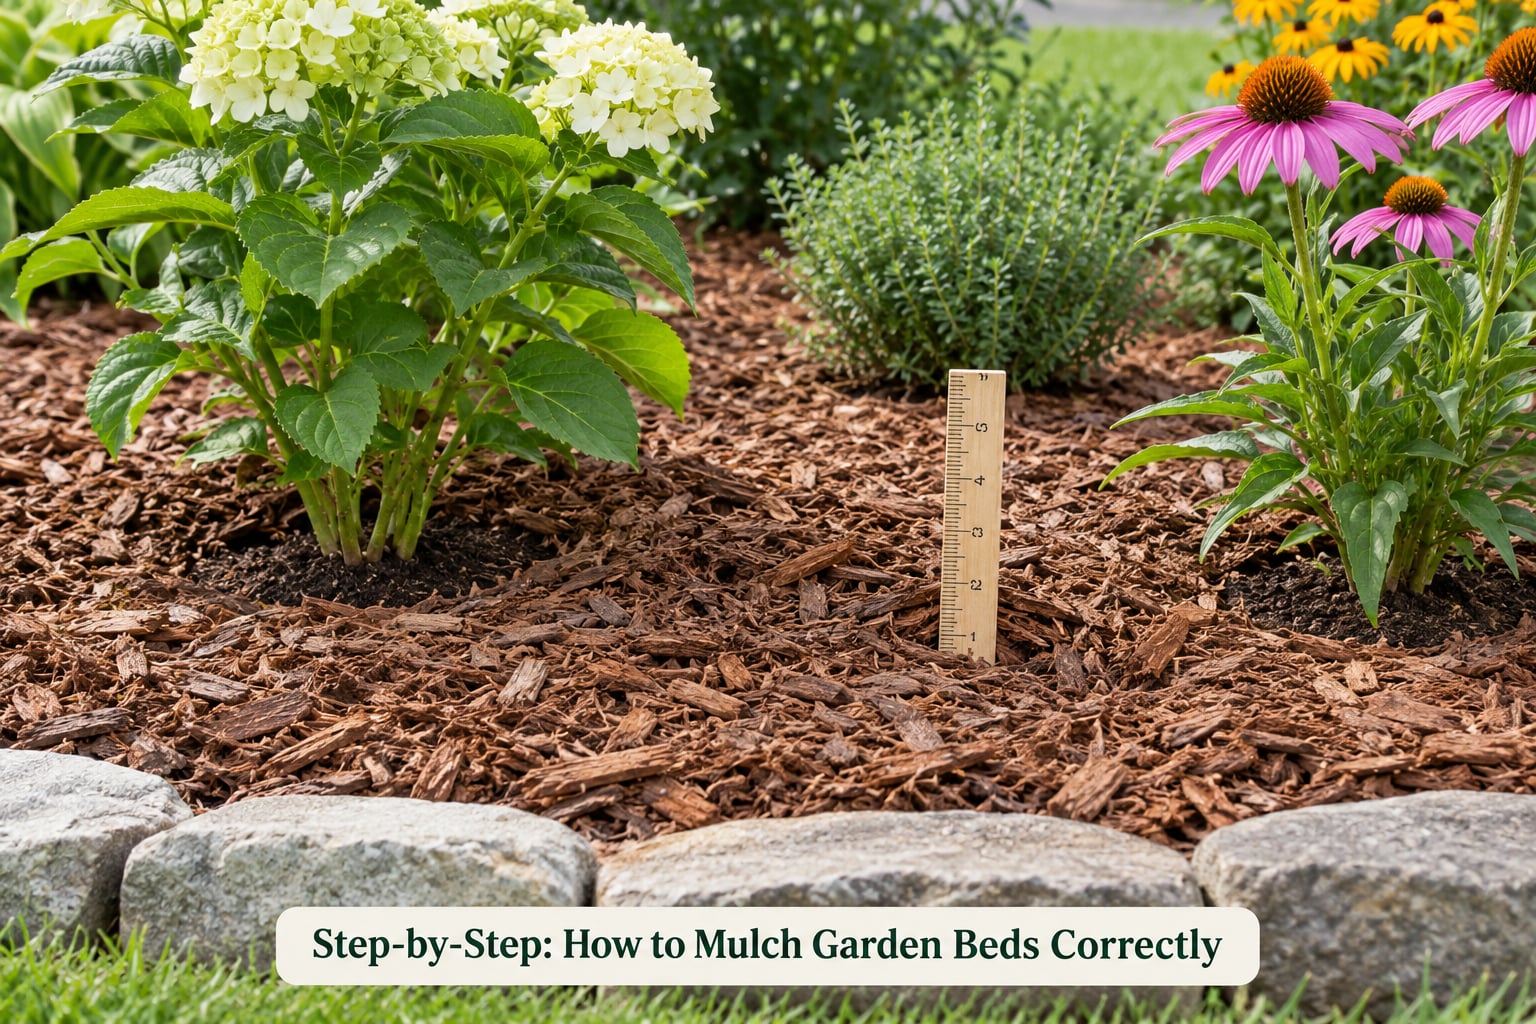
1. Prepare the bed and check the soil
Mulch belongs on bare, weed-free, moist soil, so start there. Pull weeds by hand while the ground is still soft enough to expose their roots, and clear out dead plant material, stones and old leaf piles rather than burying them.
Water the bed first if the soil is dry. Mulch laid on parched ground will not rehydrate the soil underneath it, so you end up with moist mulch over dry dirt and a bed that still needs daily irrigation. Mark sprinkler heads, valve boxes and edging before you start, because a low grade of mulch hides small fixtures you would otherwise see.
Do not loosen healthy soil just for the sake of it. A light fork pass helps where the ground is compacted, but digging up a settled perennial bed every spring does more harm than the mulch ever repairs. Skip mulching entirely in the weeks right after planting if you want new seedlings to establish without being shaded out.
2. Choose mulch that suits the planting area
There is no universally best mulch. Organic materials feed the soil as they break down; inorganic materials last longer and do little for soil biology. Pick based on where the mulch is going and how often you want to replace it.
| Mulch type | How it holds moisture | How it breaks down | Best suited to |
|---|---|---|---|
| Double-shredded hardwood bark | Good, matting if laid too thick | Slow, adds soil as it rots | Shrub beds, perennial borders, paths |
| Wood chips | Good, drains freely | Very slow, sometimes 3-4 years | Paths, play areas, wide beds |
| Compost | Excellent on its own, dries fast | Continuous | Vegetable beds as a top-dress layer |
| Leaf mold or shredded leaves | Good, holds together when damp | Fast, one season | Shaded borders, woodland beds |
| Pine straw | Very good on sandy soil | Slow, floats in heavy rain | Acid-loving shrubs, blueberry beds |
| Straw | Moderate | Fast, one season | Vegetable rows, winter cover on beds |
| Pea gravel or river rock | Poor, heats the soil | Never | Dry paths, xeriscape zones, drainage areas |
Grass clippings work in vegetable beds, but only in thin layers. A thick mat of wet clippings turns into a dense anaerobic mat that smells and shuts off the soil, so mix them loose with coarser material and never apply more than an inch.
Buy a small bag first. Dyed and rubber-coated mulches wash their color into storm drains and neighbouring lawns during the first heavy rain, and dyed mulch that is already piled in a store is usually a sign it has been re-moved and is starting to break down.
3. Apply the right depth evenly
Two to three inches is the working depth for most planted beds. Less than that and you get moisture retention without meaningful weed suppression; much more and you bury stems, trap heat in summer and create the wet collar that invites rot and rodents.
| Area | Recommended depth | Why |
|---|---|---|
| Perennial and shrub beds | 2-3 inches | Holds moisture and suppresses weeds without burying crowns |
| Annual flowers and vegetables | 1-2 inches | Shallow roots sit near the surface and get smothered by a thicker layer |
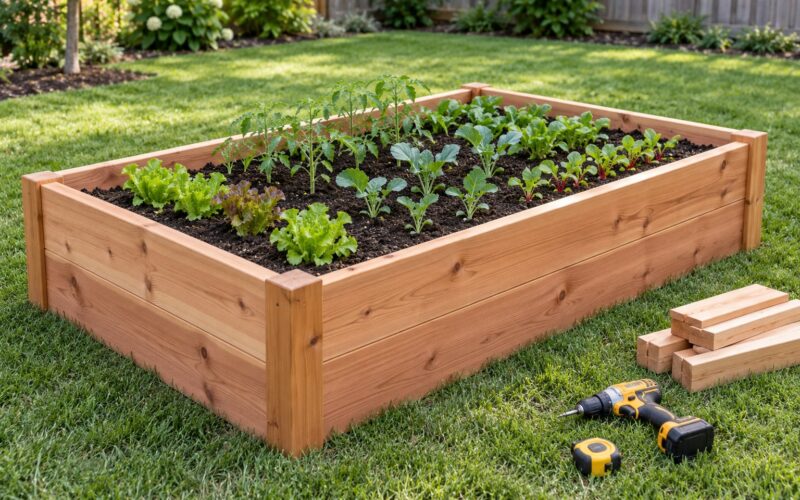
| Raised beds | 1-2 inches | Frames are shallow, so depth costs you soil volume fast |
| New fruit trees | 2-3 inches in a wide ring | Keeps roots cool and moist over a broad area |
| Paths and play areas | 3-4 inches | Needs to survive foot traffic without crushing into mud |
For a 4-by-8-foot raised bed at 2 inches, you need roughly 5.3 cubic feet of material, which is two large bags or about a third of a cubic yard. As a general rule, one cubic yard covers close to 100 square feet at 3 inches, so a 600-square-foot bed takes about 6 yards. Add 10% for settling, and buy on the overestimate side rather than short.
Dump mulch in several small piles along the bed rather than one big one, then pull it outward with the rake. Work from the back of the bed toward the front so you do not walk on the finished surface. Check depth with your measuring stick at least every few feet, and rake high spots down rather than adding more material to fill a dip.
Stop at the edges. A slope of mulch on a bed side will wash out with the first heavy storm, so hold the layer back 2 inches from the frame and let the material sit slightly above soil level instead of level with it.
4. Keep mulch away from plants and structures
This is the step that prevents most of the damage people worry about. Leave a clear ring of bare soil around every stem and trunk, and never let mulch touch bark or crown.
- Around perennials, keep a 2-3 inch mulch-free circle around the crown.
- Around vegetables and annuals, keep a ring about the width of your hand.
- Around trees and shrubs, keep mulch 3 to 6 inches away from the trunk and spread it wide, not deep.
- Against raised bed frames, stop an inch or two short of the wood and pack the gap with soil.
The reason for the trunk gap is worth stating plainly: mulch piled against bark traps moisture on the trunk and blocks the airflow the bark needs, which is how trunk rot and girdling roots start. A wide, thin ring protects the roots better than a narrow, deep mound ever will, and it is the single biggest difference between mulch that helps a tree and mulch that damages it.
If you already have a volcano piled against a trunk, pull it back rather than adding on top. Move mulch away from the bark until you can see the trunk flare, use a rake or shovel to clear down to bare soil or finished grade around the base, and check for soft or sunken bark on the side that was covered. Then reapply a shallow, wide ring at 2 to 3 inches deep and 12 to 24 inches from the trunk across. If the buried section of bark looks soft, dark or hollow, cut it back to healthy wood and monitor new growth over the season.
5. Water and maintain the mulch
Water the soil before you mulch and the mulch itself afterward. That second watering does two jobs: it settles the fresh material so it stops floating, and it carries moisture down to the root zone so plants get the full benefit of the layer you just added. Use a gentle sprinkler or hose rather than a jet that washes material out of the bed.
If you used dyed mulch, wait 24 to 48 hours before soaking it, because the first water carries dye. After that, keep the layer damp enough that it holds together in your hand but is not wet to the touch.
Check the bed a couple of weeks later. Do not automatically pile fresh mulch on top. If the old layer is still loose, holds a healthy smell and is only 1 to 2 inches deep, rake it, add a light top-dress to reach 3 inches, and stop. If it has matted down, gone sour or fibrous, break it up with a fork and top-dress instead of replacing it. Remove it entirely only when it has decomposed into the soil, when it is harboring disease, or when the total layer would bury stems past their original planting depth. Adding new mulch on top of old mulch every year is how plants quietly disappear.
Organic mulch usually needs a top-up each spring, sometimes a second one in fall. Inorganic mulch in a path can stay for years unless it shifts or sinks. A quick walk-through every few weeks is enough to spot bare patches, washed-out sections, weeds pushing through, rodents digging, or a mushroom flush that tells you the layer is too thick and too wet.
Common Mistakes
Every problem below is something I have seen in a bed that looked fine on the day it was done. Each one has a straightforward fix.
1. Applying too much mulch. More is not better. Above 4 inches the layer keeps rain off the soil surface, holds heat against roots and buries low stems. Fix: measure, then pull material back off high spots instead of adding to low spots.
2. Volcano mulch against trunks and shrubs. The classic failure. Fix: pull the pile back until you can see bark, then spread the same material wide and thin in a ring that starts 3 to 6 inches out from the trunk.
3. Piling new mulch on old mulch every year. This buries plants a little deeper each season, and it is the warning raised most often on gardening forums for good reason. Fix: fluff the old layer with a fork and top-dress to the correct total depth rather than starting a new layer on top.
4. Mulching a wet bed. Working saturated soil compacts it and traps the dampness that causes matting and fungal growth. Fix: let the soil drain to the point where it is damp but not muddy, and keep people off the bed while you spread.
5. Using moldy or sour-smelling material. Fine mulch that forms a wet mat will grow mushrooms, and heavily infested wood can carry insects into the bed. Fix: smell a handful before you spread; sour, slimy or visibly fungal material goes in the compost pile, not the bed.
6. Tilling mulch into the soil. Mixing organic material into soil ties up nitrogen as it decomposes and leaves plants hungry mid-season. Fix: keep mulch on the surface as a separate layer and top-dress it annually.
7. Laying mulch too thin for weed suppression. An inch of fine material will not stop much, and you end up pulling weeds all summer. Fix: reach 2 to 3 inches on perennial beds, and edge the bed so the layer has a defined boundary.
8. Leaving nothing to hold the mulch in. In shallow, curved or oddly shaped beds, and in raised beds, loose material ends up in the lawn or the gutter after one storm. Fix: keep the layer back from the edge and slightly above soil level, dig a small trench along the bed border to stop runoff, or install edging with the top edge sitting 2 inches above the finished mulch surface.
9. Mulching over grass in a new bed. Sod keeps growing and pushes the mulch up into patches. Fix: sheet mulch it instead, which means watering the sod, laying plain cardboard with edges overlapped about 4 inches, pinning it down, then adding 2 to 3 inches of compost and 2 inches of mulch on top. The soil underneath stays where it is and you plant straight into it the following season.
Frequently Asked Questions
Should mulch touch my plants and tree trunks?
No. Keep mulch 2 to 3 inches away from perennial crowns and about a hand’s width from annual stems and vegetables. Around trees and shrubs, leave 3 to 6 inches of clear space around the trunk and spread the mulch wide and thin, starting at 2 to 3 inches deep. Mulch resting against bark traps moisture, blocks airflow and can lead to trunk rot and girdling roots.
Is compost enough on its own?
It works, but rarely as the only layer. Compost is the best thing you can put directly against plant roots, yet it dries out fast and gives almost no weed suppression because weed seeds blow into it constantly. Many gardeners use a thin compost top-dress of about half an inch, then 1 to 2 inches of bark, chips or straw on top for moisture retention and weed control.
How deep should mulch be in a raised bed?
One to two inches. Raised bed frames are typically 6 to 12 inches tall, so every inch of mulch costs you soil volume you could be planting in, and shallow-rooted crops such as lettuce and radish get smothered under a deeper layer. Keep the mulch an inch or two back from the wooden frame, where contact with damp wood speeds rot.
Does mulch cause pests or disease?
It can, but the cause is usually how it was applied rather than the material itself. Mulch touching stems, a layer deeper than 4 inches, or a thick wet mat creates the damp, airless conditions that lead to rot, fungus and rodents digging for food. Clear the collar, keep the layer thin and even, and water gently to avoid matting.
When should I replace old mulch?
Top-dress it while it is still loose, fibrous and sweet-smelling. Once it has turned crumbly and gone sour, or matted into a dense mat, pull it out and compost it instead of adding new material on top. Never let the total depth grow past 3 inches, because repeated top-dressing buries plant crowns a little more each season.
What is the 3-3-3 rule for mulch?
It is not an official standard, but it is a shorthand gardeners use for keeping about 3 inches of mulch depth, leaving a 3-inch gap between the mulch and plant stems, and starting that mulch ring roughly 3 inches away from a trunk or shrub stem. The idea is that depth, clearance and distance all matter, not just the layer you can see from the path.
Final Advice
Start with the boring part: pull the weeds, check that the soil is damp rather than dry, and pick a material that suits whether you are working a vegetable bed, a shrub border or a path. Then spread 2 to 3 inches, measure it twice, and pull back a clear ring around every stem and trunk before you water it in.
The one habit that prevents most mulch damage is measuring depth instead of eyeballing it. A marked stick costs almost nothing and is the difference between a bed that looks good this year and one that still looks good in five years.