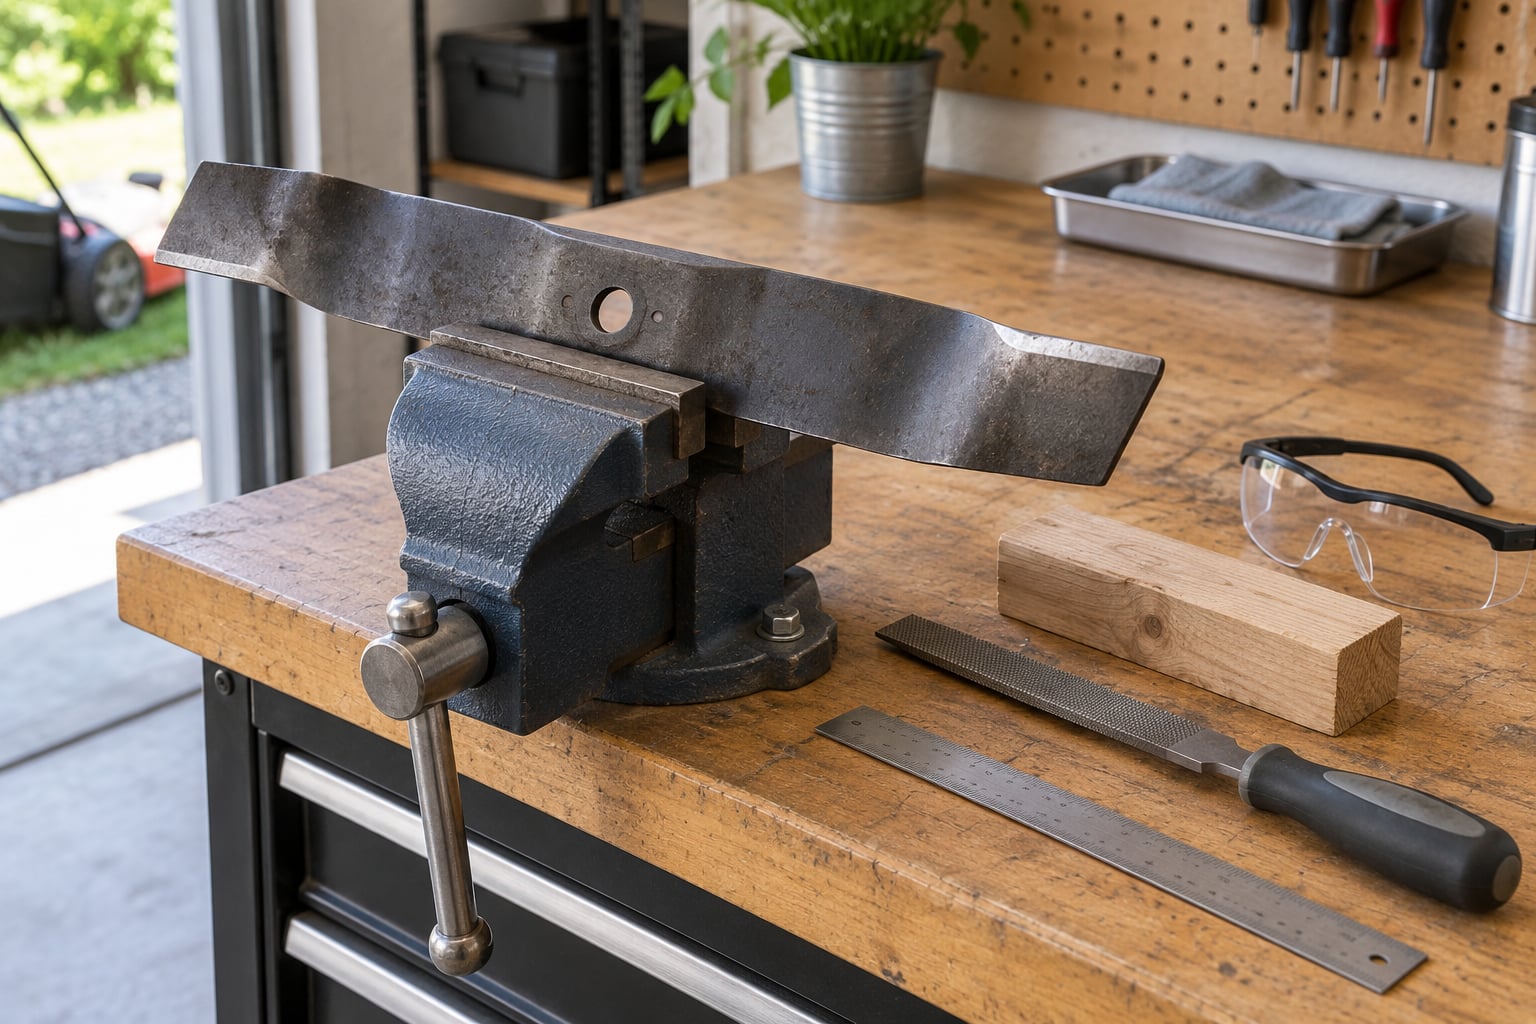
Sharpening a mower blade means restoring the factory bevel on the cutting edge, then rebalancing the blade so it spins flat before you bolt it back on. Disconnect the power, wedge the deck with a block of wood, pull the center bolt, file or grind along the existing 30-45 degree bevel, hang the blade on a nail to check balance, and reinstall it grass-side down. The whole job takes 30 to 60 minutes on a single-deck push mower, and it needs nothing more advanced than a flat file or an angle grinder with a 60-grit flap disc.
A dull blade does not just look bad. It tears the grass instead of slicing it, so the tips fray and turn brown within a day of mowing, the cut height goes uneven, and you end up collecting bags of pulp instead of a clean lawn. A blade that is sharp but out of balance is worse, because it hammers the spindle bearings and can bend the engine shaft.
Here is the process I walk people through, in the order that keeps you safe and keeps the blade straight.
Table of Contents
- What You Need
- Step-by-Step: How to Sharpen Mower Blades
- 1. Check the mower manual and identify the blade type
- 2. Disconnect the spark plug or remove the battery
- 3. Remove and clean the mower blade
- 4. Choose a file or grinder and preserve the original angle
- 5. Check the blade is straight and sharp
- 6. Balance the blade before reinstalling it
- 7. Reinstall the blade and test the mower
- Common Mistakes When Sharpening Mower Blades
- Frequently Asked Questions
- Can you sharpen lawn mower blades without taking them off?
- How to sharpen lawn mower blades without a grinder?
- Is sharpening lawn mower blades worth it?
- Does aluminum foil or a knife sharpener work on a mower blade?
- Should you balance a mower blade after sharpening?
- What are the signs that mower blades are unbalanced?
- Conclusion
What You Need
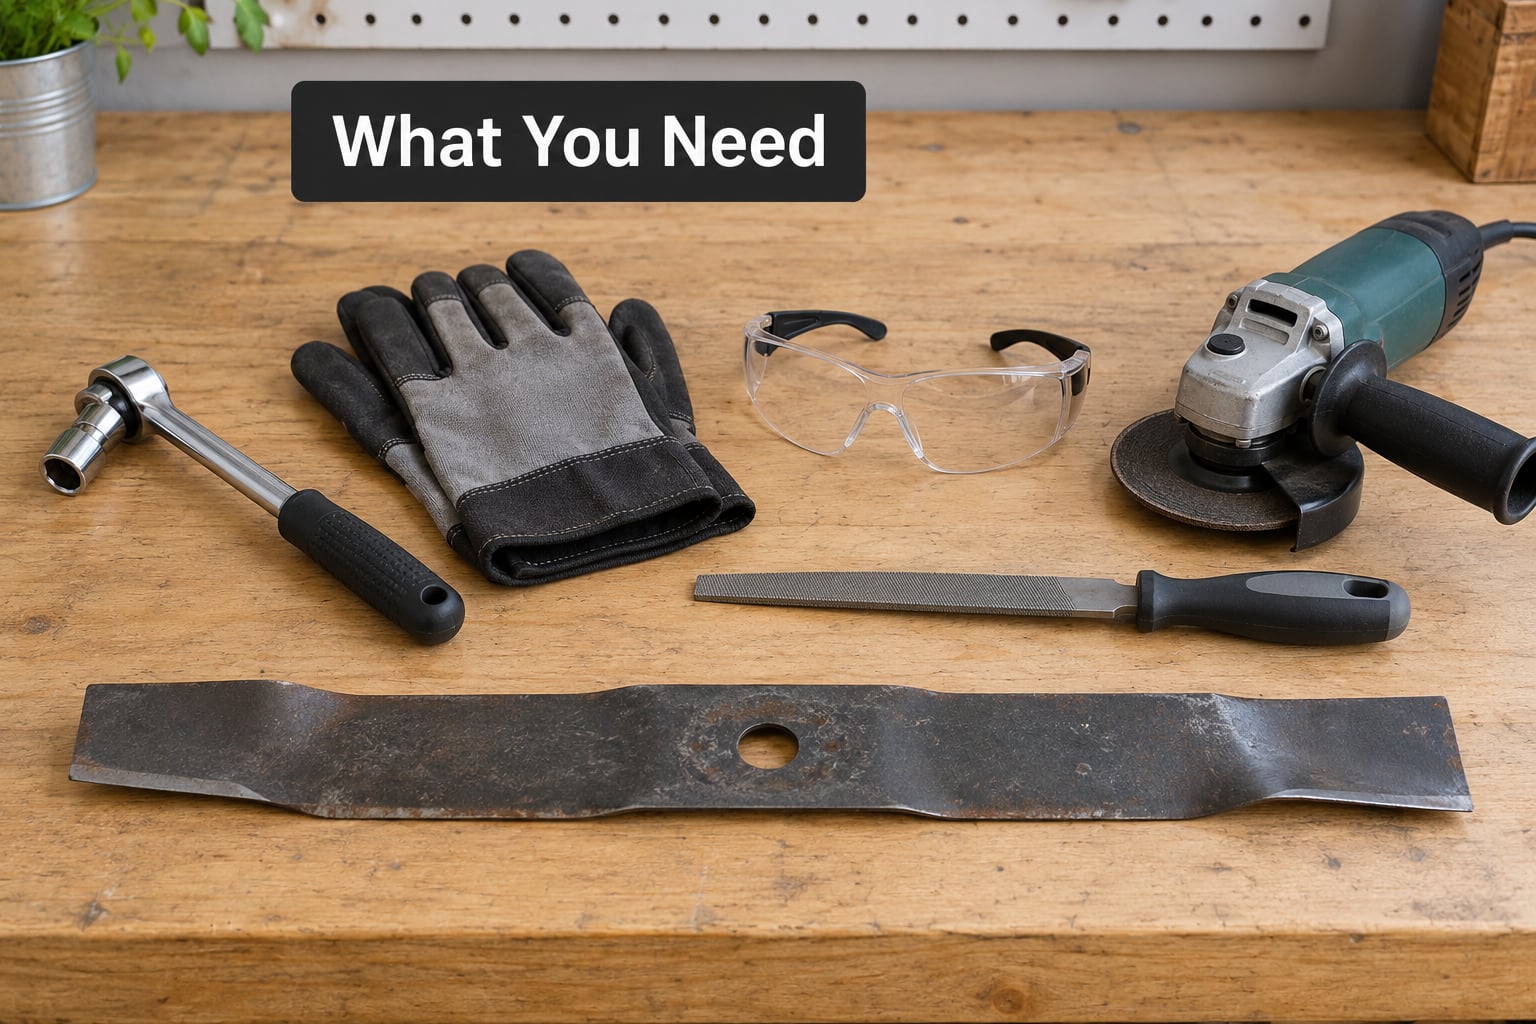
Most of the tool list is cheap and most of it you may already own. Pick the sharpening tool that matches how much metal you expect to remove.
- A 10-inch flat mill file. The slow, forgiving option. Best for standard steel blades and for anyone sharpening for the first time.
- An angle grinder with a 60-grit flap disc. The fastest home option. Good for a yearly touch-up on a blade with light wear; risky on pitted steel because it removes metal fast.
- A bench grinder with a coarse wheel. Fastest, and the easiest way to over-grind a blade into a wafer. Use it only if you have done it before.
- A wire brush for caked-on grass, plus a rag and a marker.
- A socket wrench or wrench set that fits your spindle bolt. The blade bolt on most push mowers is a 3/8-inch or 7/16-inch socket.
- A block of wood or two to wedge the deck so the crankcase never sees the blade.
- Safety glasses and cut-resistant gloves. A blade that has seen a few seasons develops burrs and sharp edges of its own.
- Penetrating oil on hand in case the blade bolt has rusted into place. That is the single most common snag in this job.
Composite and plastic blades are a separate case. If your blade is nylon or plastic, no file or grinder will do anything useful; they are replacement-only parts. Metal mulching blades and high-lift blades sharpen fine, but match their factory bevel exactly, since the lift and cut pattern come from that angle.
One more thing before you start: know your replacement part number. Halfway through, you may decide the blade is too far gone, and having the number in your phone beats tearing the model plate off the deck.
Step-by-Step: How to Sharpen Mower Blades
1. Check the mower manual and identify the blade type
Before you touch a tool, find your mower’s manual and look up the blade part number and whether the blade is a mulching, high-lift, or standard straight-blade design. It takes two minutes and it decides how you work for the next hour.
Standard blades have one flat side and one beveled side. Mulching blades have extra curved or notched wings meant to chop clippings, and those wings catch a file or a disc in ways that confuse beginners. If you are filing a mulching blade, stay on the main cutting edge and leave the wings alone.
2. Disconnect the spark plug or remove the battery
Do this first, every time, with no exceptions. On a gas mower, pull the spark plug wire off the plug and tuck it away from the plug so it cannot bounce back into place. On a cordless mower, pop the battery out and set it on a bench away from your tools.
Then handle fuel. A gas mower tipped with the air filter facing up can leak oil into the filter and ruin it, so either drain a full tank or tip the mower with the air filter and muffler pointing up. The manual will show the correct way to do it for your engine. Lowering the blade yourself means you never have to tip the mower at all, and on battery models you can skip the fuel steps entirely.
Set the mower on flat ground, set the brake, and put your hands somewhere the blade cannot reach.
3. Remove and clean the mower blade
Slide a block of wood between the blade and the deck so the engine cannot turn. Wear your gloves and glasses here, not later.
Most blade bolts loosen counterclockwise when viewed from above. Hold the blade with one hand and turn the bolt with the socket wrench. If nothing moves, spray penetrating oil on the bolt threads, wait a few minutes, and try again. Forcing it is how people round off the bolt head and end up at a shop.
Before you lift the blade out, note its orientation: which side faces the grass, and which way the wings and the bend face. On a two-blade or multi-deck mower, mark each one, because installing them swapped changes the cut pattern.
Once it is out, scrape off the grass cake with a putty knife and finish with the wire brush. A blade buried under an inch of dried clippings is going to cut badly no matter how well you sharpen it, and the brush also tells you where the real wear is.
4. Choose a file or grinder and preserve the original angle
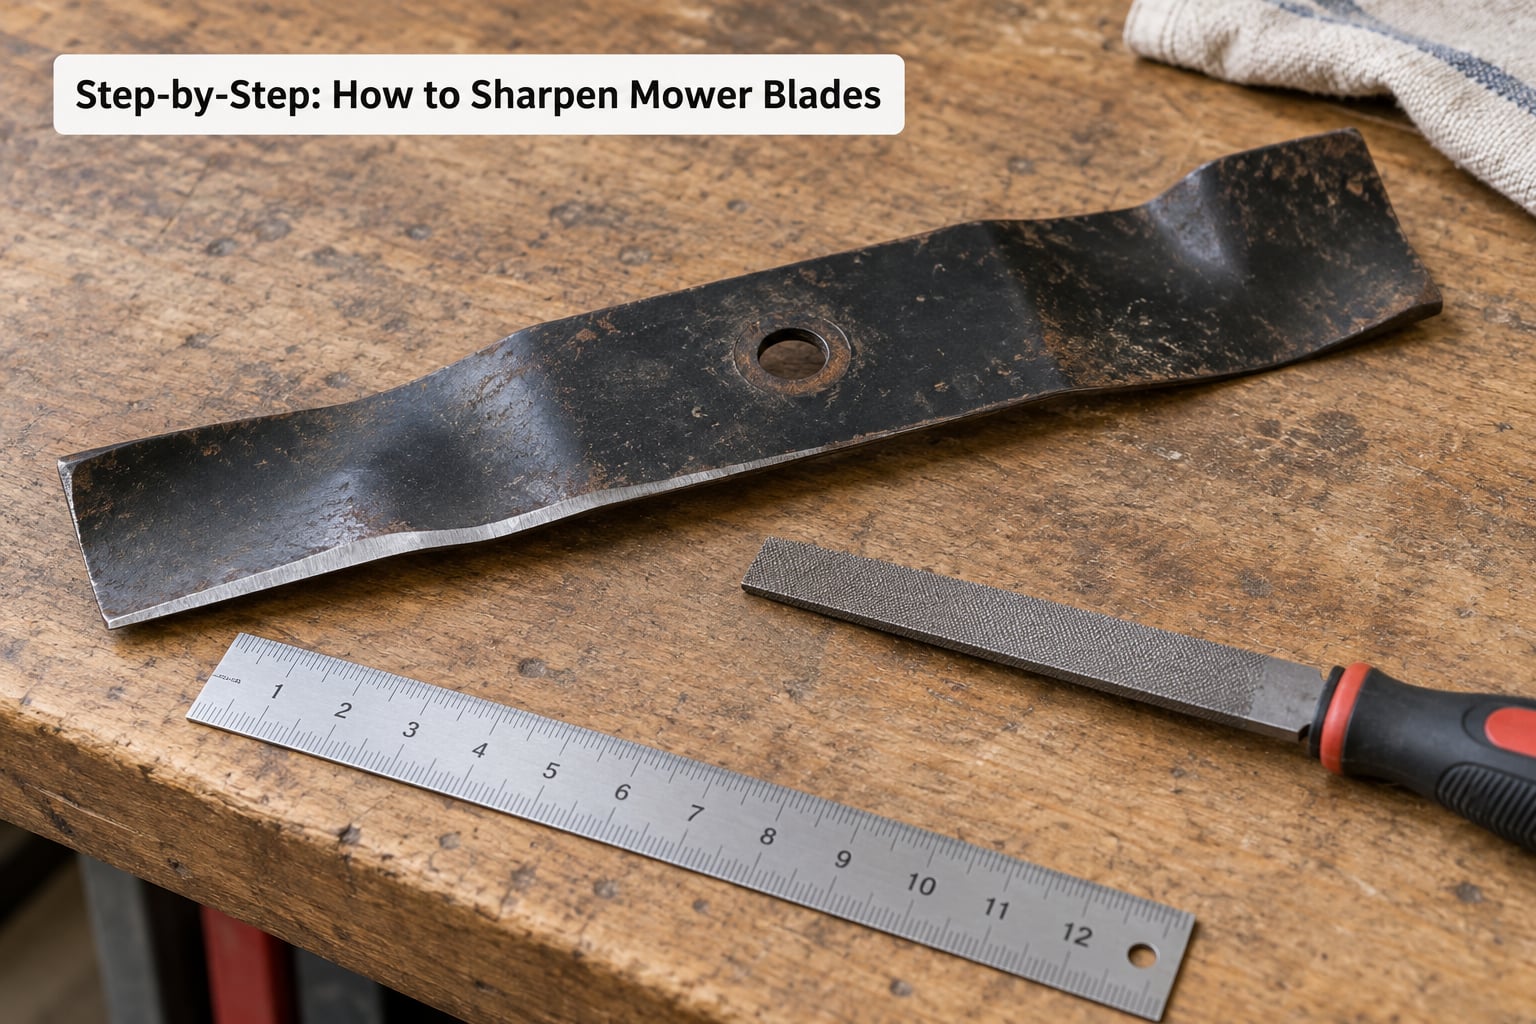
Look at the edge and find the bevel, the sloped band between the top cutting face and the flat bottom of the blade. That band was machined at the factory and it is usually between 30 and 45 degrees. Your only job is to restore that same band, not to invent a new one. More angle cuts better and dulls faster; less angle will not cut cleanly and leaves more of the blade as a tearing surface.
Most people who search how to sharpen mower blades reach for the grinder first, and that is where blades get ruined. Whichever tool you pick, set a straightedge against the bevel so you can see the angle while you work. A simple trick people use is to mount the grinder at a fixed 45-degree angle on the corner of the bench and rest the blade against it, which keeps the angle repeatable.
With a file, clamp the blade in a vise or hold it firmly and stroke in one direction only, from the bevel down past the edge. Sawing back and forth folds the metal into a ragged burr. Take light passes and check your progress every few strokes.
With an angle grinder and a 60-grit flap disc, keep the disc moving and let it do the work. Never hold the blade in your lap. If the metal starts to turn blue or give off a burnt smell, you are cooking it, and heat-treated steel that loses its temper will never hold an edge. Light passes, constantly moving.
You are aiming for an edge roughly 0.030 to 0.045 inches wide, about as sharp as a butter knife. Razor-sharp is a mistake here. Mower blades are meant to slice, not shave, and a brittle razor edge chips off against the first rock.
Finish by removing the burr on the flat side with one light pass of the file, then wipe the blade with a rag and run it carefully along your thumbnail. It should catch slightly, not draw blood.
5. Check the blade is straight and sharp
Lay the blade on a flat bench and look along the edge from eye level. A straight blade shows one unbroken line. Look at the profile too: if the blade curves like a shallow crescent when seen from the side, it is warped and no amount of sharpening fixes it.
Run a fingernail along the edge now and note where it catches lightly and where it snags or skips. Skips are nicks, and deep pits are places where a file will not help, because the surrounding metal is already softer than the pit.
Replace the blade rather than sharpen it if you find any of these:
- A crack anywhere in the steel, however small. It can spread fast once the engine is running.
- A bend from hitting a rock or a root. Straightening a bent blade is a shop job, and a straight one that started bent will keep bending.
- The cutting half worn down to roughly half the blade’s width or less. The remaining steel is too thin to take a grinder.
- Nicks more than a few millimeters deep, or edges that look like honeycomb from heavy pitting.
- Plastic or composite construction.
As a quick sharpness test between sessions, the blade should be able to slice a sheet of newsprint cleanly, roughly the same as a butter knife. If it shreds or tears, it needs another pass.
6. Balance the blade before reinstalling it
Balance is the step people skip, and it is the step that decides whether your mower feels great or shakes the handles off. Every bit of extra metal you grind off one side makes the blade heavier on the other, and the spin speed turns that small imbalance into real vibration.
There are two ways to check it at home. The free way: find a nail or a straight rod, hang the blade from its center hole, and let it settle. If it hangs at an angle, the blade is out of balance. The shop way: rest the hub on a magnetic blade balancer, which is a small post with a raised marker, and see which way it settles.
If it tips, file a little more metal off the heavy side, always near the cutting edge and only a few strokes at a time, then hang it again. Repeat until it hangs level or within a few degrees. Some blades look slightly off on the nail but settle perfectly on a balancer, so if you are unsure, check on a balancer before you reinstall.
Note that even brand-new replacement blades can arrive out of balance, which is why people on lawn forums check a fresh blade before installing it rather than assuming the box means perfect.
If you sharpened the blade in place instead, you cannot do this check at all. That is the real reason to take the blade out even though it is more work.
7. Reinstall the blade and test the mower
Fit the blade back exactly as you found it, grass side toward the ground. Put the washers and spacers back in the same order they came off, then tighten the bolt firm with the socket wrench. Tight, not torque-spec tight; the bolt should not turn with your hands, but you do not want to shear it either.
While the blade is out, take two minutes to look up into the deck with a flashlight and scrape off the packed grass. It cuts airflow, it traps moisture, and it is free to clean. Then pull the spark plug wire back on or slide the battery home.
Start the mower in an open area with nobody nearby and let it run for a minute at low speed. No shaking, no rattling, no rising hum. Then make a short test cut in a section of lawn you do not care about and check the result.
Grass lying flat with clean tips means the bevel is right. Torn, frayed tips mean the edge is still rough. Ragged, patchy strips mean the blade is out of balance or the two blades are swapped. And if the mower still vibrates after a job you did carefully, check the drive belt, then the deck, then the spindle before you blame the blade.
Common Mistakes When Sharpening Mower Blades
Almost every damaged blade I have seen came from one of these, and most take one extra minute to avoid.
- Working with the mower connected. A spinning engine does not negotiate. Spark plug wire off, battery out, both confirmed with your own eyes before you reach under the deck.
- Changing the bevel angle. Grinding at an angle steeper or shallower than the factory bevel throws away usable steel and makes the blade tear. Follow the existing edge with a straightedge alongside it.
- Overheating the metal. Blue or discolored steel has been ruined. Keep a grinder moving, take light passes, and dip the blade in water every few minutes.
- Sawing the file back and forth. One direction, from the bevel down and past the edge. Back-and-forth strokes roll a burr that defeats the whole job.
- Skipping the balance check. A visibly sharp but unbalanced blade wears out spindle bearings and puts strain on the engine shaft over a season.
- Forcing a rusted bolt. Penetrating oil and a few minutes of waiting will do what leverage will not.
- Reusing a nylon locking nut without checking it. These plastic insert nuts strip silently. If yours looks chewed or spins freely, replace it.
- Tightening the blade bolt to maximum. Torque it firm, then stop. It does not need to be tighter.
Frequently Asked Questions
Can you sharpen lawn mower blades without taking them off?
Yes, and many people do it with an angle grinder on a raised mower. The problem is balance: sharpening in place cannot correct an imbalance, and vibration from an unbalanced blade wears out spindle bearings and strains the engine shaft. You also skip the chance to clean packed grass off the deck, which is often a bigger cause of a bad cut than the edge itself.
How to sharpen lawn mower blades without a grinder?
Use a 10-inch flat mill file and a bench vise. Clamp the blade, line a straightedge along the existing bevel so you can see the angle, and stroke in one direction only, from the bevel past the edge. Take light passes and check every few strokes. It takes longer than a grinder, but it removes far less metal and is very hard to overheat or ruin the edge.
Is sharpening lawn mower blades worth it?
For most home mowers, yes. A sharpened original blade cuts as well as a new one and costs nothing but an afternoon. It is not worth sharpening a blade that is cracked, bent, or worn down to about half its original width, because there is no sound steel left to work with. Buying a replacement for those cases is cheaper than your time.
Does aluminum foil or a knife sharpener work on a mower blade?
Neither is a good idea. A butter knife does not bite into hardened mower steel and will slip or snap. Aluminum foil is a trick that does nothing measurable. You need a file, a 60-grit flap disc, or a grinding wheel. A kitchen knife sharpener is only useful on blades whose edges are thin and unhardened, which mower blades are not.
Should you balance a mower blade after sharpening?
Every time. Each pass of the file removes metal from the bevel side, so the blade becomes heavier on the flat side and spins unevenly. That vibration wears spindle bearings and can bend the engine shaft. Hang the blade from a nail through its center hole, or rest it on a balancer, and file a little more off the heavy side until it hangs level.
What are the signs that mower blades are unbalanced?
The mower shakes noticeably at full throttle and settles when you back off the speed. The cut comes out in ragged, uneven strips rather than a clean carpet. A buzzing or humming sound that changes with engine speed is another sign. Many people notice the vibration is worse on hard, uneven ground or at the start of the pass, and it does not settle after a few minutes.
Conclusion
Start by disconnecting the spark plug wire or pulling the battery, and make that your first action rather than your afterthought. From there, the whole job rests on two things: follow the factory bevel instead of making a new angle, and hang the blade on a nail before it goes back on.
Once it is reinstalled, run the mower in an open area at low speed for a minute, then make a short test cut before you commit to the whole lawn. If you do one sharpening job a year and get the balance right, that is the whole maintenance schedule for a blade in 2026 and beyond.