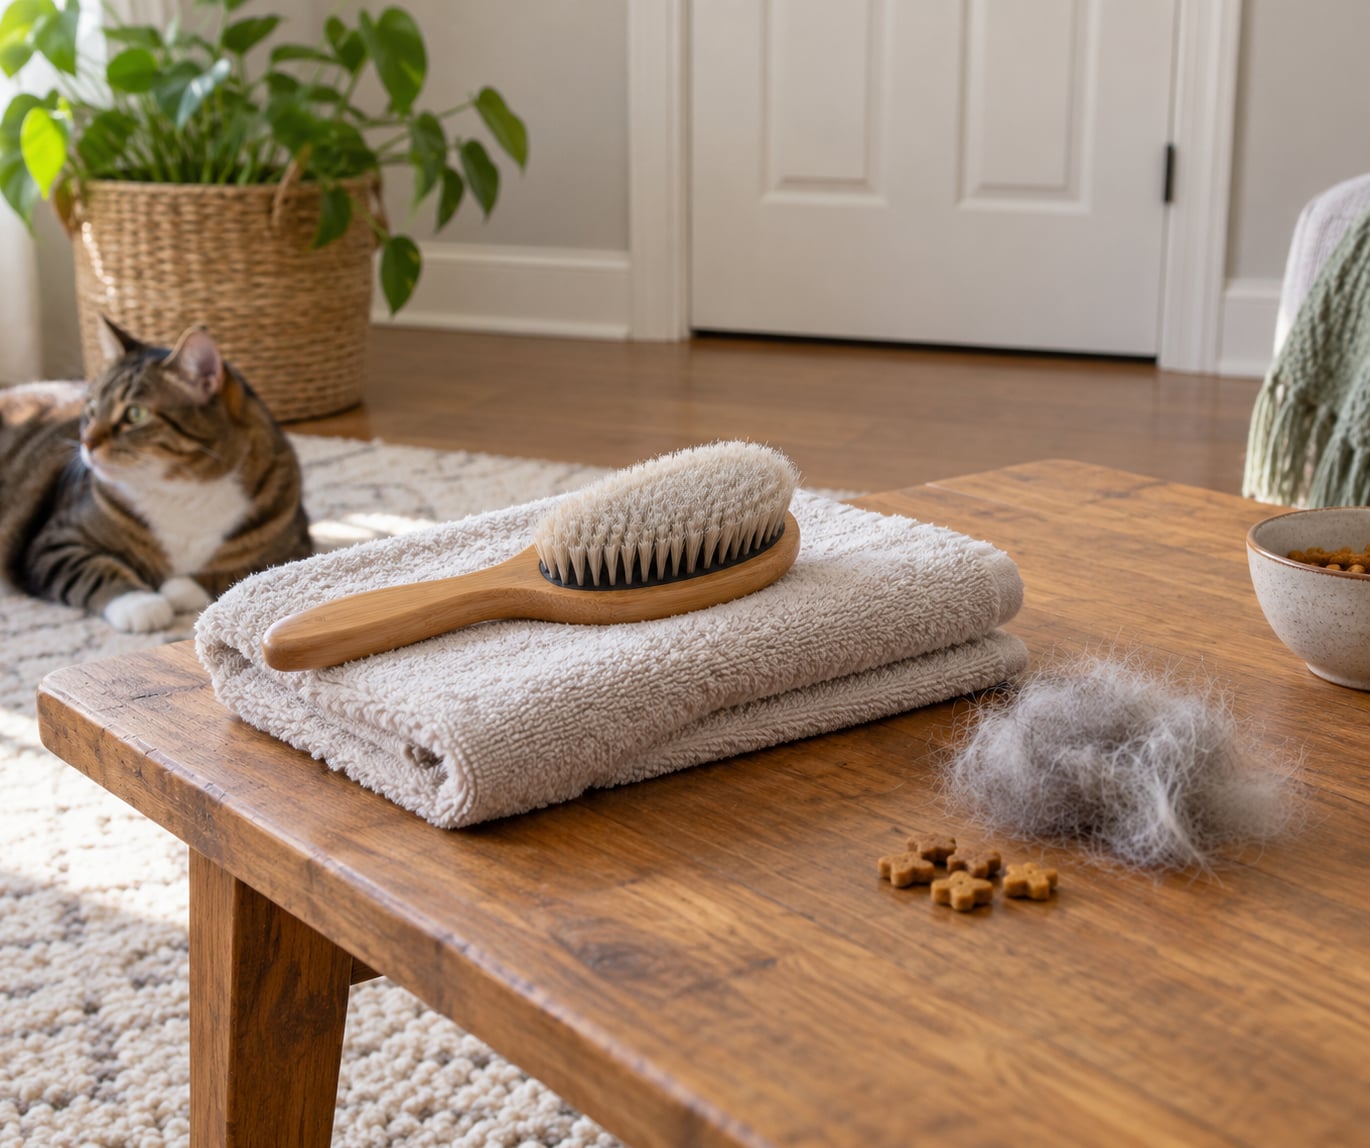
If your cat bolts, hides or swats when you pick up a brush, the answer is not more brushing — it is less. Rule out pain with a vet, then rebuild tolerance in tiny voluntary steps: the brush in sight, a touch with no strokes, one single stroke, then a short session. Most cats need a few weeks of this, not one long afternoon.
That approach has a name — grooming desensitization — and it works because the cat stays in control of every step. This guide walks through the tools, the sequence and the body language that tells you when to push on and when to end the session early.
Table of Contents
- What You Need
- Step-by-Step: How to Brush a Cat That Hates Grooming
- Step 1: Rule out pain before you start
- Step 2: Pick the moment, not the mood
- Step 3: Leave the tool out where she can inspect it
- Step 4: Touch without brushing
- Step 5: Take one stroke, then stop
- Step 6: Build to short sessions
- Step 7: End while she is still calm
- How to read your cat’s body language
- A 14-day progression to follow
- Mats you can work on, and the ones you should not
- Common Mistakes
- Starting with a full grooming session
- Going straight for the back or belly
- Pulling when the coat snags
- Chasing the cat around the house
- Using punishment or restraint
- Picking the wrong tool
- Waiting for progress to hit a deadline
- Frequently Asked Questions
- How long should I brush a cat that hates grooming?
- What kind of brush is best for a cat that dislikes being brushed?
- Should I brush a cat every day if grooming causes stress?
- What should I do if my cat bites or scratches during brushing?
- How can I help prevent hairballs in a cat that resists grooming?
- When does a grooming problem need veterinary attention?
- Start With One Calm Minute
What You Need
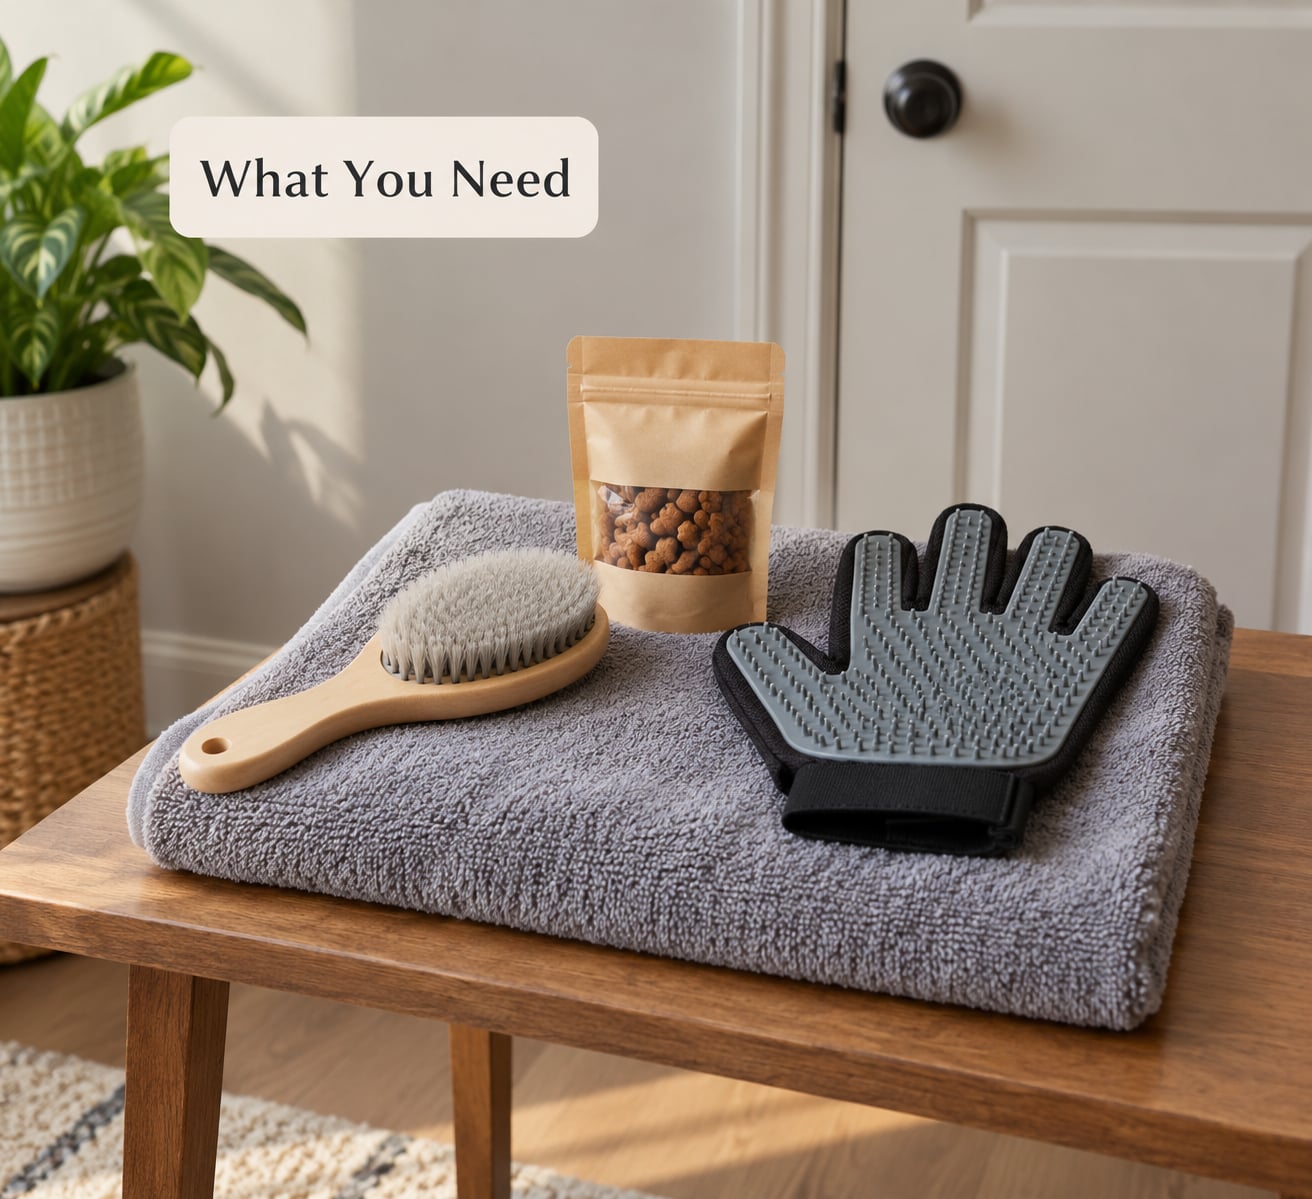
You need very little, and none of it matters as much as the coat. A brush chosen for the wrong coat is the single most common reason a brush gets thrown across the room.
| Coat type | Tool to start with | How it should feel | Typical session |
|---|---|---|---|
| Short coat | Soft-bristled brush or silicone grooming glove | Light, almost like petting | 2 to 3 minutes |
| Long or shedding coat | Slicker brush with coated tips, plus a wide-toothed comb | Firm strokes that reach the undercoat without scratching skin | Two or three 3-minute sessions |
| Flat-faced or Persian coat | Wide-toothed comb, worked in small sections | Careful, patient, face kept away from the coat | 1 to 2 minutes per section |
| Senior or arthritic cat | Grooming glove or very soft brush | Minimal pressure over the back and hips | Several short sessions a day |
Avoid slicker brushes with bare metal pins on a cat that hates being touched. Owners on r/CatAdvice and r/cats repeatedly report the silicone glove as the most tolerated tool, because it feels closer to a hand than to a comb.
Also have on hand:
- High-value treats. Use something better than the everyday kibble. Freeze-dried pieces, small lickable treats or a spoon of wet food all work. If your cat will not eat while being groomed, food has lost its value as a reward and you need to drop a level of difficulty instead.
- A non-slip surface. A towel on a bed or a carpeted mat. A cat who feels she might slide will fight the brush before it ever touches her coat.
- A quiet room. Door closed, household noise down, no other pets walking through. Five quiet minutes beat twenty chaotic ones.
- Optional extras. A lick mat smeared with wet food, and a damp washcloth for making the coat feel familiar before any tool appears.
Never give a cat human medication, a painkiller or a sedating supplement without a veterinarian telling you to. Essential oils and diffusers are worth skipping too, since cats metabolise many of them poorly and a stressed cat is the last one you want breathing in lavender.
Step-by-Step: How to Brush a Cat That Hates Grooming
Step 1: Rule out pain before you start
Resistances that appear suddenly, or that show up in a specific place — the back, the hips, the belly — usually mean something hurts rather than that something frightens her. Book a vet visit and mention the grooming pattern specifically.
Worth naming on the call: any new flinching, overgrooming or bald patches, a tail that used to be upright and is not any more, and any reluctance to be touched in an area that used to be fine. Training cannot fix pain, and every extra session you push through makes the repair slower.
Step 2: Pick the moment, not the mood
Groom when your cat is already relaxed — after a meal, right after a play session with a wand toy, or during the drowsy half hour after the litter tray. A cat mid-meal-toilet scramble is a bad candidate.
How to tell it worked: she settles where you expect, she does not leave the room, and she comes back on her own afterwards. If she is hiding under the bed at the sight of you, end the day and try again tomorrow.
Step 3: Leave the tool out where she can inspect it
Put the brush or glove on the floor or a shelf in the room she lives in and leave it there for days. Do not pick it up, do not reach for it, do not say encouraging words at it. Let it become furniture.
How to tell it worked: she sniffs it, bats it once, or sleeps near it. When the brush stops predicting your hands, step four becomes possible.
Step 4: Touch without brushing
Sit beside her, stroke her in an area she already enjoys — cheeks, chin, the base of the skull — and while your hand is there, rest the brush against her body for about five seconds. No strokes. Then feed a treat and stop.
The goal here is not fur removal. The goal is teaching her that the brush touching her body leads to good things. One session a day is plenty. How to tell it worked: she stays, she does not move her skin away, and she finishes the treat.
Step 5: Take one stroke, then stop
Now make a single slow stroke in the direction the fur grows, from the shoulders back, and immediately give a treat. That is the whole session. Resist the urge to add a second stroke because it went well — she did not have the information yet.
How to tell it worked: she stays relaxed afterwards rather than leaving to groom herself frantically. Repeat one stroke a day until several strokes in a row are boring to her. That boring point is the foundation everything else sits on.
Step 6: Build to short sessions
Add strokes in twos and fives, and start widening the area. Work the shoulders, the flanks and the base of the tail before you ever approach a sensitive belly or the back feet.
How to tell it worked: you can keep her relaxed for two or three minutes, and she chooses to stay rather than being held in place. Owners who break a long coat into three 3-minute sessions usually get further, faster, than owners trying one long sitting.
Step 7: End while she is still calm
Finish the session with something easy and finish on a good note — a treat, a chin scratch, a minute of wand play. Then put the brush away. A predictable end teaches her that the whole thing is short.
How to tell it worked: she greets you afterwards. Over a couple of weeks you can move from two minutes to five, and from five minutes to brushing several areas in one go.
How to read your cat’s body language
The most common mistake is waiting for a bite or a swat before stopping. By then the session has already gone badly. Watch for the earlier signals instead.
- Green — keep going. Slow blink, ears forward or neutral, tail loose, body settled, maybe a bit of leaning into your hand. Kneading is a bonus.
- Yellow — finish this part and stop. Tail tip starts flicking or lashing, ears rotate sideways, skin ripples across the back, she turns her head away, the tail goes low or the pupils widen sharply. Treat yellow as the end, not a warning to hurry.
- Red — you are done for today. Ears flat back, tail lashing hard, growling, crouching, trying to leave, or swatting. Do not push through this. Do not punish it either.
There is no such thing as finishing “the coat” after a red signal. You have lost the session, and the only useful outcome is a short, calm ending that leaves her willing to be near you tomorrow.
A 14-day progression to follow
Progress depends on your cat, not on a deadline. Use this as a map rather than a schedule, and only move to the next line when the current one is genuinely relaxed.
- Days 1 to 3. Brush visible in the room, treated for investigating it. No touching at all.
- Days 4 to 5. Brush rests on her body for five seconds while you stroke a favourite spot. Treat afterwards.
- Days 6 to 7. One stroke. One treat. End there, even if she seems fine.
- Week 2, first half. Two to five strokes per session, once or twice a day, in areas she tolerates well.
- Week 2, second half. Two to three minute sessions across shoulders, flanks and tail base. Then stop while she is still relaxed.
Many cats need three weeks rather than fourteen days, and a few need months. The cat that never gets pushed past her comfort zone is the one who ends up tolerating full grooming by spring.
Mats you can work on, and the ones you should not
A loose tangle that separates into your fingers with a little gentle tension is fair game. Work small sections, keep fingers between the coat and the skin, and use a wide-toothed comb or a mat splitter rather than pulling.
A tight mat that feels like a solid pad close to the skin, or a mat sitting right over the armpits, tail base or ears, belongs to a groomer or a vet. Never use scissors or clippers near a mat; cats have thin skin that cuts easily, and a frightened cat moves. Sedation or a short clip under veterinary care is the safe route for those.
Common Mistakes
Starting with a full grooming session
The fastest way to lose a reluctant cat is aiming for a clean coat on day one. Two calm minutes a day for two weeks beats one exhausting hour that puts you back at square one. Short sessions win.
Going straight for the back or belly
Owners often describe a cat who loves cheek scratches and bolts the moment a hand reaches the back. That pattern points to overstimulation or back discomfort, not tool fear. Work the areas she already accepts and let the rest follow over days.
Pulling when the coat snags
A tug teaches the next session to be worse, because the brush now predicts a pull. Slow down, use shorter strokes, add a little cat-safe detangling spray to the section, or change tools. A comb with wide spaced teeth glides through a snag a slicker would catch.
Chasing the cat around the house
A cornered cat defends itself, and you have both learned the wrong lesson. If she leaves, let her go. Bring the session back to a time and a place she chooses, on her terms.
Using punishment or restraint
Scolding, spraying or holding her down for the coat teaches one clear message — this is not negotiable — and usually ends with a bite or a scratch. Cooperative care means she gets to say no, and the training only works while she still wants to say yes.
Picking the wrong tool
A metal-pin slicker on a short coat is a scratch generator, and a comb on a very nervous cat is too much sensation at once. Start softer than you think you need, especially with an undercoat. You can escalate the tool once she is relaxed; you cannot un-teach the fear.
Waiting for progress to hit a deadline
Somewhere around day nine, most owners decide it is not working and try something harsher. That is usually the moment the plan would have started to pay off. Judge each session by whether she was calm in it, not by how much fur came out.
If your cat stays fearful no matter how carefully you work, that is not a failure on your part. Some cats carry a history of being held down or handled roughly, adopted cats often have no baseline tolerance at all, and some simply prefer not to be touched. Offering a brush her way, grooming twice a week in brief sittings, and getting help with mats is a perfectly good outcome.
If the fear is recent and sudden, or comes with flinching, weight loss or a coat change, that is a vet conversation rather than a training problem.
Frequently Asked Questions
How long should I brush a cat that hates grooming?
Start at one or two strokes and build toward two or three minute sessions, twice a day. Stop while your cat is still relaxed, not when she starts struggling. Long-haired coats work better as three sessions of three minutes than one long sitting. Most cats need a few weeks before they tolerate a full brushing, and a single calm minute repeated daily beats an occasional hour.
What kind of brush is best for a cat that dislikes being brushed?
A silicone grooming glove or a soft-bristled brush is usually the best starting point, because it feels like a hand rather than a comb. Move up to a slicker brush with coated tips only for long or shedding coats, and keep a wide-toothed comb for tangles. Avoid bare metal pins on short coats or on skin that reacts easily.
Should I brush a cat every day if grooming causes stress?
Daily brushing suits some cats, but not every cat benefits from it. If brushing consistently winds her up, brush every other day or a few times a week instead, and keep each sitting short. Frequent, gentle contact matters more than frequency. For long-haired cats, more frequent light sessions usually prevent more matting than rare heavy ones.
What should I do if my cat bites or scratches during brushing?
End the session immediately and put the brush away, then clean the wound with running water and mild soap. Bite and scratch wounds often get infected quickly, so contact your doctor or a clinic the same day, especially if the skin is broken, swollen or red. Tell your vet about the grooming session so they can check for signs of infection.
How can I help prevent hairballs in a cat that resists grooming?
Loose hair swallowed during self-grooming collects in the stomach and gets coughed up, so regular brushing is the best prevention. If your cat will not tolerate brushing, ask your vet about a hairball-control grooming paste, given on a schedule they recommend, or about food designed for hairball control. Never give human laxatives or hairball remedies without asking a vet first.
When does a grooming problem need veterinary attention?
See a vet when resistance is new or sudden, when the cat flinches at a specific area such as the back or hips, or when you notice skin irritation, bald patches, weight loss, a dull coat or a change in posture. A cat that grooms to the point of sore or bald skin needs checking too. Sudden loss of interest in being touched is often pain rather than a training problem.
Start With One Calm Minute
Put the brush where she can see it, give her a treat for looking at it, and stop. That is the whole first move, and it is the one most owners skip in a rush to get the mats out.
Tomorrow, rest the brush against her for five seconds while you stroke her favourite spot. Then add a stroke, then a minute, then a second area. Rule out pain with a vet first, leave tight mats to a professional, and never hold her down — the cats who learn to tolerate grooming are the ones who were never forced to.