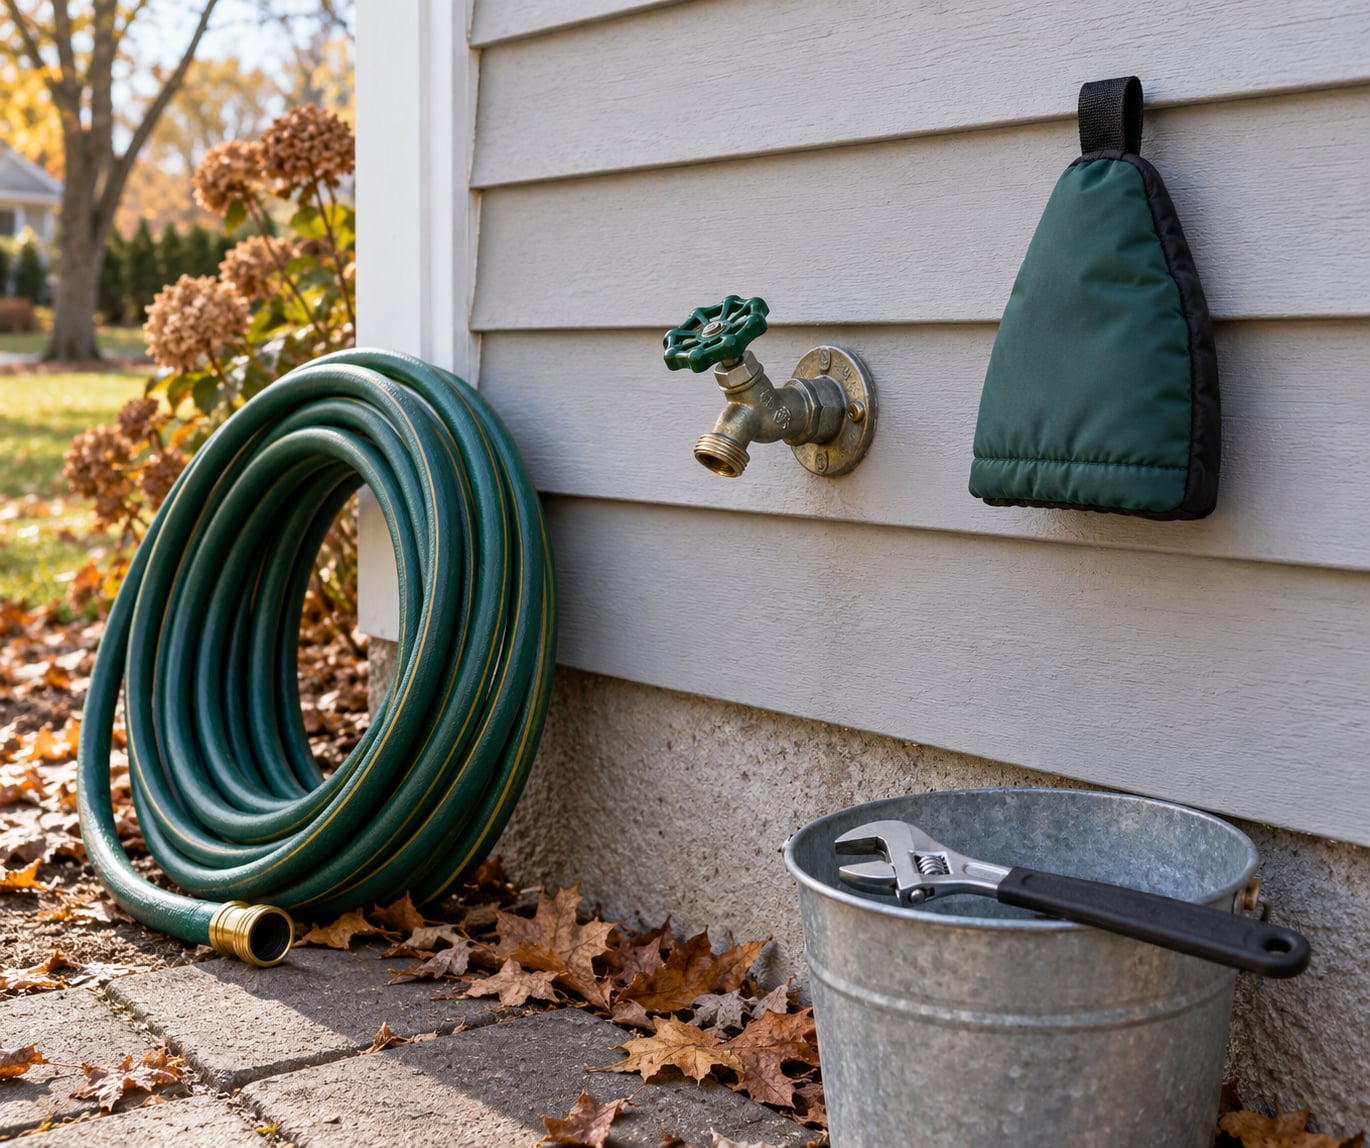
Winterizing an outdoor faucet takes about 20 minutes: disconnect every hose and fitting, close the interior shut-off valve, open the spigot so the line drains, and pull an insulated cover over it. Leave that spigot open all winter. Water expands as it freezes, and an open, empty faucet gives the expansion somewhere to go instead of splitting the pipe behind the wall.
The reason this matters is what a split spigot does. The break happens inside the wall, and the water runs along the framing and out under the siding into a basement or crawl space. Homeowners on plumbing forums talk about finding the damage in spring, months after the freeze, with drywall soft and mold already started.
Warm states get freeze events too. Texas and Louisiana homeowners in the forums treat the checklist as mandatory, because a single cold snap that dips below freezing for a few hours is all a non-frost-proof spigot needs to crack.
Timing matters more than most guides admit. Do it on a mild, dry afternoon well before the first forecast freeze, not on the evening the forecast drops.
Table of Contents
- What You Need
- Step-by-Step
- How to winterize outdoor faucets with an indoor shutoff
- How to winterize outdoor faucets without an indoor shutoff
- How to blow out an outdoor faucet line
- Common Mistakes
- Common Mistakes and What to Watch For
- Frequently Asked Questions
- Should I leave outdoor faucets open in winter?
- Do outside faucets need to be winterized?
- Will wrapping a towel around an outdoor faucet keep it from freezing?
- What is the best way to insulate an outdoor water faucet?
- Where is the shut off valve for outdoor faucets?
- How do I thaw a frozen outdoor faucet?
- Conclusion
What You Need
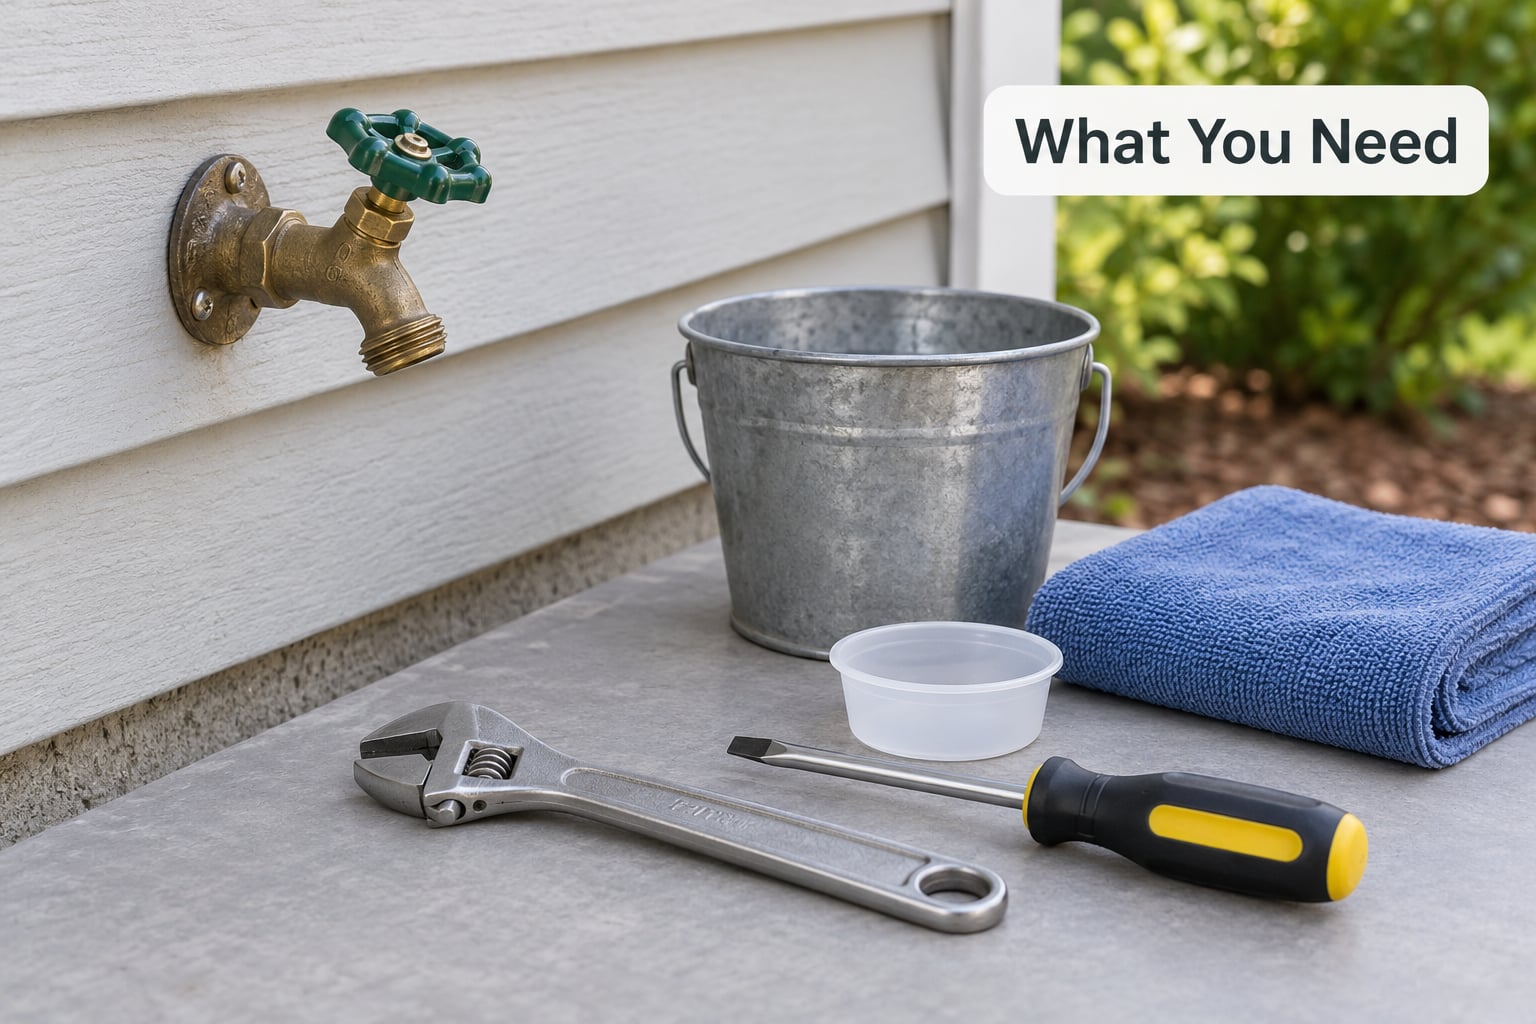
The job is short, but a couple of small tools make it clean instead of wet. Grab these before you start.
- A screwdriver or a hose bib faucet key, if you have an older square-stem spigot that a standard screwdriver will not fit
- Adjustable pliers or a basin wrench for stubborn hose threads
- A small drain cup or funnel to catch the last trickle from the spigot
- A bucket and a towel for the water that comes out when you open the faucet
- An insulated faucet cover, foam or nylon, one per outdoor spigot
- Optionally a small blow-off cap or plug for the drain opening on frost-proof models
- Optionally an air compressor with a regulator and a short hose if your plumbing allows blowing out the line
One safety note before you begin: never use an open flame, a torch or a heat gun on outdoor plumbing. Fire and melting vinyl fittings cost far more than a frozen faucet.
Step-by-Step
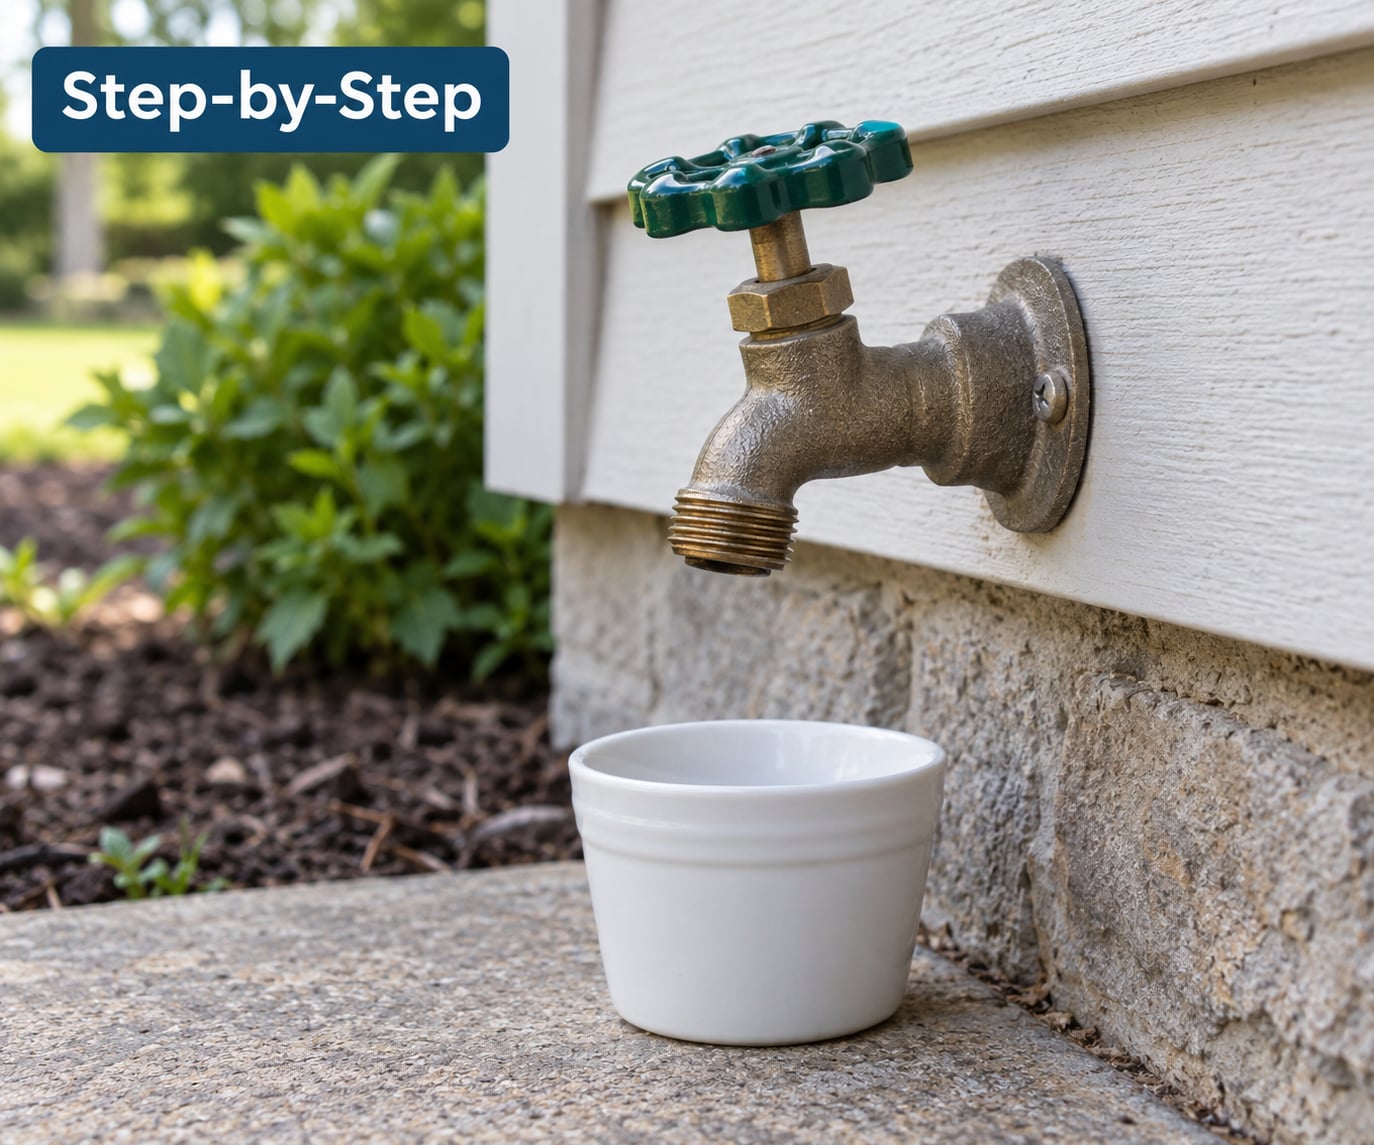
Five steps cover a standard installation. Most homes finish in twenty minutes once you know where the shut-off valve is.
- Disconnect and drain everything outside. Hoses, hose splitters, manifolds, drip irrigation fittings and quick-connect couplers all come off. Drain each hose and store it indoors in conditioned space, because an unheated garage is cold enough to freeze a hose solid.
- Locate and close the interior shut-off valve that feeds the outdoor line. Turn the outdoor faucet on first, then close the valve, then confirm the flow stops at the spigot.
- Open the outdoor faucet fully and leave it open. This is the step people skip, and it is the one that matters most.
- Open the bleed valve on the shut-off valve if it has one. If it does not, close the shut-off valve slowly while the spigot is still open, which pushes the trapped water past the valve.
- Walk the line with dry hands for damp spots, then put the insulated cover on the faucet.
How to winterize outdoor faucets with an indoor shutoff
Most homes have a valve that feeds only the outdoor line. It is usually in the basement, crawl space, utility closet, a garage wall, in a boxed panel near the water meter, or in a mechanical room under a stairwell.
Follow the pipe if you have to. Start at the spigot, go inside, and trace the line back to the first valve you meet. A quarter-turn ball valve turns one way to close; a gate valve turns clockwise until it stops. If water keeps running at the spigot after you close it, you have the wrong valve, or you did not close it all the way.
Once the flow stops at the spigot, open the bleed valve on the upstream valve if one exists. Many hose bib valves have a small cap on the bottom that unscrews; opening it lets air into the line so the water can actually fall out instead of hanging there in a vacuum.
If there is no bleed valve, close the upstream valve a quarter turn at a time while the spigot stays wide open. Each small turn pushes a slug of water past the valve seat until the spigot runs dry and then only drips.
If it keeps dribbling instead of going dry, a vacuum is holding water in the line. Run a cold tap upstairs for a few seconds to break the vacuum, then check the spigot again. Then fit the cover.
How to winterize outdoor faucets without an indoor shutoff
Some homes have no accessible valve on the outdoor line, especially older properties and some rentals. Check the meter box and any exterior wall first, because valves hide in surprising places and a landlord or plumber may know where it is.
If the valve genuinely does not exist, you have three honest options. Leave the faucet open all winter and insulate it heavily, which relies on gravity and insulation alone but is better than a closed, full pipe. Replace the spigot’s vacuum breaker with a hose bib vacuum breaker rated for repetitive draining, which lets you drain the assembly without removing parts. Or have a licensed plumber install a dedicated shut-off valve or blow the line out with an air compressor.
Do not cut into the wall to add a valve on your own unless you know exactly what is in that wall. Renting a unit or living in a condo means the valve may be in a shared or mechanical space you do not control, so ask the owner or property manager first.
How to blow out an outdoor faucet line
Blowing out a line is the method plumbers use where freezing winters meet buried or poorly drained supply lines. It only works on a line that is fully shut off and will not be used for drinking water, ice makers or outdoor watering all winter.
Keep the regulator low, roughly 5 to 10 psi, well below household pressure, and follow the compressor manufacturer’s instructions. Connect the hose to the drain opening with a proper adapter and an air leak that will not blow off.
Run a faucet inside the house until the water stops, close it, then switch the air on. Water and air should come out of the outdoor spigot. Stop as soon as the spigot runs dry or runs air only.
Stop immediately if water keeps flowing, if the hose connection shifts or hisses, or if the spigot body starts to weep. Those signs mean a seal is letting go, not that you need more air.
Common Mistakes
Closing the faucet before the line has drained is the big one. A closed pipe full of water has nowhere for expanding ice to go, and the pipe splits.
Shutting off the interior valve and then walking away has the same result, because the line stays full and pressurised.
Cracking the faucet only part way is worse than leaving it fully open. A half-open spigot traps water in the spigot body and acts like a plug.
Pushing too much air into a line is how people crack fittings they meant to protect. And blowing out a frost-free hydrant with a buried supply line can damage its internal check valve rather than save it.
Common Mistakes and What to Watch For
The most common failure is leaving a hose attached. A frost-proof faucet drains through a stem that only empties when nothing downstream traps water, so a hose, splitter or manifold still attached defeats the entire design. Homeowners report this over and over: the faucet was frost-proof, and it froze anyway.
Wrapping the spigot in a towel or an old shirt is the second most common. Insulation slows heat loss, it does not make heat. It protects a line that is already empty, which is why the drain step comes before the cover.
Insulating before draining is the quiet one. A cover over a full, pressurised pipe just holds cold in.
Waiting until the night before a freeze leaves no time to find the valve, drain the line and check for leaks in daylight.
A dripping faucet is not a winterization plan. Water moving in a hose bib line does not stop the spigot body from freezing, unless you are deliberately keeping the whole line alive for a livestock trough or similar.
Finish with a leak check. After everything is shut off and open, there should be no drip at the spigot. A slow drip means the supply is still feeding the line, so go back and close the interior valve tighter. In spring, reopen that valve slowly, close the spigot, and watch for leaks at the stem and the wall for a few minutes.
Frequently Asked Questions
Should I leave outdoor faucets open in winter?
Yes, once the supply is shut off. Water expands as it freezes, and an open spigot gives that expansion an exit. A closed faucet with water still in the line is what splits the pipe. Leave it open, and cover it on top so leaves and debris do not settle into the opening.
Do outside faucets need to be winterized?
Any time your area drops below freezing, yes. Older pre-1960s homes often have plain spigots with no frost protection at all. Frost-proof models still benefit from draining and a cover. Even one unexpected freeze in a mild climate is enough to split a faucet and put water inside your wall.
Will wrapping a towel around an outdoor faucet keep it from freezing?
It helps a little, and it is better than nothing, but a towel is not a plan. Insulation slows heat loss rather than adding heat, so it only protects a line that has already been drained. Shut the water off, open the spigot, drain it dry, and then use the towel or a cover.
What is the best way to insulate an outdoor water faucet?
A dome-shaped insulated cover that fits over the faucet body and seals with a rubber ring or drawstring is the most reliable. Closed-cell foam inserts or a tap jacket work well inside it. Styrofoam is cheap but brittle, and a sock wrap is fine as a same-day stopgap. Seal the top, not the base.
Where is the shut off valve for outdoor faucets?
Look in the basement, crawl space, utility closet, garage wall, or in a panel near the water meter, and check mechanical rooms under stairs. It is usually a small valve on the line that feeds only the outdoor spigot. If the outdoor faucet still runs after you close it, that is the wrong valve or it is not fully closed.
How do I thaw a frozen outdoor faucet?
First find where the break is, because a frozen spigot usually means the pipe behind it. Open the interior shut-off valve, remove the hose, and apply gentle heat such as a heating pad on a low setting. Never use a torch, a grill or a high-heat hair dryer on plumbing, and call a plumber if the pipe looks split.
Conclusion
Start by finding the shut-off valve that feeds your outdoor spigot. Everything else follows from that one step, and knowing early whether you have one saves you mid-job on a cold afternoon. Disconnect the hoses, shut off the water, leave the faucet open and drained, add a cover, then do one last check for a drip before you put the tools away.