To find a water leak in your house, close every fixture and watch the water meter, then bisect: shut the main valve to separate inside from outside, then close supply valves one fixture at a time until the dial stops. The last fixture you closed is your leak, and the whole test takes about an hour.
Here is how to find a water leak in your house in the order that wastes the least time, starting with the tests that cost nothing. If you already have a stain, a smell, or a bill that jumped, skip ahead to the section matching your symptom.
One number is worth knowing before you start. The average US household uses roughly 80 to 100 gallons per person per day, so a four-person home sits somewhere near 320 to 400 gallons a day. Well above that, with nobody home, means a leak until you prove otherwise.
Table of Contents
- What You Need
- How to Find a Water Leak in Your House, Step by Step
- How to Find a Water Leak in Your House by Checking the Water Meter
- Locate the Affected Area
- Check Toilets, Sinks, Showers, and Bathtubs
- Inspect Water Heaters and Household Appliances
- Look for Ceiling, Wall, and Floor Leaks
- Check Roof, Windows, and Exterior Entry Points
- Confirm the Source Before Repairing
- Common Mistakes
- When to Call a Professional
- Frequently Asked Questions
- How do I find a water leak that is not visible?
- What is the most common source of a water leak in a person’s house?
- How do plumbers detect hidden leaks?
- How long can a water leak go unnoticed?
- Is it normal for the water meter to move with everything off?
- How much should water leak detection cost?
- Conclusion
What You Need
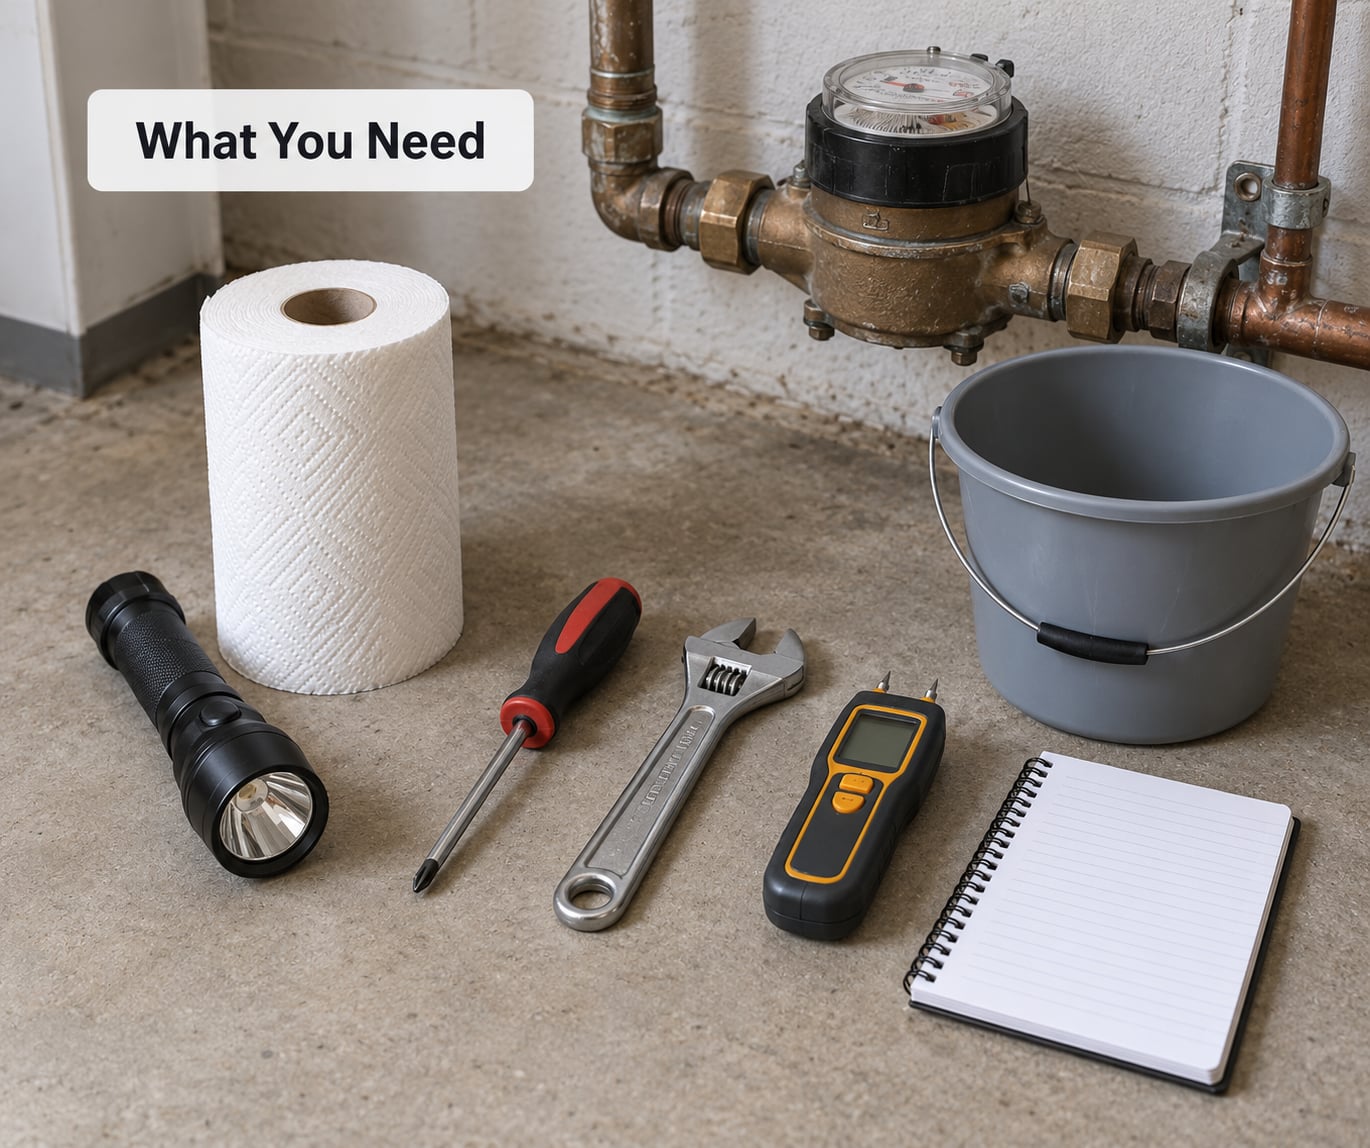
Most of what you need is free and already in a junk drawer. Bring more than you think you need, because half of finding a leak is moving things out of the way.
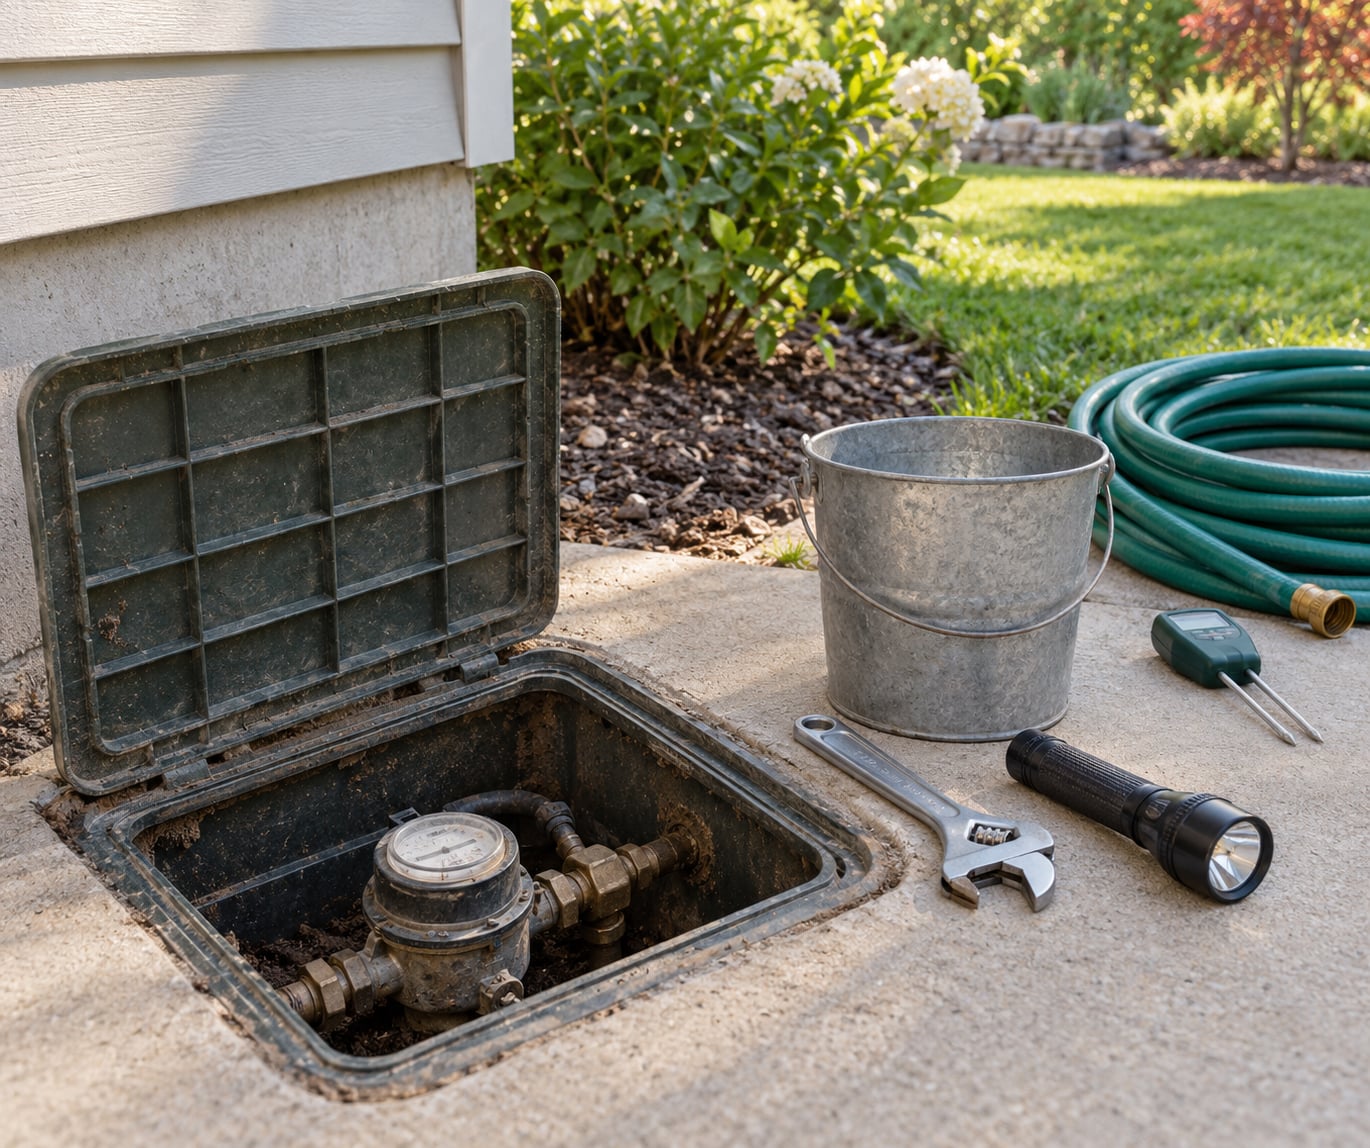
- Access to the main water meter. Usually in a box by the curb, sometimes in a basement, garage, or crawl space.
- A flashlight and your phone for photos, since timestamps make documenting damage easier later.
- Paper towels, old rags, and a small bucket to catch drips instead of letting them ruin a cabinet base.
- Screwdrivers, an adjustable wrench, and pliers for removing faucet aerators and cabinet fronts.
- Food coloring or a toilet dye tablet for the single most productive ten minutes of this whole process.
- A notebook. Meter readings, wait times, and which valves you closed. Memory is unreliable after an hour of crawling around a crawl space.
Four optional items earn their place in specific situations. A moisture meter, pinless for screening and pin-type for confirming, pays off when the stain is old or the wall feels dry but the bill disagrees. A water pressure gauge that screws onto a hose bib reads household pressure directly. A borescope or inspection camera lets you look at a trap arm or a vent without opening drywall. A garden hose handles outdoor and irrigation tests.
Two safety notes before you crawl anywhere. If water is near an outlet, a panel, or an appliance, cut the breaker before you touch it. And never open a water heater burner or pry into a gas appliance to look for a leak.
How to Find a Water Leak in Your House, Step by Step
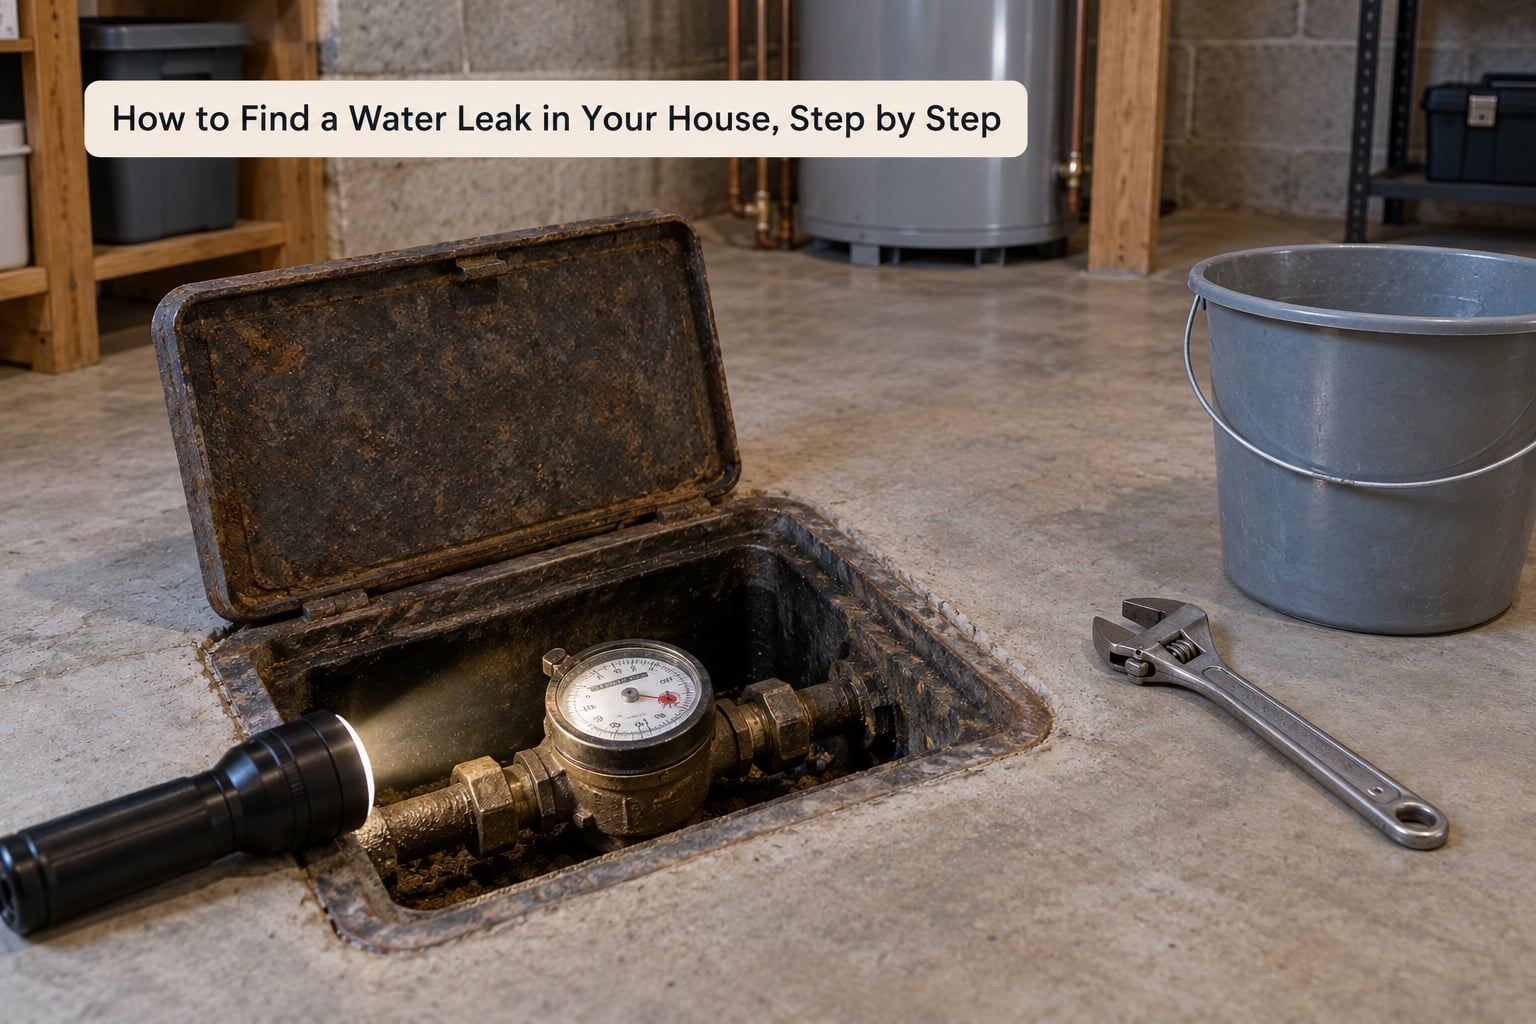
Work in order. Each step narrows the search, and most people stop at step two or three because the meter answers first.
How to Find a Water Leak in Your House by Checking the Water Meter
The meter test is how to find a water leak in your house when there is no visible sign at all. It tells you whether real water is disappearing or whether something was simply left running.
- Turn off every water source: all faucets, both shower controls, the dishwasher, the washing machine, and every hose bib outside.
- Write down the meter reading and watch the dial and the odometer digits.
- Wait 30 to 60 minutes. A longer wait catches slower drips.
- Re-read the meter. Any movement at all means water is still flowing somewhere.
If the dial is frozen, whatever you were seeing was an active fixture. If it crept forward, you have a leak on the property. This is the check plumbers call a stop-tap test, and it is the single most repeated tip on plumbing forums: go home, turn everything off, and watch the dial.
Narrow it fixture by fixture. Every sink, toilet, and hose bib has shut-off stops on the supply lines underneath. Close one fixture’s stops, wait a few minutes, and watch the meter again. Keep going until the dial stops moving. The last fixture you closed is the one leaking, and on r/Plumbing people say this loop finds running toilets more often than anything else.
Then split inside from outside. Shut the main valve, write down the reading again, and wait 15 to 30 minutes. If the meter still creeps with the main closed, the water is escaping between the meter and the house, usually in the buried service line or an irrigation line you forgot to close. If it stops, the problem is inside. Forum advice matches this exactly: if the meter is still going up, you have a leak between the meter and the house.
Locate the Affected Area
Start with what you can see rather than searching randomly. Brown or yellowed stains on a ceiling, peeling or bubbling paint, a swollen cabinet base, soft flooring, a musty smell in a closet, or a damp carpet all narrow the search before you touch a single tool.
Remember that water rarely drips straight down from where it escaped. It runs along the top of a wall, along the side of a joist, or across a subfloor before it finds an exit, so a stain can be several feet from the actual failure.
Match the symptom to the likely source, then run the test that settles it:
- The meter moves with every fixture closed. Suspect a toilet flapper, a supply line, irrigation, or a buried service line. Shut the main valve and re-read the meter.
- A brown stain on a ceiling. Usually a supply or drain in the floor above. Run the sink and shower above it while someone watches the stain.
- Hissing or running sound with nothing on. Likely a leak inside a wall or a toilet supply line. Close supply valves one fixture at a time.
- The bill jumps with no visible sign. Usually a silent toilet leak or a small drip. Do the dye test, then a 30 to 60 minute meter re-read.
- Musty smell in a basement or closet. Often a slow leak in a wall, crawl space, or under a slab. Sweep a moisture meter along the base of walls.
- A greener grass patch or a wet meter box. Points to a buried service line or irrigation line. Shut the irrigation off and watch the grass for a week.
- Low pressure at one faucet only. A clogged aerator or a failing valve at that fixture. Unscrew the aerator and look at the screen.
- Water appears only after rain. Roof flashing, window seals, siding, or grading. Compare a dry spell against a wet one.
White chalky streaks on a masonry wall are worth a look too. That powder is efflorescence, the mineral residue left behind when water evaporates off the surface, and it tells you water has been moving through the wall even if the wall looks dry.
Check Toilets, Sinks, Showers, and Bathtubs
Toilets are the most common source of a household leak, and the most commonly missed one because a flapper can drip for a year without a sound or a stain. Dye finds it in minutes.
- Put a few drops of food coloring in the tank, or drop in a dye tablet.
- Wait 10 to 15 minutes. Some slow flappers need closer to 30 to be sure.
- Look at the bowl water, not the tank.
- Color in the bowl means the flapper is passing water and needs replacing.
No color means the toilet is innocent, which is genuinely useful information because most people blame it anyway. On the rest of the fixtures, the pattern is the same. Look for dripping faucet stems, mineral crust around a handle base, and pooled water in the cabinet. Supply lines that flex when you wiggled, or connections with a weeping crust, are the ones that fail.
Showers fail at the wall surface rather than the plumbing. Soft grout, a grout line that crumbles under a fingernail, or a bead of caulk that has cracked away from the tile is a shower leak even when the pipes look perfect. In bathtubs, check the overflow plate and the drain spigot, and run a full tub while someone watches the ceiling below.
Inspect Water Heaters and Household Appliances
Water heaters fail quietly. Check the drain pan underneath for standing water, look for corrosion or rust streaks on the tank and the connections, and see whether the relief valve is dripping. That valve often discharges into a floor drain, and people go years without ever looking down that hole, which is why it comes up so often on plumbing forums.
A continuously open relief valve is not a nuisance to ignore. It means the tank is over-pressurized or the valve is failing, and the fix is a replacement, not a clamp.
Appliances tell you more than they hide. Pull the washing machine forward and look at the hoses behind it, especially any braided stainless steel line that is kinked, bulging, or stiff. Check the dishwasher’s inlet and drain connections, the ice maker line if you have one, and the supply line under the sink disposal. Then find the air handler’s condensate line and drip pan, because a clogged condensate drain empties onto the floor or into a ceiling and gets mistaken for a plumbing leak constantly.
Do not remove appliance panels or reach near heating elements. If a leak is above a hot water line, shut the water at the heater’s valve before you go anywhere near it.
Look for Ceiling, Wall, and Floor Leaks
Ceiling and wall leaks announce themselves in a predictable order: a stain with a defined dark edge, paint that bubbles and peels, drywall that feels soft or sounds hollow when tapped, baseboards that swell, and eventually mold. A musty odor often arrives before any of it is visible.
Floors give you two clues. Soft or buckling planks and a persistent cool damp patch mean water is arriving slowly under the surface, while a puddle that appears with no fixture running suggests a supply line rather than a drain.
A hot spot on a concrete floor or a water bill that climbs with the house empty can point to a leak in a pipe under the slab. That is not a DIY job, and no amount of meter testing will show you where the pipe runs. Stop and call a professional.
Check Roof, Windows, and Exterior Entry Points
Timing is the giveaway here. If the wet spot appears only after heavy rain and dries out over the following days, the water is coming through the building, not through a pipe.
Walk the exterior and look at flashing around chimneys and roof penetrations, the sealant around window and door frames, and gaps where siding meets trim. Check the grade around the foundation, since soil that settles and slopes toward the house moves a surprising amount of water in a storm.
Outdoors, test every hose bib by connecting a hose and letting it run for several minutes while someone watches indoors. Then do the same with the irrigation system on its separate zone. A wet meter box or a stubbornly green patch of grass in dry weather usually points to the buried service line between the meter and the house, which is also the awkward ownership question: the pipe and the grass sit on different sides of the property line depending on your utility, so ask your water provider before anyone starts digging.
Confirm the Source Before Repairing
Once you have a suspect, prove it before you buy fittings. Close the supply valve to that fixture and watch the meter. If the meter stops, you found it. If it keeps moving, the leak is elsewhere and you have lost nothing but an hour.
A moisture meter adds a second confirmation on drywall, subfloor, and framing. Read the surface, then press the pins in and compare. Dry wood and drywall generally sit in the low teens by percentage, while anything reading noticeably higher is wet.
For an overnight test, shut everything off, photograph the meter reading, and check it in the morning before anyone touches a faucet. It is slow but it removes all doubt. Overreach the diagnosis and you end up replacing parts that were never the problem.
Small, confirmed leaks are reasonable DIY work. A flapper, an aerator, a loose supply connection, or a compression fitting tightened with the wrench and wrapped in plumber’s tape is a Saturday project. Anything involving a joint buried in a wall, a burst pipe, or a slab belongs to a licensed plumber.
Common Mistakes
- Assuming every wet spot is a plumbing leak. Water that appears only after rain comes from the roof, windows, or grading. Fix by comparing a dry week to a wet one before anyone opens a wall.
- Skipping the water meter. It costs ten minutes and removes the guessing. Fix by running the meter test before buying any tools.
- Pouring boiling water down an old drain to clear it. It softens PVC and cracks old seals, and the pipe you were trying to save is now the leak. Fix by using a plunger or a drain snake with warm tap water.
- Cutting into a wall before locating the leak. A square hole below the low point of a stain is a reasonable access point; a random hole in the middle of drywall is not. Fix by starting low and small.
- Ignoring a dripping relief valve or a damp drip pan. Both mean the tank is losing water on purpose. Fix by replacing the valve rather than waiting for the floor to flood.
- Keeping electrical equipment in a wet area. Fix by cutting the breaker first, then calling an electrician if anything is wet, scorched, or humming.
- Letting the search run past the point of diminishing returns. If the meter test isolates the problem to a wall or a slab and you cannot see the pipe, fix by stopping and hiring someone with detection equipment.
When to Call a Professional
Call a plumber immediately for a burst pipe, sewage backup, or any leak you have shut the main valve on. Call an electrician the moment water and electricity share a room. Call a roofer when the source tracks to weather rather than plumbing.
Hire someone with detection equipment when the meter says there is a leak but nothing visible does. Plumbers locate hidden leaks with acoustic leak detectors that listen for the sound of escaping water and narrow it to a couple of feet, moisture meters, inspection cameras threaded through walls, pressure tests that isolate a section of pipe, and thermal imaging cameras. That last tool is misunderstood: it detects the temperature difference that wet material creates, not the moisture itself, so it points you toward the area for closer inspection.
A few plumbing companies also inject a hydrogen and nitrogen tracer gas into the water line and use a handheld detector to follow the gas through the pipe to the failure point. It is precise, and it costs more than a standard visit.
Before you agree to any diagnostic visit, ask what the fee covers and whether finding the leak is guaranteed. Many dedicated leak detection companies quote a flat diagnostic fee and credit it toward the repair; homeowners report quotes in the several-hundred range with no promise of a result, so get the terms in writing first. Plumbers handle leaks inside the house, and if the meter says the leak is between the meter and the house, that is the job for a leak detection company or for replacing the service line outright.
If you may file an insurance claim, take photos before you clean anything up, keep every invoice, and note the date you first noticed the problem. Insurers look closely at whether early warning signs were ignored.
Frequently Asked Questions
How do I find a water leak that is not visible?
Start with the water meter. Turn off every faucet, appliance, and hose bib, write down the reading, and wait 30 to 60 minutes. If the dial creeps, shut the main valve and wait another 15 to 30 minutes to separate inside from outside. Then close supply valves one fixture at a time until the meter stops. That last fixture is your leak, and most often it is a toilet flapper.
What is the most common source of a water leak in a person’s house?
Toilets, by a wide margin. A worn flapper seeps from the tank into the bowl slowly enough that it makes no sound and leaves no stain, which is why it can run for a year before anyone notices. Quick supply line connections, dripping faucet stems, and water heater relief valves are the next most common, followed by shower grout and caulk failures.
How do plumbers detect hidden leaks?
They isolate before they search. An acoustic leak detector listens for escaping water and narrows it to within a couple of feet, a moisture meter confirms wet material, an inspection camera shows the pipe inside a wall, and a pressure test confirms which section of pipe is losing pressure. Thermal imaging shows the temperature difference wet material creates. Tracer gas is the precise option when a leak stays hidden.
How long can a water leak go unnoticed?
Far longer than most people expect. A dripping faucet can waste more than 3,000 gallons a year, and a running toilet can burn 200 gallons a day without anyone hearing it. Utility averages run 80 to 100 gallons per person per day, so a four-person home near 400 gallons a day is normal, while 700 or more means something is leaking. A slow leak can go a full year before it becomes visible.
Is it normal for the water meter to move with everything off?
It is not normal, though a small amount of creep can come from the meter itself or from a fixture with a slow drip such as a toilet fill valve. Turn everything off and check again after a few minutes to rule out normal use. If the dial or the odometer digits advance while the house is quiet and empty, assume a leak and keep isolating until it stops.
How much should water leak detection cost?
Ask for the diagnostic fee in writing before the visit, along with whether locating the leak is guaranteed and whether the fee is credited toward the repair. Many companies quote a flat fee for detection alone that runs into the several-hundred range with no guarantee of a result, while some plumbers include basic detection in a standard call. A thermal camera or tracer gas test is a separate, higher-cost service.
Conclusion
Do these four things before you do anything else. Run the water meter test and write down the reading. Shut the main valve and re-read it to learn whether the leak is inside the house. Photograph every stain, puddle, or damp area while it is fresh. Then isolate fixture by fixture until the meter stops moving.
If you can reach the source with a wrench, that is a reasonable afternoon of work. If the meter still moves after you close the main, or the water is coming through a wall or a slab, shut the water off, document it, and bring in someone with the right equipment. That is how to find a water leak in your house without tearing apart half the walls first.