To stay warm in a hammock, you have to insulate underneath yourself, not just on top. A hammock’s curved shape crushes the loft of a sleeping pad, so most cold nights call for an underquilt that hangs loose below you, plus a weatherproof tarp, a warm sleep system above, and dry layers. Set it up in a sheltered spot and you can comfortably sleep below freezing.
That last part surprises people. A hammock keeps you off frozen ground, which is a real advantage over a tent floor, and the gathered curve of a well-pitched hammock wraps around you like a sling. The catch is air, not the ground: your body heats the still air trapped in insulation, and a hammock shape constantly squeezes that air out from below while wind wraps around the open ends. Get that wrong and you’ll be awake at 3am wondering when you started shivering.
What follows is the setup I come back to every cold season, in the order that matters. Most people get the top half right and the bottom half wrong, so the bottom half gets the most space here. Nothing on this list needs to be expensive. Site selection and wind protection are free, and the expensive part is bottom insulation you can’t improvise past about 35 °F.
Table of Contents
- What You Need
- How to Stay Warm in a Hammock: Step-by-Step
- 1. Check the forecast and choose a sheltered site
- 2. Choose a hammock that fits the conditions
- 3. Insulate the space beneath you
- 4. Use a warm sleep system above and around you
- 5. Block wind, rain, and dripping water
- 6. Wear dry insulation instead of relying on bulky blankets
- 7. Adjust the setup before you settle in
- Common Mistakes
- Frequently Asked Questions
- Can you stay warm sleeping in a hammock?
- What is the best insulation to use under a hammock?
- Is a regular sleeping pad enough for a hammock?
- What temperature is too cold for hammock camping?
- How do you keep a hammock warm in the rain?
- Is hammock camping warmer than tent camping?
What You Need
The gear list for staying warm in a hammock is short, and two items on it do most of the work: something insulating below you and something waterproof above you. Everything else is refinement.
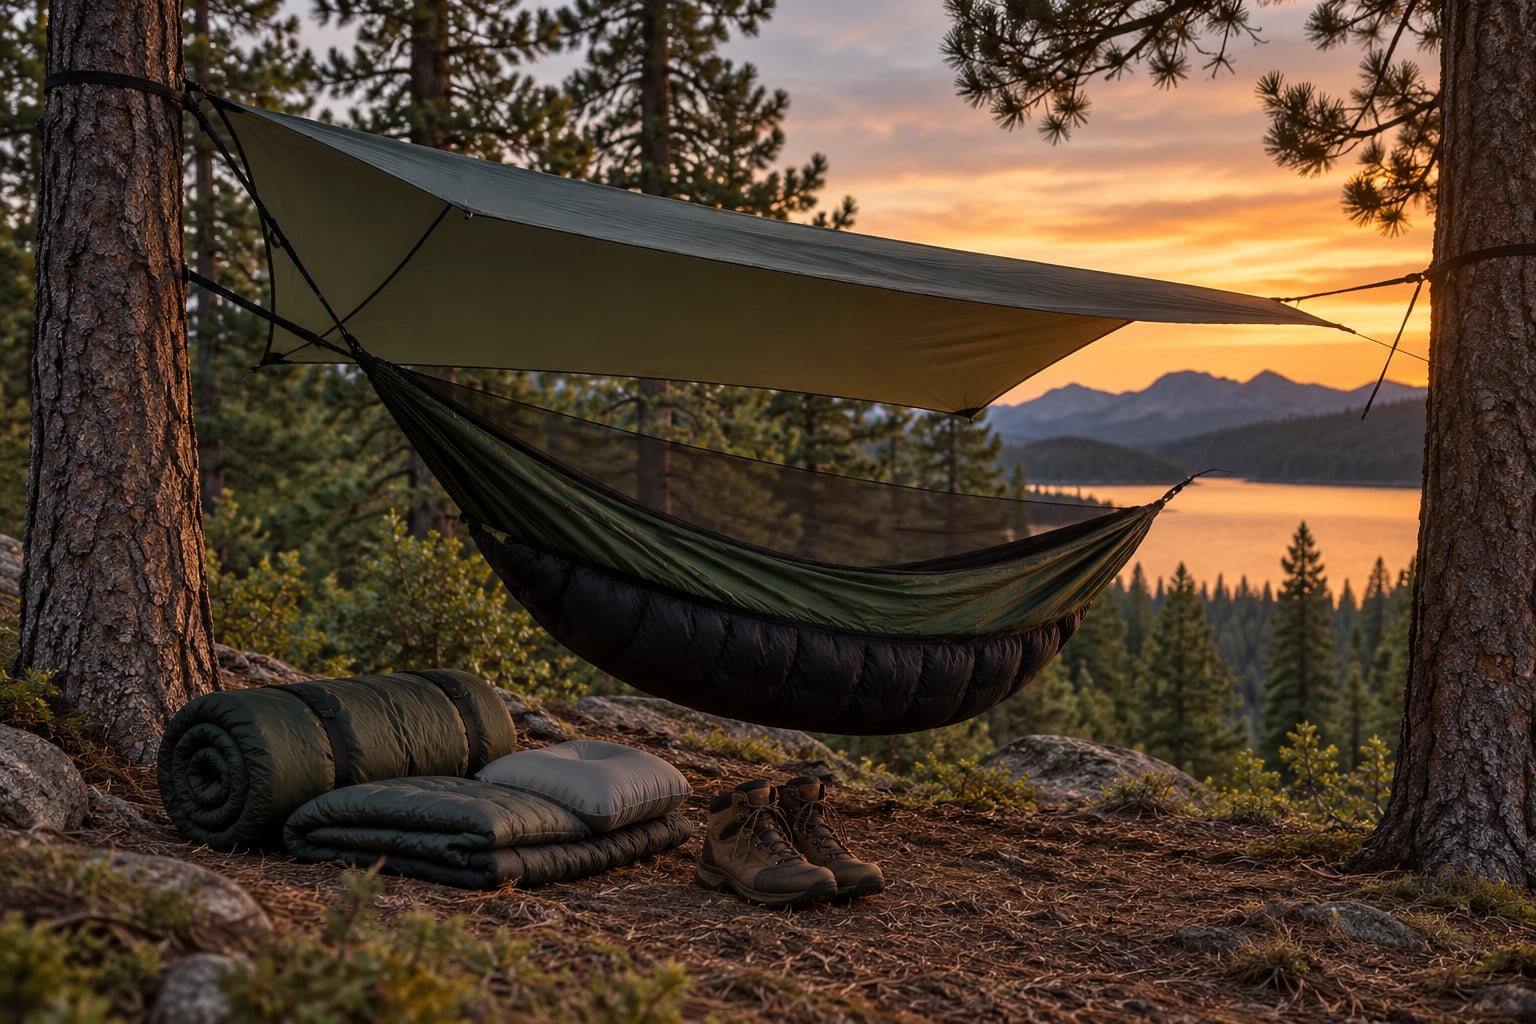
An underquilt is an insulated quilt shaped to hang underneath a hammock. It clips or straps to the hammock’s suspension lines and dangles free, so your body weight never sits on it. Because it keeps its full thickness, it traps a pocket of still, warmed air around your back and hips. That trapped air is what keeps you warm, not the fabric itself. Loft is the word for that thickness, and a quilt that gets squashed under you has lost most of its value no matter what the label says.
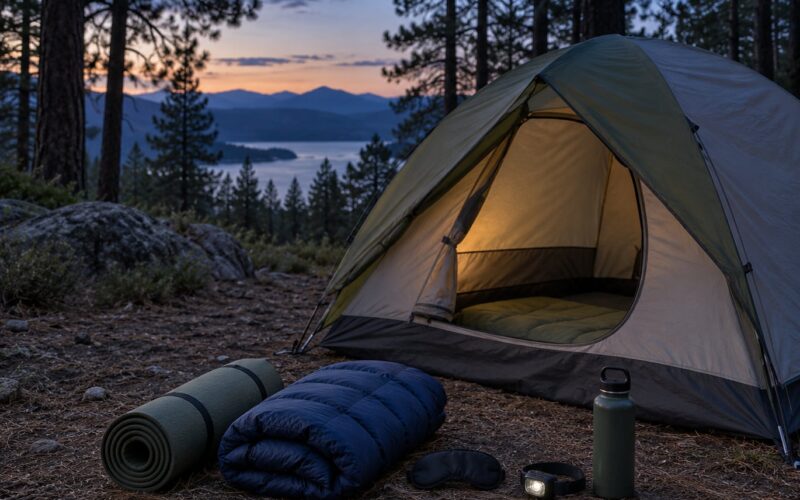
A sleeping pad works the opposite way. It insulates through compression, so you lie directly on it. That is fine on flat ground and a poor fit in a hammock, where the curve presses your hip and lower back into the pad and squeezes out the air. Pads still earn a place in a cold setup as a base layer of sorts, but they are not a substitute for a hanging quilt.
Beyond those two, you need:
- A hammock suited to the temperature. A wide gathered-end hammock with a structural net and enough side clearance. Very wide hammocks need a longer quilt, and a hammock rated well below your body weight will sag into a diagonal and push the quilt out of position.
- Top insulation. A sleeping bag or a hammock-shaped top quilt, chosen one tier colder than the forecast low.
- A tarp or hammock rain fly, plus a ridgeline and something to tension the ends.
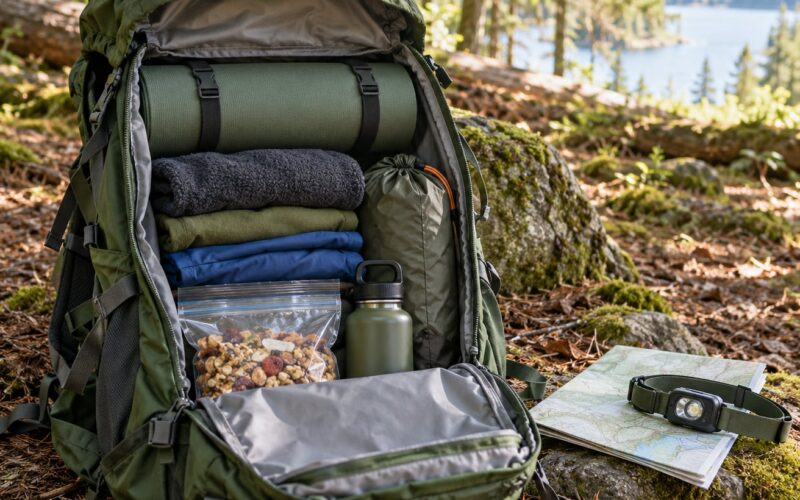
- Warm sleep layers: a dry base layer, an insulating mid layer, a wind-resistant shell, a hat, and dry wool or synthetic socks.
- A sit pad and an insulated pillow. The sit pad keeps the ground off you while you gear up, and a puffy pillow stops you from pressing your head into a cold edge.
- Hot water capacity. A bottle, a thermos, or a flask for the feet.
- A way to bail out. Know the nearest walkout route and the warmest part of your night kit before you hang.
Matching gear to the forecast low matters more than matching gear to the daytime high. Here’s a rough map of what works where, based on what campers report about their own setups.
- Above 50 °F: a sleeping pad, a light sleep system, and a tarp for dew. Straightforward three-season hammocking.
- 40–50 °F: a closed-cell foam pad, a warm sleep system, and a tarp. Fine for most sleepers.
- 30–40 °F: an underquilt plus a top quilt or sleeping bag, a tarp, and insulated layers. This is the real test of a setup.
- Below 30 °F: a winter-rated underquilt, a winter sleep system, solid wind shelter, and a carefully chosen site. Full winter kit, no shortcuts.
Below about 35 °F the underquilt stops being optional. That number comes up constantly in hammock forums as the point where a pad alone stops working, and it’s a reasonable line to hold yourself to even if you’re a warm sleeper.
How to Stay Warm in a Hammock: Step-by-Step
1. Check the forecast and choose a sheltered site
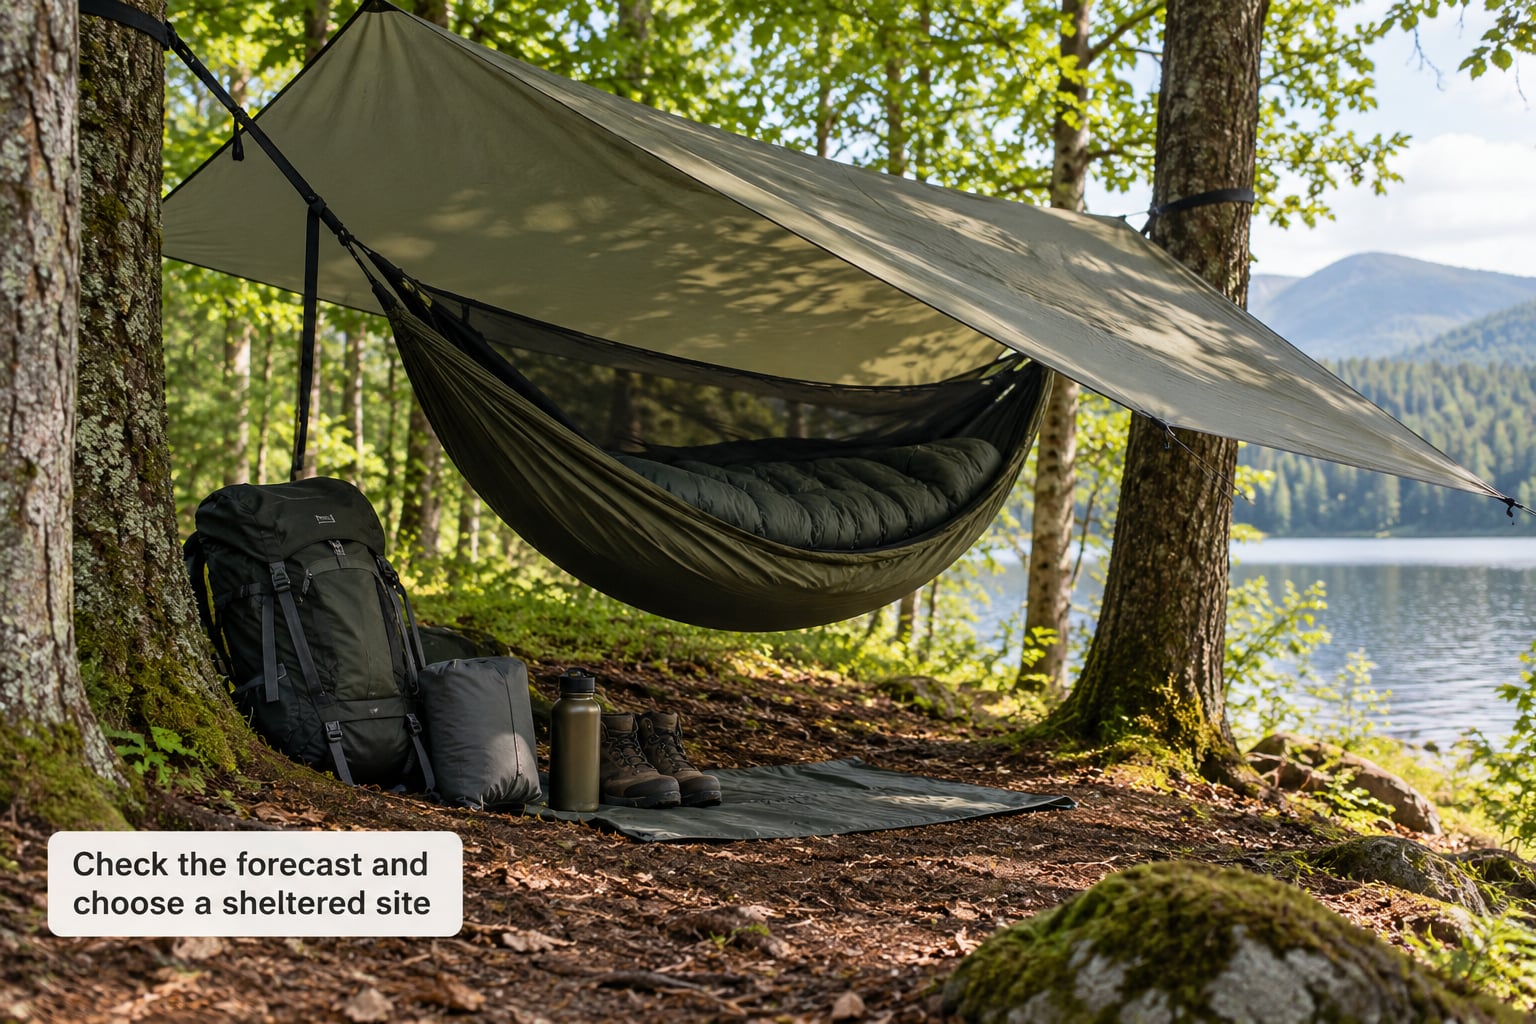
Read the overnight low, not the daytime high, and check the wind separately. A clear 40 °F night with a light breeze is easier than a 48 °F night with 15 mph gusts, because the wind strips the warm air out of your insulation faster than the temperature alone would suggest.
Then pick a site that is sheltered rather than merely convenient. Mid-slope and just below a treeline are consistently calmer than open ground, because the trees break the wind before it reaches you. Avoid hollows, streambeds, and valley floors, where cold air settles and pools overnight. Pick ground that drains well and slopes slightly, so a night of rain runs off rather than sitting under your tarp line.
Check your trees before you hang anything. Look for solid, live wood with a wide trunk, inspect the bark for damage, and stay well clear of dead branches overhead. The usual advice is to check upward along the whole line of the tree, not just at eye level, and to be suspicious of anything that looks dead, hollow, or broken. If you cannot identify a safe tree, pick another site.
You’ll know the site is right when the hammock hangs without a stiff breeze, the ground below looks dry rather than spongy, and you are not looking up at anything that worries you.
2. Choose a hammock that fits the conditions
Hammock choice changes how warm you are, mostly through shape and suspension. A wide gathered-end hammock with a structural net keeps you in a shallow, curved sling, which wraps around your sides and reduces the exposed surface area. That curve is the shape you want on a cold night.
Suspension is the second variable, and it comes up more than you’d expect in forums. A ridgeline set up with a gathered curve, where the two ends are level and the fabric bows into a deep cradle, holds you more evenly than a diagonal setup with one end higher. A sloppy diagonal shifts your weight, which shifts the underquilt, and a quilt that slides off the hips stops doing its job. Whoopie slings or structural webbing let you set the angle and keep it there. A short diagonal cut of gathered-end fabric is the most common cause of the rides-up complaint.
Two other details matter. Check the hammock’s weight rating against your own plus gear, and give yourself enough side clearance that you’re not pressed against the net. And if mosquito netting is part of the hammock, confirm that it’s a true double wall with its own fabric layer, because a single layer against your face collects condensation overnight.
You’ll know it fits when you lie down and your weight is spread evenly along the curve with no hard point under one hip.
3. Insulate the space beneath you
This is where most cold hammock nights are lost, so it deserves the most attention. Conventional sleeping pads do not reliably stop hammock airflow, because the hammock’s curve compresses the pad exactly where your body presses hardest and where you need warmth most. The pad still looks like it is there, but much of its thickness is gone by midnight.
An underquilt solves this by staying uncompressed. Hang it so it follows the shape of the hammock without bunching, with its top edge near the level of the hammock’s fabric and its bottom edge hanging clear of the ground. Shelters, sheets, and blankets underneath keep that lower edge off wet ground, which is the main job of an underblanket even though it adds no warmth of its own.
Coverage matters more than fill. Your torso, hips, and thighs are where heat leaves fastest, and a short shoulder-to-thigh quilt covers the worst of it at a fraction of the cost of a full-length one. Sit pads and a pillow cover the exposed feet. A common thread among experienced hammockers is that a compact quilt plus a sit pad and a good pillow beats a cheaper full-length quilt that leaves a gap.
Watch for two failure modes: an underquilt that rides up toward your shoulders, which usually means a diagonal setup or a hammock hanging too slack, and gaps at the sides where wind finds a way in. If the quilt is cutting into your shoulders, it is too small or too high; drop it slightly and check the attachment points.
4. Use a warm sleep system above and around you
Whatever you sleep in, choose it one tier colder than the forecast low. Comfort ratings assume a woman or a cold sleeper depending on the brand, while limit ratings assume survival, so the number on the tag is not a promise about your night. This mismatch is the most common source of gear failure in the field.
A sleeping bag is the simplest option and works well in a gathered-end hammock. Many bags are too wide for a narrow hammock, so a hammock-friendly mummy bag or a bag with a tapered shape is worth the extra care. If the bag is wider than the hammock, it can press against the net and the suspension lines, which is a problem on a cold night and a real safety concern at height.
A top quilt follows the hammock’s curve and gives you freedom to move without the bag sliding, which many cold sleepers prefer. Down fills are lighter and warmer for their weight, but they collapse when damp and take a long time to dry. Synthetic fills keep some warmth when wet and are the safer choice in wet climates or for anyone who sweats into their sleep system. Keep the fill dry, keep it uncompressed, and fluff it before you get in.
You’ll know the top half is right when you can settle in without rearranging fabric for ten minutes and no cold air moves across your chest when the wind picks up.
5. Block wind, rain, and dripping water
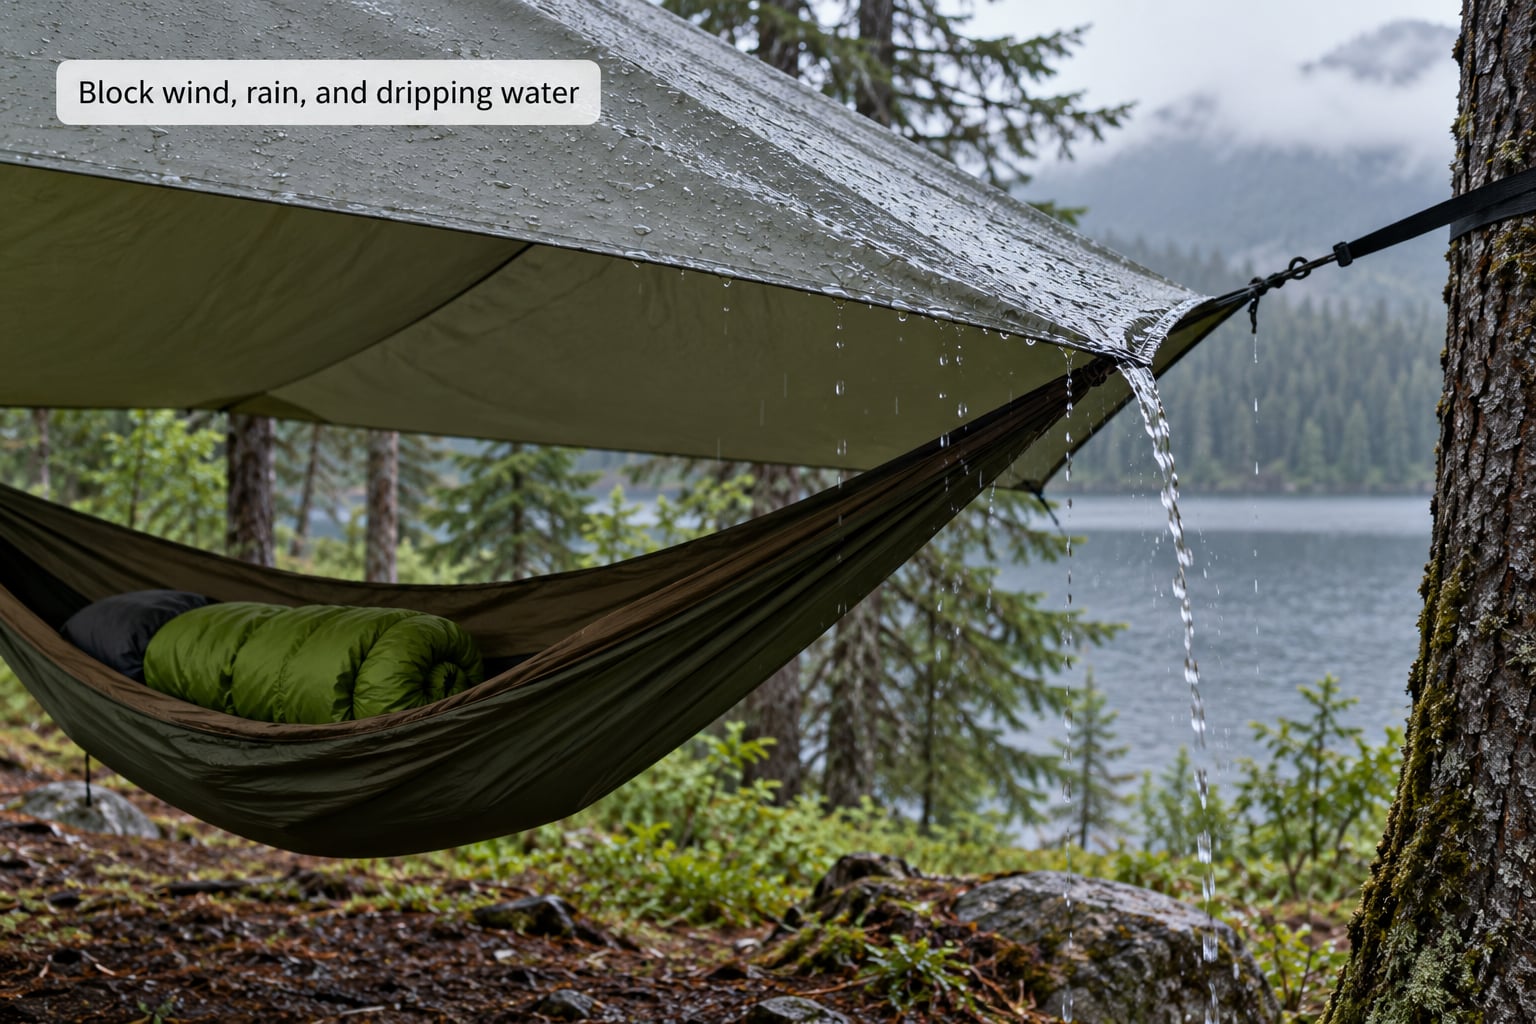
A hammock is a wind tunnel with a fabric floor. Convective heat loss is the main mechanism that makes hammocks colder than tents, and the only real counter is a barrier that stops moving air from reaching you. A properly tensioned tarp does double duty: it sheds rain and it gives the wind something to hit that isn’t you.
Tension matters more than material. A sagging tarp catches pools that dump on you at the worst moment, so pitch it with the ridgeline running along the high side, pull the corners out and down, and check it from a few metres away for a straight taut line. Orient the open side away from the prevailing wind. Leave a small gap at the windward end and cover it with your jacket or a small towel rather than sealing everything, because a completely closed shelter traps condensation.
Midnight condensation is a real problem even under a tarp. Your breath and skin moisture warm the air inside the hammock, and when that air touches fabric or an underquilt at its dew point, you get a damp layer that costs far more warmth than the temperature dropped. Anything improvised as a cover, from a bedsheet to a cheap plastic tarp, either leaks or traps moisture and makes this worse. A proper tarp and a windproof sleep system are the two things not to economise on.
You’ll know the weatherproofing is right when you can hear rain running off the edges in a steady stream and the fabric above you stays dry to the touch.
6. Wear dry insulation instead of relying on bulky blankets
Layering works in a hammock for the same reason it works anywhere else, with one twist: you need the layers loose enough not to compress. A dry base layer wicks moisture off your skin, an insulating mid layer such as fleece or a lightweight puffy holds that warmth, and a wind-resistant shell keeps moving air from stripping it away. Add a hat, because you lose a surprising share of your heat from your head, and dry socks, which is where a lot of people feel the cold first.
Hand warmers in your pockets do more good than most people expect, and a bottle of hot water at your feet warms the one area most setups neglect. Filling it with boiling water gives you several hours.
Change out of anything damp before you climb in, and skip cotton entirely. Wet cotton stays cold long after it is dry, and a damp base layer plus a damp sleeping bag is the fastest route to a miserable night. If you arrive sweaty from a climb, sit in a sheltered spot with your layers open until the evaporative cooling stops, then get dressed for bed. The same advice applies to wet socks: bring the spare pair out at the same time, not in the morning when your feet are already cold.
7. Adjust the setup before you settle in
Spend five minutes adjusting before you get properly warm, because nothing is more frustrating than working around pressure points while shivering. Lie flat for a moment and feel for a hard spot under one hip, one shoulder blade, or the back of your knees, then shift your suspension until your weight is spread along the curve.
Close the gaps. Tuck the foot end of your sleep system down, pull the top edge of the underquilt to within a hand’s width of the hammock’s lowest point, and make sure the shell or top quilt is covering your shoulders. Check the tarp is still taut, and that the underquilt is centred under you rather than drifted toward one end. Put your headlamp, water, and a spare layer within arm’s reach, because getting up at 3am in the cold is unpleasant enough without searching blind.
Set yourself one rule before you fall asleep: if the temperature drops noticeably or any clothing becomes damp, get up and fix it immediately. An hour of shivering costs more than a badly timed nap, and a cold sleeper who stays still can drift into real trouble without noticing. The National Weather Service cold weather guidance treats uncontrollable shivering and confusion as emergency signals, not inconveniences.
Common Mistakes
Sleeping on a thin pad in a hammock. The pad is under your weight and the curve is squeezing it flat exactly where you need it. Fix: add an underquilt that hangs free, or switch to a tent below about 35 °F.
Using a summer hammock setup in cold weather. A lightweight gathered hammock with no net is fine in July and miserable in January, because the open shape gives wind a path. Fix: use a wide hammock, add a top quilt, and pitch a tarp tight enough to slow the air.
Camping in an exposed site. Open ground, ridge tops, and valley floors are all worse than a sheltered mid-slope pitch. Fix: check the wind direction, then pick a site the trees already shelter.
Letting rain or condensation wet the insulation. A damp underquilt loses a large share of its rating, and a wet sleeping bag can take a day to recover. Fix: tension the tarp, keep the shelter slightly ventilated, and change out of wet layers before bed.
Wearing damp cotton. It holds water, dries slowly, and pulls heat from you all night. Fix: synthetics or wool, and bring the spare pair out with the rest of your sleep gear.
Leaving the ends and sides open. Heat runs out of an unclosed shape faster than most people expect. Fix: pull the sleep system down to your feet, close the shoulder area, and cover windward gaps.
Trusting the temperature rating as a promise. A 30 °F bag is a 30 °F limit rating for an average sleeper in ideal conditions. Fix: pick one tier colder than the forecast and test the setup at home on a cold night before the trip.
Frequently Asked Questions
Can you stay warm sleeping in a hammock?
Yes, as long as you insulate below yourself with something that hangs free of your weight. A hammock keeps you off cold ground, but it also compresses a sleeping pad and lets wind wrap around the open ends, so most cold nights need an underquilt, a warm sleep system above, a tarp, and dry layers. Well-set-up campers sleep comfortably below freezing.
What is the best insulation to use under a hammock?
An underquilt is the best option because it hangs beneath the hammock and keeps its full loft instead of being crushed by your weight. A closed-cell foam pad or inflatable mat is a reasonable substitute above roughly 40 degrees, and a short shoulder-to-thigh quilt plus a sit pad and pillow covers the areas that matter most at a lower cost than a full-length quilt.
Is a regular sleeping pad enough for a hammock?
A regular sleeping pad is enough in mild weather, but it is not reliable in the cold. The hammock’s curve compresses the pad under your hips and lower back, squeezing out the insulating air that gives a pad its warmth. Use the pad as a base layer and add a hanging underquilt below about 35 degrees, and put a foam mat inside your sleeping bag to stop it shifting around.
What temperature is too cold for hammock camping?
There is no hard line, because sleepers and setups differ, but below freezing without proper bottom insulation is where trips go wrong. Treat an underquilt as required below about 35 degrees, add a winter sleep system and solid wind shelter under 30 degrees, and pick your gear one tier colder than the forecast low. If you cannot get a full setup together, camp in a tent instead.
How do you keep a hammock warm in the rain?
Pitch a tarp taut, with the ridgeline along the high side and the open end facing away from the wind, so water runs off the edges instead of pooling above you. Keep the shelter slightly ventilated, because a sealed hammock traps condensation that can soak your insulation. Change out of wet layers before you climb in and make sure your underquilt’s lower edge hangs clear of the ground.
Is hammock camping warmer than tent camping?
Not inherently. A hammock keeps you off frozen ground, which is more comfortable than a tent floor, but you are surrounded by open air and that costs warmth. A tent gives you a windproof shell and a flat surface, so a properly insulated tent is easier to keep warm in real cold. With an underquilt, tarp, and winter sleep system, a well-pitched hammock is close behind.
If you only change one thing, hang an underquilt and pitch the tarp taut. Those two steps cover the compressed loft and the wind, which is where nearly all the heat goes, and everything else on the list is worth doing once those are handled.