How to waterproof a tent comes down to three jobs in a specific order: clean the fabric so treatments can bond, seal the seams with a sealer that matches the fabric, and refresh the DWR so water beads instead of soaking in. A careful reproof takes an afternoon plus drying time and costs a tube of sealer instead of a new tent.
Before you open anything, spend five minutes finding out whether you actually have a leak. A surprising share of “leaks” are condensation, and treating a tent that was never broken is how people end up with a stiff, no-longer-breathable fly and the same water inside.
This guide covers the field fix for tonight, the lasting repair for a tent that has stopped keeping rain out, and the habits that stop the problem coming back.
Table of Contents
- What You Need
- How to Waterproof a Tent Step by Step
- Find and Confirm the Leak
- Clean and Dry the Affected Area
- Repair Holes and Broken Seams
- How to Waterproof a Tent With Seam Sealer
- Use Waterproofing Spray Only When Needed
- Retest and Cure the Tent
- Common Mistakes
- Maintenance Tips for a Waterproof Tent
- Frequently Asked Questions
- Can I waterproof an old tent permanently?
- What is the best way to seal tent seams?
- Is it safe to use a waterproofing spray on a tent?
- Will seam sealer work on a leaking tent floor?
- Should I waterproof a new camping tent before using it?
- Why does my tent leak even when the rainfly is on?
- What to Do First
What You Need
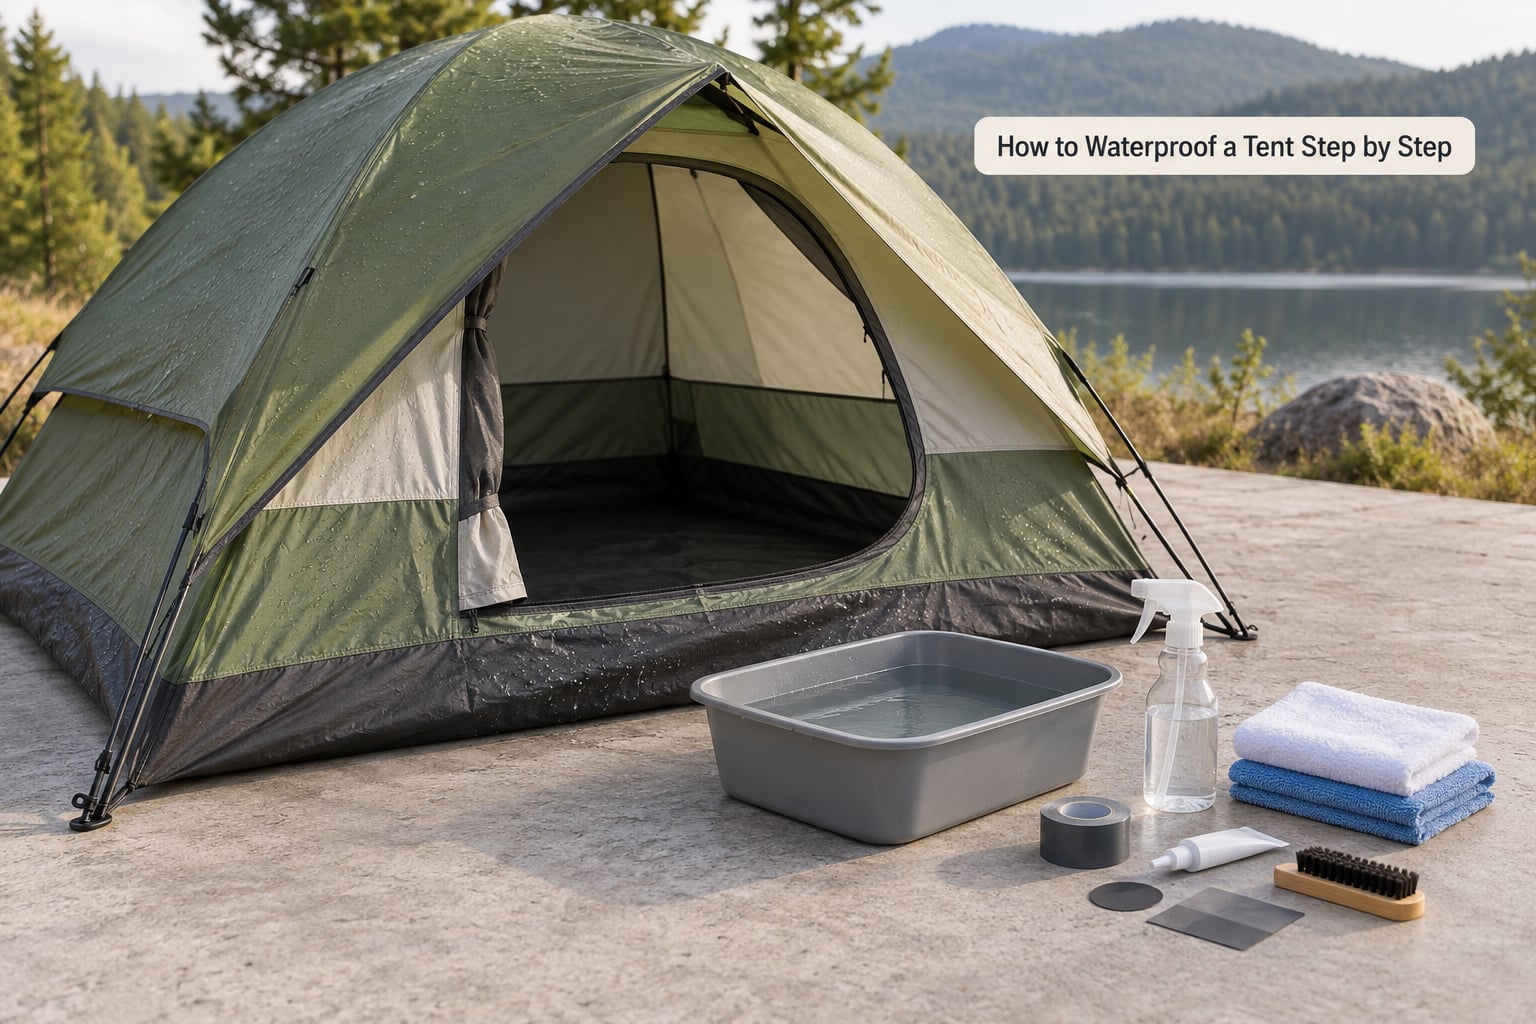
Gather materials before you start, because a reproof breaks down when you are halfway through and hunting for a brush.
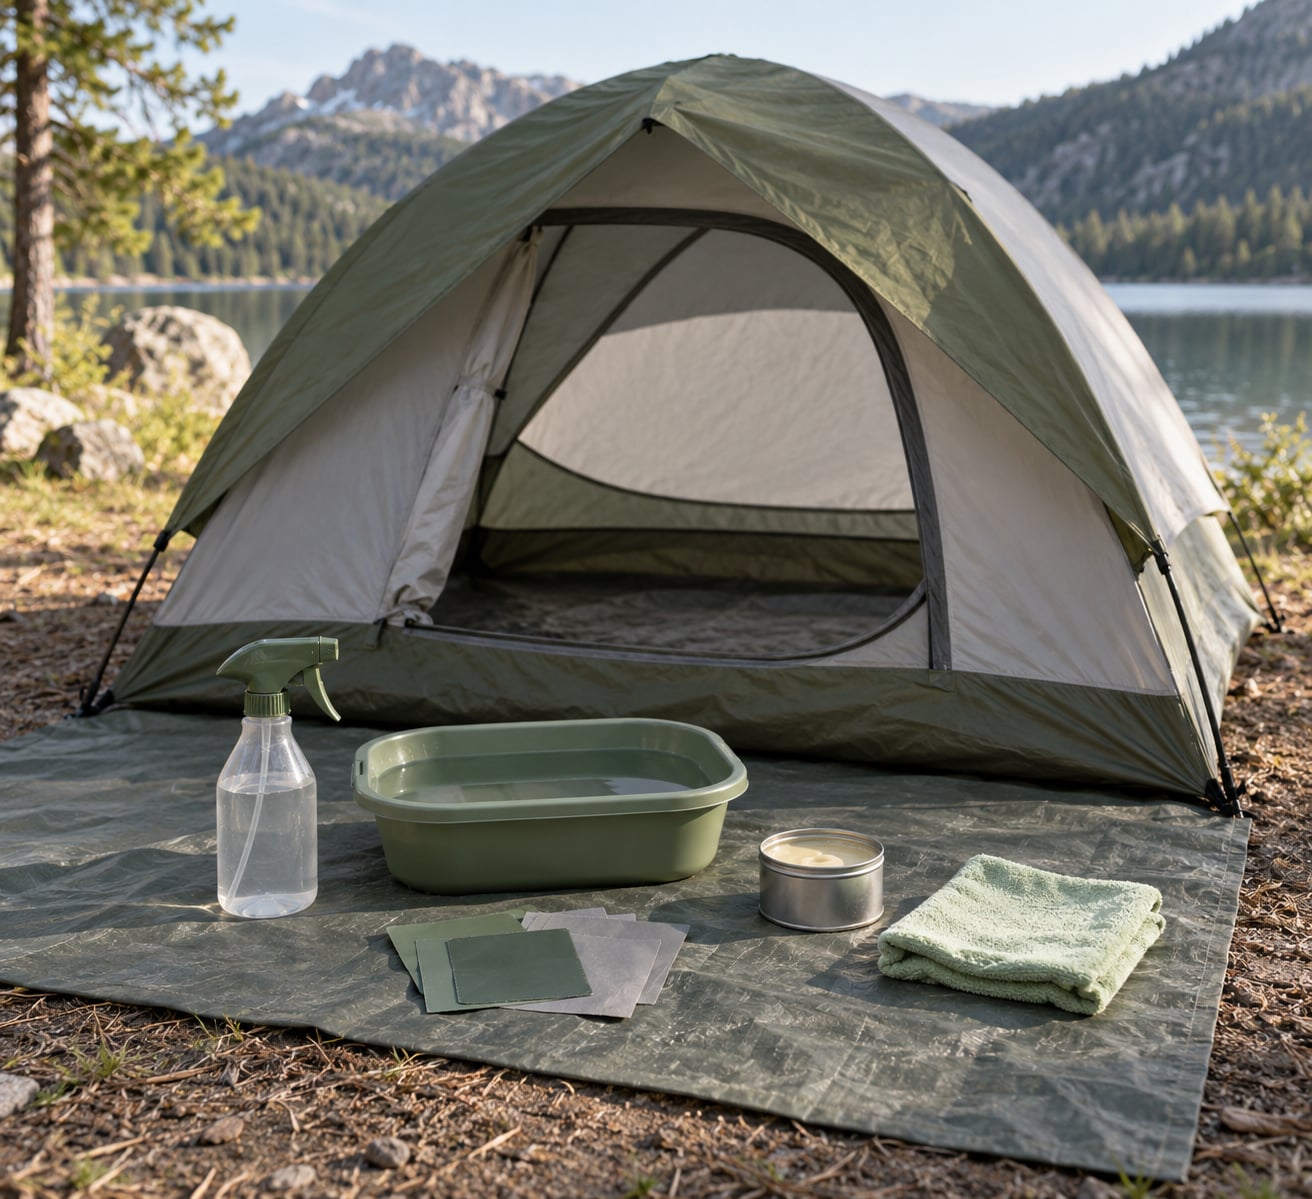
- Leak test kit: a spray bottle filled with plain water, a towel to catch drips, and a helper if you can. Pitch the tent first, even indoors in a garage, so gravity does the work for you.
- Cleaning supplies: lukewarm water, mild soap such as dish detergent, a soft brush or sponge, and a clean cloth. Isopropyl alcohol is good for degreasing seam tape and zipper areas before sealing.
- Patch supplies: a tent patch kit, or a waterproof repair tape rated for the fabric. You want more overlap than you think you need, plus something to press it down with.
- Seam sealer: silicone-based for silnylon and silicone-coated fabrics, polyurethane-based for PU-coated fabrics and taped seams. A silicone-polymer hybrid works on most coated fabrics if you cannot identify yours.
- Seam tape: the factory-supplied tape type for your tent, for seams where the tape has lifted or delaminated.
- Water-repellent treatment: a DWR reproofer in spray or wash-in form, only if a spray-bottle test shows the fabric is wetting out instead of beading.
- Drying space: a shaded, ventilated place with the tent pitched or hung so both sides get air.
Skip the household hardware store products. Ordinary duct tape, packing tape and spray-on shingle sealant are the three things most likely to wreck a tent fabric, and none of them are reversible.
If you cannot tell whether your tent is silnylon or PU-coated, ask the manufacturer before buying sealer. Putting the wrong chemistry on a coated fabric can leave a permanent soft, tacky seam that never cures properly.
How to Waterproof a Tent Step by Step
Find and Confirm the Leak
Start outdoors or in a bathtub, because a pitched tent tells the truth in a way a tent on the floor never does. Walk the seams, the four corners, the zipper runs, the vent hoods and the point where the floor edge is taped to the wall, since those are where water gets in.
Then reproduce the leak. Aim the spray bottle at one section at a time and let it run down. Wetting the whole tent at once just tells you that a tent holds water, which we already know.
Watch from the inside. A drip that starts at a stitch line and travels down the wall is a seam failure. A dark patch that spreads through the fabric itself means the coating is compromised. Water at the perimeter, between the floor and the wall, usually means a seam rather than the floor fabric.
Condensation looks different and it is worth separating before you buy anything. Condensation beads on the inside of the fly, forms where cold fabric meets warm air, and appears on surfaces that were dry when you went to bed. A leak starts in one place with a definite entry point and leaves a trail.
Clean and Dry the Affected Area
Dirt, body oils, sunscreen and leftover flaking sealant all sit between the fabric and the new treatment. Clean first or your repair will peel off in a season.
Wash the whole tent if it is filthy, using lukewarm water, a little mild soap and a soft brush, then rinse until the runoff runs clear. If you only have a local problem, a damp cloth with a drop of soap is enough. Wipe the seam itself with isopropyl alcohol to cut grease and lift old residue.
Let the tent dry fully before anything else. This is where most people get impatient. A tent that is merely damp will not bond, and the sealer will trap moisture inside the seam where it turns into mildew. Hang it in shade with airflow for 24 to 48 hours, or pitch it in a breezy spot. Direct sun cooks the coating and warps the fabric while you are waiting.
Repair Holes and Broken Seams
Punctures get a patch, peeled seam tape gets replaced, and open seams get sealer. Do them in that order, and do the structural work before the cosmetic work.
For a small hole, clean and dry the area, cut a patch with a round shape and plenty of overlap, and press it down firmly from the middle outwards so air pockets do not sit under it. Self-adhering repair tapes want 30 seconds of firm pressure, then patience. Some tapes and sealers only bond fully after a day of curing, and some get stronger with a little heat afterwards.
For a seam where factory tape has lifted, peel the loose length back, clean the exposed fabric, and lay new tape of the same type over the whole taped section rather than just the lifted part. A short repair on a long strip is how the failure repeats a foot further along.
Campers pitching the tent and sealing from the outside, then letting it cure before taking it down, is the workflow people on r/Ultralight describe as the least painful way to do this. It keeps the seams at eye level and flat instead of lumpy in your lap.
How to Waterproof a Tent With Seam Sealer
Seal from the inside wherever you can reach it. Putting the fly on inside out gives you direct access to the seam tape and the stitching, which is exactly where water tracks.
Choose the sealer to match the fabric: silicone-based for silnylon and silicone coatings, polyurethane-based for PU-coated fabrics and taped seams. Ask the tent maker if you are unsure. Thinning the sealer slightly with the manufacturer’s recommended thinner makes it spread further and leaves a thinner layer, which is what you want. A thick, lumpy bead is stiff, tacky, and prone to peeling later.
Apply a thin, even line along the whole seam, not a blob over the leak. On r/myog, campers using a sealer with good flow and a small foam brush report the most even results, because the brush lets you control the bead. Wipe away excess with a damp cloth before it skins over.
Give the tent 12 to 24 hours to cure, longer if the air is cold or humid, and keep it pitched or stretched so the seam does not bunch while it sets. Touch the repair the next day. It should feel dry and slightly tacky at worst, never wet or soft.
Use Waterproofing Spray Only When Needed
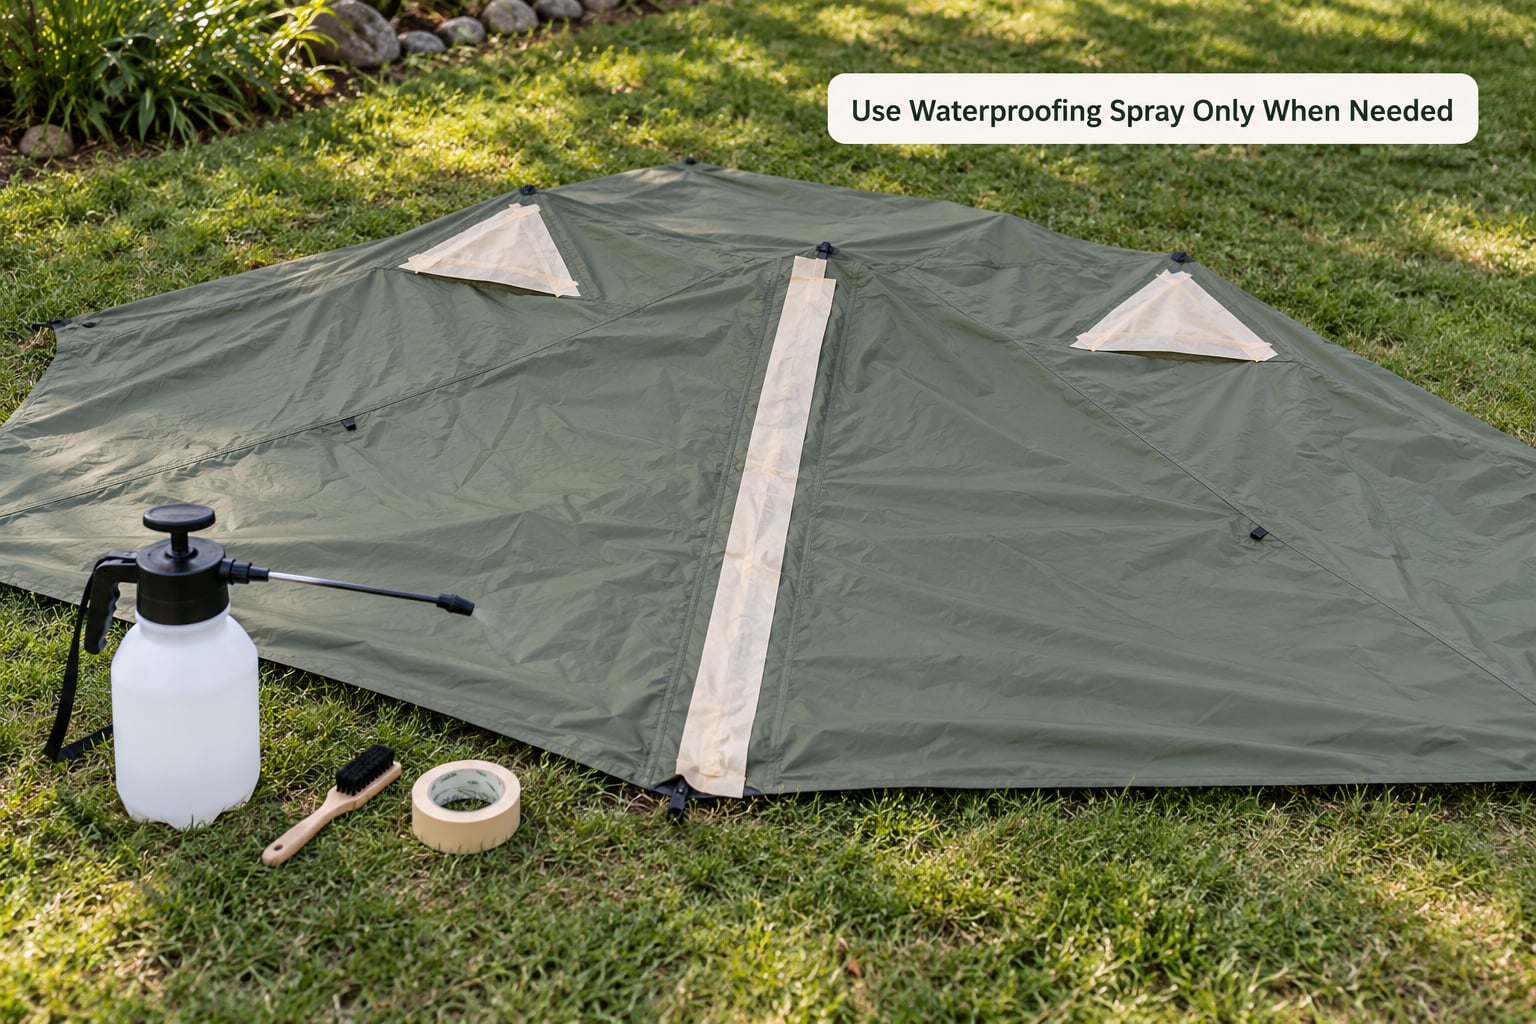
A DWR treatment restores the finish that makes water bead on the outside. It is the step most often skipped and the one most often applied when it is not needed.
Run the test first. Spray a patch of fly with water and watch. Beads that roll off mean the DWR is working. A dark, spreading stain that soaks into the fabric means it has worn out and the coating underneath is fine, which is a reproofing job rather than a repair job.
Where a spray is appropriate, work on a pitched, dry tent outdoors or in a well-ventilated space. Mask zippers, vents and mesh. Light, even coats beat one soaking spray, and most products want the fabric damp and to sit for two or three minutes before you wipe off the excess. A second light coat after the first dries is better than one heavy one.
Never spray mesh panels, the interior of the fly, or existing seam tape. Coatings on those surfaces block the breathability that keeps condensation manageable, and overspray on the inside is a permanent mistake.
A spray cannot close a hole, re-bond lifted seam tape, or restore a delaminated polyurethane coating. Some experienced campers on r/CampingGear go further and say they rarely spray at all, preferring to re-seal seams and repair damage. That is a reasonable position for a tent you can maintain, and it is the right one for anyone who wants to keep breathability high.
Retest and Cure the Tent
Do not trust a repair you have not seen fail and then succeed. Re-run the spray test on every area you touched, the same way you found the problem, and watch from the inside again.
The result you want is water beading and running off. If it still darkens the fabric, the repair is incomplete and you should find out why before you rely on the tent. A drip that reappears usually means the seam was only sealed on one side, or the area was still damp.
Leave the tent somewhere ventilated until every treated area is dry to the touch and there is no cool or damp patch anywhere inside. Packing a tent that is not fully dry locks moisture into the fabric and invites mildew, which is the one problem you cannot treat your way out of later. Give the full cure before the first wet night.
Common Mistakes
Most ruined reproofing comes down to a handful of repeated errors, all of them easy to avoid once you know them.
- Treating damp or dirty fabric. Nothing bonds to a wet or oily surface, and the repair lifts later. Fix: clean first, then dry for a full 24 to 48 hours.
- Sealing only one side of a seam. The unsealed side is still a path in. Fix: seal every seam on the tent, not just the one you saw leaking, because the rest are usually on the way out too.
- Using ordinary duct tape. It is rigid, its adhesive migrates, and it strips the coating when it eventually peels off. Fix: use a patch or repair tape made for tent fabrics.
- Spraying over zippers, vents and mesh. Breathability drops and the fabric can stay wet for days. Fix: mask these areas before treating.
- Overcoating seams. Extra sealer does not add waterproofing, it adds stiffness and tackiness. Fix: a thin, even bead along the seam length.
- Testing too soon. A repair that looks wet is not finished. Fix: allow 12 to 24 hours of curing and 24 to 48 hours of drying, then retest.
- Ground cloth bigger than the tent. A footprint wider than the floor catches rain and channels it straight under the tent. Fix: size the ground cloth to the footprint, and never let it extend past the edges.
One more worth naming: misting and wetting out on a lower-specification fabric is not the same as a leak. Campers on bushcraftusa.com describe lower hydrostatic head ratings wetting out faster, which makes fabric mist and feel damp without a single drop passing through. No treatment fixes that, and treating it as a leak sends you after a problem you do not have.
Maintenance Tips for a Waterproof Tent
Preventing the next failure takes less effort than fixing this one. Wash the tent at the end of a wet season, before mildew sets in, and let it dry completely before it goes in the bag.
Expect each layer to last a different length of time, and check them on a schedule rather than waiting for a leak.
- DWR finish — 1 to 2 years. Watch for fabric that wets out instead of beading.
- Seam sealer — 2 to 4 years. Watch for peeling, flaking or tacky seams.
- Rainfly coating — 3 to 5 years. Watch for cracking or sticky patches on the underside.
- Floor coating — 3 to 5 years. Watch for splitting at corners and doorways.
Tents used in frequent wet weather or heavy sun need attention sooner than tents that sit in a garage between trips. Reapply DWR at the start of a season if your tent spends the summer in the sun; check seams whenever you do a mid-season gear inspection.
Pitch well, too. A taut fly and a properly sized ground cloth matter as much as any treatment, because pooled water finds its way through seams that should be watertight. And store the tent dry, loosely, in a breathable bag. A tent packed damp in a sealed stuff sack can come out smelling and feeling damp in a way no reproof will fix.
If you are in a downpour with nothing but a tarp, throwing one over the tent is a legitimate field fix as long as it does not touch the fly and it is tied off so it cannot flap onto the tent. A poncho over the inner tent while you sleep in a wet fly is another stopgap, not a solution.
Frequently Asked Questions
Can I waterproof an old tent permanently?
Not permanently, but you can usually get several more seasons out of one. A tent fails in layers rather than all at once, so sealing the seams and refreshing the DWR addresses the two parts that wear out first. A delaminated polyurethane coating is different: a new coating restores it for a few years, but a floor whose coating has split through is closer to the end of its life. If the fabric is perished and splits when you stretch it, or the frame poles are bent, replacement is the better spend.
What is the best way to seal tent seams?
Seal from the inside, along the full length of every seam, with a sealer that matches the fabric. Silicone-based sealer suits silnylon and silicone coatings, while polyurethane-based sealer suits PU-coated fabric and taped seams. Clean the seam with a damp cloth and a little alcohol first, apply a thin even bead, wipe off the excess, then allow 12 to 24 hours to cure. Pitching the tent and sealing from the outside keeps the work flat and at eye level.
Is it safe to use a waterproofing spray on a tent?
Used as directed outdoors or in strong ventilation, yes. The usual risks are inhalation and overspray rather than injury to the tent. Mask zippers, vents, mesh and the interior, and never coat existing seam tape, because blocking those surfaces kills breathability and traps moisture. Apply light coats rather than one soaking pass. The bigger question is whether it is needed at all: if water still beads on the fabric, a spray adds cost and stiffness for no gain.
Will seam sealer work on a leaking tent floor?
Only if the leak is coming through a seam. Seam sealer fixes the stitched and taped joins where the floor meets the wall and around the door. If water is coming through the fabric itself, the polyurethane coating has worn or delaminated and needs a purpose-applied floor coating, or in a cheap tent, a patch. A quick check helps: if the damp patch is in the middle of the floor away from any join, you have a coating problem, not a seam problem.
Should I waterproof a new camping tent before using it?
Usually not. Quality tents arrive from the factory with seams sealed and a DWR finish applied, and experienced campers generally advise leaving a new tent alone until it shows a problem. Premature spraying can stiffen the fabric and cut breathability for no benefit. The exception is a budget tent with visibly bare stitching or tacky, incomplete seams, where sealing those joins out of the box is worthwhile. Wait for a symptom, then act on it.
Why does my tent leak even when the rainfly is on?
The usual causes are gaps rather than holes. Rain running off the fly can enter where the fly is not attached to the inner tent, along a vestibule zip that does not close fully, or through a seam the fly never reached. A fly pitched too loosely dips into the space under it and dumps water at the wall. Check the fly attachment points, tension the pitch, and re-run a spray test on the suspect area to confirm the path.
What to Do First
Find out where the water is actually getting in before you buy a single thing. Clean the area and let it dry properly, repair any hole or lifted seam tape, apply only the treatment the fabric needs, then retest with the spray bottle.
Most tents never needed a full reproof. They needed one seam sealed, a fly tensioned properly, or a ground cloth sized to the footprint instead of past it.