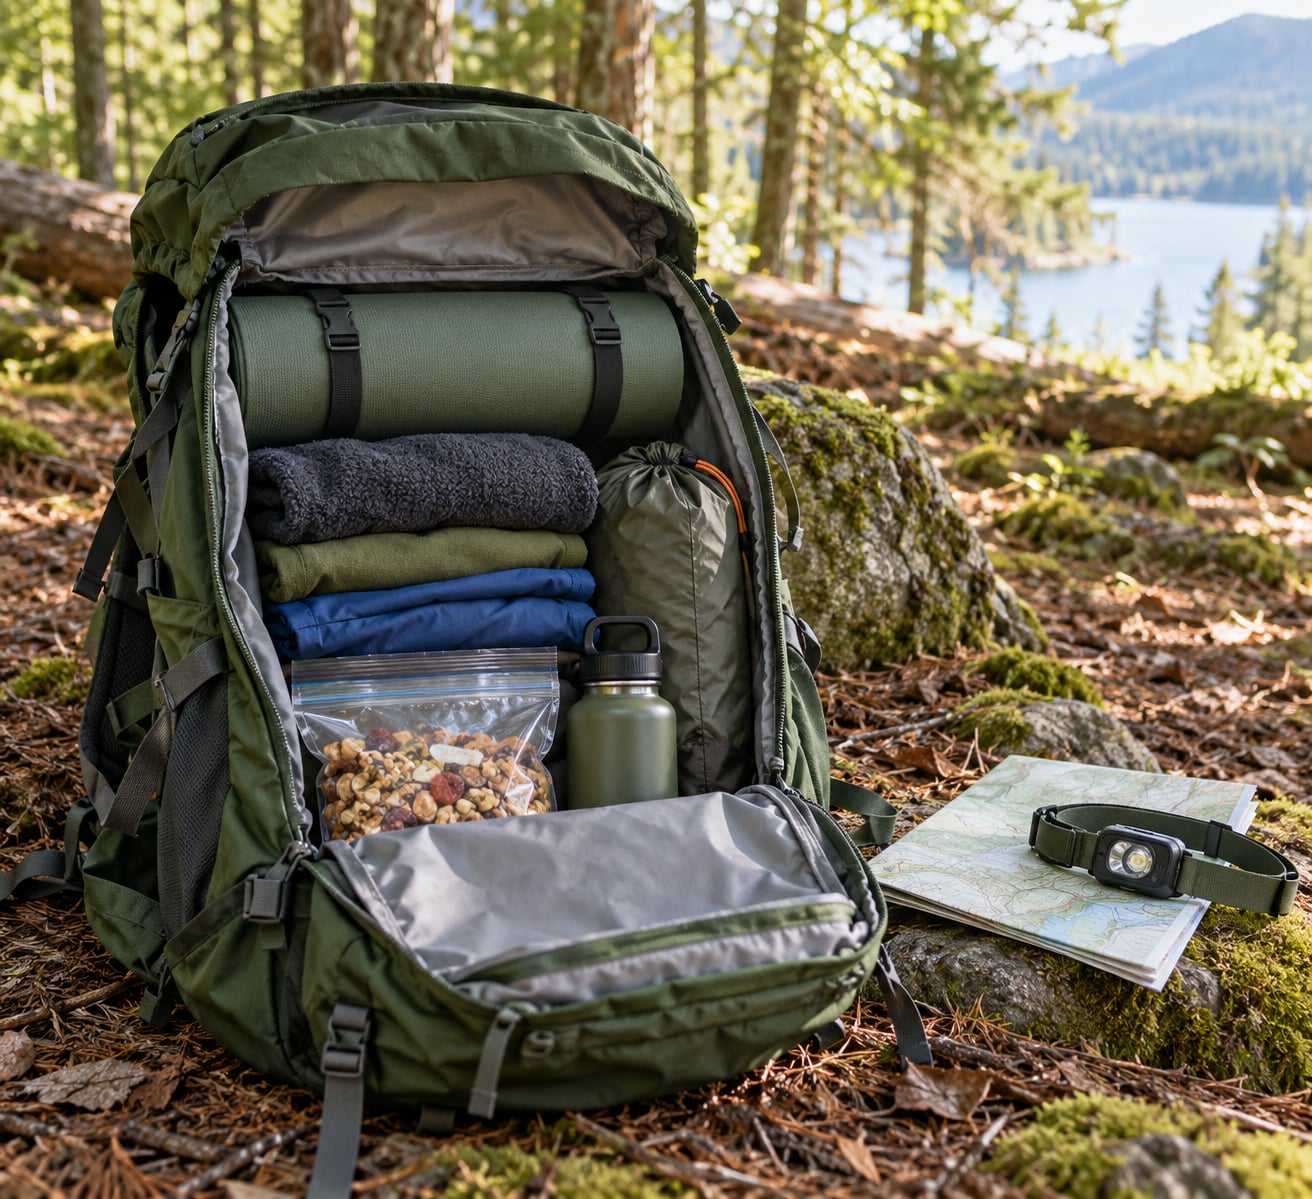
How to pack a backpack for backpacking comes down to one habit: load it in vertical zones, with your heaviest dense gear pressed against your back at mid-torso height, the sleep system at the bottom, and the items you reach for during the day at the top. Most beginners do it the other way round, which is why their shoulders take over from the hip belt by the afternoon.
Budget ten focused minutes plus a walk around the house with the bag fully loaded. That is the entire skill, and it compounds on every trip after the first.
Table of Contents
- How to Pack a Backpack for Backpacking: What You Need
- Step-by-Step: How to Pack a Backpack for Backpacking
- 1. How to Pack a Backpack for Backpacking: Start With the Right Pack
- 2. Make a Packing List by Trip Category
- 3. Check the Weather and Route Conditions
- 4. Pack Heavy Items Close to Your Back
- 5. Use the Main Compartment for Bulk Items
- 6. Pack Water, Food, and Essentials for Easy Access
- 7. Inspect, Weigh, and Adjust the Pack
- Common Backpacking Packing Mistakes and How to Fix Them
- Packing Tips for a More Comfortable Backpack
- Keep the Same Layout Every Morning
- Frequently Asked Questions
- How much weight should a backpacking pack weigh?
- Is 30 pounds too heavy for backpacking?
- Is 70L too big for backpacking?
- What should I pack a backpacking pack for a 3 day trip?
- How do you keep a backpacking pack dry in the rain?
- How do I repack my pack at camp each morning?
How to Pack a Backpack for Backpacking: What You Need
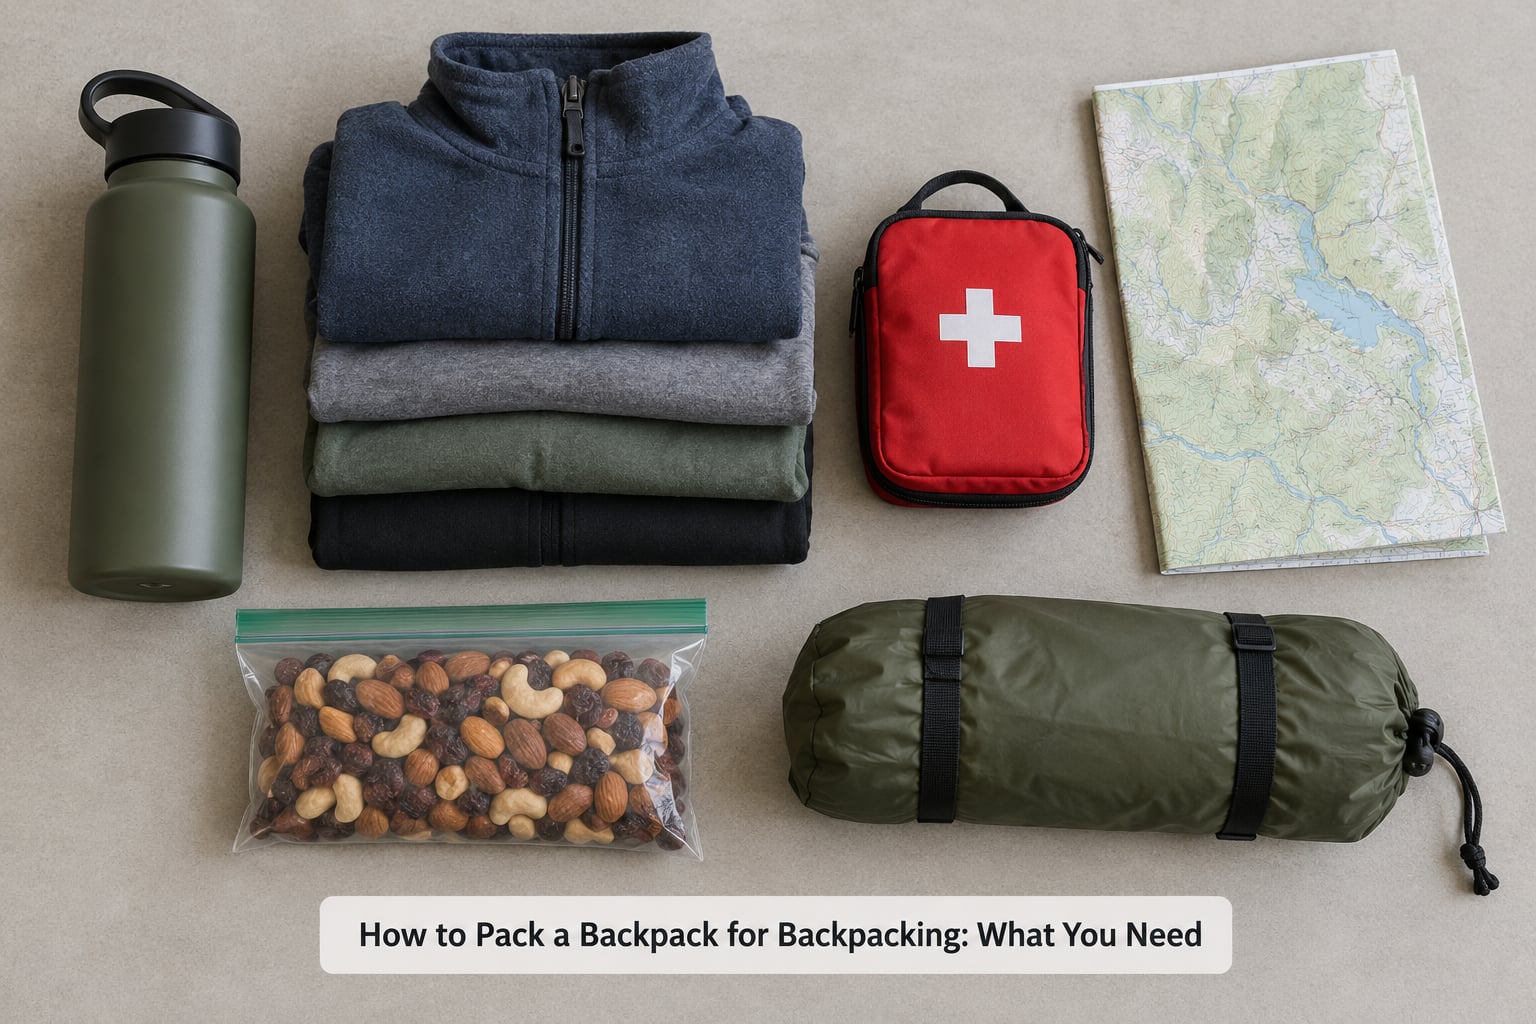
Four variables decide the pack before any gear goes in it: how many nights you are out, what the weather is doing, whether you can resupply water or food along the route, and whether someone is splitting the load with you. Answer those and the gear list writes itself instead of turning into a guess.
Next, set a number rather than a vibe. A widely used target for a beginner’s first multi-night trip is a base weight of about 20 pounds, and base weight means everything except food, water and fuel. Total pack weight adds those consumables back in, and since water alone can run three or four pounds, the two numbers can look very different at the trailhead.
Hikers on r/backpacking and r/Ultralight often add a body-weight sanity check: for a three or four day trip, aim to carry somewhere between one-sixth and one-eighth of your body weight. On a 165-pound person that lands between roughly 20 and 27 pounds. Thirty pounds is a heavy but workable load for an experienced hiker with trained shoulders and legs; forty pounds is a serious weight that most beginners feel within two days, and the better fix is cutting gear rather than bracing for it.
Finally, sort gear into categories so the packing has an order: shelter, sleep system, clothing, food, water, navigation, personal care, safety, and emergency. That list is an organisational frame, not a shopping list. Anything that does not map to one of those categories needs a reason to be in the bag.
Step-by-Step: How to Pack a Backpack for Backpacking
1. How to Pack a Backpack for Backpacking: Start With the Right Pack
Pack capacity is the first sizing decision, and it follows trip length more than anything else. An overnight or single-night trip usually fits 40 to 50 liters, two or three nights sits around 50 to 60 liters, four to seven nights runs 60 to 70 liters, and anything gear-heavy or winter-rated pushes past 70 liters.
Is a 70-liter pack too big for a two or three night trip? It is roomier than you need, and that is only a problem because empty space invites extra gear. It is not dangerous. The real risk with an oversized bag is that weight drifts upward and away from your spine, where the frame can no longer support it properly.
A pack that is too small is a worse problem. Gear ends up compressed past its limit, the lid will not zip, and the load stops shifting smoothly. Fit matters more than litres: the hip belt should wrap around the top of your hip bones, and the shoulder straps should leave enough slack that the pack rests on your hips rather than floating above them.
2. Make a Packing List by Trip Category
Lay every item out on the floor before anything goes into the bag, grouped by the nine categories. Working on a flat surface is what makes overpacking visible, because an item you have not touched in a year looks a lot less necessary once it is sitting in front of you.
Users on r/CampingGear consistently report that cutting item count, usually spare shirts, underwear and a second mid layer, buys more space than any lighter piece of gear. Volume disappears through repetition long before it disappears through grams. If you are packing for three nights, one warm layer that can be worn under a shell usually beats two that both need to fit in the bag.
3. Check the Weather and Route Conditions
Forecast, trail notes and the recent condition reports decide more of your load than your gear list does. Cold nights add insulation weight, sustained rain adds a liner and a shell, and desert routes add water volume that can dwarf everything else in the pack.
Water planning changes the layout. Carrying water at all means the heaviest single item in your bag is liquid and moves as you drink, so plan two or three liters spread across more than one container and refill at every reliable source the route offers. A route with a public reservoir or a reliable spring lets you carry less; a dry stretch across canyon country does not.
Optional gear should have to argue its way in. A second pair of trail shoes for a rocky approach might earn it; a full camp shoe set on a three-day trip usually does not. Write down what you are adding and what condition would trigger its use.
4. Pack Heavy Items Close to Your Back
Weight belongs close to your spine and around mid-torso height, roughly behind your belly button, not at the bottom of the bag. Your body carries a pack through the hip belt, and keeping the load centred over your hips is what lets that belt do its job. Heavy gear low and far from your back creates a lever that pulls the pack away from you, which hikers describe as a pack that pulls backwards.
That pulling sensation is the most repeated packing complaint on hiking forums, and it is a distribution problem, not a strength problem. A correctly loaded 30-pound pack feels materially lighter than a badly loaded 25-pound one.
Dense and heavy items go into that middle core: cookware, camp stove and fuel, the tent body and poles, a bear canister where the route requires one, and your food. Bulky but light items, clothing layers and shelter fabric, get packed around the dense core so they fill the dead space rather than forming their own lump.
What does not belong near the top or hanging outside: anything dense that you can still reach, and anything you would hate to snag on a branch. Sleep gear also stays low, even though it is light, because that is where the bulk belongs.
5. Use the Main Compartment for Bulk Items
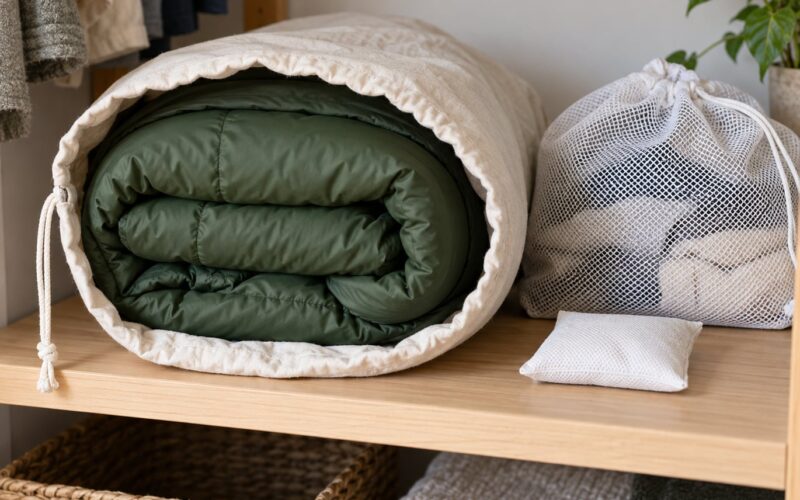
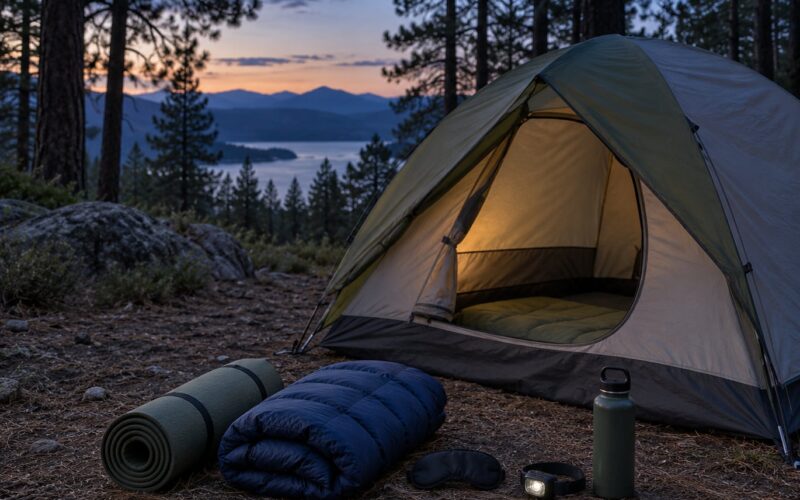
Start with the sleep system at the very bottom. A sleeping bag compressed into its stuff sack forms a stable base that later items can lean against, and a rolled sleeping pad sits next to or on top of it. Anything soft and light, like an inflatable pillow or a spare fleece, fills the remaining bottom space.
Build the dense core next, pressing each item against the back panel rather than dropping it into the middle of the bag. Then treat the soft goods like mortar between the bricks: fill gaps around the core with rolled clothing, stuff sacks and shelter fabric. The test is simple. Press down on the top of the packed load and nothing internal should move.
Store damp gear where you can find it, and keep the sleeping bag dry above all else. If anything was wet when you packed, a dry bag or a plastic bag around it buys real insurance at almost no weight.
6. Pack Water, Food, and Essentials for Easy Access
Water goes in the reservoir or in bottles placed along the sides of the bag, and the choice mostly depends on whether you are hiking alone. Solo hikers tend to prefer a reservoir because drinking does not require taking the pack off, while partners often prefer two soft bottles so the weight is split evenly across the frame rather than all hanging forward of one hip. Either works if you close the hose or cap before you shoulder the bag.
Food goes above fuel, never below it. A canister that leaks or a cap that was not fully closed will soak whatever is underneath, and soaked meals are the one packing failure that ruins a trip rather than just annoying you. Keep one snack in an easy-access pocket and the rest in the upper part of the main compartment.
The access layer goes on top: rain jacket, a layer you will put on and take off all day, first-aid kit, water filter, sun protection, snacks and any electronics that need power. Items in the lid, sometimes called the brain, are perfect for things you want without touching the main compartment at all, like a phone, a map or a headlamp. Hip belt pockets take the small change, a spare battery and a bar that gets eaten every hour.
7. Inspect, Weigh, and Adjust the Pack
Put the pack on and fit it in a fixed order. Buckle the hip belt first, snug across the top of your hip bones rather than tight around your waist. Then take slack out of the shoulder straps so the pack settles onto your hips. Pull the load lifter straps at the top of the shoulder harness to draw the pack closer to your back, and clip the sternum strap last.
Tighten the side compression straps until the pack stops shifting, then walk. Up and down a flight of stairs for ten minutes is the classic shakedown, and it finds problems that standing still hides: a load that rocks, a hip belt that slides down, or a strap digging in under load rather than at rest.
Before you leave the house, confirm three things. You can get your rain shell and a snack without unpacking the bag, nothing shifts when you bend forward, and the loaded weight matches the number you set at the start. If something has to be rearranged at the trailhead, it will rearrange itself badly on the trail.
Common Backpacking Packing Mistakes and How to Fix Them
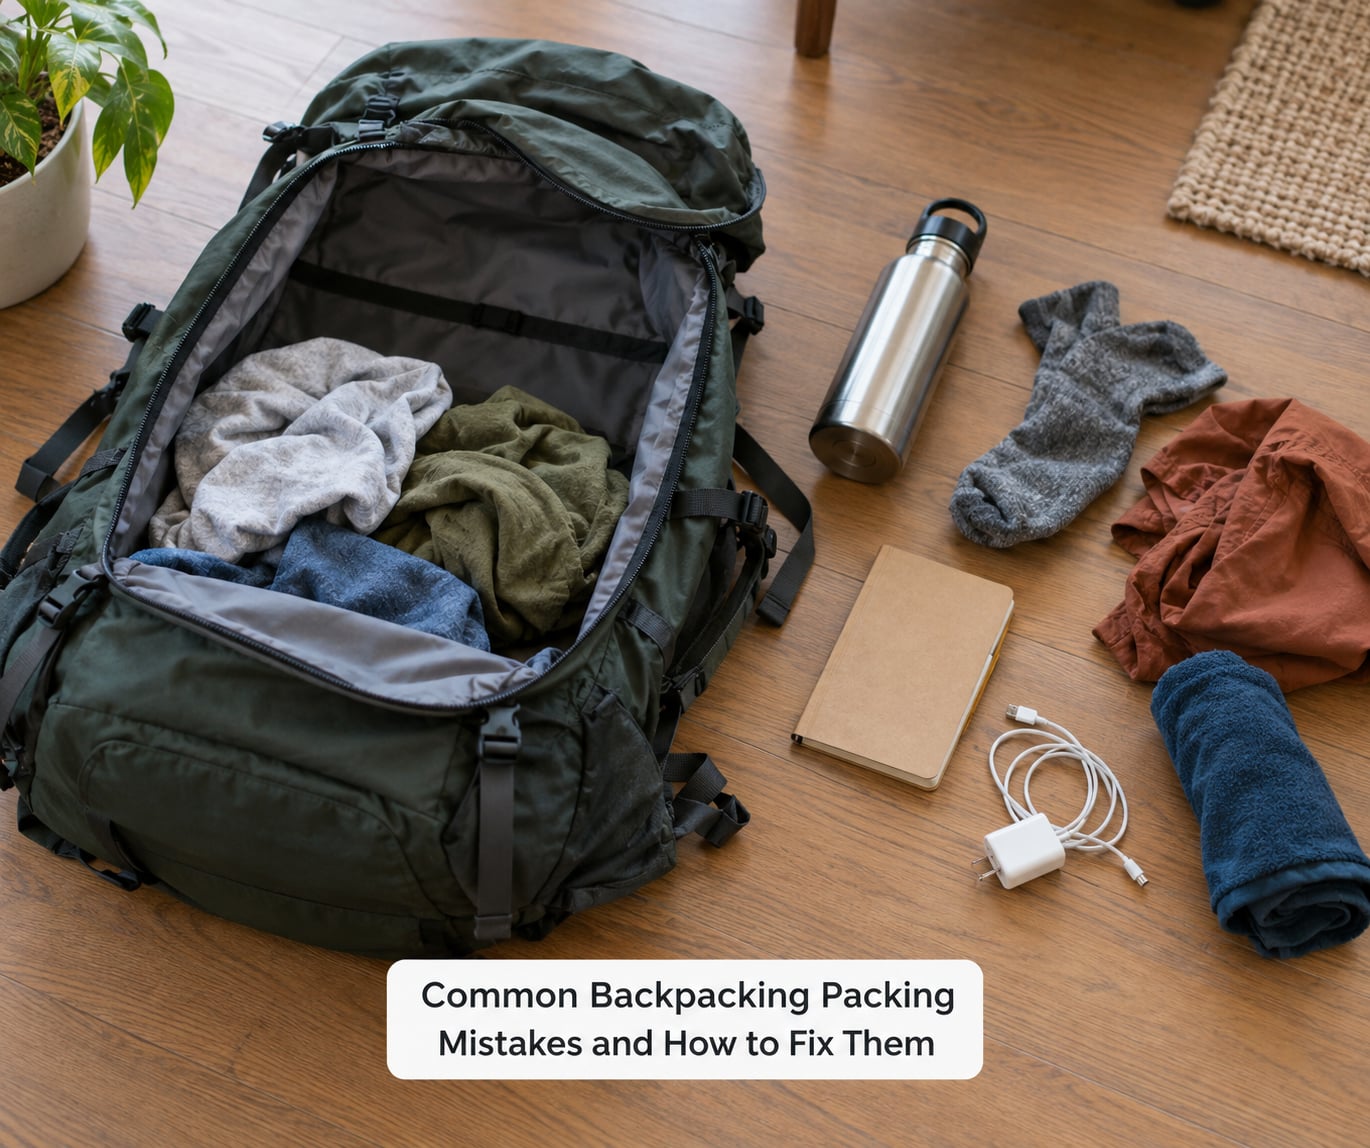
Most sore shoulders and frustrated mornings trace back to one of seven recurring packing errors, and every one of them has a straightforward fix.
1. Overpacking. The bag is full because it had room, not because the trip needed it. Fix it by writing the list on paper before you touch the gear, and by cutting duplicates rather than shaving grams.
2. Heavy gear away from the back. Dense items loaded at the bottom or shoved to the far side turn your pack into a lever. Fix it by rebuilding the middle core around the back panel and keeping the weight at mid-torso.
3. Food stored under fuel. One slow leak and a bag of ruined noodles. Fix it by keeping fuel sealed, upright and above everything edible.
4. No liner. Fabric is not waterproof, and sustained rain finds every seam. Fix it with a heavy-duty trash bag or a purpose-made pack liner inside the bag, with critical items in dry bags.
5. Gear dangling outside. Gear strapped to the outside snags on branches, throws the load off balance and turns every scramble into a fight. Fix it by asking whether the item fits inside after a little compression.
6. Skipping the fit test. A pack that has never been loaded has never been fitted. Fix it by doing the ten-minute shakedown walk with the real load, at home.
7. Never repacking at camp. Overnight the bag gets rearranged and stays that way, so each morning starts as a small archaeology dig. Fix it by rebuilding to the same layout every evening.
Packing Tips for a More Comfortable Backpack
Treat waterproofing in layers rather than as one decision. A liner inside the bag protects everything and costs a few ounces, a pack cover protects the liner from abrasion and soaked brush, and dry bags protect the few items that would end a trip if lost, such as a sleeping bag, spare insulation, electronics and first aid.
Compression is free weight reduction. Roll clothing instead of folding it, use every stuff sack you own, and fill the voids around your dense core rather than stacking gear in layers with air between them.
Keep the access layer honest. Anything you grab hourly belongs high or in a pocket, and anything you grab daily at most belongs in the lid. If you are unearthing the whole bag to reach your rain shell, the top zone is packed wrong.
Carry what the route requires. Every item you cannot name a use for is weight you will still be carrying at mile fifteen, and it is the first thing you will regret at the next resupply.
Keep the Same Layout Every Morning
A consistent layout is the quiet trick that makes multi-day trips calmer. Repack to the same arrangement at dinner, put the wet items into a bag near the top so they cannot soak anything, and you will know by touch where each thing is before your headlamp is on. Backpackers who do this tend to make fewer wrong turns inside their own bag, and a surprising number of forum complaints about morning frustration disappear once the routine is fixed.
Frequently Asked Questions
How much weight should a backpacking pack weigh?
For a beginner’s first multi-night trip, aim for a base weight near 20 pounds, which is everything except food, water and fuel. A common community check is one-sixth to one-eighth of your body weight for a three or four day trip, roughly 20 to 27 pounds on a 165-pound person. Thirty pounds is heavy but manageable with experience. Forty pounds is a serious load that most beginners feel quickly, and cutting gear is the better answer.
Is 30 pounds too heavy for backpacking?
Not impossible, but heavy for a beginner, and it shows up as sore shoulders within a couple of days. Thirty pounds works fine for an experienced hiker carrying gear-heavy loads or a bear canister. If you are new and hitting 30 pounds, cut duplicate clothing and unused luxury items before you cut safety gear.
Is 70L too big for backpacking?
It is roomier than most two or three night trips need, but that is only a problem because empty space invites extra gear. Seventy liters makes sense for four to seven nights, winter conditions or hauling a bear canister and heavy camera gear. The real warning sign is not litres but weight drifting away from your spine, which happens when an oversized bag is filled loosely.
What should I pack a backpacking pack for a 3 day trip?
A tent with fly, a sleeping bag and pad, a camp stove with fuel and cookware, food for three days plus a margin, a water filter or enough carried water, a rain shell and warm layer, a headlamp, a first-aid kit, a fire starter, navigation, a pack liner and a bear canister if the route requires one. That is the core list; clothing count is where most trips gain unnecessary weight.
How do you keep a backpacking pack dry in the rain?
Use three layers. A heavy-duty trash bag or pack liner inside the bag protects everything cheaply, a pack cover shields the liner from abrasion and wet brush, and dry bags hold the items you cannot replace, such as a sleeping bag, spare insulation, electronics and first aid. Keep the liner opening folded and clipped so rain cannot run down inside it.
How do I repack my pack at camp each morning?
Rebuild it the same way you loaded it at home: sleep system on the bottom, dense items in the middle core against your back, access layer on top, smalls in the lid and hip belt pockets. Put damp gear into a separate bag near the top so it cannot soak anything. Ten minutes keeps every morning identical instead of an excavation.
Start with the ten-minute version tonight: pick a trip length, set a weight number, and lay your gear on the floor in categories. Load it bottom to top with the heavy stuff against your back, then walk around the house with it. Everything else on this page is a refinement of that habit, and once the layout is automatic you will stop thinking about packing altogether.