If you want to know how to store a sleeping bag properly, the answer is short: wash or spot-clean it if it is dirty, dry it until no cool or damp patch remains anywhere in the fill, fold it loosely, and put it in a large breathable cotton or mesh sack in a cool, dry, dark place. Never store it compressed or in a sealed plastic bag, and never put it away damp.
The whole job takes about 20 minutes once the bag is dry. The drying is the slow part, usually a full day of air time, and skipping it is the single mistake that leads to mildew and a bag that never recovers its warmth.
Table of Contents
- What You Need
- Step-by-Step
- Step 1: Read the Care Label and Inspect the Bag
- Step 2: Clean the Bag Only When Needed
- Step 3: Follow These Steps to Store a Sleeping Bag Properly
- Step 4: Fold and Loosely Contain the Sleeping Bag
- Step 5: Choose the Right Storage Location and Check It Periodically
- Common Mistakes
- Quick Storage Checklist
- Frequently Asked Questions
- Can I store a sleeping bag in a plastic bag?
- How long can a sleeping bag be stored without being used?
- Should I use a vacuum compression bag for a sleeping bag?
- How do I store a sleeping bag in summer?
- How do I restore loft after storing a sleeping bag?
- Conclusion
What You Need
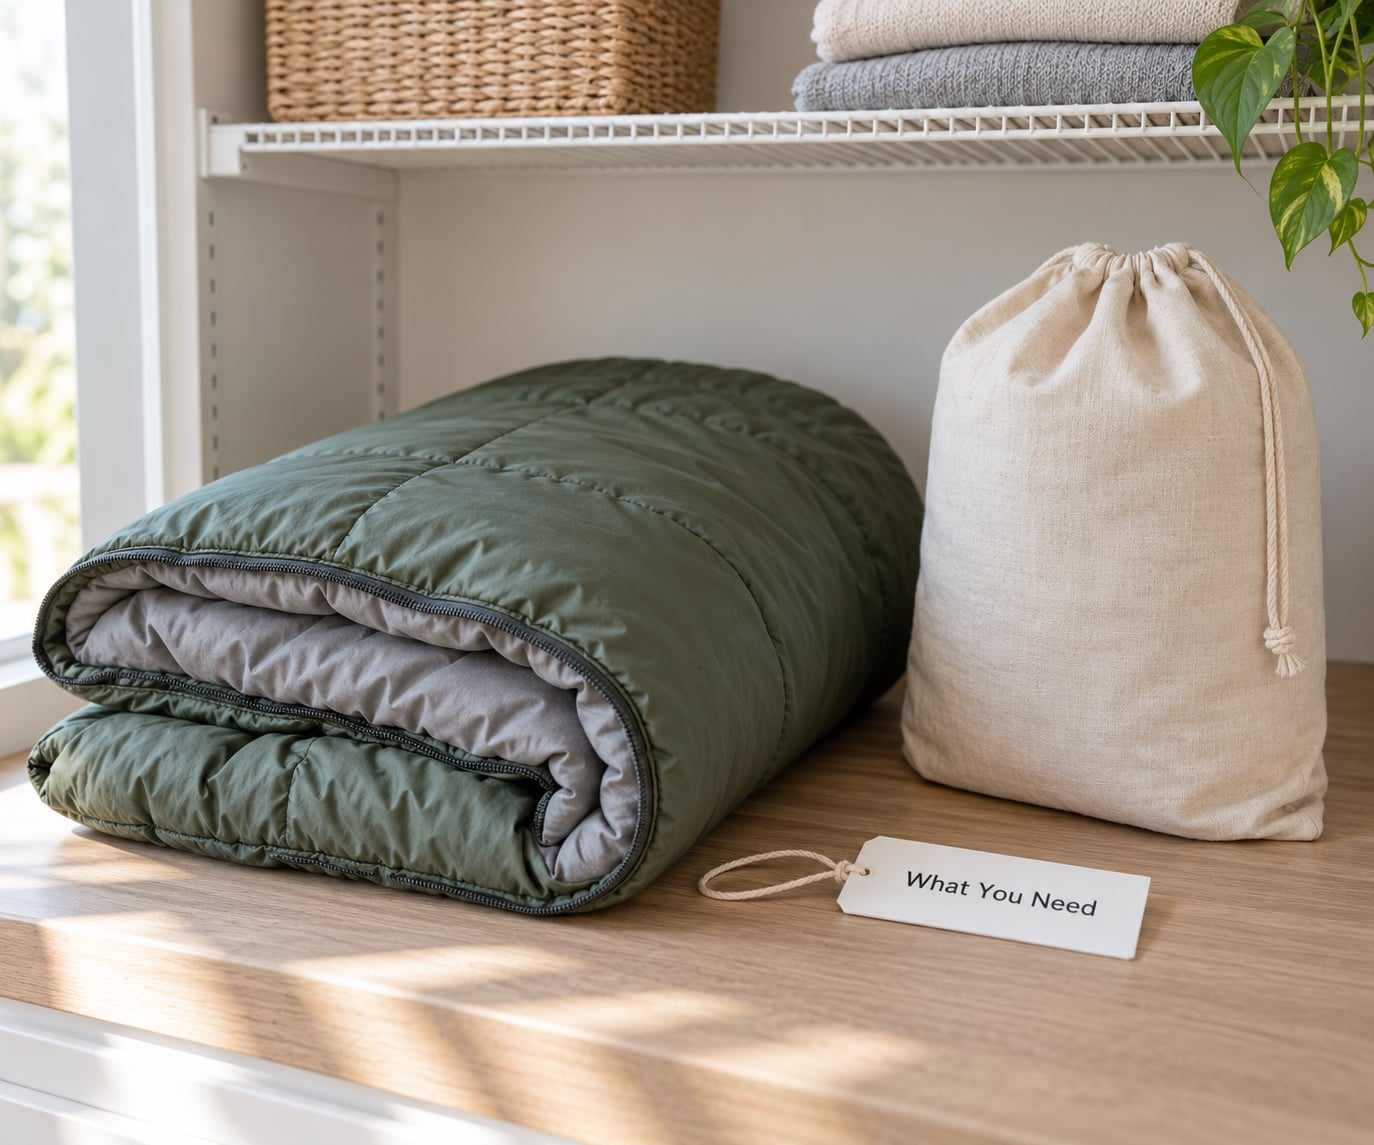
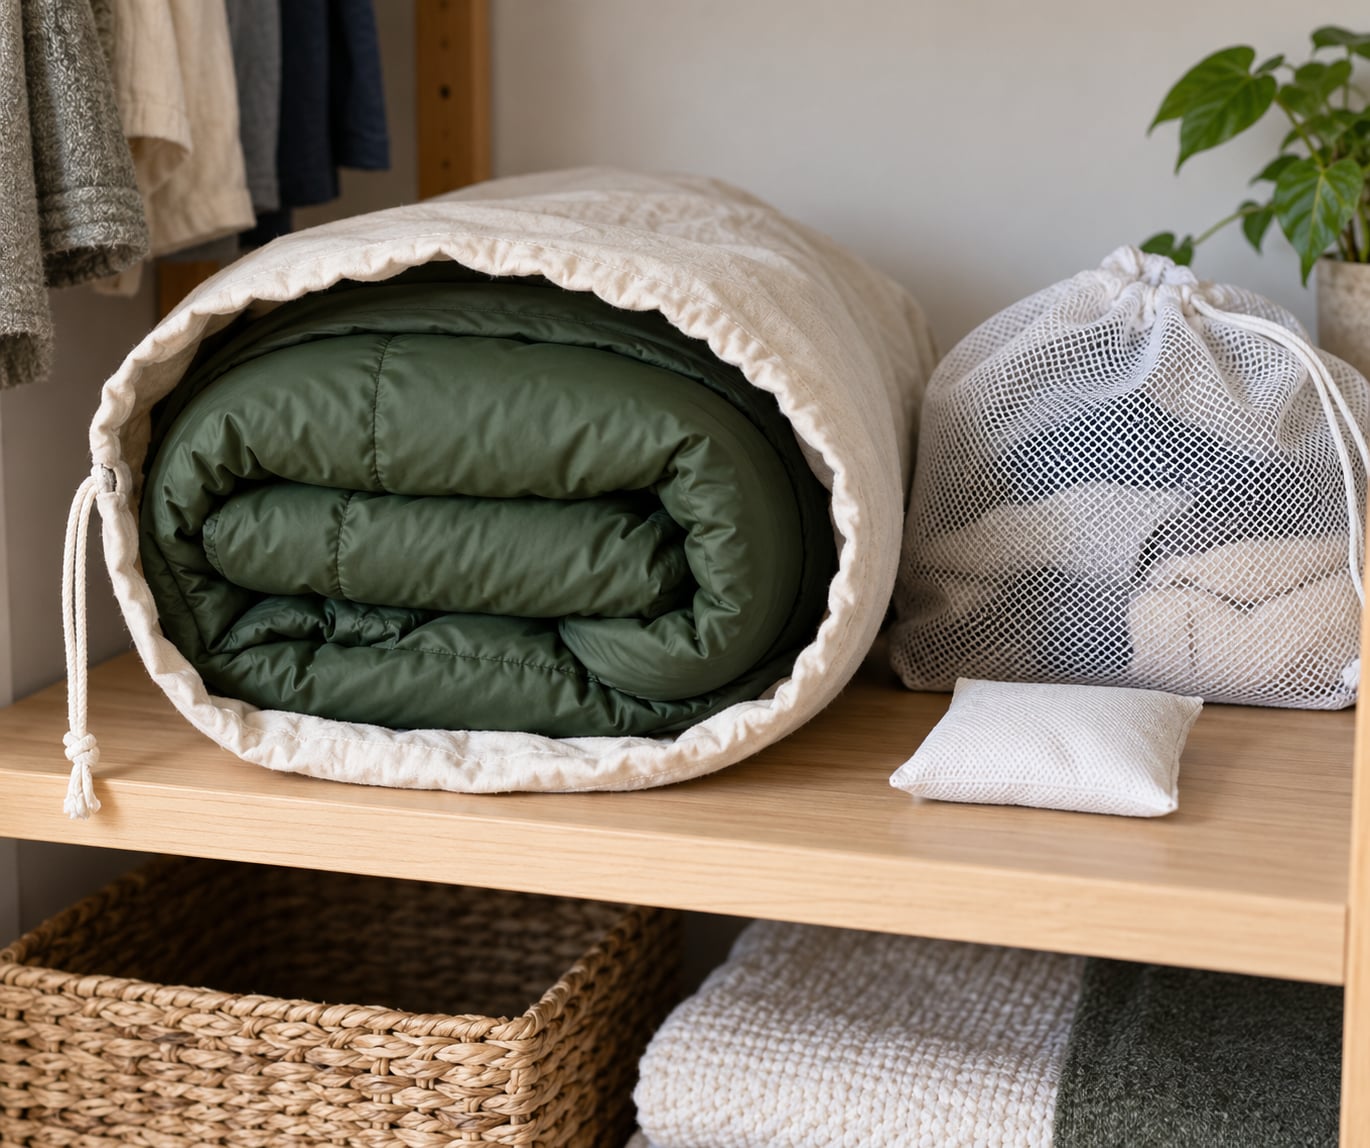
Most of the job needs things you already own. You need a sleeping bag that is clean and completely dry, the care label that came with it or the manufacturer’s care page, and a breathable cotton storage sack or a large clean pillowcase.
A mesh laundry bag works too, and it is better if your closet is at all damp because air moves through it. Skip plastic trash bags, sealed totes and vacuum bags for anything longer than a trip.
You also want a storage spot that is dry, ventilated and out of direct sun. A bedroom closet shelf is the easy answer. A breathable cotton sack should be noticeably larger than the folded bag so nothing is wedged inside it.
Before you buy or borrow any moisture-control product, check the manufacturer’s care instructions. Down bags in particular respond differently to heat, chemicals and damp, and the label wins over anything you read online, including this article.
Step-by-Step
Five steps, in this order. Do not jump to the fold while the bag is still cool to the touch somewhere in the middle, because that one habit causes most of the damage people blame on storage.
Step 1: Read the Care Label and Inspect the Bag
Start by finding the label, usually stitched inside the pocket along the bottom edge or along the zipper track. It tells you the shell fabric, the fill type and the recommended cleaning method, and any brand-specific storage warning.
Fill type changes the rules. A down bag needs a lot more air and less handling than a synthetic one, and down bags should never go on a hanger, because the weight of the fill pulls at the shell seams.
Then inspect the bag in good light. Look along every seam for open stitching, check the zipper runs both ways, and run your palm over the fill looking for thin patches, hard clumps or lumps. Those lumps usually mean the fill has clumped somewhere inside.
Open the bag and look inside for damp spots, a musty smell or mildew. Dark speckling inside the shell means the bag has been wet for a while and needs a proper wash before anything else.
Step 2: Clean the Bag Only When Needed
You do not need to wash a sleeping bag on a schedule. Wash it when it is dirty, when it smells, or before a long storage period of a season or more, since body oils and sweat attract insects and eventually break down the shell fabric.
Spot-clean for small marks. Dab the area with a mild soap and a damp cloth, scrub gently with a soft brush, then blot. That is usually enough for a grass stain or a small oil spot and it skips the whole drying cycle.
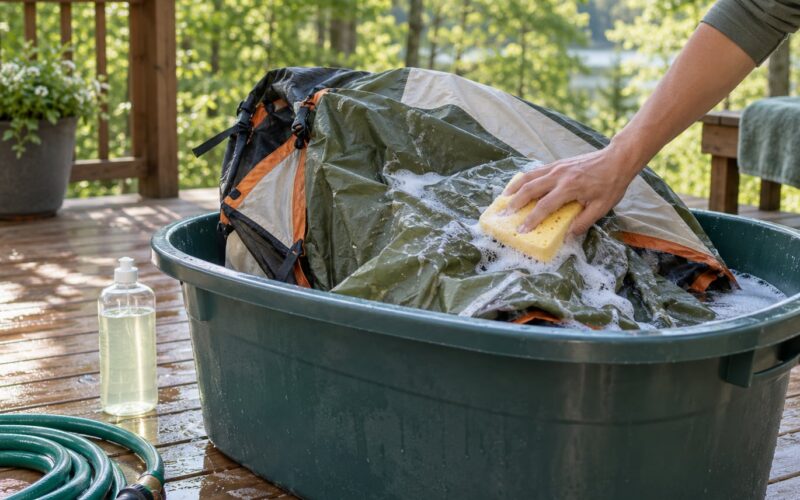
For a full wash, follow the care label. Most down bags want a down-specific wash in a front-load machine, since an agitator can damage baffles. Skip bleach, fabric softener and dry cleaning, all three of which can coat or weaken the fill.
Rinse until the water runs clear, which on many bags takes three rinses. Then dry on low heat with dryer balls or clean tennis balls to break up clumps, or air-dry if the label says to. Expect this to take several cycles on a down bag.
How do you know it is dry? Hold the bag to a light and look for cool or darker patches. Press your hand deep into the fill and compare against the palm side, which should feel identical. If anything feels different, give it more time.
Step 3: Follow These Steps to Store a Sleeping Bag Properly
Let the bag hang or drape over a rack in a shaded, ventilated room for 24 to 48 hours after washing. Outfitters recommend that air-out window, and it is the cheapest insurance in this whole process.
Brush off dirt and sand outdoors first. Sand left in a bag works its way into the shell fabric and abrades it slowly, which is why bags that live in the bottom of a pack wear out at the shoulders first.
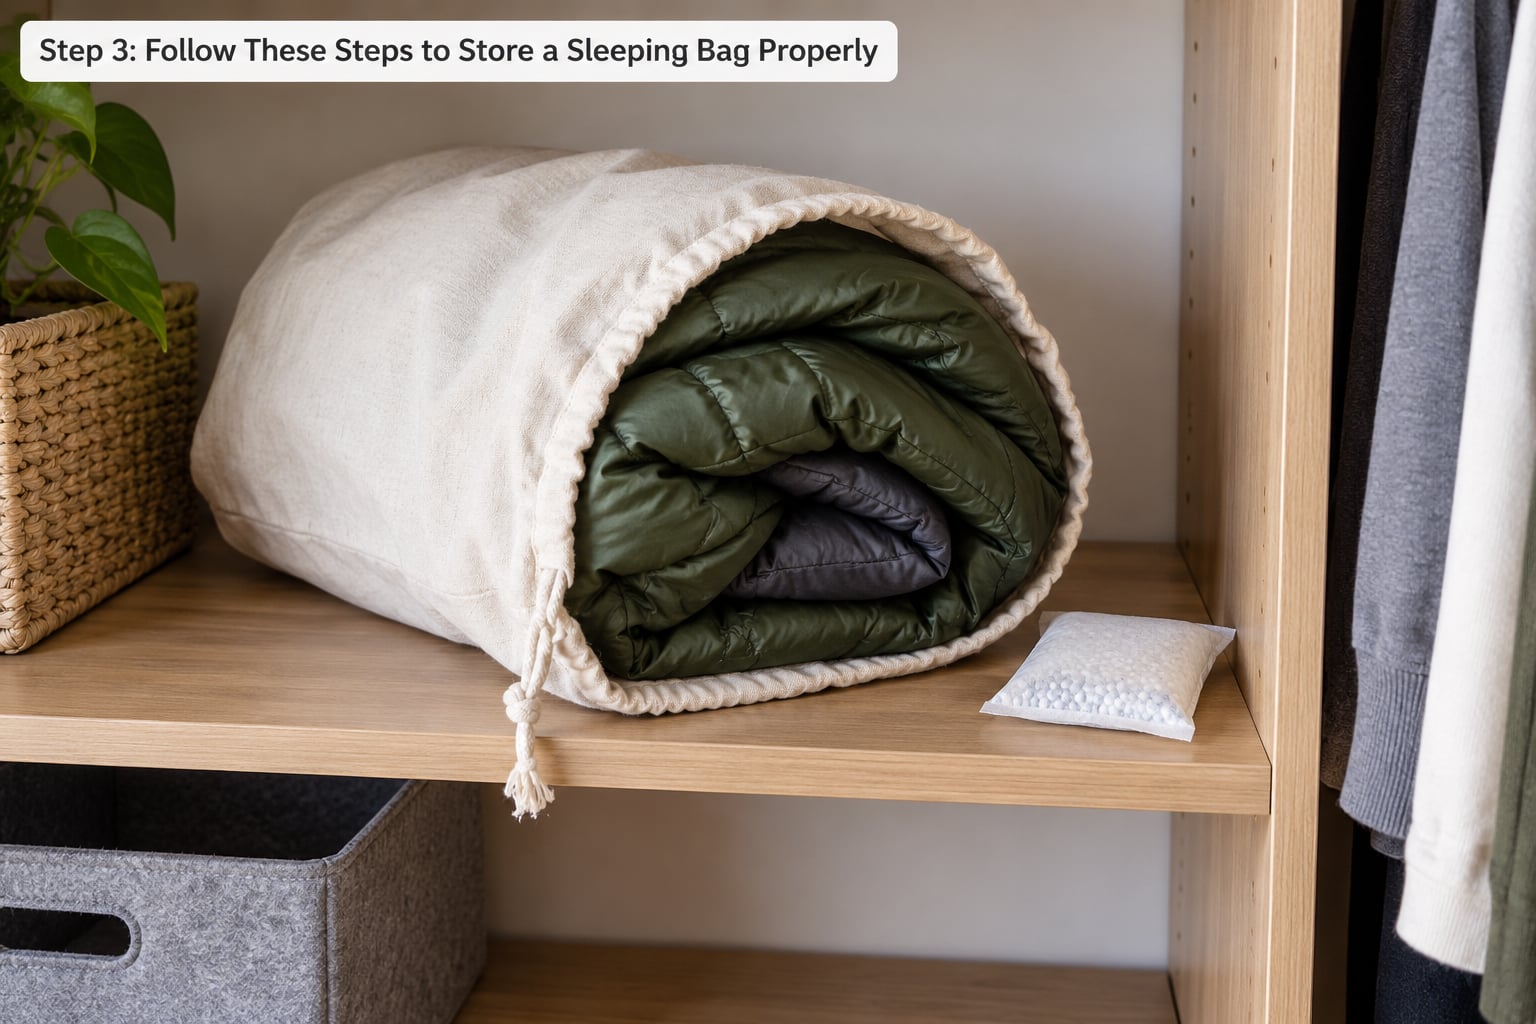
Fold it loosely in thirds or loosely roll it. The goal is a shape that holds itself gently without squeezing the fill, not a tidy rectangle. Put it in the breathable sack and leave enough room that the fabric is not stretched taut.
Keep the whole bag in a clean, dry, dark place with air moving through it. Air needs to pass through the stored insulation so any residual damp can escape instead of sitting there for six months.
You will know it worked when the bag comes out of the sack feeling uniformly fluffy with no cold spots, and the bag weighs roughly what it should for its size.
Step 4: Fold and Loosely Contain the Sleeping Bag
For a rectangular bag, lay it flat, fold the bottom third up, then fold the top third down over it, then fold in the sides. For a mummy bag, lay it on its back and fold the sides in, then roll it loosely from the foot to the hood.
Mummy bags fit a large pillowcase better than any dedicated sack. Slide the bag in, gather the opening loosely, and tie it with a soft cord. Nothing should be tight enough to leave a deep crease in the fill.
The container matters as much as the fold. Cotton and mesh let moisture pass. Plastic does not, and that is the problem, not the price or the size.
| Container | Allows air through | Fine for a season or more | Notes |
|---|---|---|---|
| Cotton storage sack | Yes | Yes | Best all-round choice; pick one larger than the folded bag |
| Mesh laundry bag | Yes | Yes | Good in damp rooms because damp air can still escape |
| Large pillowcase | Yes | Yes | Free, fits mummy bags well |
| Breathable stuff sack | Yes | Short trips only | Fine on the trail, too small for home storage |
| Compression sack | No | No | For travel days. Crushed loft is the reason it is not for storage |
| Vacuum bag | No | No | Worst option. Traps any damp and squashes the fill hardest |
| Sealed plastic tote | No | Only if very dry inside | Risk of trapped condensation on the walls |
| Trash bag | No | No | Tears easily and traps moisture |
Rolling versus stuffing matters less than most people think. If you stuff a bag into a large sack, it is fine. If you force it into a small one, you have recreated compression storage, which is the thing to avoid.
A plastic tote with a moisture-absorbing packet inside is the common answer on camping forums for people with no closet, and it works reasonably well as long as the bag went in bone dry and the tote is not sealed airtight. Leave the lid cracked if you can.
Step 5: Choose the Right Storage Location and Check It Periodically
A cool bedroom closet on a shelf works. Laying the bag flat on that shelf beats hanging it, because a hanger puts all the weight on two small points and slowly stretches the shell seams.
Under a bed in a breathable sack is the most common solution in small apartments, and it is fine as long as the floor area is dry. An unsealed bin under the bed keeps dust off.
A dry storage bin in a conditioned garage can work in a mild climate. An unheated storage unit, a damp basement or a hot attic is a bad choice, and so is a car trunk over a season. Heat and swinging humidity both shorten the life of the shell fabric and the fill.
Sunlight fades a shell fabric permanently. Keep the bag covered or in an opaque bin if the only space available gets direct light through a window.
Mice and moths will find a bag that smells of body oil. A sealed tote protects against pests, but a cotton sack on a high shelf in a clean closet usually keeps them out without sealing anything up.
Check the bag twice a year, in spring and autumn. Open the sack, look for damp, dark speckling or a musty smell, and press the fill for clumps. Ten seconds twice a year is enough to catch mildew early.
Common Mistakes
Storing a damp bag is the mistake to fix first. Spread it out and air-dry it again for another day. Once it is stored warm and wet, mildew can start within 48 hours.
Using a plastic bag for years means the bag cannot breathe. Even if it feels dry in a cool closet, the fill needs air. Switch to cotton, mesh or a pillowcase.
Vacuum-compressing insulation, especially down, is the most expensive mistake. The fill stays squashed for months and clumps at the bottom of the baffles. Vacuum bags are for moving house, not for sleeping gear.
Placing the bag in a hot attic or a damp basement invites both heat fade and mildew. If the closet is the only climate-controlled space you have, use it and make room.
Tightening every strap to save space is compression by another name. Loose is the whole point of the method.
Skipping the air-out after a trip means sweat stays trapped in the fill. Hang the bag up the moment you get inside, even for a few hours.
Quick Storage Checklist
Run through this before you close the closet door.
- Care label checked, and you followed it over any generic advice.
- Bag is clean, or spot-cleaned where it was dirty.
- Fill feels identical warm and cool to the hand, with no damp patch anywhere.
- Bag aired out for at least a day after washing.
- Folded or rolled loosely, with no tight creases in the fill.
- In a breathable cotton sack, mesh bag or pillowcase.
- Location is cool, dry, dark and out of direct sunlight.
- Not in a basement, attic, storage unit or car trunk for long stretches.
- Bag is not sitting inside a compression or vacuum sack.
- A reminder set to check it again in six months.
Frequently Asked Questions
Can I store a sleeping bag in a plastic bag?
Only for short periods, such as during a move, and only if the bag is completely dry first. For storage that lasts a season or more, use a breathable cotton sack, mesh laundry bag or large pillowcase instead. Sealed plastic traps whatever moisture is left inside, and that trapped damp is what causes mildew and permanent loft loss. A hard plastic tote with a moisture-absorbing packet inside is a workable compromise for small apartments, provided the lid is not sealed airtight.
How long can a sleeping bag be stored without being used?
Stored loose, dry and in a breathable sack in a climate-controlled room, a good sleeping bag will keep its performance for years without being touched. Storage itself does not expire a bag. What does damage it is moisture, heat and long-term compression, so a bag tucked loosely in a closet shelf can easily outlast one that gets vacuum-packed every winter. Check it twice a year so you catch any damp or pests early.
Should I use a vacuum compression bag for a sleeping bag?
No. Vacuum compression is the hardest thing you can do to insulation and it is not reversible for months. Down clusters are held apart by trapped air, and squeezing them together lets them clump into hard patches that stay that way. A bag stored under vacuum may come out of the sack looking flat and cold, and recovery can take weeks of shaking and tumbling. Use vacuum bags for clothing, not for gear that has to keep you warm.
How do I store a sleeping bag in summer?
Do it the same way as any long-term storage. Wash the bag if it is dirty, dry it fully, fold it loosely, and put it in a breathable sack in a cool, dry, dark place rather than leaving it in a hot garage or a damp shed. The summer months are when humidity and heat do the most damage, so a bedroom closet is much better than anywhere near the roof. Pull it back out once a year and check for damp, clumps or pests.
How do I restore loft after storing a sleeping bag?
Give it time and air. Hang the bag on a wide hanger or drape it over a rack and shake it out several times a day for a week. Then tumble it on low heat with dryer balls or clean tennis balls, which breaks up clumps and lets the fill move again. Down recovers faster than synthetic. If the bag stays flat and patchy after a month of shaking, the fill has bonded and it will never fully loft again.
Conclusion
Check the care label, confirm the bag is completely dry, then fold it loosely into a breathable container in a cool, dry place away from sunlight. That is how to store a sleeping bag properly, and doing it twice a year takes less time than one load of laundry.
Leave the compression sack in the pack where it belongs. Your bag will still be warm in five years.