You can back up photos without a computer by using your phone as the transfer device: plug a memory card reader and a portable SSD into a USB-C hub, open the file manager, and copy files across. Or use free cloud backup straight from the phone. Either way takes about ten minutes once you know the steps.
The awkward part is not the copying. It is trusting that it worked. People discover a transfer silently stopped halfway through, deleted the card contents, and found out months later that half the trip was gone. So this guide walks through the transfer and the verification step that keeps that from happening.
I have picked this up from photography forums for years, and the same three questions come up every time: which gear do I actually need, does it work on an Android phone, and how do I know the copy is real. Those are the three sections below that matter most.
Last reviewed for 2026. The steps below use current iPhone and Android menus, and they work whether your photos live on a camera, a memory card, or only on your phone.
Table of Contents
- What You Need
- Which backup method should you pick?
- Step-by-Step
- How to Back Up Photos Without a Computer Using a Second Device
- How to Back Up Photos Without a Computer With Cloud Storage
- How to Back Up Photos Without a Computer With a Portable Drive
- How to Verify and Protect the Backup
- Common Mistakes
- Trusting a transfer that never finished
- Deleting originals before verifying
- Using a drive formatted for a desktop computer
- Pulling the memory card or reader out early
- Using a hub with no power
- Keeping only one copy
- Reformatting the card in a hurry
- Frequently Asked Questions
- Can I back up my photos without a computer if I only have a phone?
- What is the safest way to back up phone photos to an external drive?
- Can I transfer photos from a camera memory card directly to a phone?
- Does cloud storage count as backing up photos without a computer?
- How do I know whether a photo backup was successful?
- Can I back up RAW photos without a computer?
- Conclusion
What You Need
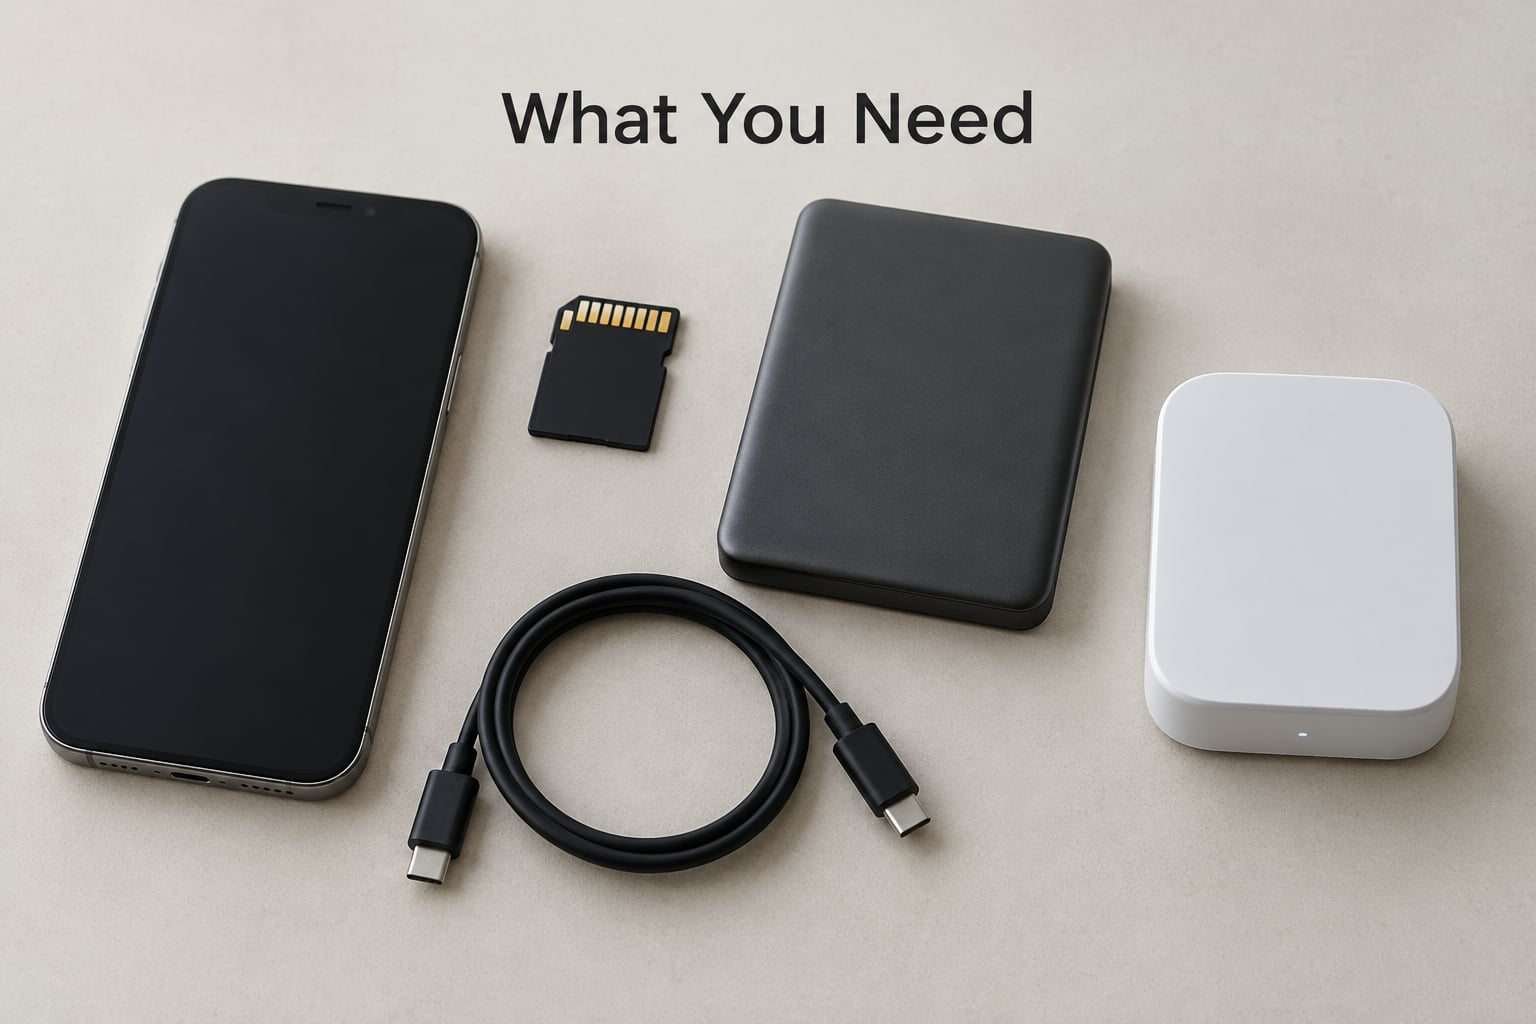
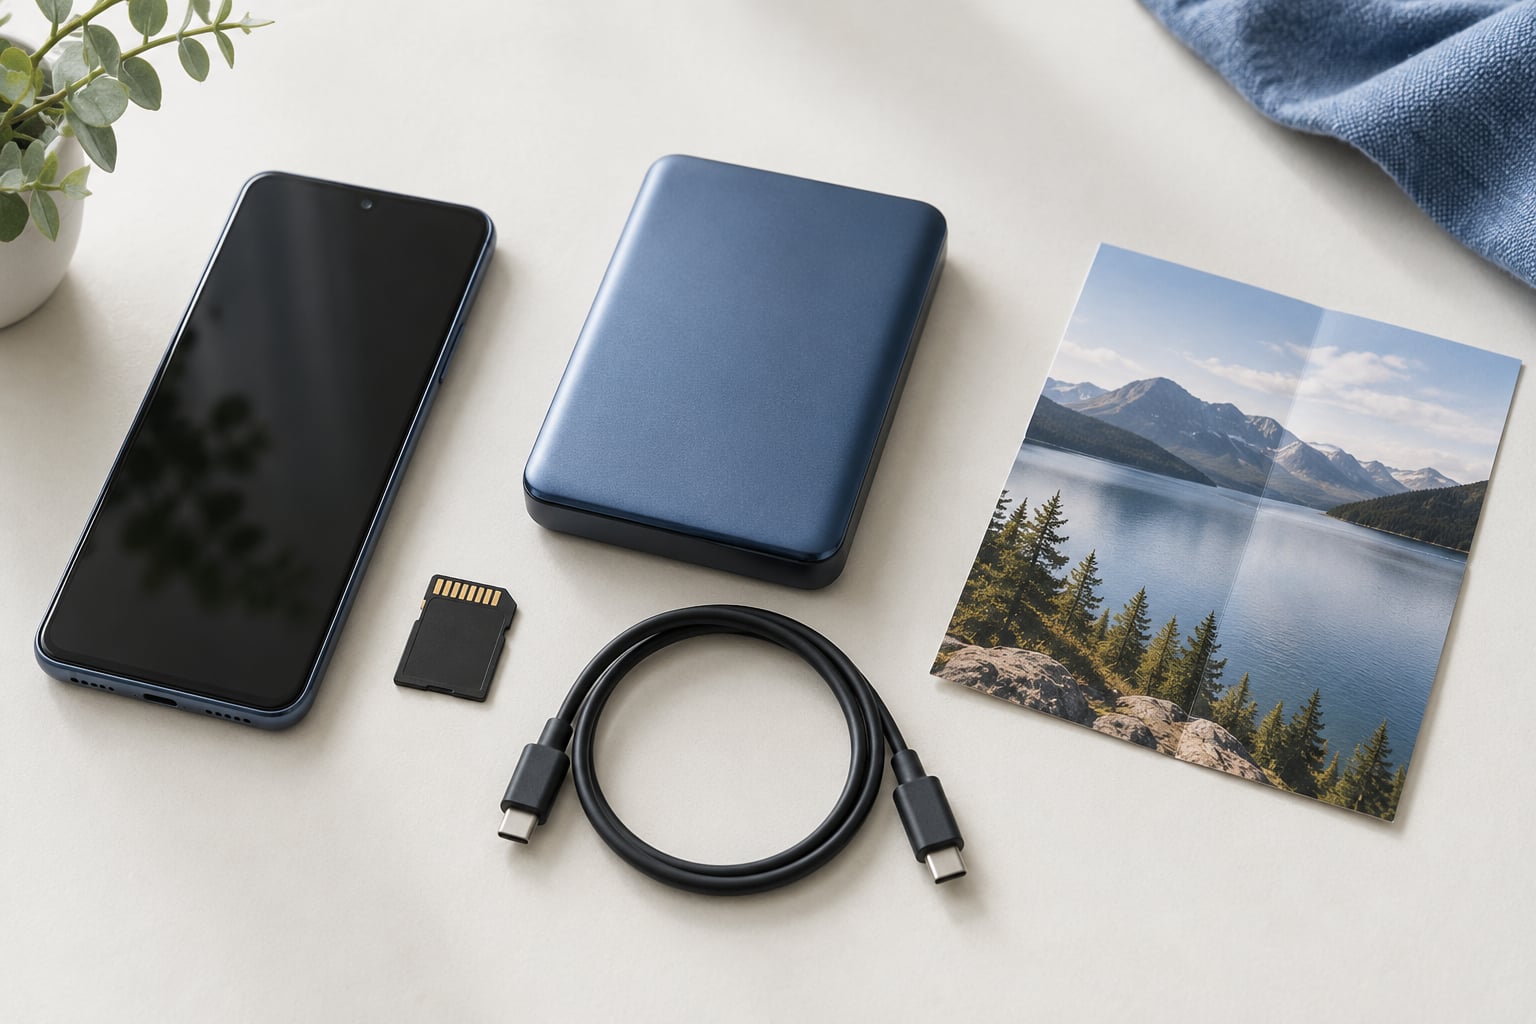
You need three things: the photos somewhere, a second place to put them, and a way to check the copy landed. The gear list below covers the setup most people end up with.
- A phone with USB-C. Almost every phone made in the last several years has USB-C, which is the port that makes this work. Older phones with a headphone jack need an OTG adapter.
- A USB-C card reader. A small adapter with a full-size SD slot, a microSD slot, or both. This is how the camera’s memory card reaches the phone.
- A USB-C hub. You need at least two ports to hold the card reader and the drive at the same time. A hub with power pass-through is worth the extra few dollars on long transfers.
- A portable SSD or external hard drive. Format it as exFAT before the first copy, or the phone will not be able to write to it.
- A power bank. Copying a few hundred gigabytes over USB will flatten a phone battery. Most phones will not charge and copy at the same time otherwise.
- Something to verify with. The file manager on your phone is enough for most people: compare file counts, then open a few photos.
If you would rather not buy anything, skip the whole list. The free cloud method below does the same job with the phone you already own.
Which backup method should you pick?
- Free cloud from the phone. No hardware at all, but it needs a signal. Best for phone-only users who want zero gear and zero cost.
- Phone to second device. An old phone, a tablet, or a hard drive. Works offline and gives you quick doubles with no purchases.
- Card reader plus portable drive. Needs a reader, a hub, and a drive. Works offline, and it is the one for travel and camera work where privacy or signal is the issue.
- Wireless memory card. A Wi-Fi enabled card plus its phone app. Only partly offline, but it suits shoot-and-walk setups that copy as you go.
- Home network drive. A NAS or network drive with the camera on Wi-Fi. Automatic offload at home, no cable juggling, though it only works on your own Wi-Fi.
My rule of thumb: use free cloud when the photos are only on your phone, and use the card reader and drive when the photos are on a camera and you are somewhere without reliable signal.
Step-by-Step
How to Back Up Photos Without a Computer Using a Second Device
Moving photos straight from one phone to another, or from a camera card to a phone, needs no computer and often no new hardware at all.
From one iPhone to another: open Photos, select the pictures, tap the share button, then tap AirDrop and choose the receiving iPhone. Hold both phones close together until the transfer bar finishes. It works over Wi-Fi and Bluetooth together, so no network is needed.
From an iPhone to Android: the built-in sharing is one-way. Use Google Photos, Google Drive, or a cable. For a cable, connect the phones with a USB-C to USB-C or USB-C to Lightning cable, choose the file transfer option when it appears on screen, and open the Files app on the receiving phone to drag the items in.
From Android to Android: tap Share on the selected photos, then Quick Share. Some older Android phones call this Nearby Share or Direct Share. Pick the receiving device from the list and wait for the confirmation notification.
From a camera memory card to a phone: put the card in a USB-C reader, plug the reader into the phone, and pull down the notification shade to open the storage notification. On iPhone, the Files app shows the reader as a new location. On Android, the Files app or your file manager shows it too, usually under a name like SD card or the card’s label. Copy the DCIM folder to Internal storage, then open a few images to confirm they load.
One naming difference catches people out. iPhone keeps photos in a DCIM folder inside 100APPLE; Android typically keeps them in DCIM/Camera. If you search for the wrong folder name you will think the copy failed when it worked fine.
Do not pull the card reader out while files are still copying. If the phone says transfer complete first, you are fine.
How to Back Up Photos Without a Computer With Cloud Storage
Free cloud backup is the easiest method and the best answer if your photos live only on your phone.
On Android: open Google Photos, tap your profile picture, then Backup. Turn it on and pick the quality setting. Original quality keeps full resolution and counts against your storage quota; Storage saver shrinks photos to 16 megapixels, which is usually plenty for phone photos and takes far less space.
On iPhone: open Settings, then Photos, then iCloud Photos, and turn on Sync this iPhone. Or open the Photos app, tap the cloud icon in the bottom bar, and choose Select All. Watch the progress indicator at the bottom of the grid until it disappears, because a backup that is still running is not a backup yet.
Confirm the upload finished before you clean up anything. In Google Photos, the backup status shows a green cloud check beside each photo. In iCloud Photos, scroll to the bottom of any album; if the sync is still running you will see the progress circle there.
Cloud is a copy, not a backup on its own. It is the same single copy if you delete a photo by accident from the gallery, because the deletion syncs too. That is why people who use cloud still keep a local copy on a drive.
How to Back Up Photos Without a Computer With a Portable Drive
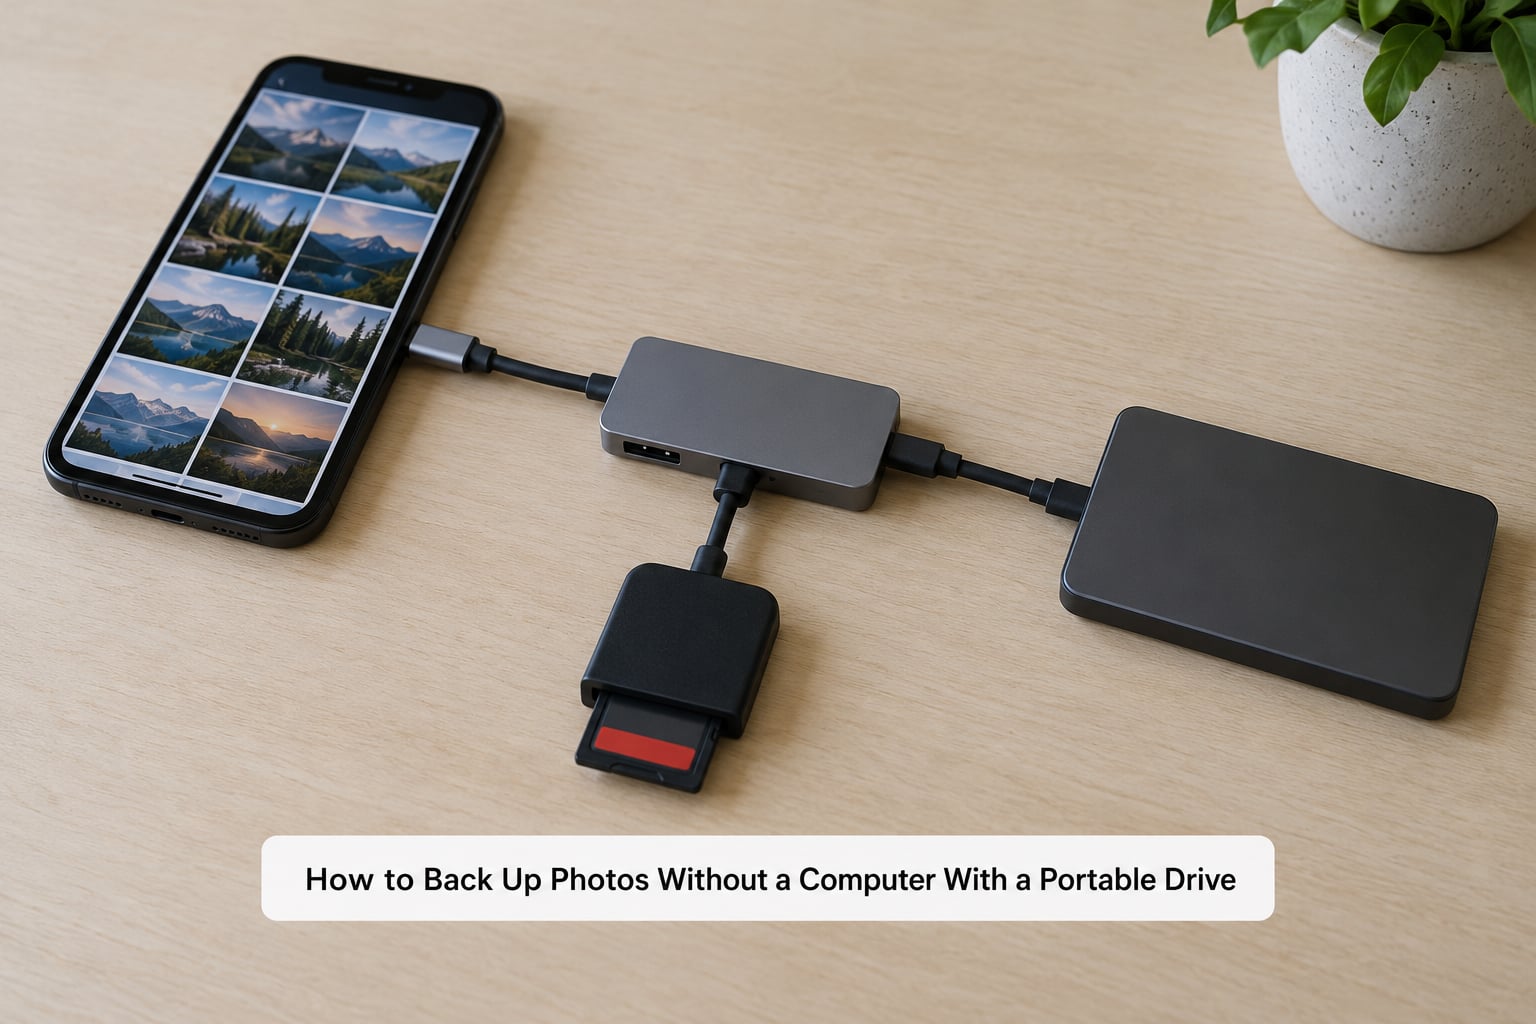
Copying to a portable SSD or external hard drive is the method that works with no signal and no subscription, and it is the one most travel photographers settle on.
- Format the drive once, at home. On iPhone, open the Files app, tap On My iPhone, then Edit, then Add New Folder, and choose External Drive to create a folder. Android file managers create a similar folder. Use exFAT rather than APFS or NTFS, because exFAT is the format both phone systems can read and write without converting anything.
- Connect the hub to your phone and plug in the drive.
- Insert the memory card into the card reader, and plug the reader into the hub.
- Open the file manager and open the card’s folder, usually DCIM.
- Select everything and copy it into the dated folder you just created on the drive. Long-press and Select All is faster than dragging.
- Watch the progress bar and do not unplug anything until the file manager reports the copy is finished. Big video files are slower than you expect, and the slowest part is usually the last file.
- Compare counts. Note the number of items on the card, then open the new folder on the drive and check the number matches.
- Eject safely. Swipe down in the file manager and tap Eject, or eject from the Files app, before unplugging the hub.
If you are copying from the phone’s own gallery rather than a card, copy from the DCIM folder inside Internal storage to the same dated folder on the drive. Do not move the files. Copy them, then compare counts, then delete from the phone if you need the space back.
Copying from the phone straight to the drive without going through a card is slower and drains the battery faster. If your phone supports two-way USB-C, you can plug the drive in and copy directly from the gallery app.
How to Verify and Protect the Backup
Never format a card or delete the originals until you have opened files from the new copy. That one rule prevents nearly every disaster people describe in forums.
- Count files. The file manager shows an item count at the top of a folder. Compare the card to the drive folder. Counts should match exactly.
- Compare sizes. Long-press a folder in most file managers to see its total size in GB. Two folders with the same item count but different sizes mean something did not copy.
- Open a sample. Pick at least one JPEG, one RAW file if you shoot RAW, and one video. Videos are the ones most likely to be truncated, so play a clip from the start and let it run past the point where the original cuts off.
- Check the newest files. The photos from your last shoot are the ones most likely to be missing, and they are the ones you care about most.
- Keep a second copy on a different physical drive before you format the card or reuse it. Rotating between two drives, one per trip, is what several photographers do.
If you want proof rather than a file count, a checksum comparison is the strongest option, but it needs software that a phone will not run. In practice, matching counts, matching sizes, and opening three files from different days catches nearly every failure.
Label the drives. A cheap acrylic label with the date range of the photos on it costs almost nothing and saves you from wondering what is on drive B six months later.
Common Mistakes
Most backup failures share a few causes, and all of them are avoidable.
Trusting a transfer that never finished
A cable nudged half out still shows up as connected. Wait for the file manager’s own completion message, and compare counts before you unplug. On Android, a notification for each copy action is a good early warning that the transfer was interrupted.
Deleting originals before verifying
Deleting from the card after a copy is normal practice, but only after you have opened files from the copy. If you deleted the wrong thing, say a truncated file that never finished copying, there is no second chance.
Using a drive formatted for a desktop computer
A drive formatted NTFS or APFS may show up in the Files app but refuse new files, or show read-only errors on Android. Format it exFAT. APFS drives work read-only on Android and are a common source of frustration.
Pulling the memory card or reader out early
Removing the card mid-copy corrupts files on the card itself, which is a much worse problem than a failed backup. Eject first, always.
Using a hub with no power
Two high-draw devices on an unpowered hub cause random failures, usually on the largest video files. A hub with power pass-through, plus a power bank feeding the phone, fixes this.
Keeping only one copy
One copy is a hope, not a backup. Three copies on two different kinds of media, with one stored somewhere else entirely, is the rule most photographers settle on. On a trip that usually means the card, one drive at home, and cloud or a second drive off-site.
Reformatting the card in a hurry
Formatting in the camera clears the card but cannot verify anything. Format only after the second copy exists and has been opened. And when you do format, format in the camera rather than on the phone, which keeps the card’s full speed and recovery partitions intact.
Frequently Asked Questions
Can I back up my photos without a computer if I only have a phone?
Yes. If your photos are only on the phone, turn on the built-in backup: Google Photos backup on Android, or iCloud Photos on iPhone. Both run in the background and need no extra hardware. A second free option is emailing or messaging yourself batches of photos, which works anywhere but takes longer. For anything you cannot lose, add a local copy on a drive later.
What is the safest way to back up phone photos to an external drive?
Connect the drive to your phone through a USB-C hub, open the Files app, and copy the DCIM folder from internal storage to a dated folder on the drive. Copy rather than move, compare the item counts on both sides, and open a few photos from the copy. Leave the phone’s originals alone until you have verified everything on the drive.
Can I transfer photos from a camera memory card directly to a phone?
Yes. Put the SD or microSD card in a USB-C card reader and plug the reader into your phone. Pull down the notification shade and tap the storage notification to open the file manager, then copy the DCIM folder to internal storage. On iPhone the Files app shows the reader as a separate location. On Android it appears under Internal storage or the card’s label.
Does cloud storage count as backing up photos without a computer?
It is a backup, but it is one copy in one place. If you delete a photo by accident, that deletion syncs too, so the cloud copy goes with it. Cloud is genuinely useful when you have no drive and no signal for anything else, and it handles the phone-only case better than any hardware option. Most people who rely on cloud alone keep a local drive copy as well.
How do I know whether a photo backup was successful?
Compare the item count and total size of the source folder against the destination folder, then open a JPEG, a RAW file if you shoot RAW, and a video from the copy. Videos are the ones most often truncated, so play a clip past the length of the original. Repeat the check for the most recent shoot, since those files are the ones most likely to be missing.
Can I back up RAW photos without a computer?
Yes. RAW files are ordinary files and copy through every method described here, including free cloud if the service accepts RAW uploads. The catch is size: a RAW file is many times bigger than a JPEG, so check your storage quota or drive capacity first. Keep RAW and JPEG in separate folders on the drive so you can tell at a glance that both made it across.
Conclusion
The safest first step is simple: copy the original photos to two independent destinations, verify both copies by count and by opening files, and only then format the card or clear the phone.
If your photos live only on a phone and you want to spend nothing, turn on Google Photos or iCloud Photos today and leave the originals where they are. If your photos live on a camera, buy a USB-C card reader, a two-port hub with power pass-through, and a drive formatted exFAT, then run the eight steps above each time you come home.
Either way, the habit matters more than the gear. A ten-minute copy on the evening of a shoot protects years of work that a single dropped phone or corrupted card can take with it.