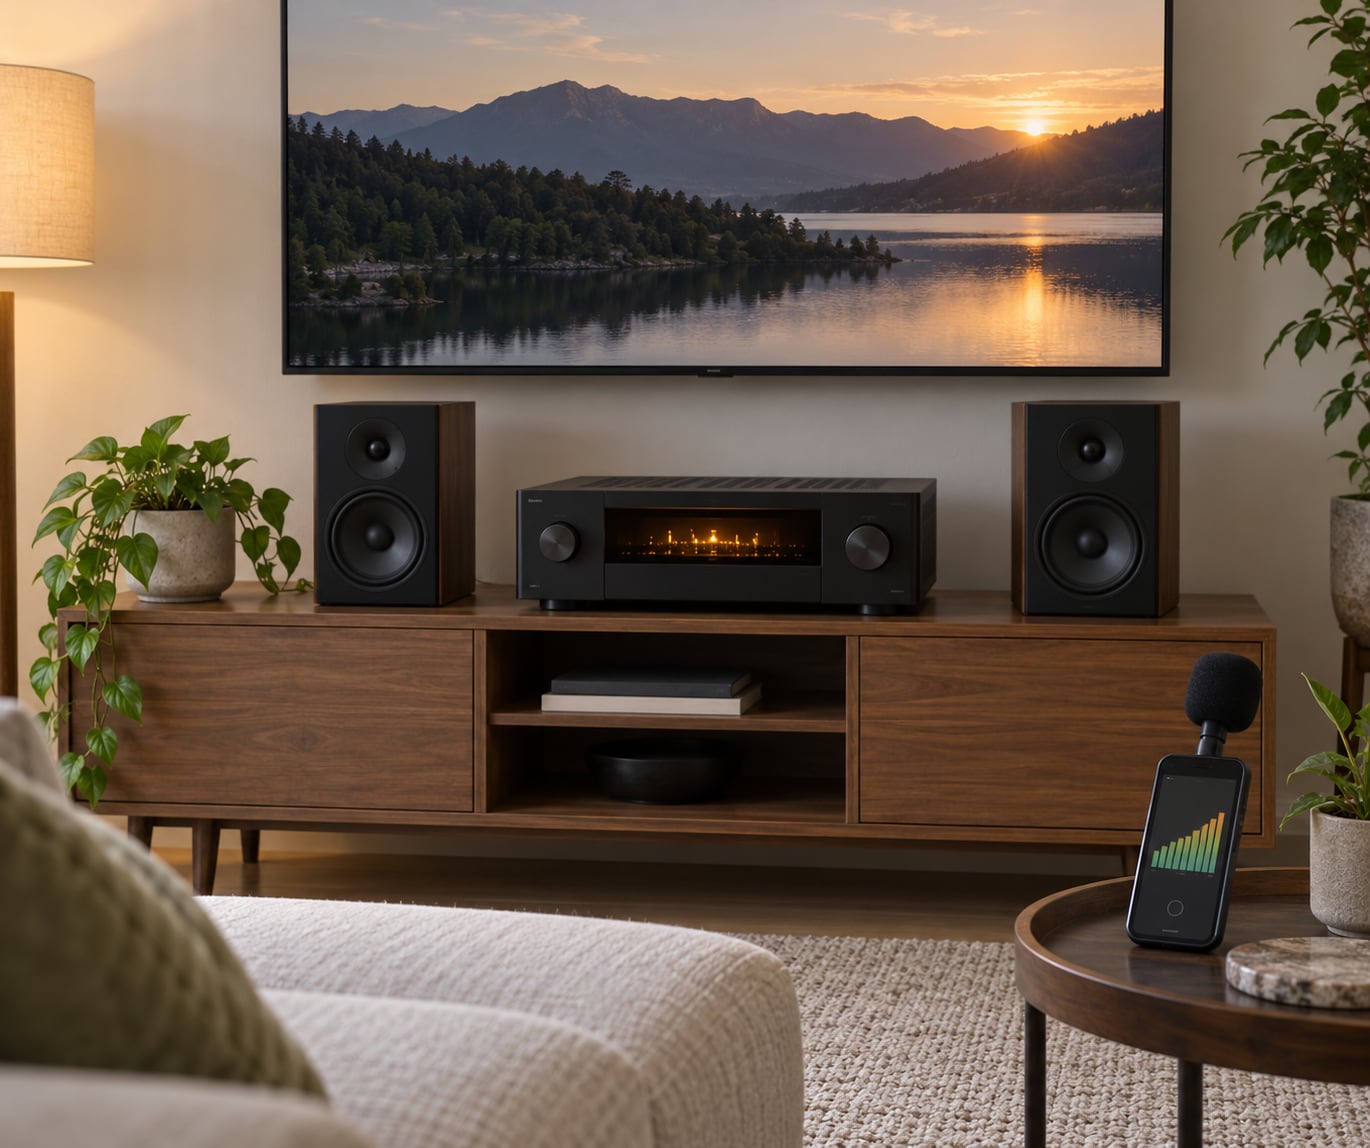
To calibrate speakers for a home theater, you adjust three things on your AV receiver: the level of every channel, the delay applied to each speaker, and the point where bass hands off to the subwoofer. Start with your receiver’s built-in room correction, then confirm the numbers by hand with pink noise and a sound level meter set to C-weighting and slow averaging, aiming for 75 dB at your main seat. The whole process takes 45 to 90 minutes the first time and about 15 minutes for any recalibration after that.
The reason it matters comes down to physics. Speakers from different brands rarely put out identical volume at the same electrical input, and a speaker nine feet away arrives at your ears noticeably later than one three feet away. Uncorrected, dialogue gets buried by louder surrounds, bass appears to move around the room as effects play, and the whole soundstage leans toward whichever channel happens to be loudest. That is why a modest system with sensible settings can beat an expensive one still sitting on factory defaults.
Nobody needs a measurement lab to fix this. What you need is a repeatable process and one honest reference point, which is what the steps below give you.
Table of Contents
- What You Need
- Step-by-Step
- Step 1: Prepare the Room and Choose a Listening Position
- Step 2: Set the Receiver to the Correct Speaker Layout
- Step 3: Establish a Master Volume Reference
- Step 4: Balance the Main Speakers to the Same Level
- Step 5: Adjust the Center Channel for Dialogue
- Step 6: Set Up Surround and Height Speakers
- Step 7: Tune the Subwoofer and Bass Management
- Step 8: Check the Result With Real Content
- Common Mistakes
- When to Use Professional Calibration
- Frequently Asked Questions
- Should I run auto-calibration or set my levels by hand?
- Do I need a sound level meter to calibrate speakers?
- Should I calibrate to 75 dB or the Dolby 79 to 82 dB range?
- What is the 38% rule for speaker placement?
- What is the best free software for calibrating speakers?
- Why does my center channel sound quieter than my surrounds?
- Conclusion
What You Need
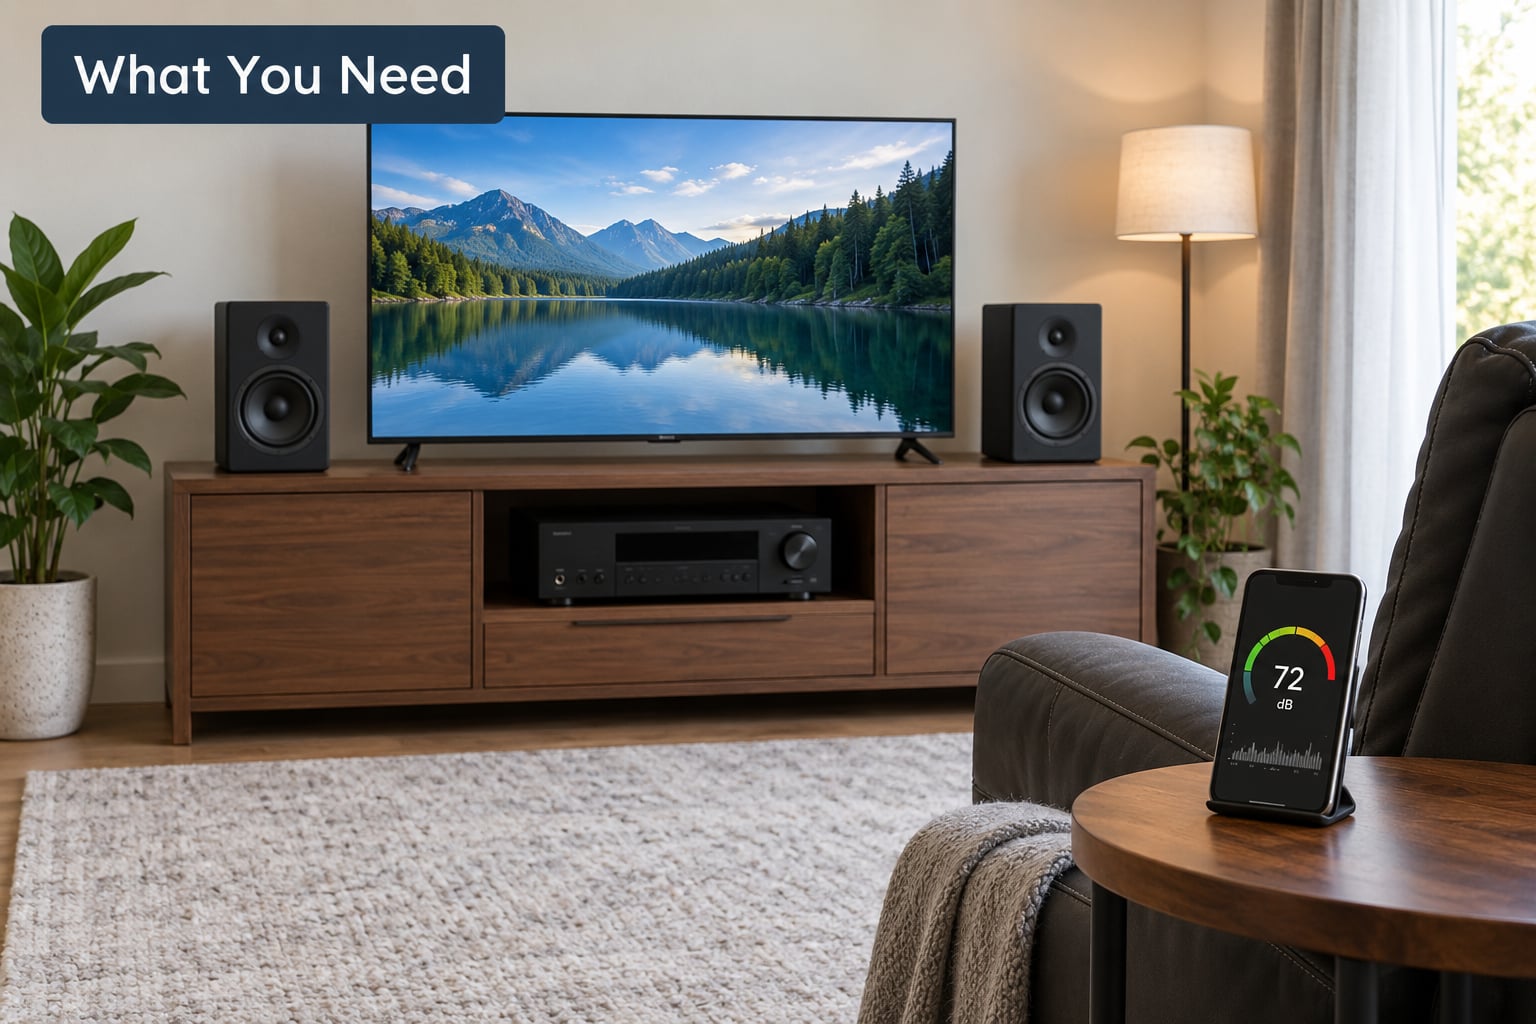
A sound level meter is the one tool that makes this quick, and it does not have to be expensive. The community standard for years was a basic SPL meter with C-weighting and slow averaging, and those are still sold in the low tens of dollars. Anything that reads decibels with those two settings will do the job.
A phone app is a reasonable stand-in when a meter is out of reach. Readers on r/hometheater regularly ask whether to trust one, and the honest answer is that phone meters are uncalibrated and can be off by several decibels in either direction. That error matters less than people think, because what you are really doing is comparing channels to each other at one moment, and the phone reads them the same way. Treat the readings as relative, not absolute.
If you want measurements rather than guesses, Room EQ Wizard is the free software almost everyone in the forums points to. It runs on Windows, Mac and Linux, works with most USB measurement microphones, and produces the frequency response curves you need to place a subwoofer or dial in parametric EQ. A USB measurement microphone is a modest purchase, and paired with free software it covers what most paid room analysis packages do.
If you have no meter and no app at all, the by-ear method still works well enough to keep dialogue clear. Pick the front left speaker as your reference, play a scene with dialogue and ambience, and adjust each other channel in turn until it sounds the same as the reference. Make small moves and wait a few seconds between them, because your ears adapt quickly to whatever they hear last. Then step back, play something you know, and correct whatever now stands out.
Alongside that, you will want the speaker and subwoofer manuals, because crossover ratings and recommended placement live in them. A tape measure or laser distance meter handles the delay settings. And a notebook is worth more than it sounds: write down the trim values you end up with, because you will want them again when you move the couch or swap an amplifier.
Calibration microphones, whether the one bundled with your receiver or a separate USB model, need consistent placement or your readings jump around. Seat the mic at ear height in a stand or on a small tripod, roughly at the tip of your nose, and never leave it resting against a seat back because the upholstery absorbs the top end and skews the measurement. Mark the floor position with tape so every run lands in exactly the same place.
Finally, get your content ready before you start. Two or three scenes you know well, plus something with real dialogue, is enough to check the result at the end. Without reference material, you have nothing to compare the calibrated result against.
Here is what each tool option gives you, so you can take the cheapest route that still does the job:
| Option | What it gives you | Cost |
|---|---|---|
| Receiver room correction (Audyssey, MCACC, YPAO, Dirac Live) | Automatic levels, distances and bass management from the bundled mic | Included with the receiver |
| Phone SPL app | Rough channel-to-channel level comparison | Free or near-free |
| Basic SPL meter | Reliable C-weighted, slow-averaged readings | Low |
| Room EQ Wizard plus a USB measurement mic | Full frequency response sweeps, delay finding and parametric EQ | Software free, mic is a modest purchase |
| Professional calibration visit | Measured per-seat correction and verification against reference | Highest, and varies widely by region |
Start at the top of that list and only move down if something is not working. Auto-calibration first, a basic meter to verify, measurement software if you want to see the actual curves.
Step-by-Step
Step 1: Prepare the Room and Choose a Listening Position
Calibrate from one specific seat, and pick it before you start. Close doors and windows, silence phones, and turn off fans, dehumidifiers and the dishwasher. Background noise below about 40 dB is fine, but a running fridge a few feet from the mic will skew every reading you take.
Sit where you actually watch from, with your head at the height you normally have it. If your main seat is a recliner and you calibrate from an upright position on the sofa three feet away, you have measured a room position that does not exist. Mark the spot with a piece of tape on the floor so you can return to it.
One warning for multi-row rooms: a calibration run from a single seat in the back row will leave the front row unbalanced, and the reverse is also true. There is a fix for that, covered in Step 4, but decide in advance whether you are optimizing for one row or the whole room.
Step 2: Set the Receiver to the Correct Speaker Layout
Before any measurement, tell the receiver what you actually own. Most receivers ship with the microphone stored in a box in the carton and the system set to a generic 5.1 layout, so the first thing to do is confirm the channel assignment matches your speakers, including any surrounds, back surrounds or height speakers you have added.
The same menu holds the settings that matter most, and each one does a specific job:
| Receiver setting | What it does |
|---|---|
| Speaker configuration | Tells the receiver which channels exist and where they are |
| Speaker size (small or large) | Decides which channels get bass management and a low-pass filter |
| Crossover frequency | The frequency where your mains stop producing bass and hand it to the subwoofer |
| Speaker distance | How far each speaker sits from your seat, used to add delay to near speakers |
| Channel level or trim | The per-channel volume balance in decibels |
| Subwoofer level | Output level of the subwoofer channel |
| Phase or LPF | Subwoofer phase angle, and sometimes its own low-pass setting |
| LFE level | Level of the dedicated effects channel in 5.1 and above |
| Dynamic range | Compression applied to dialogue or overall dynamics |
Leave distances, trims and crossover frequencies where they are for now. Run the built-in calibration first, then correct these by hand.
One detail worth understanding rather than copying: sound travels about 1.1 feet per millisecond. So a speaker 10 feet further back than another needs roughly 9 ms of added delay to arrive at your ears alongside it. That is what the distance setting computes. Measure to where your ears are, not to the wall or the back of the couch, and be aware that many subwoofers add 3 to 10 ms of their own processing delay on top of the air delay, which is why the receiver has a separate subwoofer distance or delay field.
Step 3: Establish a Master Volume Reference
This is where people get stuck, and it comes up constantly on forums: the master volume reading during auto-calibration is not your listening level. The receiver sets its own internal volume, measures the result, then returns the volume to where you left it. What matters is only that the reference is repeatable.
Here is the reference this guide uses: pink noise, C-weighting, slow averaging, 75 dB SPL, meter pointed at the ceiling. Seventy-five is a measurement convention, not a volume to watch at. Dolby’s own guidance for commercial reference monitoring sits higher, around 79 to 82 dB, and plenty of home setups end up there too. The forum consensus is that 75 dB is the sensible community default because it sits far enough below the threshold of hearing damage while still staying clear of background noise.
Run the test tone and nudge the master volume until your meter reads 75 dB. Write the volume position down. Never raise it above that for calibration, and do not go back and change it mid-process. If the pink noise starts to feel uncomfortable, turn it down rather than pushing through, because a strained ear biases your later by-ear judgements more than any measurement error will.
Step 4: Balance the Main Speakers to the Same Level
Your front left and front right speakers are the reference pair, because most of the dialogue and nearly all the music in a film comes from them. Everything else gets matched to them.
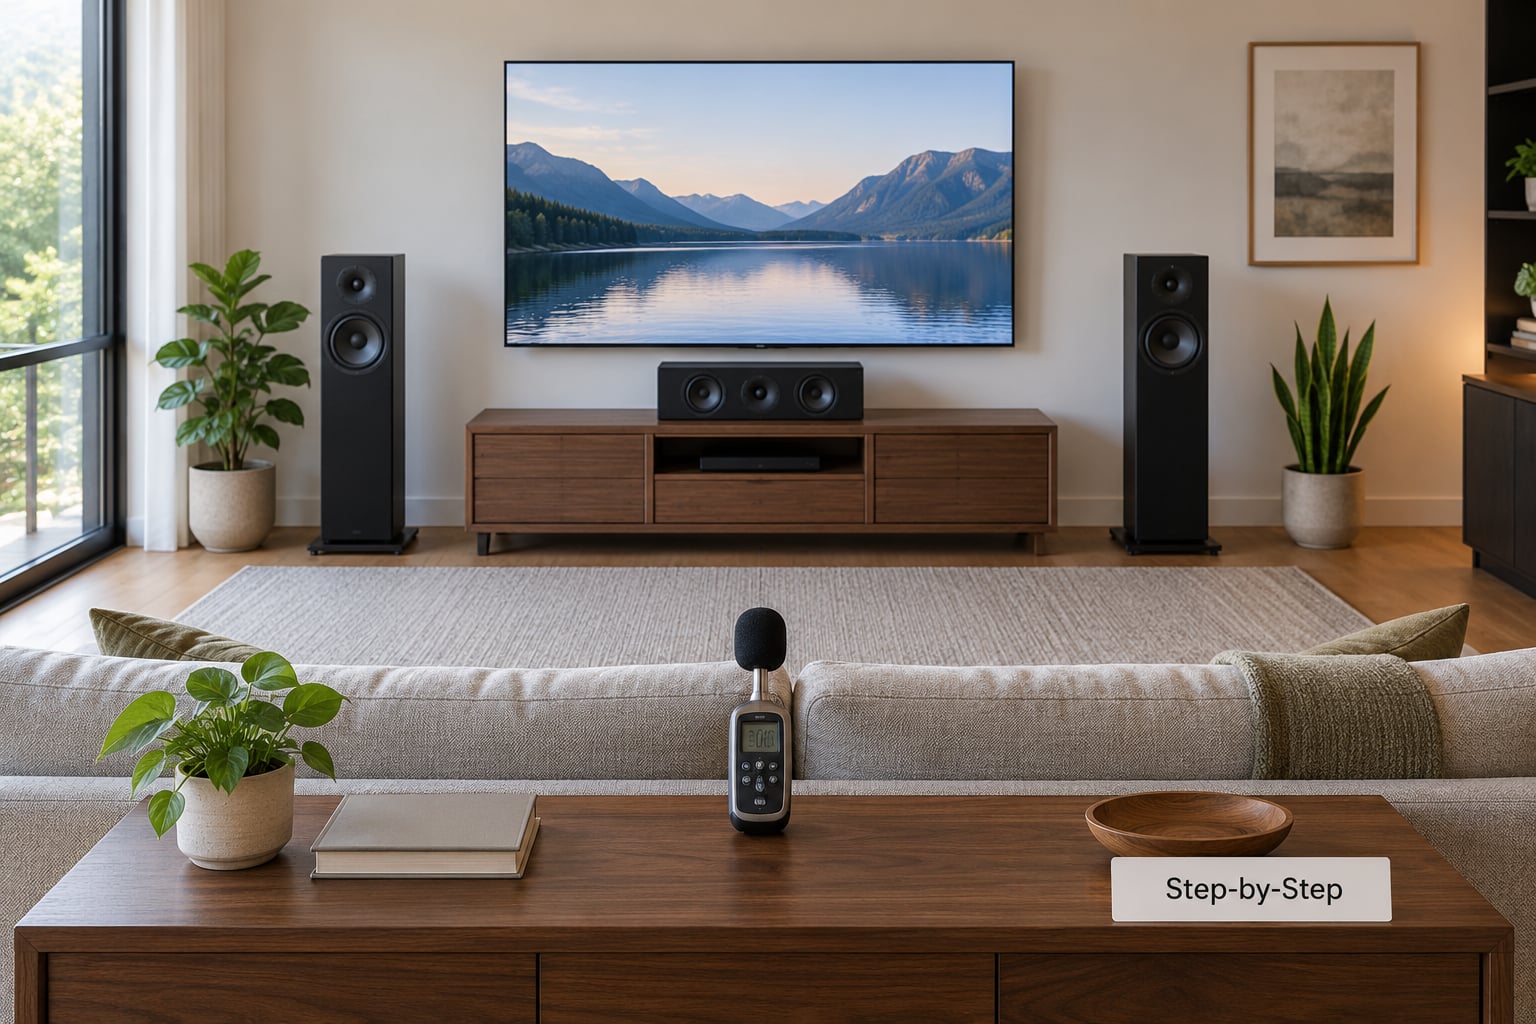
Set the meter to C-weighting, slow averaging, and hold it about a foot above the seat cushion at the position of your ears, tilted toward the ceiling rather than pointed at a speaker. Pink noise arrives one channel at a time. Trim the front right to match the front left, then bring the center in to match, then the surrounds, then the back surrounds and height channels. Half-decibel steps are plenty.
Nothing should read more than a decibel or two off the reference pair. If one channel reads far low, check the wire, the terminal polarity and the speaker’s own level knob before you compensate for it in the receiver.
For rooms with two rows, calibrate at a point between them rather than in either row, then nudge the center up about 1 dB and pull the surrounds down half a decibel to 2 dB. That midpoint compromise keeps every seat within roughly 1.5 dB of the front channels. Bi-pole or di-pole surrounds help a lot here, since they fire energy at the seats rather than past them.
Step 5: Adjust the Center Channel for Dialogue
The center channel carries dialogue and needs to sit at or slightly above the level of the main pair, not below it. If it feels quiet after auto-calibration, this is the knob to fix: add a decibel or two to the center trim and take the same amount off the surrounds.
Test with an actual conversation scene rather than pink noise. Sit in the main seat and check that voices feel anchored to the screen. If they wander left and right while the actors are standing still, that is a delay or distance problem, not a level problem, and you should go back and re-measure the center’s distance to your ears.
One more thing worth checking here: turn off any dynamic range compression that is squashing dialogue, or at least know it is on. Compressed dialogue can mask detail that calibration alone will not restore.
Step 6: Set Up Surround and Height Speakers
Surrounds handle ambient effects, so the right level is the one you notice without noticing. If you can point at the surround during a scene and say which one it was, it is too loud. Match them to the front pair with the same meter and method, and resist the urge to push them, because surrounds that read a decibel or two high will make dialogue sound thin by comparison.
For height speakers in a Dolby Atmos system, treat them like surrounds: same target level, measured the same way. Distance is measured along the actual path sound travels, which for an upward-firing height channel is a longer path than the straight-line floor distance. Receivers that support object-based rendering handle much of this internally, which is another reason to run their correction routine before adjusting manually.
Check your physical angles too. Surrounds sit roughly at 90 degrees from the listening position, or slightly behind it in a 7.1 setup, and height channels aim down at the seats rather than out into the room.
While you are near the speakers, check front placement against the 38% rule: put the front left and right about 38 percent of the room’s length back from the front wall. It is a rough placement guide rather than a calibration rule, and it stops being useful in a small room where the math puts speakers behind your sofa.
Step 7: Tune the Subwoofer and Bass Management
Set the subwoofer level first, then phase. With pink noise playing through the LFE channel, trim the sub until it reads about 3 dB above the reference level. That deliberate offset compensates for the fact that bass is perceived differently at low frequencies and gives you headroom without the whole track sounding bass-heavy.
Then handle phase. Phase and polarity are two controls doing the same job, and most receivers let you set the angle anywhere from 0 to 180 degrees. Your subwoofer also has a physical polarity switch, usually labeled 0 and 180. At the crossover frequency, the sub and the mains have to move air in the same direction, or they cancel each other out and bass drops away as soon as music comes in.
There are two practical ways to get it right. With Room EQ Wizard and a measurement mic, look at the response curve around the crossover and set the phase that produces the highest peak output there, then confirm with a third-octave sweep that you have a deep null where you want one. Without a mic, play pink noise through the subwoofer alone, then switch on pink noise through the mains at the same level, and sweep the phase control from 0 to 180 degrees. Where the combined output is loudest around the crossover is your setting. The polarity switch flips the whole curve by 180 degrees, so it is a coarse version of the same adjustment.
Bass management ties this together. Almost every home theater main speaker should be set to small with bass management on, which low-pass filters them at the crossover and stops them from fighting the sub. Floorstanding speakers that genuinely reach down to the crossover frequency can be set to large, or run large with a slightly higher crossover. A useful rule: set the crossover about 20 Hz above your speaker’s rated low-frequency limit. When in doubt, 80 Hz is the standard starting point, and it is what THX specifies.
For apartments or late-night listening, the LPF setting on your subwoofer or receiver gives you a low-pass ceiling. Rolling it down to 40 Hz or so keeps the sub from waking the neighbours while leaving the mid-bass in the mains, where it belongs.
Step 8: Check the Result With Real Content
Now play material you know. A dialogue-heavy film for the center, a concert or an action scene for the low end and the surrounds. Turn the lights down, since watching changes how the center anchors to the screen, and stay in your main seat rather than walking around.
Change one thing at a time and keep notes. If bass is boomy on every source, drop the sub level or the LFE level a couple of decibels rather than reaching for the subwoofer’s own knob. If the image pulls to one side, the level balance is off, not the placement.
Walk to the back of the room and listen. If the whole thing falls apart off-axis, that is a placement problem rather than a settings problem, and no amount of trimming fixes it.
Finally, save the profile. Most receivers store multiple memory slots, and if you have both a movie profile and a late-night profile, calibrate both and switch between them rather than re-adjusting each time.
Common Mistakes
Most bad results come from a short list of recurring errors. Here is what each symptom usually means and which setting fixes it:
| Symptom | Likely cause | Fix |
|---|---|---|
| Bass is boomy or overwhelming | Subwoofer or LFE level too high | Drop the sub level 2 to 3 dB, or roll the LPF down to 40 Hz |
| Dialogue is hard to follow | Center channel below the main pair, or dynamic range compression on | Add 1 to 2 dB to the center trim, turn compression off |
| Surrounds dominate the scene | Surround trims above the front pair | Pull surrounds down to match, not above |
| Soundstage pulls to one side | Front left and right not matched | Re-measure both with the meter and equalize them |
| Bass disappears once music starts | Subwoofer phase or polarity cancelling the mains | Run the phase sweep and set it where combined output peaks |
| Center sounds thin or reedy | Crossover set too low for the speaker | Raise the crossover about 20 Hz above the rated low limit |
| Speech stays off the screen | Center distance entered incorrectly | Re-measure from the speaker to your ears, not to the wall |
| Results change every time you calibrate | Unstable room noise or shifting microphone position | Remove noise sources, mark the mic position with tape, use a tripod |
Two more habits worth avoiding. Do not measure from different seats on different channels, since that is the fastest way to produce a system nobody in the room enjoys. And do not save your settings before listening to real content, because the meter cannot tell you that dialogue still sounds wrong at low volume.
Recalibrate whenever you move a speaker or subwoofer, change the receiver or amplifier, add height channels, rearrange seating, or swap your main seat. Speaker output also shifts slightly as drivers and enclosures settle over the first month or two of regular use, so a second pass after 30 to 60 days is worthwhile.
When to Use Professional Calibration
App-based and by-hand calibration has a real ceiling. A phone meter reads levels, not frequency response, so it cannot tell you that your room has a 6 dB peak at 45 Hz that will make dialogue sound muddy. Measuring that properly takes a calibrated measurement microphone on a stand, plus software that averages many sweeps to reduce noise.
Professional calibration earns its cost in a few specific situations. A dedicated room with two or more seating rows needs measurements at each seat and a deliberate compromise, which is genuinely hard to do well by hand. Large floorstanding speakers with deep bass in a small room produce modal problems no level trim can fix. And if you have already done the manual process carefully and something still sounds wrong, a measurement will usually reveal the cause in a few minutes.
Sound professionals usually arrive with a measurement rig, take sweeps at each seat, generate a correction filter for your exact layout, and verify the result against a reference. For a high-end system in a treated room, that is worth doing once after everything is in its final position.
The reverse also holds. If you are in an apartment with a soundbar or a modest 5.1 system and a phone app, the manual process in this guide will get you most of the available benefit. Spending on a microphone before spending on the speakers themselves is also a common ordering mistake.
Frequently Asked Questions
Should I run auto-calibration or set my levels by hand?
Run the receiver’s room correction first, then check it by hand. Systems like Audyssey, MCACC and YPAO handle level, delay and bass management quickly and get most of the work right, but results vary between runs and cannot correct placement errors. A manual check of levels, distances and crossover takes about fifteen minutes and confirms what the system actually did.
Do I need a sound level meter to calibrate speakers?
No, but one makes the job far quicker. With a phone app you can compare channels to each other at the same moment, which is what matters most, even though absolute readings may be off by several decibels. Without any meter, use dialogue-heavy content and adjust until each channel sounds the same as the front pair.
Should I calibrate to 75 dB or the Dolby 79 to 82 dB range?
For home listening, 75 dB C-weighted with slow averaging is the usual reference because it is loud enough to be accurate and well below levels that cause hearing damage. Dolby’s 79 to 82 dB guidance targets commercial reference monitoring. Either works if you are consistent, and the exact number matters less than matching every channel to it.
What is the 38% rule for speaker placement?
It is a guide for front speaker distance, not a calibration setting. Place the front left and right speakers so they sit about 38 percent of the room’s length back from the front wall, which usually puts them near an equilateral triangle with your listening position. Ignore it in a small or irregular room where the math pushes speakers into furniture.
What is the best free software for calibrating speakers?
Room EQ Wizard is the standard free option. It runs on Windows, Mac and Linux, drives most USB measurement microphones, and generates the response curves you need for subwoofer placement and parametric EQ. Your receiver’s built-in correction, whether Audyssey, MCACC, YPAO or Dirac Live, is also free once you own the hardware.
Why does my center channel sound quieter than my surrounds?
Most often the center trim still sits where auto-calibration put it while the surrounds were raised later, or the surrounds are simply too loud. Add 1 to 2 dB to the center trim and take the same off the surrounds. If voices still wander off the screen during dialogue, the center’s distance setting is wrong and needs re-measuring.
Conclusion
Start from your main seat with the room quiet and the layout settings correct. Run your receiver’s room correction, then verify by hand with pink noise at 75 dB C-weighted and slow averaging.
From there, work in this order: confirm the front pair matches, bring the center up to or just above it so dialogue sits on the screen, match the surrounds without letting them lead, set the subwoofer level about 3 dB higher, and sweep phase until the sub and mains reinforce each other. Check the result with content you know before you save anything.
Write the numbers down. The next recalibration will take a quarter of the time.