Most boards get ruined on a drum sander in the first ten seconds: the depth of cut is set by machine, not by hand, so a setting that is 1/32 inch too deep takes every board in the stack down with it. Learning how to use a drum sander without ruining wood comes down to four things — flat stock, a light first cut, feeding with the direction the drum turns, and a feed speed you never rush. Budget about an hour for your first session, and spend the first ten minutes of it on a scrap board rather than the walnut you actually want.
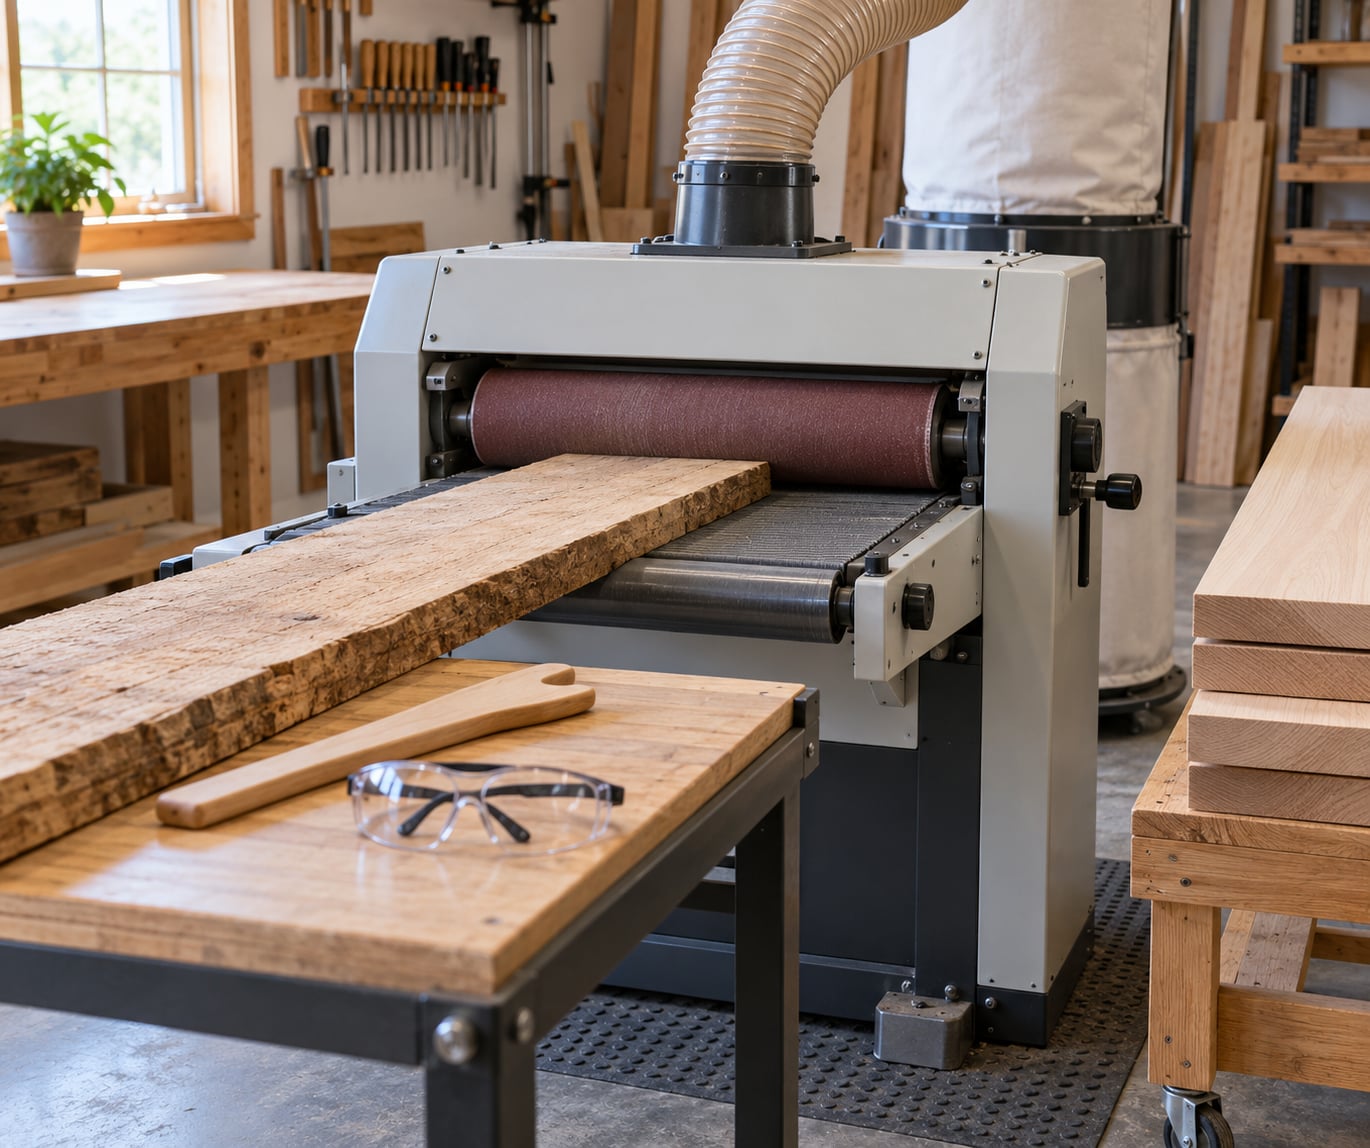
One note before we start: drum sander means two different machines. A shop drum sander is a stationary drum and conveyor used to flatten rough-sawn boards and glue-ups. A drum floor sander is the rental machine that refinishes installed floorboards. The core rules are the same for both, so everything below applies to either.
Table of Contents
- What You Need
- Step-by-Step: How to Use a Drum Sander Without Ruining Wood
- 1. Inspect the machine and prepare the work area
- 2. Choose the right abrasive grit for the job
- 3. Flatten and square the stock before sanding
- 4. Set the drum height and test the feed rate
- 5. Feed boards with the correct face and grain direction
- 6. Sand in controlled passes and check the result
- 7. Clean and maintain the drum sander afterward
- Common Mistakes
- Frequently Asked Questions
- Is a drum sander safe for beginners to use?
- What grit should I start with when drum sanding raw wood?
- Should I feed wood against or with the grain to a drum sander?
- How do I stop a drum sander from burning the wood?
- Can a drum sander fix warped or cupped boards?
- Start With the Scrap Board
What You Need
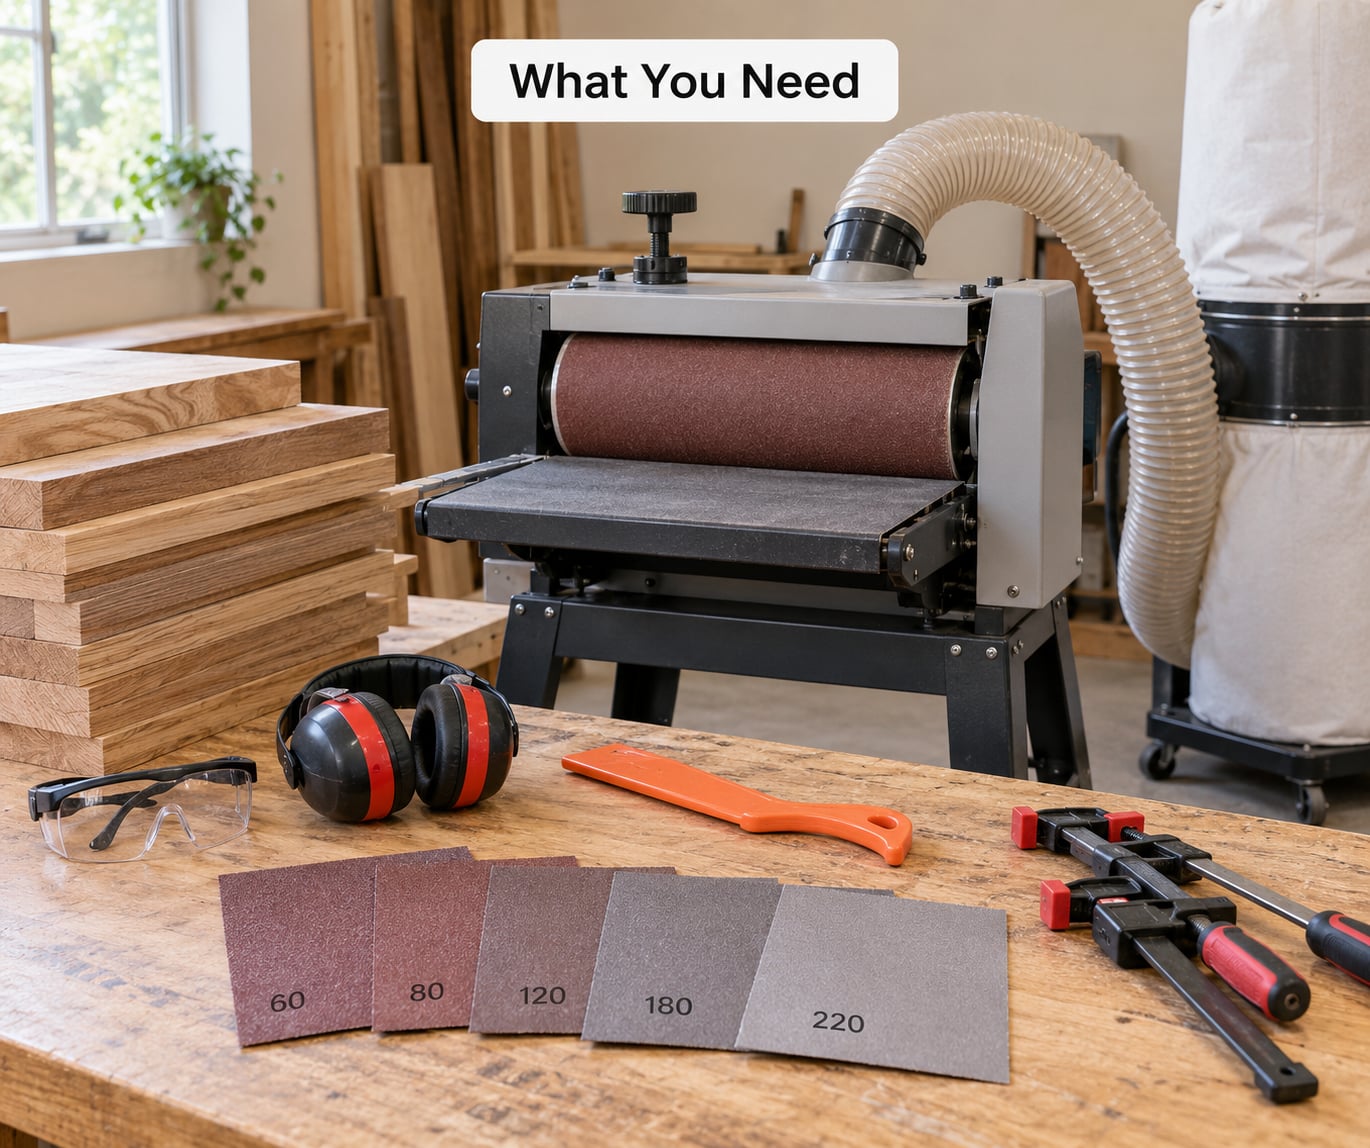
The 1/32 inch first-pass rule is the one number worth memorising, mostly because it is the one people ignore.
Get the machine and the safety gear sorted before any wood comes out of the rack.
- The drum sander itself, sitting level on a stable surface with the manual open beside it. Read the feed direction arrow on the frame before you load anything.
- The right abrasive for the job, cut to drum width and wrapped in the direction of rotation, plus a spare drum of the same grit.
- Clean stock — dry lumber with no metal in it. A nail or a screw will carve a groove straight down the face of every board behind it.
- Measurement tools: a straightedge, a caliper or depth gauge, and a pencil for marking the drum position.
- Dust collection with more capacity than you think you need. Wood dust is combustible, and a drum sander makes a lot of it fast.
- Eye and hearing protection, plus a respirator rated for wood dust if your extraction is shared or uncertain.
- Clamps or supports for anything longer than the machine bed.
- A push device — the infeed table has an integrated pusher on most machines, and your hands should not be the backup.
Follow the machine manual for anything specific to your model, and disconnect power before making any adjustment to the drum, the belt or the height gauge.
Step-by-Step: How to Use a Drum Sander Without Ruining Wood
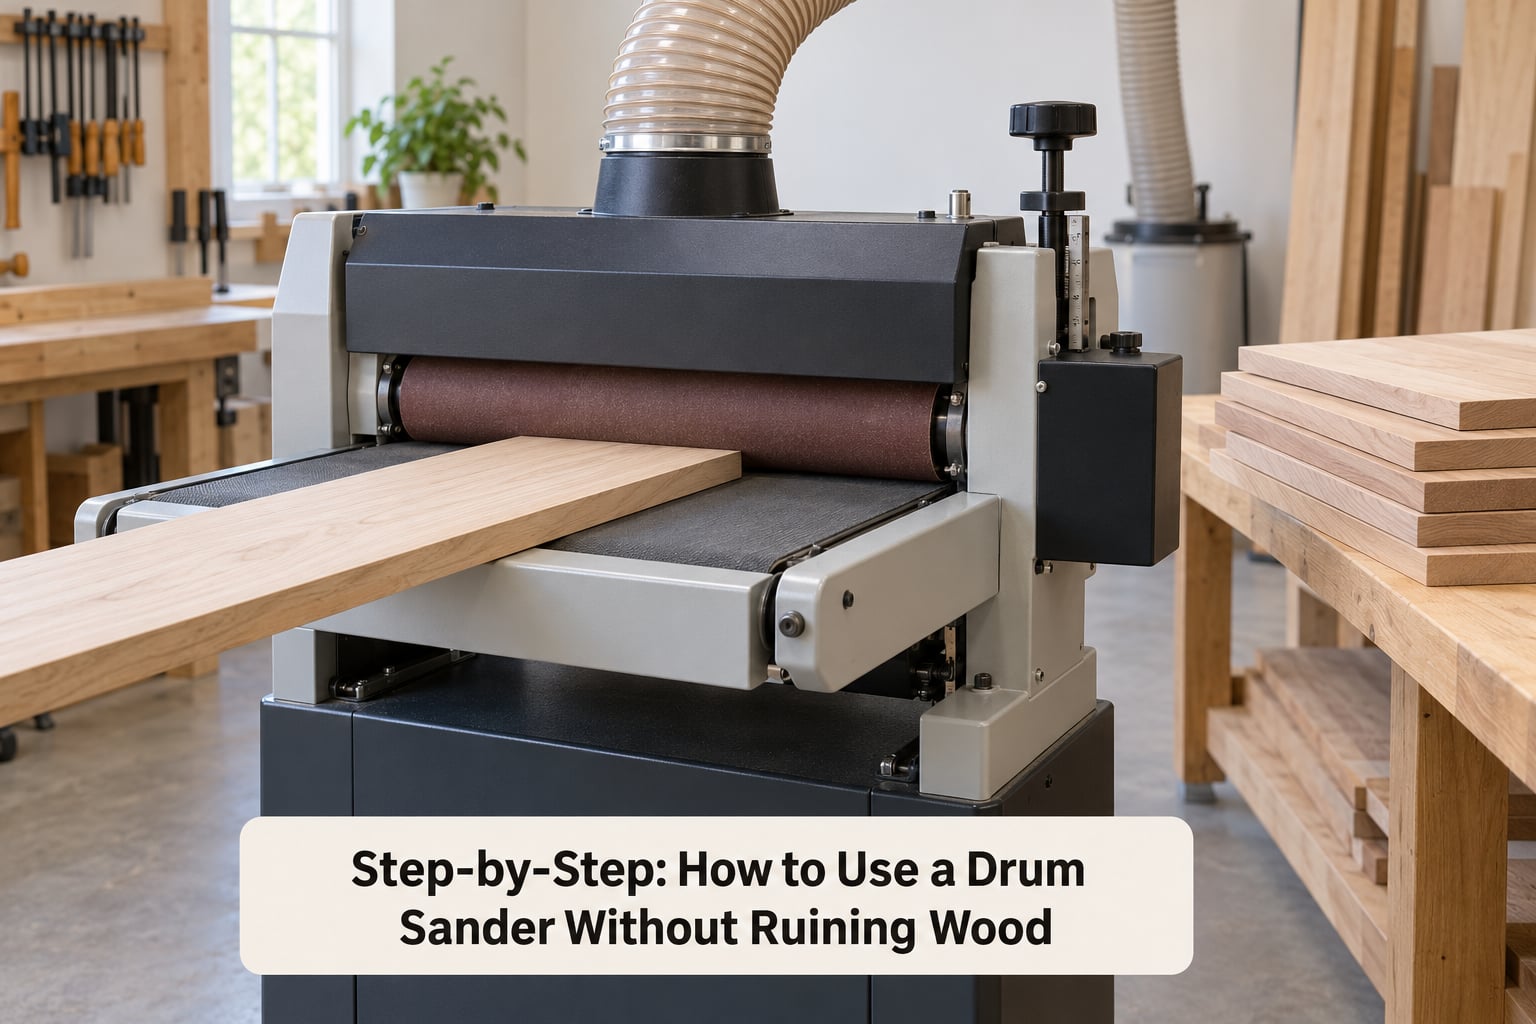
1. Inspect the machine and prepare the work area
Clear everything off the floor around the machine and leave room to walk on both sides without stepping into the feed path.
Run the drum by hand before you power it up. Check belt tension, tracking and drum squaring — a drum that runs out of square leaves ridges you cannot sand out later. Confirm the guards, the emergency stop and the power cord are all sound, and that the dust hose is actually attached before you start.
How you know it worked: the drum turns freely by hand, the emergency stop halts everything, and the belt sits square in the drum’s crown with no wobble when you spin it.
2. Choose the right abrasive grit for the job
Start one grit coarser than the surface looks, not two. Coarse grit on a surface that only needs cleaning is the fastest route to tear-out, heat and lost thickness.
The sequence most boards actually need runs 80, then 120, then 150, finishing at 220 if the surface has to take a clear finish or polish.
| Grit | What it is for | What to look for after the pass |
|---|---|---|
| 80 | First cut on rough-sawn or weathered stock | Scratch pattern is uniform, no tear-out at grain edges |
| 120 | Removing 80-grit scratches, evening the surface | Old scratches fading, surface colour consistent |
| 150 | General finishing on hardwood | No visible ridges under raking light |
| 220 | Pre-finish and pre-polish sanding | Surface takes a water stain or finish without blotching |
Skip a step only if you are confident. Big grit jumps leave scratches that no amount of hand sanding fully removes.
3. Flatten and square the stock before sanding
A drum sander flattens. It does not straighten, square or correct twist, and warped or cupped boards entering the machine will come out uneven at best.
Joint, plane and thickness your stock first if it needs it — especially anything out of square, twisted, cupped or badly warped. If you only have rough-sawn boards and want them flat fast, sand the roughest face first, flip, and sand the second face to a matching thickness. Stock around 10 inches wide or more passes through comfortably; narrower pieces are awkward to keep flat.
How you know it worked: run the jointed face across a straightedge and the gap under the straightedge does not change along the length.
4. Set the drum height and test the feed rate
With the drum stopped, set the height so the first pass takes roughly 1/32 inch or less. That is deliberately light — you can always take a second pass, and you cannot put the wood back.
Mark the setting with a pencil or tape so you can return to exactly the same height, and always confirm the drum has fully stopped before your hand goes anywhere near the height adjustment. Test on a scrap board of similar thickness and species, using the same grit you plan to use.
Calipers beat eyeballing here, and the measurement is the reason nobody has to guess at the setting.
How you know it worked: the test board comes out with a faint, even scratch pattern and no burn on the back face. If it came out warm to the touch or the grain raised up fuzzily, drop the height another 1/64 inch.
5. Feed boards with the correct face and grain direction
Always feed with the direction the drum rotates — the drum should rotate down and toward you at the infeed, so the abrasive travels the same way the workpiece does. Feeding against rotation works the abrasive backwards, invites kickback and lifts tear-out.
You are feeding, not pushing. The conveyor does the work; your job is to keep the board moving with it. Put your best face down against the conveyor, which leaves the face you care about in contact with the drum. Orient the workpiece so the drum turns with the grain where you can.
Support anything that overhangs the bed. Keep your hands on the pusher or off the board entirely, stand to the side of the feed line, and never reach over a running drum.
How you know it worked: the face that came out against the drum is the smoother of the two, and the board travelled through without you leaning on it.
6. Sand in controlled passes and check the result
Let the drum reach full speed before you feed anything. Feed at a steady, unhurried pace — never a rush, never a stall, and never standing still while the drum is engaged.
Stop the machine between passes rather than feeding the same area twice while it is still engaged. Watch for burn marks and darkening, ridges from chatter, fuzz or lifted grain from tear-out, and gouges from stray metal or a loose abrasive seam.
Change grit between passes with the drum stopped, then finish by hand or with a random orbital sander if the surface needs to be finer than the machine gives you. A hand block and a scraper at the end will remove the fine linear scratches drum sanding always leaves behind — plan for that rather than treating it as failure.
How you know it worked: no burn marks, an even colour across the whole face, and scratch lines that are uniform in depth from end to end.
7. Clean and maintain the drum sander afterward
Disconnect power and let the abrasive come to a complete stop before you touch the drum. Wait for the drum to cool too — a drum at speed generates enough heat to scorch and to start a fire in settled dust.
Brush or vacuum loose dust off the drum and out of the drum housing. Look for glazing, which is a shiny polished band where the grit has been burnished flat, and for torn or missing grit at the drum seams. Either one means the next board gets ridged or burned, so change the abrasive before the next session rather than after the next ruined board.
Worth knowing: the abrasive wears fastest right at the contact point, which is why change-outs happen so often on a small shop machine. People who enjoy drum sanding find the change-out takes longer than the sanding did. Keep a spare drum of each grit you use on hand and this stops mattering.
How you know it worked: the drum is clean to the touch, free of loose dust in the housing, and squared in the machine with the belt tension and tracking set.
Common Mistakes
These are the errors that actually destroy boards, with the correction for each.
- Sanding warped or cupped stock. The drum leaves high and low spots because the machine cuts to the drum, not to your board. Joint, plane and thickness it first.
- Taking too deep a first cut. Take 1/32 inch or less on the first pass. A thin panel or a glued-up glue joint can blow straight through in one pass.
- Feeding too fast. Speed is a heat control, not just a productivity control. On soft or resinous species such as pine and cedar, a fast feed is the number one cause of burn marks and darkening — lowering the conveyor speed is the fix.
- Feeding against the drum’s rotation. Check the arrow on the machine frame. Against-rotation feeding lifts grain and risks kickback.
- Standing still while the drum is engaged. Holding a board under a running drum burns a mark you cannot sand out. Keep moving or stop feeding.
- Using a dull or dirty belt. Glazed abrasive gets hot and stops cutting. Brush the drum after each session and change it when the grit turns shiny.
- Forcing material against the drum. Never push the workpiece down into the drum or lift against it. Let the conveyor set the feed rate.
- Failing to support long boards. A board that overhangs the bed will rock. Support it level with the table for its whole length.
- Skipping grit changes. Never jump more than one step. Jumping leaves deep scratches that stay visible under finish.
- A dangerous dust or electrical setup. An unattached dust hose fills the room, obscures the work and turns settled dust into a fire load. Check the cord, extension lead and grounding before every session.
- Feeding end grain, knots and resin pockets carelessly. End grain can blow out, and soft knots crush and tear. Sand those areas last, from a light touch, at a finer grit.
- Using a drum sander at all for the wrong job. Some experienced builders argue against them entirely, and they have a point. A wide belt sander handles small, awkward and figured pieces far better; a random orbital sander is gentler on faces and edges. Neither can flatten a wide board the way a drum can. If your project is mostly thin stock and cutoffs, you want the other machines.
Figured and ribbon-striped hardwoods such as curly maple are the hardest case. Drum sanders are built to flatten wide stock, not to handle figure, and tear-out on those species is common. Test the piece at a coarse grit and stop immediately if the grain lifts.
MDF and plywood are kinder to feed than to finish. They sand evenly and very fast, then they edge-chip on any grain you break off.
Frequently Asked Questions
Is a drum sander safe for beginners to use?
Yes, provided the machine has guards, a working emergency stop and sound belt tracking, and you treat the first pass as practice. Run a scrap board of similar thickness through before your real stock, keep the first cut at 1/32 inch or less, and let the drum reach full speed. Beginners cause most damage by feeding too fast or too deep, not by mishandling the controls.
What grit should I start with when drum sanding raw wood?
Start at 80 grit for rough-sawn or weathered lumber, then work through 120, 150 and 220 if the surface needs to be fine. If the board is already planed and only needs cleaning, start at 120 instead. Never jump more than one grit step, because the scratches left behind a skipped step stay visible under finish.
Should I feed wood against or with the grain to a drum sander?
Feed with the grain and with the direction the drum rotates, which on most machines means the abrasive turns down and toward you at the infeed. The face you feed against comes out smoother. Feeding against rotation works the abrasive backwards, lifts grain into tear-out and raises the risk of kickback.
How do I stop a drum sander from burning the wood?
Slow the conveyor down, lighten the depth of cut, and change the abrasive if it is glazed or dull. Burns show up mostly on soft, resinous species such as pine, cedar and Douglas fir, and also when the board sits still under a running drum. Keep moving, keep the extraction running and check the back face after the first pass.
Can a drum sander fix warped or cupped boards?
Only the cupping, and only partially. The drum cuts to its own set height, so a twisted or out-of-square board comes out uneven rather than corrected. Joint, plane and thickness warped stock first, then use the drum sander to take it to a consistent thickness. For twisted boards, work from both faces in alternating passes.
Start With the Scrap Board
The single thing that protects your wood is the first ten minutes. Check that the drum is square and the belt tracks properly, set the height for no more than 1/32 inch, and take one light pass through a scrap of the same species and thickness you are about to sand. Look at it, touch it, decide if it is right — then change the grit as needed and repeat on the real stock. Take a light first cut, feed with the drum, keep the conveyor slow, and clean the drum before you leave it.