Most garage woodshops fail the same way: the machines arrive before anyone measures the bay, and a year later half of them are stacked against the door with no room to use them. Learning how to set up a small woodshop in a garage starts with mapping the space, not buying tools.
The honest version of this plan takes a weekend. Measure the bay, decide what the car gives up, build a solid work surface, collect dust at the source, and confirm your circuits can handle the tools before you switch anything on. Most people can be cutting safely within two days.
Table of Contents
- What You Need
- Step-by-Step: Setting Up a Small Garage Woodshop
- 1. Measure the Garage and Plan the Work Zones
- 2. Clear and Prepare the Garage Floor
- 3. Choose a Stable Workbench and Storage System
- 4. Position the Main Machines Safely
- 5. Set Up Lighting and Electrical Power
- 6. Install Dust and Ventilation Controls
- 7. Add Fire Protection and Shop Safety Supplies
- 8. Organize Tools and Complete a Test Run
- A Few Details That Decide Whether You Keep the Shop
- Handling Lumber in an Unconditioned Garage
- Noise, Neighbors, and Rules
- Sheet Goods and Long Stock
- Common Mistakes
- Frequently Asked Questions
- How small can a garage woodshop be?
- Do I need a dust collector for a small garage shop?
- What tools should a beginner buy first?
- How much electricity does a garage woodshop need?
- Should I insulate and heat the garage before setting up a shop?
- Can I keep my car in the same bay as the woodshop?
- How to Set Up a Small Woodshop in a Garage: What to Do First
What You Need
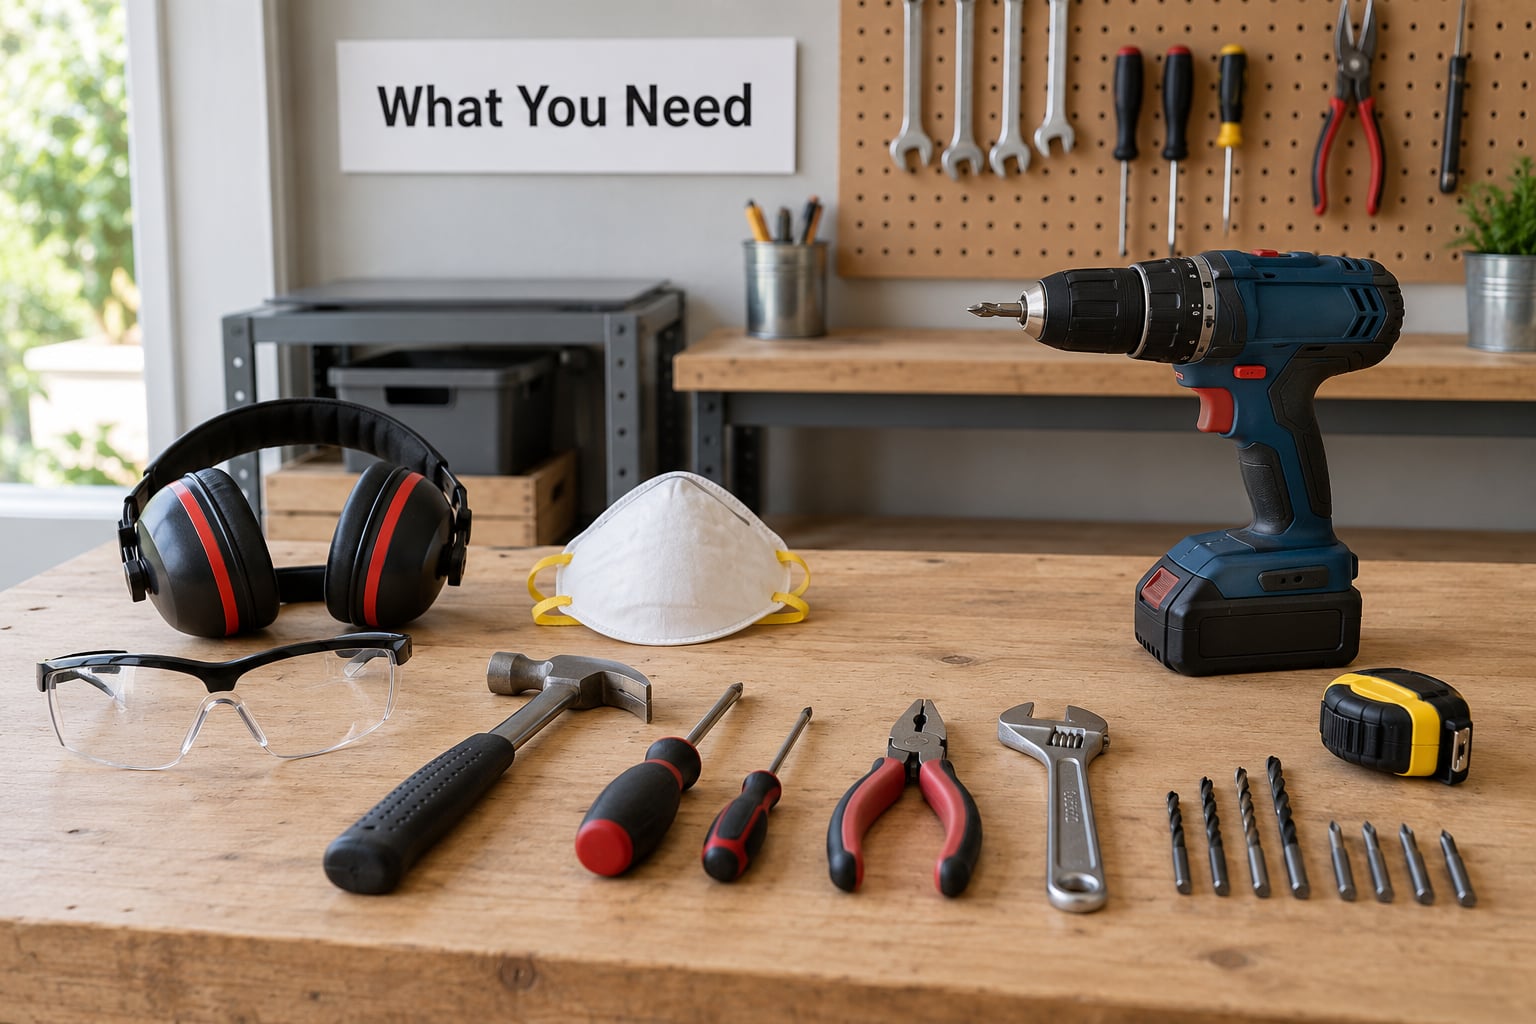
None of this needs to arrive on day one. Buy in the order below and you will not end up with a shop full of machines and no way to hold a board steady.
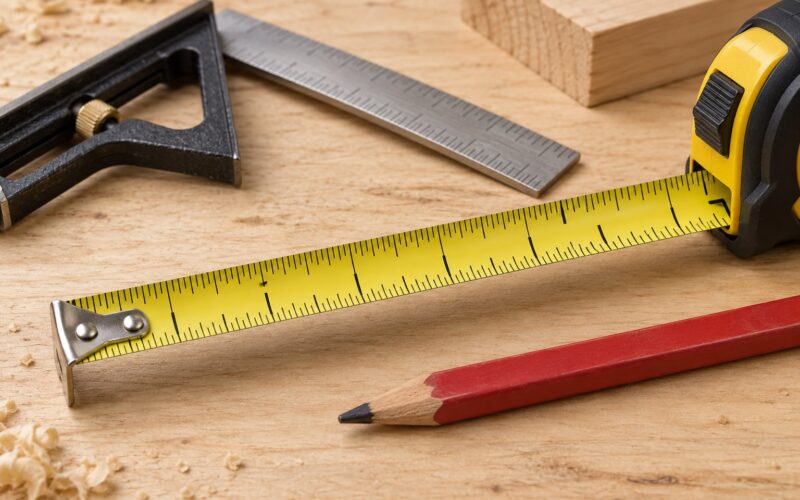
- Measuring and planning: tape measure, painter’s tape for marking the floor layout, a notepad, and a cheap laser or stud finder. A roll of floor paper makes it easy to sketch the zone plan at true scale before anything heavy goes down.
- Work surface: a sturdy bench or workbench rated for the weight of your heaviest project. If you buy nothing else first, buy this.
- Workholding: clamps, a clamp rack, a bench hook or dog holes, and a square. Beginners routinely skip workholding, then wonder why their first cuts are inconsistent.
- Hand and portable power tools: a cordless drill, a driver, a random orbit sander, a circular saw, a jigsaw, and a few chisels. These live in a rolling cart and never tie up floor space.
- Stationary machines: a miter saw on a stand and a table saw only once the bay has room for their infeed and outfeed clearance. A thickness planer, jointer, drill press, or bandsaw can wait years.
- Safety equipment: safety glasses, hearing protection, a dust mask or correctly fitted respirator for dusty operations, a push stick, and gloves for handling rough lumber rather than spinning parts.
- Dust control: a shop vacuum with a flexible hose, a drum-style collector or a compact extractor with a filter, and airtight or close-fitting hose connections.
- Lighting and power: LED shop lights or high-output task lighting, heavy-gauge extension cords rated for the load, and GFCI protection on every receptacle in the bay.
- Floor and prep supplies: a broom, a shop degreaser, plywood or foam floor matting under machine footprints, and wall anchors or screws that bite into framing studs.
- Fire and first aid: an ABC-rated fire extinguisher, a small first aid kit, a metal container for oily rags, and storage for finishes that keeps them off the floor and away from ignition sources.
Step-by-Step: Setting Up a Small Garage Woodshop
1. Measure the Garage and Plan the Work Zones
Start with a tape measure and a pencil, not a shopping cart. Record the bay width and depth, ceiling height, the swing and travel of the garage door, every window, the location of each outlet and any wall vent, and where the electrical panel and appliance shutoffs sit.
A single-bay garage typically gives you 12 by 20 feet, a two-car bay 20 by 20. Once you subtract the vehicle, the door swing, and a workable aisle, a one-car bay often leaves under 120 square feet of usable shop. That is enough for a bench and a miter saw station, and it is not enough for three stationary machines at working height.
Tape the zones on the floor before you commit. A workable garage workshop layout needs a cutting zone with infeed and outfeed clearance, an assembly zone next to the bench, a lumber and sheet goods storage wall, and a finishing area you can separate from the rest. Keep the path from the garage door to the panel clear at all times.
Stand in the taped zones and reach for the tools you would use most. If you cannot stand comfortably at the table saw without stepping into the aisle, the layout is wrong.
2. Clear and Prepare the Garage Floor
Empty the bay completely for the first cleanup. Everything in a typical garage competes for the same floor, and leftover bikes, lawn gear, and storage bins are the reason people abandon a shop six months in.
Sweep, then mop with a degreaser, and look for oil spots and rust trails. Check the slab for cracks and heaving, and note where water pools after rain. Patching a wide crack or addressing drainage is worth doing before machines, not after.
Protect the concrete under anything heavy or stationary. Plywood sheets, foam matting, and a rubber mat under the table saw and miter saw stand keep oil and coolant off the slab and give you a surface to clamp to. A dust collection system also wants something rigid to sit on, and many collectors do not roll well once they are full.
Watch for moisture and pests before you load the walls with lumber. A dry bay matters more than a heated one, and it is a lot cheaper to fix a gutter or a failed seal than to fight mold later.
3. Choose a Stable Workbench and Storage System
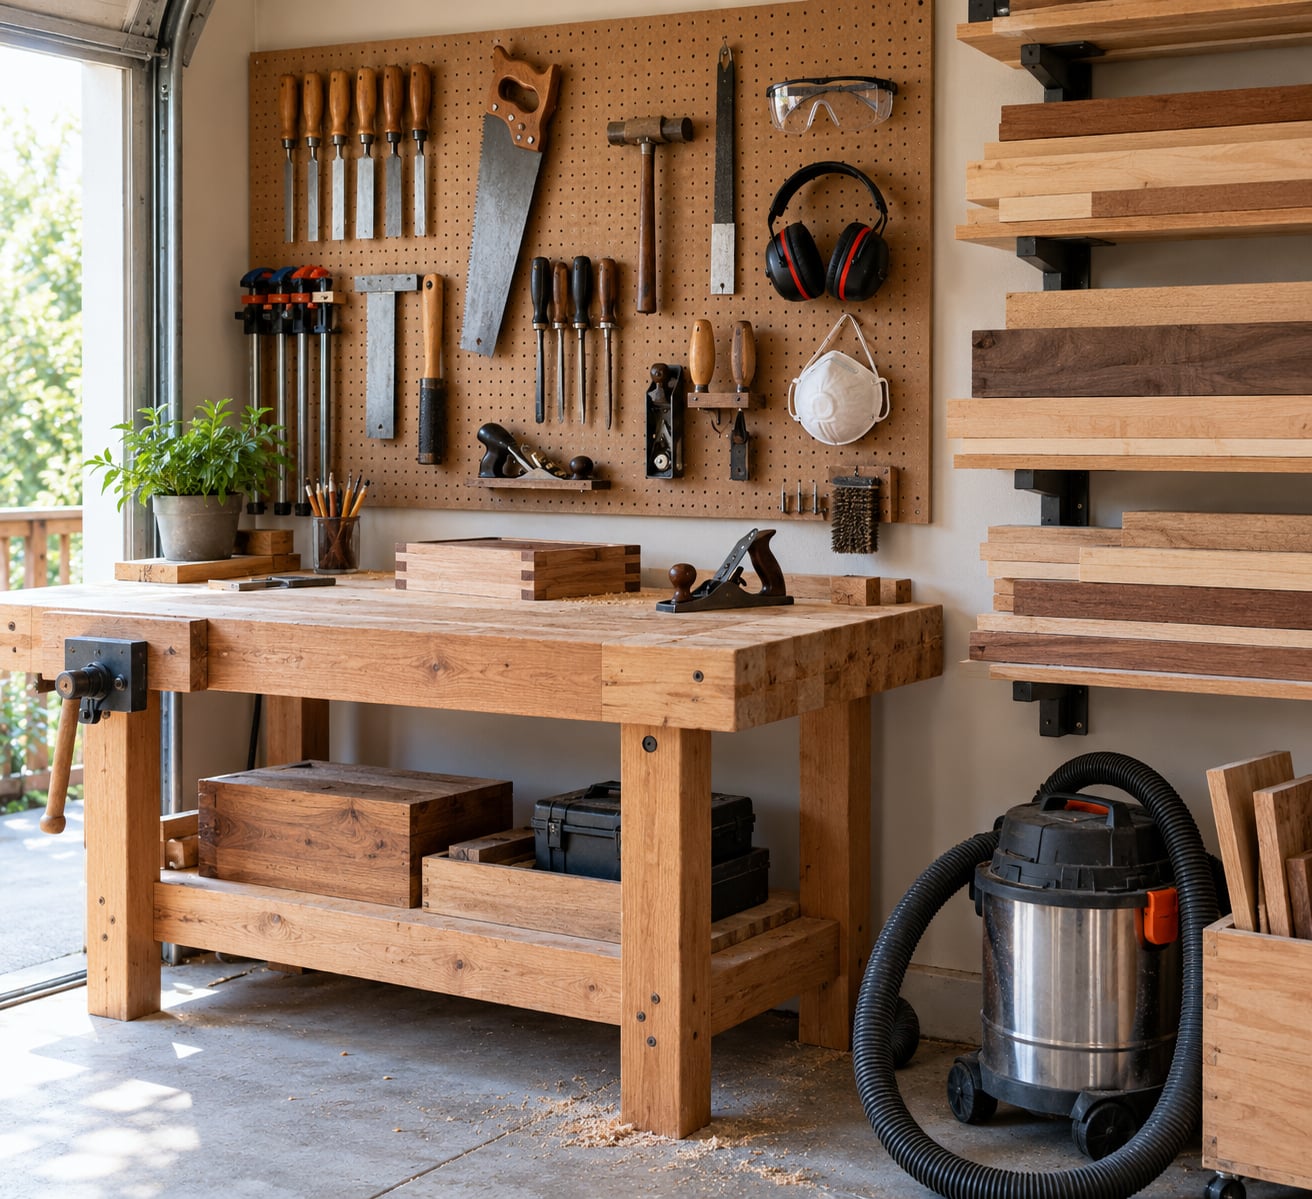
A garage shop lives or dies on a bench that does not wobble. Bench height matters more than people expect, and somewhere around 34 to 38 inches suits most people for general assembly work. If your bench feels too high or too low for clamping, your shoulders will tell you within an hour.
Look for a top thick enough not to rack, enough leg clearance to get your knees under it, and a lower shelf or drawer bank for clamps and hand tools. In a one-car bay, a folding or rolling bench that folds against the wall is often the difference between a shop and a crowded corner.
For storage, French cleat strips screwed into studs give you cheap, invisible wall space for hand tools and clamps. Shallow shelves near eye level handle boxes of screws and glue. A lumber rack rated for the load keeps boards off the floor and away from damp walls. Put an offcut bin near the cutting zone, because scrap you can see is scrap you will reuse.
Test the storage by asking one question: can I hand this tool back in the dark? If the answer is yes, the system works.
4. Position the Main Machines Safely
Machines need room around them that most first-time plans forget. A table saw needs clearance for the infeed before the cut and the outfeed after it, and an 8-foot sheet of plywood needs a straight run in front of the saw plus support behind it.
Set the miter saw station in a corner on a stand, with a back panel of plywood so you are not cutting toward the garage door. Put the table saw against a wall with the operator standing in open floor space, never in a tight corner where you cannot step back to catch a kicked workpiece.
Give every machine a parked position and a mobile base with load-rated locking casters. Rolling equipment is the single most repeated recommendation on woodworking forums, and for good reason: a shop you can roll up in ten minutes is a shop you actually keep using. Lock the casters before operating anything.
Wall-mount the smaller machines you can, with the fasteners going into studs rather than drywall anchors. A miter saw or a sander bolted to a wall stud does not move when it should not.
Connect dust hoses while the machine is still in place. Running a 4-inch hose across an aisle is a trip hazard every single time you use it.
5. Set Up Lighting and Electrical Power
Garage ceilings are usually bare bulbs and a lot of shadow, and you will work with bad light if you leave them. Overhead LED shop lights are cheap to install and remove eye strain immediately. Add clamp-on task lighting over the bench and the miter saw, aimed at the work rather than into your eyes.
Every receptacle in a garage should have GFCI protection, which handles current imbalance and damp conditions that a workshop will inevitably create. Test each one with a GFCI tester button after you install it.
Know your circuits. Running a table saw and a dust collector on one undersized circuit is the standard reason people trip breakers mid-cut. If your tools share a circuit and the breaker trips, that is a signal to have a licensed electrician add a dedicated circuit, not to reach for a longer extension cord.
Use heavy-gauge extension cords rated for the load, and never daisy-chain them or run them under mats or doorways. Any new circuit, subpanel, or modification belongs with a licensed electrician, and the same goes for anything structural while you are clearing the bay.
6. Install Dust and Ventilation Controls
Dust is the thing that decides whether you still want a shop in six months. Fine hardwood dust travels through an interior door into the house, settles on everything, and settles into your lungs.
For a small shop, a shop vacuum with a flexible hose handles a random orbit sander and most cleanup. It is the cheapest effective answer and it also doubles as your wet cleanup tool. If you add a collector or extractor, match its airflow to the port diameter of your machines and use the shortest hose run you can, because airflow drops sharply with length and every extra elbow costs more.
Point-of-source capture beats a central system in a small bay. A hose clamped to a sander port or a shop hood over the table saw catches most of the debris before it becomes air. Seal gaps with foam tape or soft brush skirting where the hose meets the port, because a leaky connection loses a surprising share of the suction.
Ventilation is separate from collection, and you need both. A garage exhaust fan or a run to a window moves air; a respirator protects you when the air is still dusty. Run sanding and dusty cutting with the fan on, keep the garage door open in dry weather, and add a door sweep or threshold seal so dust does not walk into the house. OSHA and NIOSH both treat wood dust as a respiratory hazard worth taking seriously.
7. Add Fire Protection and Shop Safety Supplies
Collected wood dust is combustible. A dust collector can build static charge that ignites when it settles near a motor or a light fixture, and people have lost whole shops to it.
Keep the collector and its bag away from heat sources, bond flexible hose where the manual specifies, and clean the filter rather than letting it choke down into a low-flow fire risk. Grounding and bonding matter more in a damp garage, not less.
Put an ABC-rated extinguisher near the exit, not next to the machine that might catch fire. Show everyone in the household where it hangs and how to use it, and check the pressure gauge twice a year.
Oily rags go in a self-closing metal container outdoors, never in a trash bag in the corner. Store finishes and solvents on a low shelf away from the saw and any heater, with the original lids on. Keep a first aid kit near the extinguisher, and keep the panel, the appliance shutoffs, and the door swing clear at all times.
8. Organize Tools and Complete a Test Run
Give every handheld tool a home on the wall or in the cart. Drills, batteries, chargers, and cords stop competing for shelf space the moment they have a designated spot, and beginners notice the difference after one session.
Group things by job rather than by brand. Sanders and abrasives together, clamps on a rack, blades in a caddy, screws and fasteners in labeled bins, and one rolling cart for the tools that move around. Beginners on woodworking forums repeatedly ask what to buy first, and the honest answer is workholding and cleanup, not another machine.
Now run the test: start every tool one at a time and then together, check the dust system under real airflow, confirm the GFCI protection trips correctly, and make sure you can walk from the door to the panel without tripping on a hose or a cord.
Time the reset. A five-minute end-of-session routine, sweeping the floor, wiping the tops, returning tools to the cart, and rolling machines back to their parked positions, is what separates a working shop from one that collapses back into garage storage. If your reset takes twenty minutes, your layout is wrong.
A Few Details That Decide Whether You Keep the Shop
Three things sit outside the basic setup sequence and cause most of the trouble later: how your lumber behaves, how the shop sounds, and how you get a full sheet of plywood through the door.
Handling Lumber in an Unconditioned Garage
Temperature swings move wood, and a shop you only use in summer will see its lumber check and split by winter. Store lumber off the concrete, spaced so air moves on all sides, and acclimatize new boards flat for a week or two before milling them.
A simple hygrometer pinned to the wall tells you more than guessing. If you work year-round, insulating the walls and adding a quiet unit heater or a ducted mini-split makes the difference between glue that sets properly and joints that fail in February.
Noise, Neighbors, and Rules
A table saw and a dust collector are loud neighbors. Check whether your municipality or your HOA has rules about power tools, and agree on operating hours with anyone who lives next door. Anti-fatigue mats, well-maintained blades, and soft-close doors cut noise more than most people expect.
Check with your insurer before you commit. Some carriers want to know about a workshop, and adding one later is more awkward than asking now.
Sheet Goods and Long Stock
Standard garage doors are around 7 feet tall, and a full sheet of plywood is 4 by 8 feet. It can go through a 7-foot opening turned on edge, but only if you have clear floor space to rotate it. Decide early where sheet goods stand on edge, because that single decision shapes the whole layout.
Common Mistakes
Buying machines first. Most regret in these threads comes from buying a table saw for a bay that cannot hold its infeed and outfeed clearance. Start from the projects you want to build and the space you have, which is the advice r/woodworking users give beginners more than anything else.
Planning machines before workflow. Machines get placed where they fit rather than where the work flows. Cut, then assemble, then clean up, in that order along one path, and the shop gets smaller but works better.
Skipping dust collection. No collector, or a shop vacuum with a cracked hose and no filter, puts fine dust everywhere. Buy cleanup capacity early even if the dust collector comes later.
Running tools on shared or undersized circuits. Daisy-chained extension cords and three tools on one circuit are the classic setup for a trip mid-cut. Have an electrician add the circuit.
Working in bad light. One ceiling bulb means leaning over the work and guessing at the cut line. Two LED shop lights and a clamp lamp change how accurate you are.
Storing lumber against damp walls or the slab. It picks up moisture, it goes soft at the ends, and mold follows. Use a rated rack with air space on all sides.
Letting the shop sprawl into the house. Dust follows people, shoes, and the vacuum hose. A door sweep and a mat at the interior threshold save more arguments than any filter.
Frequently Asked Questions
How small can a garage woodshop be?
A bay of about 120 square feet of clear floor is enough for a real shop: one bench, a miter saw station, a rolling tool cart, and wall storage. That usually means a one-car bay with the vehicle elsewhere. Below roughly 80 square feet you are better off with hand tools and a folding bench than with stationary machines, because clearance around the work stops being workable.
Do I need a dust collector for a small garage shop?
Not on day one. A shop vacuum with a flexible hose handles a sander and most sweeping, and it is the cheapest thing that improves a small shop. Add a collector or extractor when you own a machine that makes enough airborne dust to notice, and match its airflow to your hose diameter rather than buying the biggest one available.
What tools should a beginner buy first?
Buy a solid workbench, a full set of clamps, a square, and safety glasses before any stationary machine. Then add a cordless drill, a random orbit sander, and a circular saw. Many beginners buy a table saw first and still struggle because they lack workholding, cleanup, or a place to put the thing.
How much electricity does a garage woodshop need?
Handheld tools run fine on standard circuits. Stationary machines are the problem, and the answer is dedicated circuits so the table saw does not share a load with the dust collector. Every garage receptacle should have GFCI protection. New circuits or a subpanel should be installed by a licensed electrician, not by the shop owner.
Should I insulate and heat the garage before setting up a shop?
No. Set up a workable shop first and treat insulation as a comfort project later. The exception is climate-sensitive work such as gluing and finishing, which go wrong in cold or humid conditions. If you plan to work year-round, insulated walls and a quiet heater are worth it once the layout is settled.
Can I keep my car in the same bay as the woodshop?
Yes, if everything that moves sits on a mobile base with locking casters. Roll the machines to a parking wall, park the cart under a bench, and you get the bay back in about ten minutes. Losing vehicle storage is the most common regret people report, so decide deliberately whether you are giving that up.
How to Set Up a Small Woodshop in a Garage: What to Do First
Measure the bay and tape the zones on the floor. That single weekend of measuring decides whether everything after it works.
Then, in order: clear and clean the floor, set up a bench that does not wobble, add two bright lights, get cleanup capacity in place with a shop vacuum, and bring in handheld tools with proper workholding. Only when the bay runs smoothly should a table saw or a dust collector join the shop.
Everything else, from mobile bases to finishing areas, is refinement. Get the layout right first and the rest of the shop has somewhere to go.