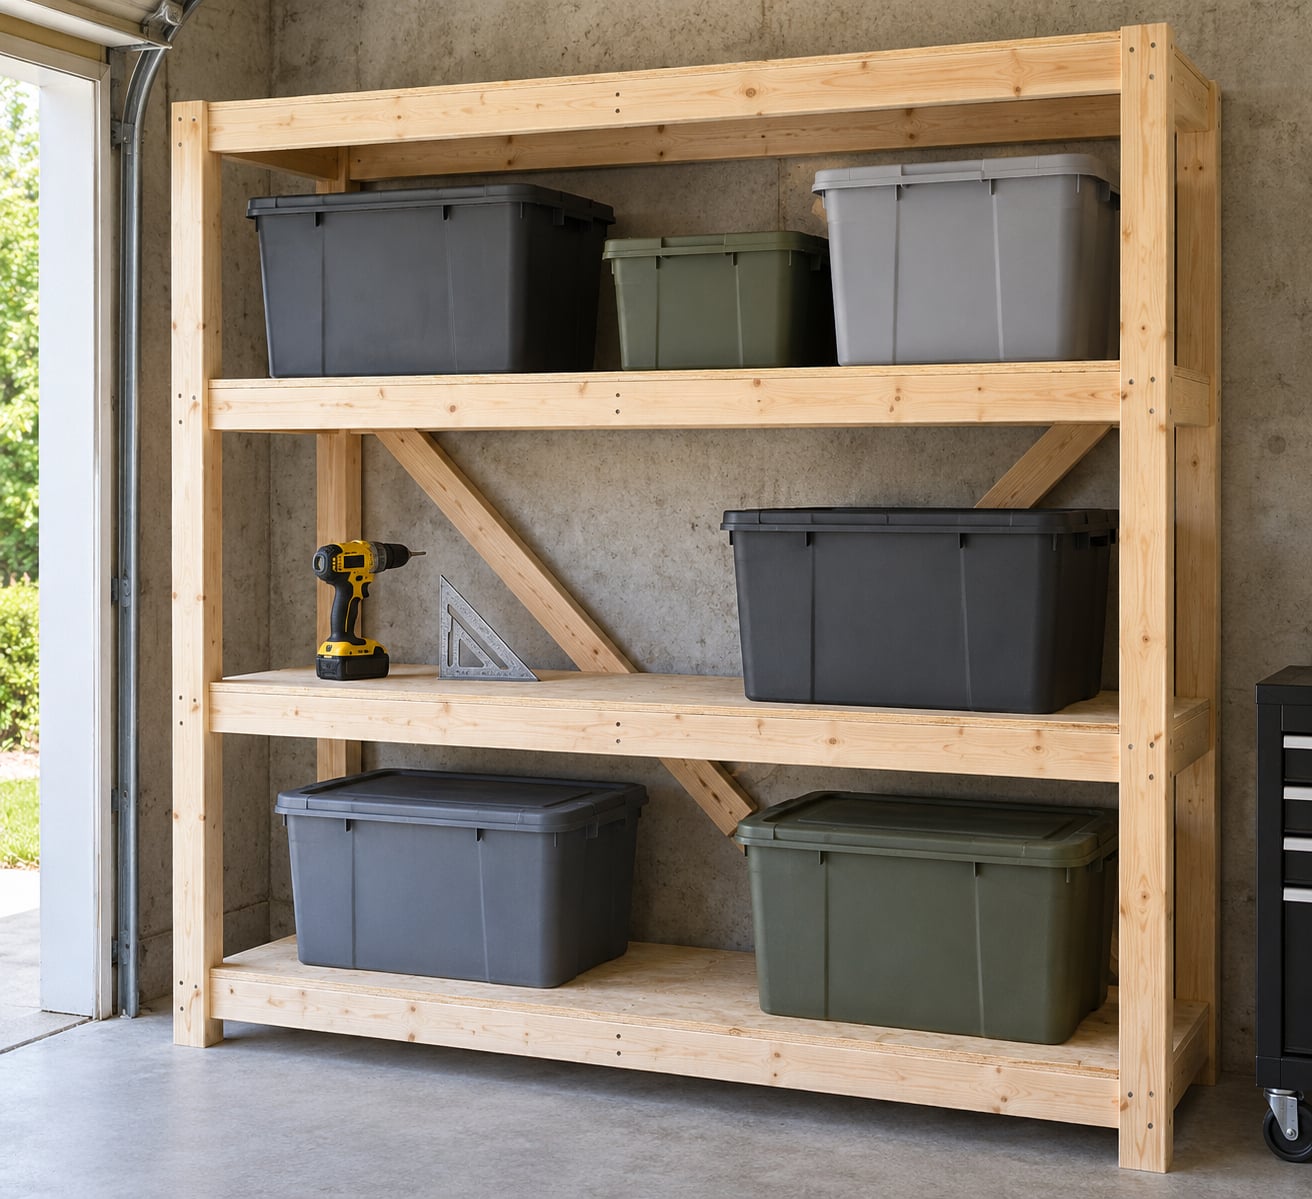
How to build garage shelving that holds weight comes down to three things: a deck thick enough for the span, supports sized to that deck, and fasteners that land in framing instead of drywall. Get those right and a shelf built from ordinary lumber will carry tool chests and storage totes for years without bowing. Get one of them wrong and you get the slow sag that so many garage owners describe.
A shelf fails two ways, and they are independent problems. The deck sags when the clear span between supports is too long for the board thickness, and the whole unit lets go the wall when the screws were driven into nothing but gypsum board. This guide walks through the whole build, what to cut, what to fasten and in what order. It should take a long weekend for an 8 foot run.
Table of Contents
- What You Need
- Materials for an 8 foot wall run
- Tools
- Pick your deck material carefully
- How to Build Garage Shelving That Holds Weight
- Step 1: Plan How to Build Garage Shelving That Holds Weight
- Step 2: Mark the Upright Positions
- Step 3: Install the Uprights and Support Cleats
- Step 4: Cut and Install the Shelves
- Step 5: Brace the Frame
- Step 6: Anchor the Unit
- Step 7: Load and Test the Shelving
- Common Mistakes
- Frequently Asked Questions
- How much weight should DIY garage shelving hold?
- What thickness of plywood is best for garage shelving?
- Should garage shelving be attached to the wall?
- How far apart should garage shelf supports be?
- Can I build garage shelving from 2×4 lumber?
- When should I use metal shelving instead of building my own?
- Final Load and Safety Check
What You Need
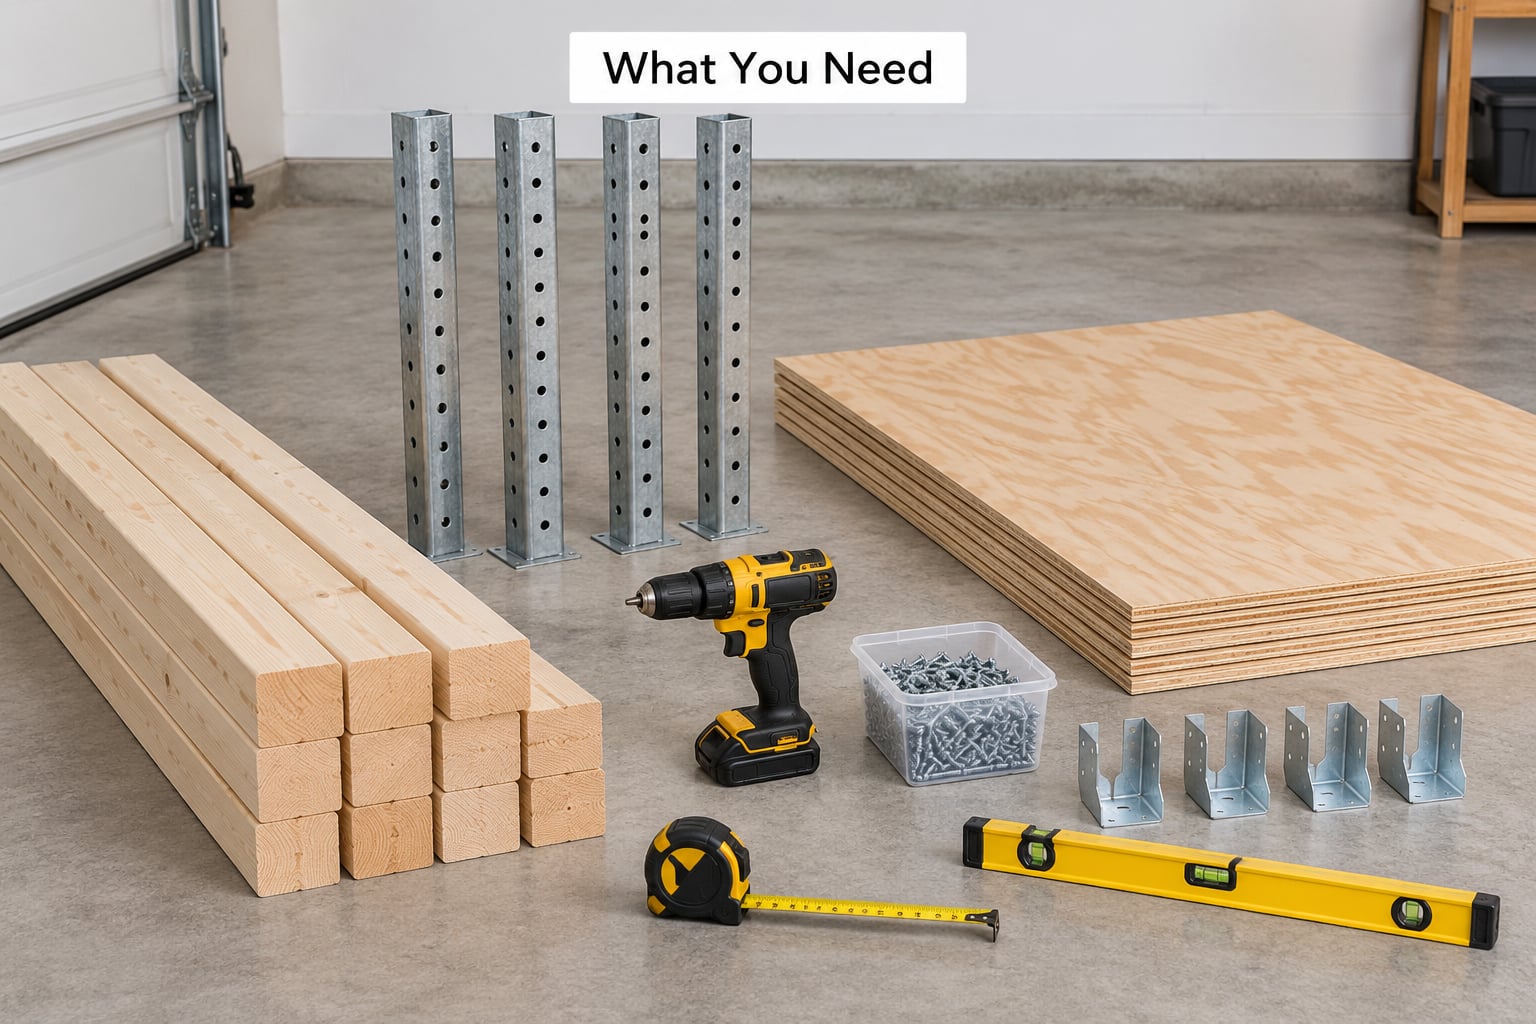
Start with the load, not the lumber. A shelf of seasonal totes and a shelf that holds a compressor are different projects, and the material list changes with them. Follow the rated load for any bracket, joist hanger or engineered component you buy, and treat that rating as a ceiling rather than a target.
Materials for an 8 foot wall run
- Decking: 3/4 in plywood, or structural OSB rated for load-bearing use. Two sheets cover roughly 4 by 8 feet of deck.
- Front supports: 2×6 framing lumber for clear spans longer than 16 inches, 2×4 below that.
- Vertical uprights: 2x4s or 2x6s spaced to keep every span within the limits below.
- Cleats: 2x4s screwed to the front edge of the framing, one per shelf.
- Bracing: flat strap or 1x4s for rear diagonals on any unit over about 5 feet tall.
- Fasteners: 3 in structural screws or 1/4 in lag bolts for framing, plus 1.5 in deck screws.
- Anchors: appropriate to the wall: masonry fasteners for block or concrete, structural screws for studs and joists.
Tools
A circular saw or track saw, a drill and driver, a framing square, a 4 foot level, a stud finder, a tape measure, a sander and safety glasses cover the entire build. A compressor-rated nail gun speeds up the frame, but screws hold better where vibration is a factor, which in a garage it always is.
Pick your deck material carefully
Plywood has the best stiffness per pound and holds fasteners at the edges. Structural OSB works if the panel stamp says load-bearing, but it swells at cut edges and any panel not stamped for structure is a waste of money on a shelf. MDF and particleboard are the wrong choice here. They creep under sustained load and their edge holding strength is poor, so screws loosen and the deck bows.
Keep in mind what a garage does to wood. Concrete sweats in winter and humidity swings are large. Seal all cut edges and underside faces with a water-based sealant, and keep the lowest shelf off the slab by 6 inches on short feet so it can dry underneath.
How to Build Garage Shelving That Holds Weight
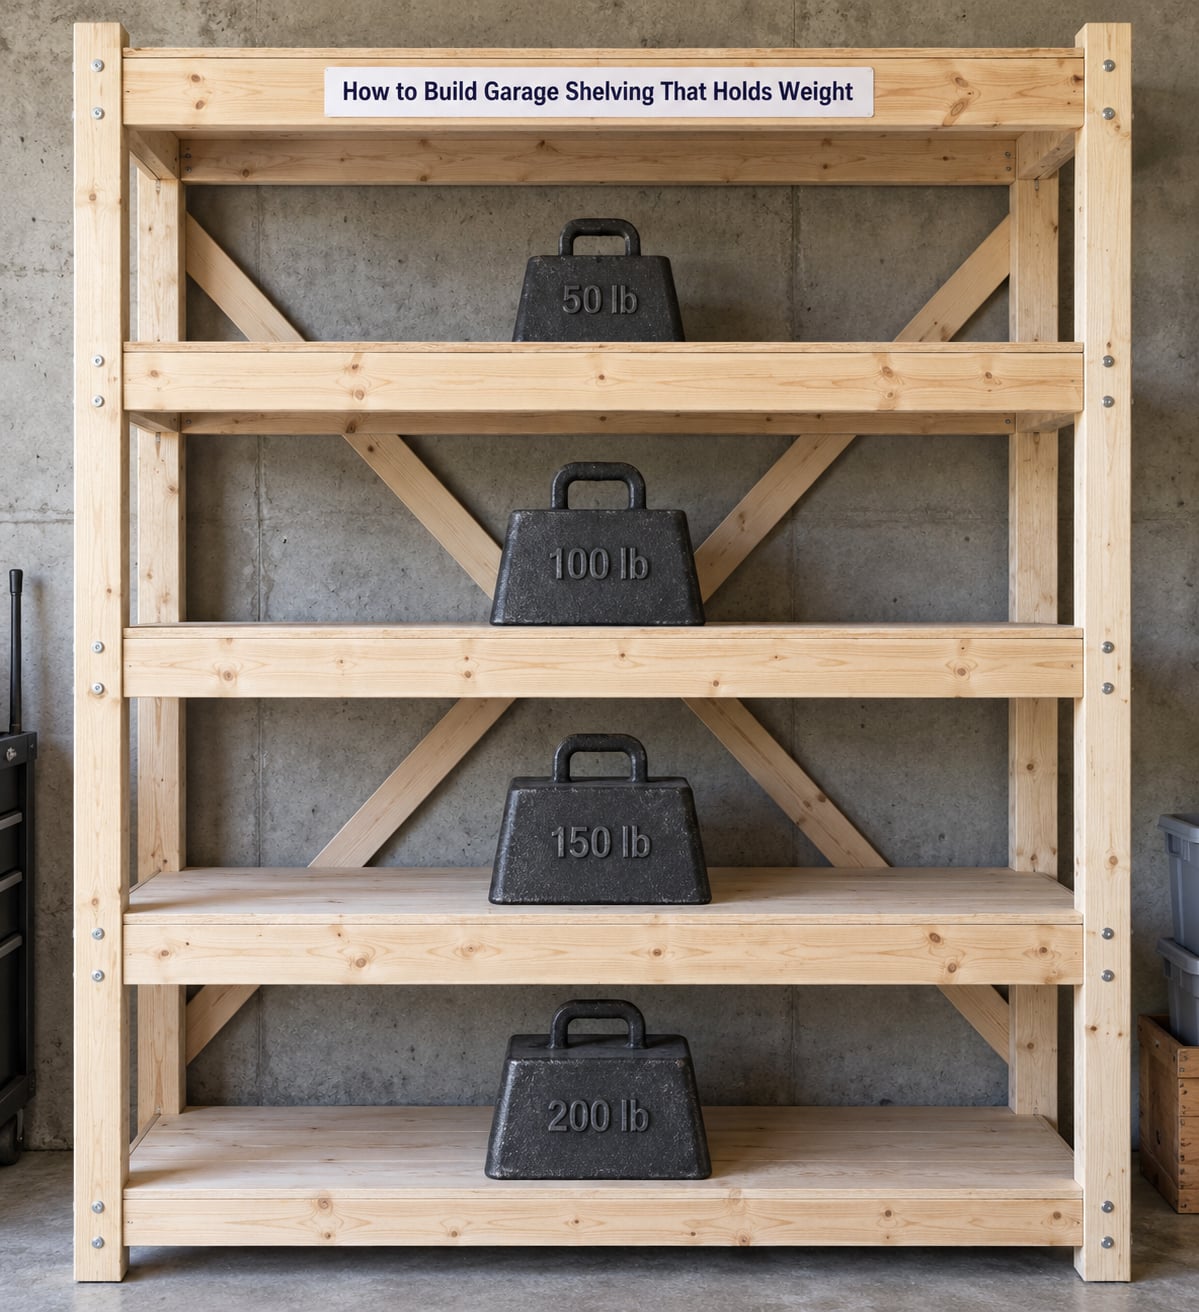
The complete build runs in seven steps. The governing rule for how to build garage shelving that holds weight is simple: the safe capacity of the unit equals its weakest component, not its average. A 3/4 in deck is worth nothing if the screws behind it are in drywall, and a stud-anchored frame still sags if the span is 4 feet.
Step 1: Plan How to Build Garage Shelving That Holds Weight
Decide what goes on the shelves before you measure anything, because the heaviest single item sets your design. A compressor, a chest of tools or a stack of filled plastic totes changes the answer; cardboard boxes of seasonal decorations do not.
Measure the wall width and available depth. Standard garage studs sit 16 inches on center, and shelf depth between 16 and 20 inches works for most totes without turning the run into a loading dock.
Then budget the weight. Totes are the trap. A 27 gallon tote holding tools commonly lands between 40 and 70 pounds, and four across a shelf adds up fast. Add a safety margin of roughly 50 percent on your highest estimate so one surprise does not push you past the deck.
This table gives the planning targets. Figures are safe working loads spread evenly across the shelf, not failure loads.
| Deck | Front support | Clear span | Safe working load |
|---|---|---|---|
| 1/2 in plywood | 2×4 | up to 16 in | 40 to 60 lb |
| 3/4 in plywood | 2×4 | up to 16 in | 120 to 150 lb |
| 3/4 in plywood | 2×6 | up to 24 in | 200 to 250 lb |
| 3/4 in plywood | 2×6 | up to 36 in | 250 to 300 lb |
| 3/4 in plywood, twin joists | two 2×6 bolted | up to 48 in | 400 lb or more |
| Structural OSB | 2×6 | up to 24 in | 180 to 220 lb |
| MDF or particleboard | 2×4 | 16 in or less | under 40 lb, not recommended |
One more term matters: clear span, the unsupported distance between two supports. It is the single number that predicts sag. Always measure clear span from support face to support face, never from the wall.
Step 2: Mark the Upright Positions
Lay out a level line at your planned shelf height with a chalk line across the wall, then check it at both ends with the level. Every upright gets marked from that line so the shelves cannot drift out of alignment.
Work out upright spacing from the clear span table. To support 200 pounds on 3/4 inch plywood, you are looking at 2×6 fronts no more than 24 inches apart, so uprights typically land every 24 to 28 inches.
Now find the framing. Studs usually sit 16 or 24 inches on center, and a shelf 6 feet long will pass over several of them. Mark each anchor location and check for wiring and plumbing with a detector and a visual inspection before you drill into a wall. A nail across a romex run is a bad afternoon.
Step 3: Install the Uprights and Support Cleats
Set each vertical upright against the wall with its flat face square to the studs, and fasten it at the top and bottom through the stud or into the header. Add fasteners at every intermediate stud the upright crosses.
Use this schedule when you get to the hardware:
| Connection | Fastener | Length | Spacing |
|---|---|---|---|
| Upright to stud | structural screw or lag bolt | 3 in | top, bottom and every stud crossed |
| Cleat to upright | 1/4 in lag bolt | 2.5 in | two per upright, top and bottom |
| Deck to cleat | deck screw | 1.5 in | 8 in apart, 2 in from each edge |
| Deck to upright | deck screw | 1.5 in | one at each side of every joist |
| Concrete or block wall | masonry fastener | per manufacturer | same pattern as studs |
Fit the horizontal cleat so its top edge is flush with the bottom of the shelf. The cleat is what stops the deck from pulling away from the wall and tipping, and it lets the deck sit fully supported instead of rocking on a screw head.
Step 4: Cut and Install the Shelves
Cut every deck piece to the same length and check each one against the run before fastening. Square cuts matter because a deck that overhangs a support by more than a couple of inches loses bearing where you need it most.
Support the full weight of the sheet while you fasten it. A 3/4 inch plywood sheet across 8 feet is heavy and unwieldy alone, and letting it hang on two screws while you work is how fasteners get stripped. Set temporary blocks under the sheet at the middle, then add the middle fasteners, then remove the blocks and finish the pattern.
Confirm every fastener enters a cleat or an upright. A screw driven into nothing but the deck edge holds the board to nothing at all, and that is the single most common reason a finished shelf feels wobbly.
Step 5: Brace the Frame
Any unit over about 5 feet tall wants rear bracing. Run flat strap or a 1×4 diagonally from the bottom of one end upright to the top of the other, crossing the back of the frame. One diagonal on tall units, a full X on the tallest ones.
Diagonals kill the side-to-side sway that makes a tall shelf feel tippy, and they matter most on walls with sparse or no studs, where the frame has to stand on its own. If your wall is block, slab or a pole barn panel, treat the unit as freestanding and brace both ends to the structure above or below. Do not assume evenly spaced studs are present just because the wall looks like drywall.
Add front-to-back depth braces on tall units too. Without them a loaded upper shelf can push the frame out of plumb.
Step 6: Anchor the Unit
Anchor tall or heavily loaded shelving to studs, joists or approved masonry points, and use the fastener type the wall demands. Studs and joists take structural screws or lag bolts. Concrete and block take masonry fasteners. Hollow drywall anchors are for hanging a picture, not a loaded shelf, and a shelf over a vehicle deserves better.
Know when to stop building. Engine parts, running equipment, an air compressor and chemicals above an electrical outlet are reasons to look at an engineered rack with a published load rating, or to have a heavy unit installed by a professional. Manufacturer load ratings exist for a reason, and following them is the easiest safety decision you will make all weekend.
Step 7: Load and Test the Shelving
Load the bottom shelf first and put the heaviest items there, positioned directly over the supports rather than at mid-span. Heaviest low, centered over structure, is the whole rule.
Spread weight instead of stacking it. Plywood distributes a patch load better than anything else in your garage, but a row of tight spots defeats it. Skip loading the middle of a long span and skip hanging heavy bins off the front edge, where the deck has no support underneath at all.
Stay below conservative working limits. Once the unit is full, press down firmly with both hands on each shelf and then push the frame from the side. Nothing should move, creak or flex. A proper load test means a professional with known weights, so what you are checking is movement and fastener security, not failure points. Watch it for a week before adding anything else, especially if anything looks like it might drop over a car or a workbench.
Common Mistakes
Sagging is the number one complaint, and it is nearly always a span problem rather than a hardware problem. Each mistake below has a specific correction.
- Undersized deck. 1/2 inch plywood across a 24 inch span will bow permanently. Move up to 3/4 inch or shorten the span.
- Span too long. Check clear span against the table in Step 1, then add a mid upright or a cleat under the middle of the run.
- Weak fasteners. Drywall screws and common wood screws in a loaded shelf strip out. Use structural screws or lag bolts into framing.
- Unverified wall attachments. If you cannot say what is behind the wall, do not hang a loaded shelf on it. Find the studs or change design.
- Unanchored tall units. Anything over 5 feet tall gets braced and anchored. Tip-over is the failure nobody plans for.
- Missing diagonal braces. Side-to-side sway is what makes a unit feel unsafe. Add rear diagonals.
- Uneven loading. Weight stacked in one corner or at mid-span drives the sag. Center load over supports.
- Over-tightened shelves. Driving screws until the head crushes the deck splits the panel and removes holding power. Snug, not crushed.
- Undersized lumber overall. A 2×4 front on a 3 foot span is a decorative shelf. Step up to 2×6 or double the member.
Three tips beyond the build itself. Rubber shelf pads or a mat protect the slab and reduce noise. Paint or tape shelf edges so heavy items stop sliding off the front. And set realistic capacity: write your safe working limit on the wall with a marker so a future version of you does not treat it as unlimited.
If you already own shelves that sag, retrofit beats rebuild. Lift the deck, add a center cleat or a mid upright to halve the span, add lag bolts where the fasteners were loose, and reseat the deck. Do not glue a sagging 1/2 inch deck flat and call it fixed.
For the build-versus-buy question, work in materials plus your time. Building wins when your wall run is odd-sized, your load is unusual, or you want shelves that fit a specific tool. Buying wins when you need a published load rating, adjustable height, or a cantilever design with no wall to attach to.
Frequently Asked Questions
How much weight should DIY garage shelving hold?
A well-built unit with 3/4 inch plywood on 2×6 fronts at 24 inch spans handles roughly 200 to 250 pounds per shelf when the load is spread evenly and centered over the supports. Set your working limit at about half to two thirds of the failure point, and stay under it. Heaviest items belong on the lowest shelf.
What thickness of plywood is best for garage shelving?
Three-quarter inch plywood is the standard choice for garage shelves. Half inch works only at very short spans of about 16 inches or less with light loads, and anything thinner bows under a row of filled totes. Structural OSB rated for load-bearing use is an acceptable alternative if every edge is sealed against moisture.
Should garage shelving be attached to the wall?
Yes, especially for tall or heavily loaded units. Anchoring into studs or joists stops the whole frame from pulling away from the wall and keeps fasteners from working loose over time. On block, slab or pole barn walls with no studs, treat the unit as freestanding, brace it back and front, and anchor to the structure above or below.
How far apart should garage shelf supports be?
Keep clear span at 16 inches or less for 2×4 supports with 3/4 inch plywood, and up to 24 inches with 2×6 fronts for roughly 200 to 250 pounds per shelf. Longer spans need a mid upright or a doubled joist. Measure clear span from support face to support face, not from the wall.
Can I build garage shelving from 2×4 lumber?
Yes, as long as spans stay short and the deck is thick. Two-by-four fronts with 3/4 inch plywood work well at 16 inch spans, and 2x4s make fine uprights and cleats. For heavier loads or wider spacing, step up to 2×6 fronts or bolt two members together to act as a single deeper beam.
When should I use metal shelving instead of building my own?
Choose metal when you need a published load rating above a few hundred pounds per shelf, adjustable height that changes often, or a cantilever design with no wall to attach to. Steel also holds up better in an unheated, damp garage. If your load includes engines, compressors or chemicals, the manufacturer rating is worth more than a DIY guess.
Final Load and Safety Check
Before the first bin goes up, walk these five checks.
- Every fastener enters a stud, joist or approved anchor, and no head is crushed into the deck.
- The unit sits level and plumb, with rear diagonals on anything over 5 feet tall.
- Heavy loads live on the lowest shelf and sit directly over the supports, not at mid-span.
- Each shelf is within its safe working limit from the table in Step 1, with margin left over.
- Nothing damaged: no bowed deck, no cracked cleat, no fastener backing out. Replace before you add weight.
Start there: find your studs, set uprights at 24 inches, run 2×6 cleats, and deck it in 3/4 inch plywood. That combination covers the overwhelming majority of garage storage loads, and it is the build people on woodworking forums keep arriving at when they ask how much their own DIY shelves can take. Build the frame, load the heaviest bin low and centered, then let it sit a week before you trust it.