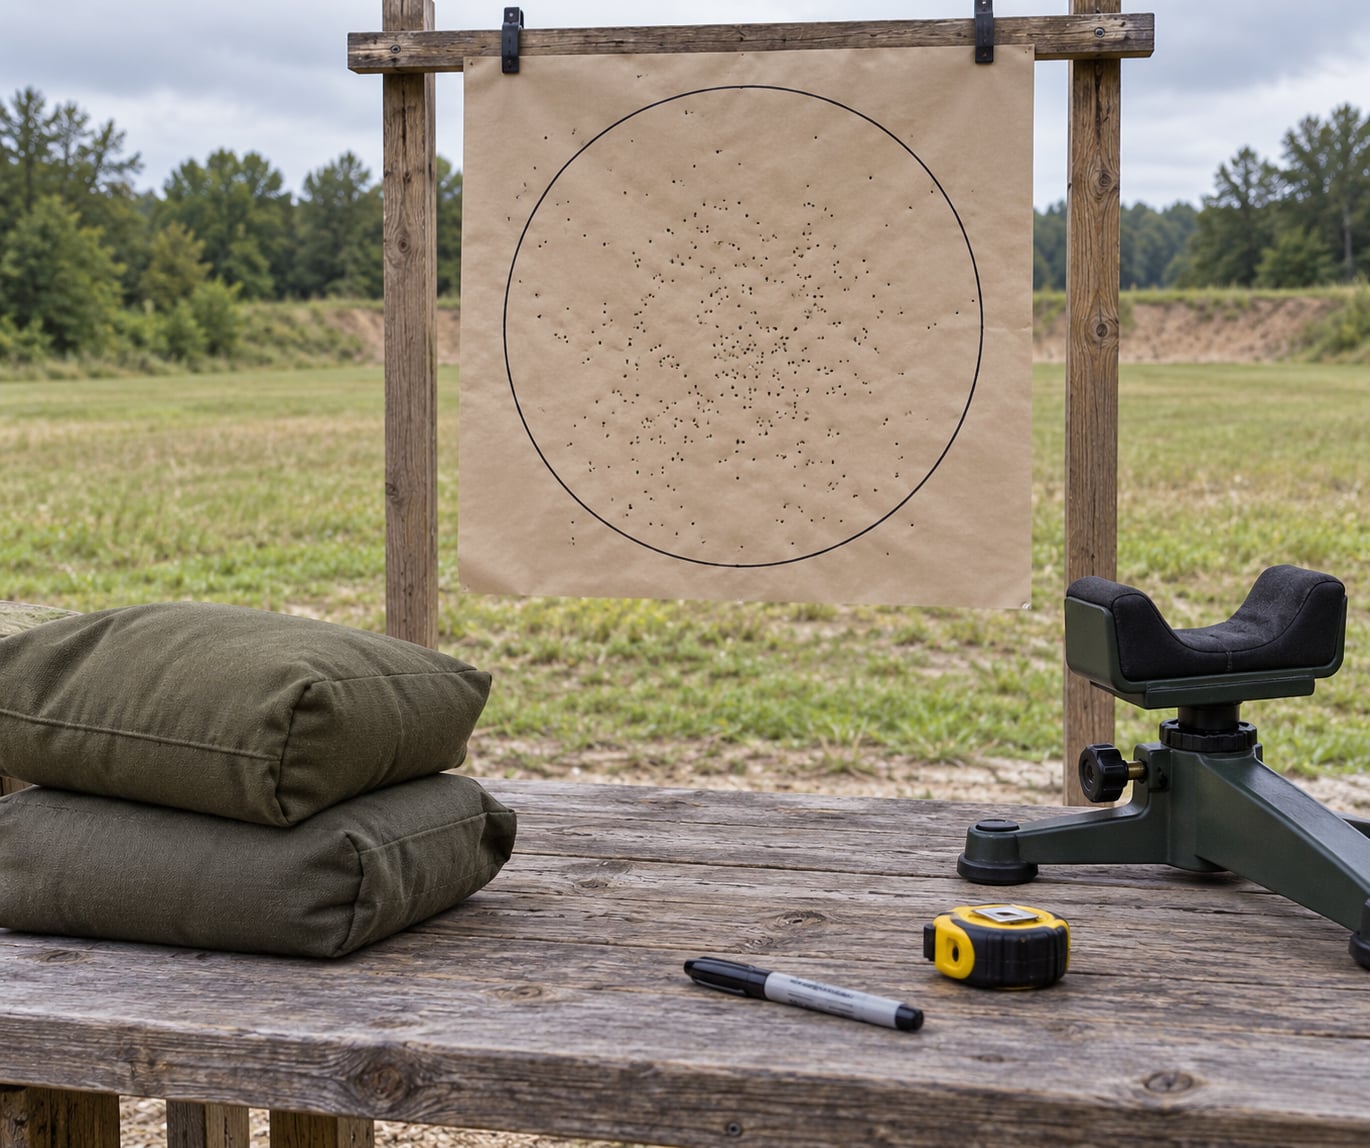
Shotgun patterning means firing a handful of shells at a large paper target and measuring where your own gun, choke and load actually group. Learning how to pattern a shotgun takes one range session and a couple of boxes of shells, and it is the only honest way to know the point of impact, pattern density and pattern percentage you can count on with a specific load.
The shooting part is easy. Reading the result is where beginners get it wrong, and most disappointing patterns trace back to the rest, the target or the distance rather than the gun. Hunters on the shooting forums say the same thing constantly: two shotguns of the same model rarely shoot identical patterns because each chamber and bore is machined slightly differently, so patterning a friend’s gun tells you nothing about yours.
Patterning is range work, so it deserves the same discipline as any other shooting session: a verified backstop, eye and hearing protection, a clear firing line, and a range that allows pattern practice. Nothing described here changes the dimensions of a firearm or adds parts to it. If your goal has shifted from measuring patterns to altering the gun itself, that is a different job with different legal consequences, and Step 2 covers where that line sits.
Table of Contents
- What You Need to Pattern a Shotgun
- How to Pattern a Shotgun Step by Step
- Step 1: Define the Reason for the Work
- Step 2: Check the Manufacturer and Local Requirements
- Step 3: Have a Qualified Gunsmith Inspect the Shotgun
- Step 4: How to Pattern a Shotgun Safely at the Range
- Step 5: Review the Results and Keep Documentation
- Common Mistakes That Ruin Your Pattern
- Tips for Safer, More Predictable Shotgun Patterning
- Frequently Asked Questions
- What does it mean to pattern a shotgun?
- Is it legal to modify a shotgun in the United States?
- Can a gunsmith pattern any shotgun?
- Does patterning a shotgun improve accuracy automatically?
- How should a newly modified shotgun be tested?
- What should I do if a shotgun feels unsafe after modification?
- Conclusion: Start With a Safety and Legal Check
What You Need to Pattern a Shotgun
- A paper target: a 30-by-40 inch sheet of butcher paper, poster board or bioboard, taped flat to a wall, fence or frame.
- A marker and a circle template: draw an 18-to-24 inch circle in the middle for a full-size benchmark, or a 4-to-12 inch circle when you are working on centering.
- A solid rest: shooting bench, sandbags or a barrel rest, set at a height where your cheek weld and shoulder pocket stay in the same place shot after shot.
- Eye and hearing protection, plus a snap cap or chamber flag so the gun is visibly unloaded when it is not in your hands.
- The exact gun you intend to hunt with, plus every choke tube you plan to run.
- At least three shell types or shot sizes, ideally from two different brands, plus a fresh box with a readable date code.
- A tape measure, a pen and a log sheet or phone note for distances, loads and counts.
Targets are the item people argue about most. Butcher paper is cheap and lets you see the whole spread, poster board with a drawn 18 inch circle is the traditional choice published by hunting magazines, and a bioboard sheet punched and taped to a homemade frame is the cheapest reusable option. Buck pellets will shred paper at close range, so bring more sheets than you think you need.
How to Pattern a Shotgun Step by Step
Step 1: Define the Reason for the Work
Patterning answers three questions, and state hunter-education programs name them the same way: point of impact, pattern density and pattern percentage. Point of impact is where the group sits relative to where you aimed. Pattern density is how tightly the pellets are packed. Pattern percentage is how many pellets landed inside your marked circle out of the total pellets in the shell.
Before you fire anything, decide what you are trying to learn. Turkey work usually means a tight pattern at 30 to 40 yards. Waterfowl is usually judged at 20 to 25 yards with a more open pattern. Upland and clay work care about evenness and gentle recoil at close range. Owners patterning a cylinder-bore gun at indoor distances, a setup some gunsmiths test at 15 to 21 feet, are usually tracking the same thing in reverse: how much the pattern grows as you back off.
Write the goal down. A session with no stated target distance or shot size produces numbers nobody can act on.
Step 2: Check the Manufacturer and Local Requirements
Start with the owner’s manual for your specific model. It tells you which chokes the gun came with, whether barrels are threaded, and what the manufacturer says about ammunition and service. Keep the manual; if you ever sell the gun, it is worth more with it.
Then check the law. At the federal level, a shotgun with a barrel under 18.5 inches is a regulated short-barreled shotgun, and it must be registered and taxed through the NFA process before it is built or purchased, not afterward. Serial number rules matter here: altering the receiver or firing system in ways that change the firearm’s classification requires a licensed federal firearms licensee, and the paperwork has to be filed before the work starts.
State and local rules add their own layer, particularly magazine capacity rules on semi-automatic shotguns and rules around where you may shoot. Range rules matter too: some ranges restrict patterning, some require you to buy their targets, and some do not permit buckshot at all. Rules differ by state and change, so treat a phone call to your state agency or a local attorney as the reliable answer, not a forum post.
None of this applies to measuring a pattern on an unmodified gun. It applies the moment you plan to change parts or dimensions.
Step 3: Have a Qualified Gunsmith Inspect the Shotgun
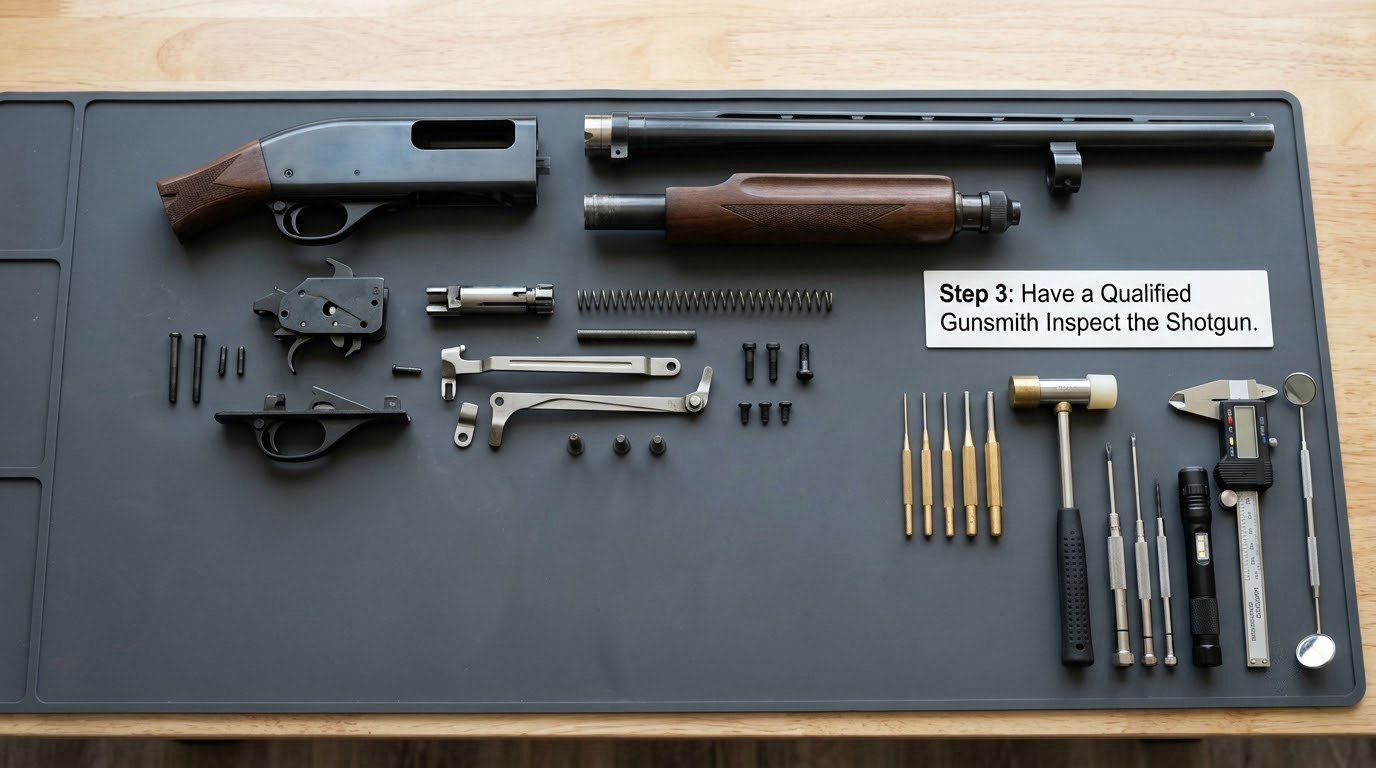
A gunsmith worth hiring will look at the bore and chamber condition, the rifling, the muzzle, the safety and the serial number before anyone touches anything. They will also tell you whether the work you want is even reasonable for that particular gun, which is the cheapest advice you will ever buy.
Ask what is included in the inspection and what it costs before committing to further work. If the request involves the receiver, ask whether a federal firearms licensee is required and who files the paperwork. Some gunsmiths will refer a job out rather than guess.
This visit also settles a question hunters argue about constantly. Because chamber and bore machining vary from gun to gun, two identical shotguns can pattern differently enough that a setup that works on one is wrong on the other. Only your own gun, your own load, in your own choke has ever been patterned, and only it can tell you what it will do.
Step 4: How to Pattern a Shotgun Safely at the Range
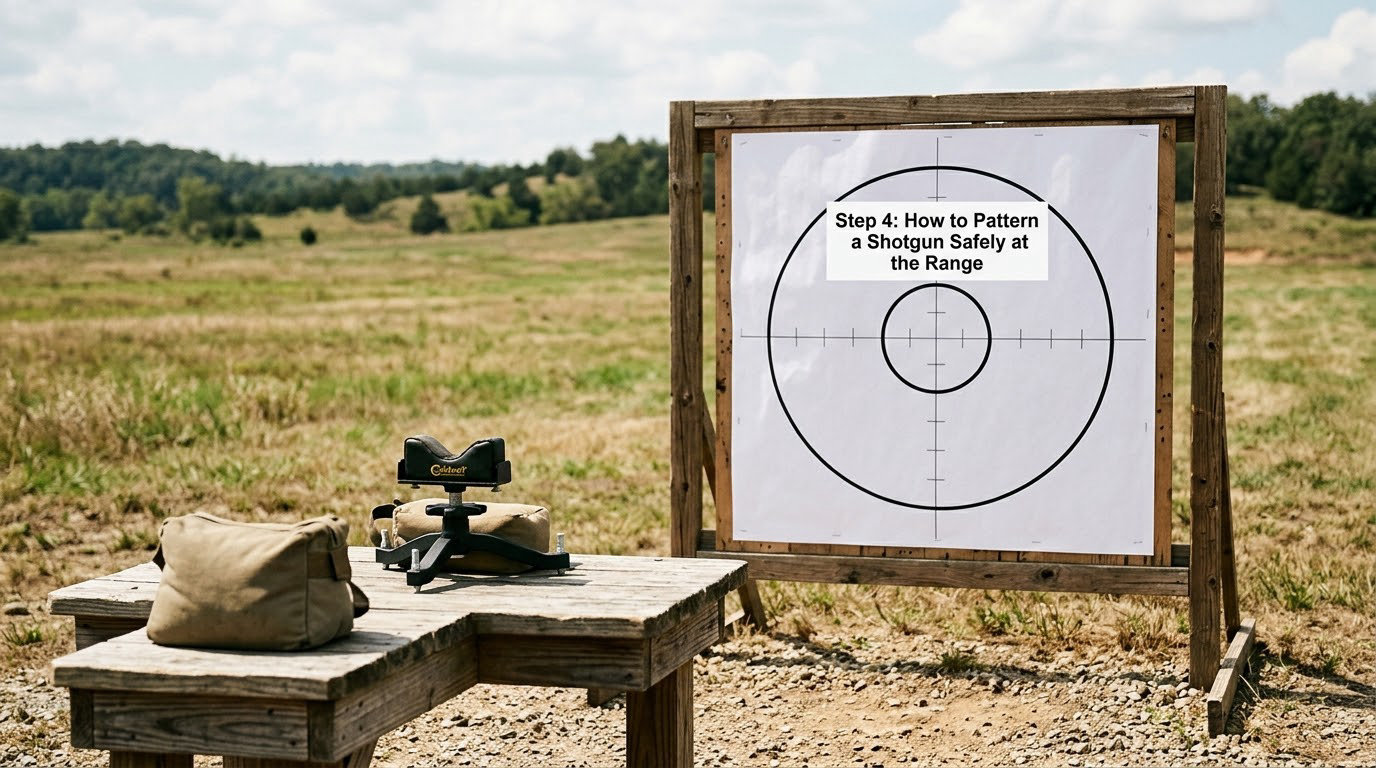
- Confirm the backstop. Know what is behind the target, keep the firing line clear, and shoot only in a direction you have verified.
- Set the target at the distance you actually expect to use, measured with a tape rather than counted paces. Thirty to forty yards for turkey, twenty to twenty-five for waterfowl.
- Mount the target flat and draw a small dot at the center of your circle, so you have something to aim at besides a smudged sheet.
- Set your rest so the gun sits at the same height and angle every time. An unstable or high rest produces a pattern you will misread as a gun problem.
- Fire one shell aiming at the dot. Do not shoot from the shoulder at the target; the movement makes the pattern unreadable and is the single most common beginner error.
- Step to the line, confirm the gun is unloaded and pointed safely, then inspect the sheet: where the group sat, how tight it is, whether it has holes in it, and how many pellets landed inside the circle.
- Adjust and repeat. Fire three to five shells per load and choke combination at the same distance, because a single sheet hides inconsistencies that several sheets expose.
- Work outward in ten-yard increments, then repeat the whole sequence with each choke and each load you might actually use.
Circle size changes the number without changing the pattern. A tight 4 inch circle is useful for centering and point of impact, the kind of setup shooting forum users recommend. A 12, 18 or 30 inch circle is what you use to judge density at hunting distances. Decide which question you are answering before you start counting.
Step 5: Review the Results and Keep Documentation
Pattern percentage is simple arithmetic: pellets inside the circle divided by total pellets in the shell. A 2.75 inch shell of 00 buck, commonly listed as nine pellets, with five inside an 18 inch circle gives you about 55 percent. Check the count printed on your ammunition box rather than trusting memory, because pellet totals vary with load length and brand.
Then read the sheet with three questions. Is the group centered on your dot, and if it sits low or high, does that change where you aim? Is the pattern even, or does it have gaps and holes that point at a wad or column issue rather than your gun? And how far did it stay dense before it opened up, which is your real effective range?
Benchmarks are useful as reference points, not laws. Hunter-education material and hunting guides commonly cite roughly 100 pellets inside a 10 inch circle at 40 yards as a turkey-ready figure. Whether your load meets it depends on your gauge, your choke and your barrel, which is why you test instead of assuming.
Gauge changes the math. Twenty gauge and .410 loads carry fewer pellets per shell, so the same circle will show a higher-looking percentage with a pattern that is physically smaller. Expect that, and read those patterns on evenness and centering rather than raw percentage.
Write it all down: date, distance, gauge, shot size, brand, choke, count inside the circle, and where the group sat. That log is what you re-read in the field, and it is also the record a gunsmith or any future buyer will find useful.
Re-pattern when something changes: a new shell type, a new choke, a barrel that has been through a lot of hard use, or simply once a season before opening day. If a pattern comes back inconsistent across several sheets, shoot more before drawing conclusions, and if it stays inconsistent, have the gun inspected rather than hunting with it.
Common Mistakes That Ruin Your Pattern
- Shooting from the shoulder at the target. Your movement, not the gun, decides where the pattern lands. Use a rest and repeat.
- Using a rest that is too high or that shifts between shots. Check the height once and tape or bag it in position.
- Standing too close. A pattern photographed at 10 yards tells you nothing about 30 yards, because the shot column has not stopped forming yet.
- Counting one shell and deciding. Three to five sheets per combination is the minimum that shows you the truth.
- Skipping the backstop and range check. Confirm what is behind the target before your first shot, every time.
- Grabbing a shell from an old box. Old ammunition gives you a pattern that tells you about the box, not about the load.
- Mixing up circle sizes between tests and concluding the gun changed. Fix one circle size for the whole session.
- Treating a cosmetic change as a performance change. A different look says nothing about where the pellets land.
- Assuming another owner’s results transfer to your gun. They do not, and this is the mistake that costs the most birds.
Tips for Safer, More Predictable Shotgun Patterning
- State your goal in writing before the session, including the exact distance you are testing.
- Test the gun, the choke and the load you will really use, not a convenient substitute.
- Keep your original configuration documented, so you can always return to a known-good setup.
- Use a professional for anything involving the receiver, barrel dimensions or parts that could change the firearm’s classification.
- Skip modifications you cannot explain in one sentence. Most patterning problems are solved with a different load or choke, not with a part.
- Confirm the firearm is unloaded and pointed safely every time you approach the target.
- Keep your pattern sheets. Four labeled sheets beat any memory after a season of hunting.
- Re-check the legal picture when you move, change ownership or buy a gun from out of state.
Frequently Asked Questions
What does it mean to pattern a shotgun?
Patterning means firing a few shells at a large paper target at a set distance and measuring where your gun, choke and load group. You get three numbers back: point of impact, pattern density and pattern percentage. It tells you how tight the group is, how evenly pellets are spread, how many landed inside a marked circle, and how far the gun stays dense.
Is it legal to modify a shotgun in the United States?
Measuring a pattern on an unmodified gun is legal everywhere. Modification is a different matter. A shotgun with a barrel under 18.5 inches is regulated under the federal NFA rules and must be registered and taxed before it is built or bought, and receiver work requires a licensed federal firearms licensee. State and local rules can be stricter, and they change.
Can a gunsmith pattern any shotgun?
A gunsmith can inspect and advise on nearly any serviceable shotgun, but some jobs are limited by the model. Multibarreled, over-under and some single-shot designs have different choke and barrel options, and a receiver modification may need to go to a federal firearms licensee who can file the paperwork. Ask before you order parts, not after.
Does patterning a shotgun improve accuracy automatically?
No. Patterning is measurement, not adjustment. It tells you what the gun does with a load so you can choose the right shot size and choke and know your effective range. The results change when the gun, the load, the choke or the ammunition changes, which is why re-patterning every season catches problems a single test session would miss.
How should a newly modified shotgun be tested?
Start at a known-good setup and change one thing at a time, then shoot at least three to five sheets at the distance you care about before judging the result. Confirm the firearm is unloaded before approaching the target, use a fixed rest and the same circle size, and keep every sheet labeled. If anything feels off, stop and have it inspected.
What should I do if a shotgun feels unsafe after modification?
Stop using it and do not test it further. Do not try to fix it yourself at a kitchen table. Contact the gunsmith who did the work, describe exactly what changed in how it feels or behaves, and expect them to inspect it. If paperwork or compliance is uncertain, ask a licensed federal firearms licensee or your state agency before the gun is used again.
Conclusion: Start With a Safety and Legal Check
The first action is small: write down the change or the question you are trying to answer, check the firearm’s documentation and your local rules, and talk to a qualified gunsmith before any work is ordered. Once that is settled, patterning is an afternoon at the range with a rest, a marker, a stack of paper and a log sheet. That is enough to learn the real pattern of your gun, and knowing it before opening day is the whole point.