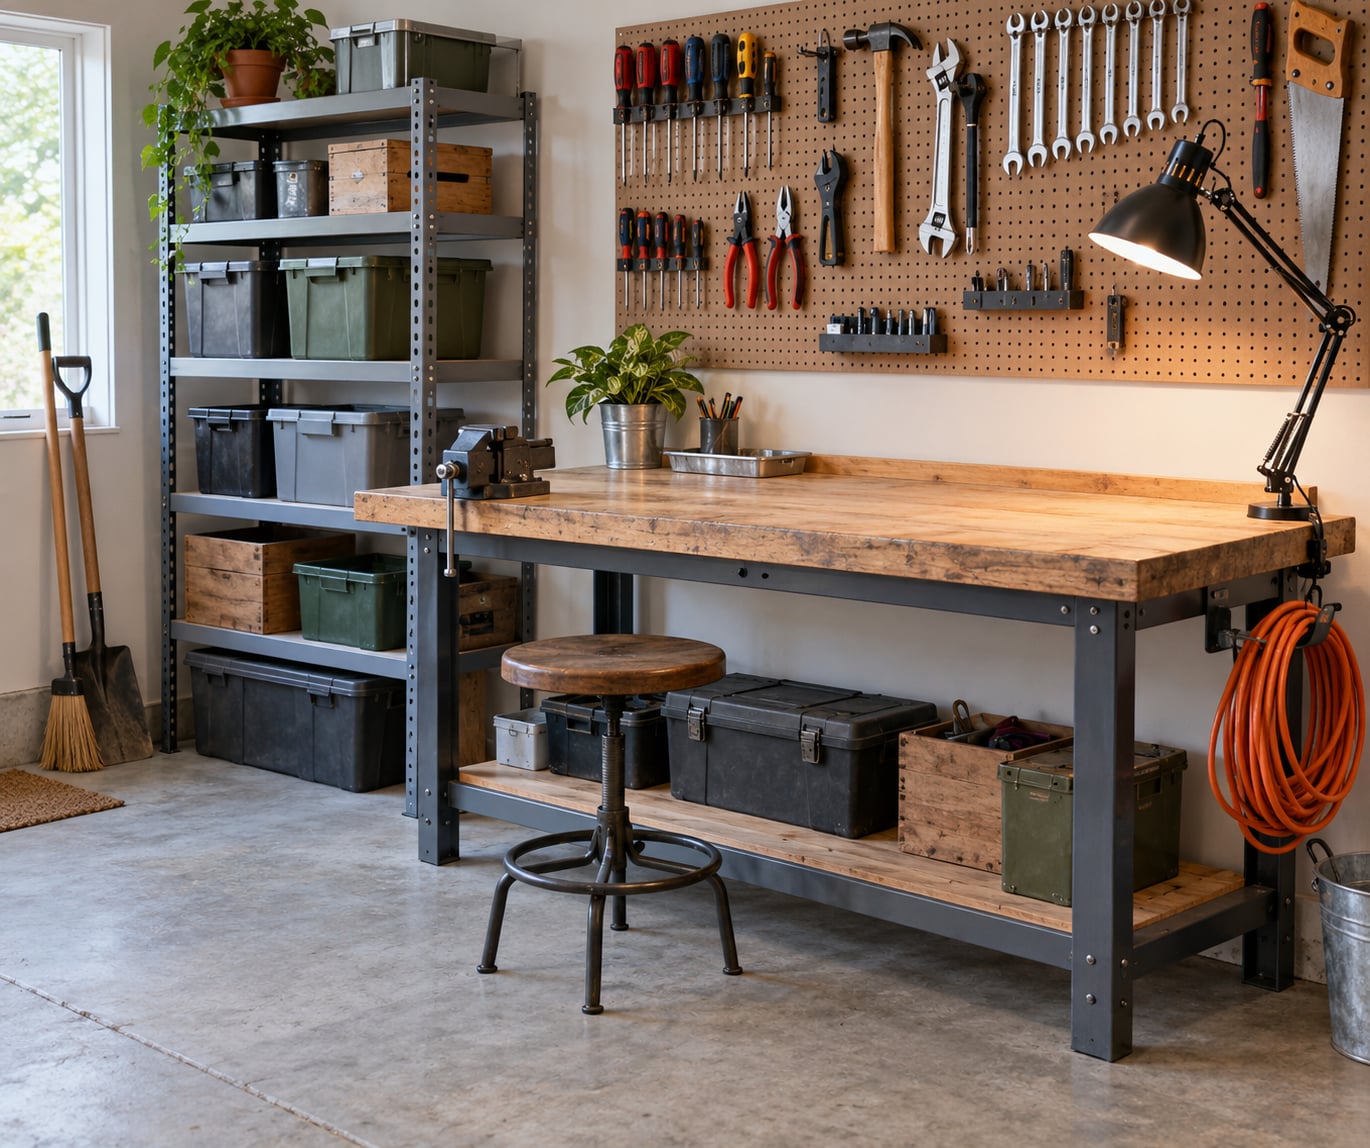
An organized garage workshop is one where every tool, material and machine has a defined home: sorted into piles, divided into zones, anchored to a workbench with a clear path of work, and backed by storage that suits the weight and shape of what you own. The order matters more than the containers. Measure first, decide where the bench and machines go, then buy or build storage around those decisions.
Most failed garage makeovers fail the same way. Someone buys a pile of bins before deciding what the garage is for, then spends a weekend putting everything back exactly where it started, just in new containers. The six steps below take a weekend for a one-car garage and a long weekend for a two-car, and they end with a space you can still park in.
Table of Contents
- What You Need
- Step-by-Step: How to Organize a Garage Workshop
- 1. Measure the Garage and Plan the Zones
- 2. Sort Tools and Materials Into Working Categories
- 3. Create a Safe Storage System
- 4. Install Lighting and Work Surfaces
- 5. Label, Arrange, and Test the Workflow
- 6. Maintain the Organized Workshop
- Common Mistakes
- Frequently Asked Questions
- How much space should I leave around a garage workbench?
- What is the best storage for garage workshop tools?
- How should I organize a garage workshop with limited floor space?
- Where should I store heavy tools in a garage workshop?
- How can I make a garage workshop safer to work in?
- How do I keep a garage workshop organized after each project?
- Conclusion
What You Need
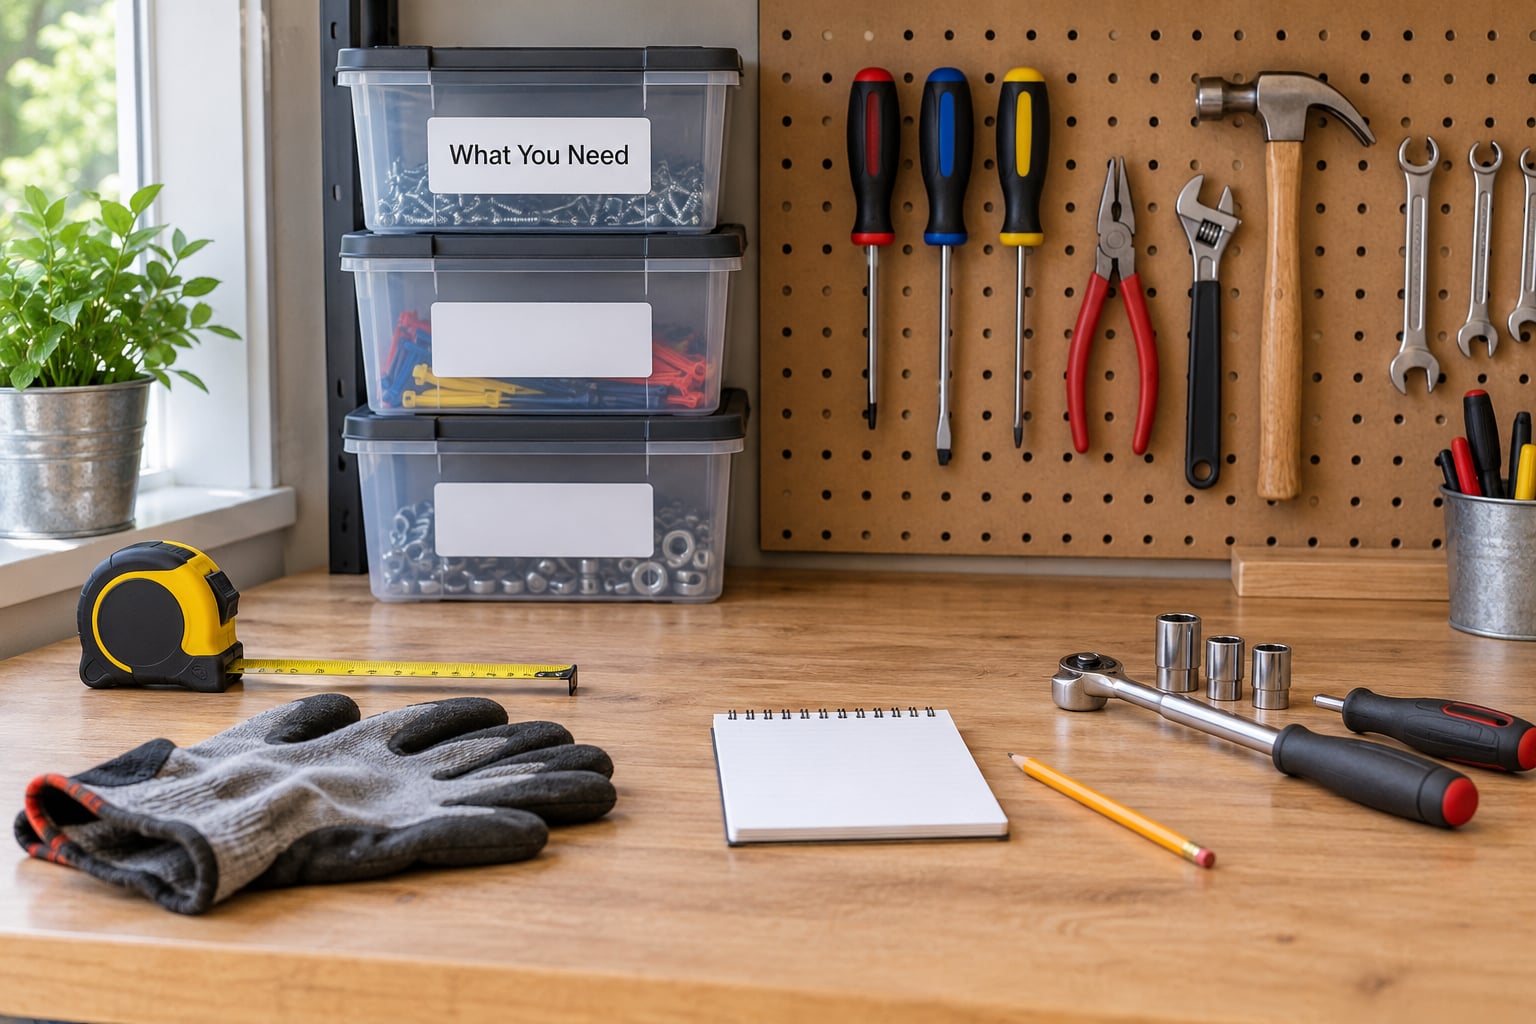
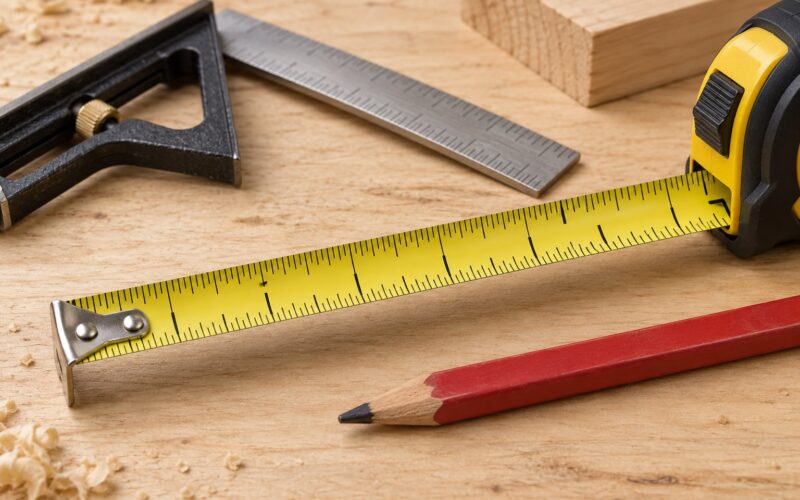
Start with measurement gear, because every other decision depends on it. You want a tape measure that reads at least 30 feet for wall runs, a 6-foot level for shelving uprights, a stud finder, a pencil, and masking tape for marking zones on the floor before anything gets heavy.
Then gather the sorting supplies. Cardboard boxes or totes for four piles, a permanent marker, a roll of painter’s tape, and a broom and shop vac for the inevitable dust when the first shelf comes down.
For storage itself, buy after the layout is drawn, not before. The short list is wall panels or a track system, shelving that matches your wall height, clear bins with consistent footprints so they stack, labels, a few drawer organizers for fasteners, and a rolling cart for anything that moves to the bench and back.
Finally, plan on safety and light. That means a fire extinguisher mounted near an exit but not over a work surface, a first-aid kit in one fixed spot, eye and hearing protection, dust masks sized for your process, and a headlamp or task lamp for the hours when the overhead lights are not enough.
Step-by-Step: How to Organize a Garage Workshop
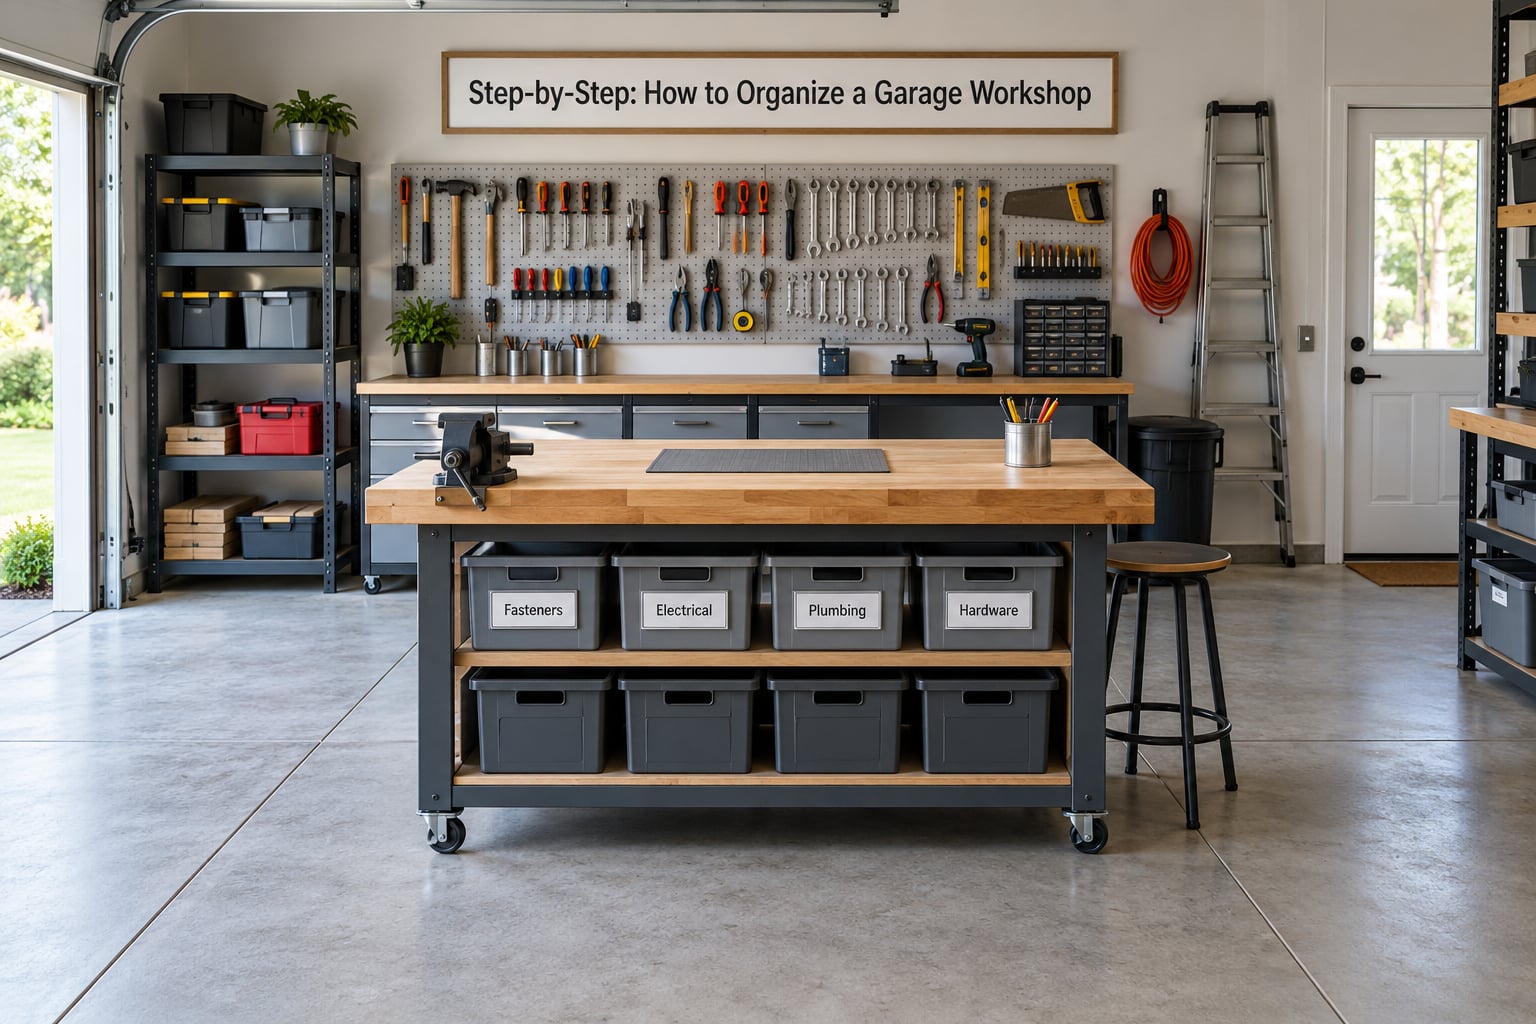
The sequence runs in a fixed order: measure and zone the floor, sort everything into working categories, install storage that is safe for those weights, set up lighting and work surfaces, label and test the layout, then maintain it. Each step depends on the one before it, so resist the urge to start hanging tools on the wall on Saturday morning.
1. Measure the Garage and Plan the Zones
Measure the usable floor, not the advertised square footage, then write down what you cannot move: the garage door swing, the man door and its swing, outlets, windows, the water heater if there is one, and the clearance a vehicle needs to park with the door open.
Tape the zones on the floor before you tape anything to a wall. Most garages settle into four: assembly, where the bench lives; storage, where shelving and cabinets go; finishing, for paint, glue and cleanup; and equipment, for vacuums, mowers and car gear. The people who get a garage that works put the bench on a side wall near the man door so they can reach it without walking past the car, with wall storage directly behind it.
Then fix the order of work. A rough triangle between the machine, the bench and the material storage saves steps on every project, and it only works if nothing else sits inside those three paths. Keep a full door-width lane open from the man door to the car, and check that a parked vehicle still clears the bench by a foot or more.
2. Sort Tools and Materials Into Working Categories
Pull everything onto the floor or onto a driveway tarp and make four piles: keep, donate, trash and sell. The trash pile is the one people flinch at, and it is usually the biggest. Anything you have not touched in two years and cannot name a project for goes.
Sort the keep pile by the kind of work you do, not by where it came from. Most shops end up with hand tools, power tools, fasteners and hardware, woodworking supplies, metalworking supplies, painting and finishing, and automotive gear. Add a separate pile for seasonal items like holiday decorations and patio cushions, because those belong somewhere other than over the workbench.
Grouping by trade pays off the first time a project starts. Forum regulars on woodworking and home improvement boards make the same point: if your projects are electrical, plumbing and tile, sort the tools by those three areas so one toolbox does the whole job.
3. Create a Safe Storage System
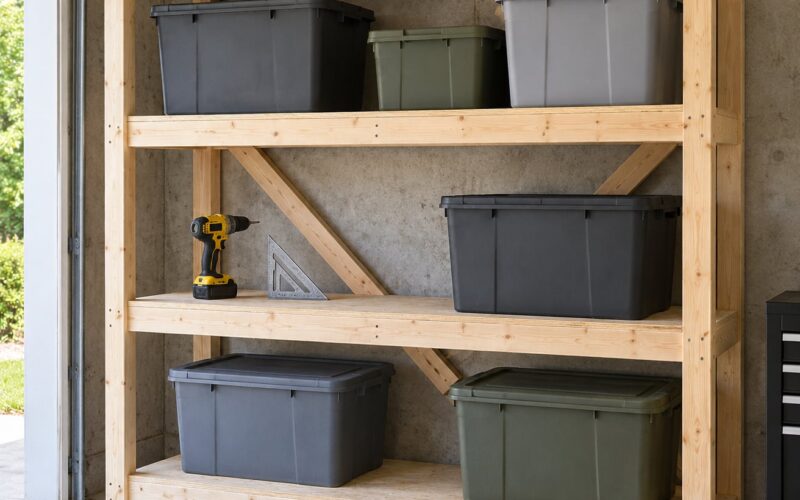
Match the system to the load, and the load is what surprises people. Hand tools and frequently used items live between roughly waist and shoulder height. Heavy items such as a table saw, a compressor, metal stock or stacked cabinet drawers go on the lowest shelf or on the floor on a pallet. Nothing heavy goes overhead.
Wall panels save floor space but only work if you anchor them properly. Furring strips on 16-inch centers give a solid mounting surface, and the panel’s hole spacing has to match the hooks you buy. That mismatch is the most common complaint about pegboard: standard hook kits do not always fit quarter-inch metal panels, and the fix is to buy hooks for the panel you actually installed, or to mount hooks through a wood frame instead.
For long lumber and sheet goods, restraint beats a shelf lip. Ceiling-mounted crossbars, or a rack with a stop, keep material from sliding off when you pull a piece out. Hobby metalworkers on the hobby-machinist forums use overhead crossbars for the same reason, and a rack that cannot restrain a load is not storage, it is a hazard waiting to happen.
4. Install Lighting and Work Surfaces
Overhead lighting covers the room, and it is rarely enough at the bench. Add a task light on an adjustable arm or a clamp lamp aimed at the work surface from the side, which is what removes the shadow your hands create when the light is behind you. Keep the fixture on its own switch or clip-on so you can kill glare without darkening the whole garage.
Electrical work is where this plan has to stop and call a licensed electrician. Any new circuit, new outlet or change to a panel is code work in most US jurisdictions. What you can do safely yourself is plan it: note where the bench and machines need power, keep cords off the floor with in-wall conduit or a ceiling-mounted reel, and leave a dedicated circuit for the dust collector and the saw rather than sharing a lighting receptacle.
Choose the bench for stability and clearance, not for looks. A top around 34 inches high suits most standing work, and the surface needs to be thick and well supported if you plan to clamp vises to it. Leave room in front of the bench to stand and step back, and check that the drawers open without hitting the car or a machine.
5. Label, Arrange, and Test the Workflow
Labels are the difference between a system and a pile of tidy bins. Label the face of every bin, shelf and drawer with the same naming pattern, and match the label to the contents, not the container. A shelf marked hardware is useless; a bin marked wood screws, 1-1/4 inch is useful six months from now.
Place things in the order they get used. At the bench, the tools you reach for most belong within arm’s reach, arranged so their outlines are visible. Painting a shadow on the wall behind each hand tool is an old trick and it still works, because an empty hook is obvious from across the room.
Then test it. Walk the triangle from machine to bench to storage carrying a typical project, time yourself, and move whatever made you detour. The same walk tells you whether the door swing, the car clearance and the walkway survived the reorganization.
6. Maintain the Organized Workshop
Put a short reset at the end of every project. Tools go back to their labeled homes, consumables get restocked, the bench gets wiped, and the floor gets swept. Ten minutes does more for the shop than a weekend of reorganizing every few months.
Keep one running list of things that did not work: the bin that is too small, the hook you cannot find, the shelf that needs a second bracket. Reviewing it monthly lets you make small fixes instead of another full reset. A workshop that gets maintained stays usable as your tools and projects change, which is the whole point.
Common Mistakes
Overloading shelves. Check the rated load for the shelf and the spacing of its supports, then stay under it. If a shelf sags when you load it, the fix is a second upright or a lighter item, not a stronger will.
Storing heavy tools overhead. Ceiling racks are for light, bulky things like seasonal bins and empty cartons. A misjudged overhead load is a drop hazard and a back hazard. Move heavy items to the bottom shelf today.
Blocking outlets, panels and exits. Keep a clear path to the electrical panel, keep the man-door swing open, and leave receptacle faces accessible. Storage that covers a panel is a code problem, not a style choice.
Using vague labels. Numbering a bin or writing only the room’s name defeats the purpose. Name the actual contents, and use the same pattern on every label so you can find a part without opening ten containers.
Mixing incompatible materials. Paints, solvents, glues and finishes need their own ventilated, labeled location away from food and away from ignition sources, and many of them are not garage-friendly in hot summers. Read the label and check with your local waste program before you store or discard them.
Forgetting vehicle clearance. Draw the parked car’s footprint on the floor and re-check it after the bench and cabinets are installed. If the car no longer fits with room to open the door, the layout fails no matter how good it looks when empty.
Skipping the maintenance step. A layout with no reset habit degrades within a few months. Fix the cause by putting a ten-minute cleanup at the end of each project rather than scheduling a full redo.
Frequently Asked Questions
How much space should I leave around a garage workbench?
Leave enough to work safely, which is usually 36 to 48 inches in front of the bench and about 18 inches at each end so drawers and doors open. Add extra where a machine feeds the bench, such as a table saw, and never let a parked vehicle sit inside that clearance.
What is the best storage for garage workshop tools?
For hand tools, a wall panel or track system that keeps outlines visible beats a pile of bins, and the panel must be mounted on furring strips with hooks that match its hole spacing. For power tools, use wall cradles or a shelf at chest height. For heavy machines, low shelving or a rolling cart on the floor.
How should I organize a garage workshop with limited floor space?
Push storage off the floor first: wall panels, ceiling racks and tall shelving along the perimeter. A rolling workbench is the single most useful swap, since it gives you a full bench on a project day and rolls against the wall when the car needs in. Keep a wide door-width lane open to the vehicle.
Where should I store heavy tools in a garage workshop?
Store heavy tools on the lowest shelf or on the floor, close to where you stand to use them, so nothing heavy is ever overhead. Heavy portable tools work well in a rolling tool chest that you can wheel to the job. Reserve high shelves and ceiling racks for light, bulky, infrequently used items.
How can I make a garage workshop safer to work in?
Keep the man door and electrical panel clear, keep heavy items low, and restrain long material so it cannot fall. Mount an appropriate fire extinguisher near an exit but away from the bench, keep a first-aid kit in one fixed location, add task lighting so you are not working in shadow, and use dust extraction or filtration suited to your process.
How do I keep a garage workshop organized after each project?
Spend ten minutes at the end of each project: return every tool to its labeled home, restock consumables, wipe the bench and sweep the floor. Keep a running list of things that do not fit, and review it monthly so you fix small problems instead of planning another full reorganizing weekend.
Conclusion
Measure the space and note every door, outlet and clearance. Tap out four zones and fix the bench position before anything else goes on a wall. Sort everything into keep, donate and trash piles, group what stays by the kind of work you do, then install storage that puts heavy items low and light items high. Label it, walk the workflow, and end every project with a ten-minute reset. That sequence is what makes a garage workshop stay a workshop.