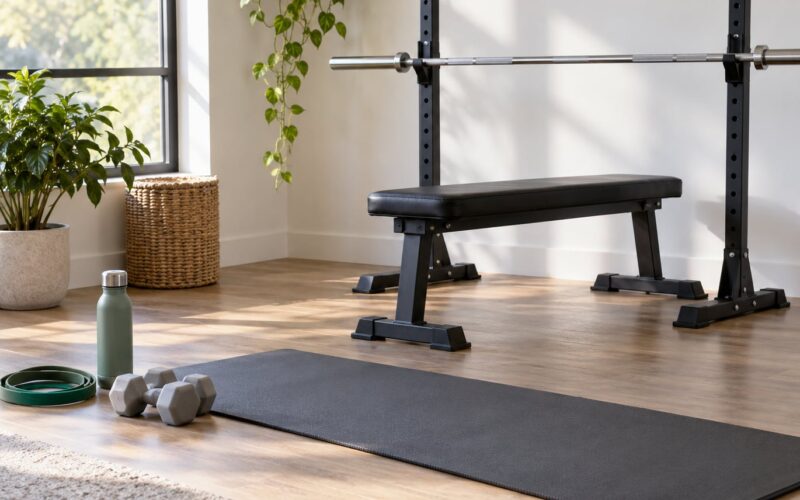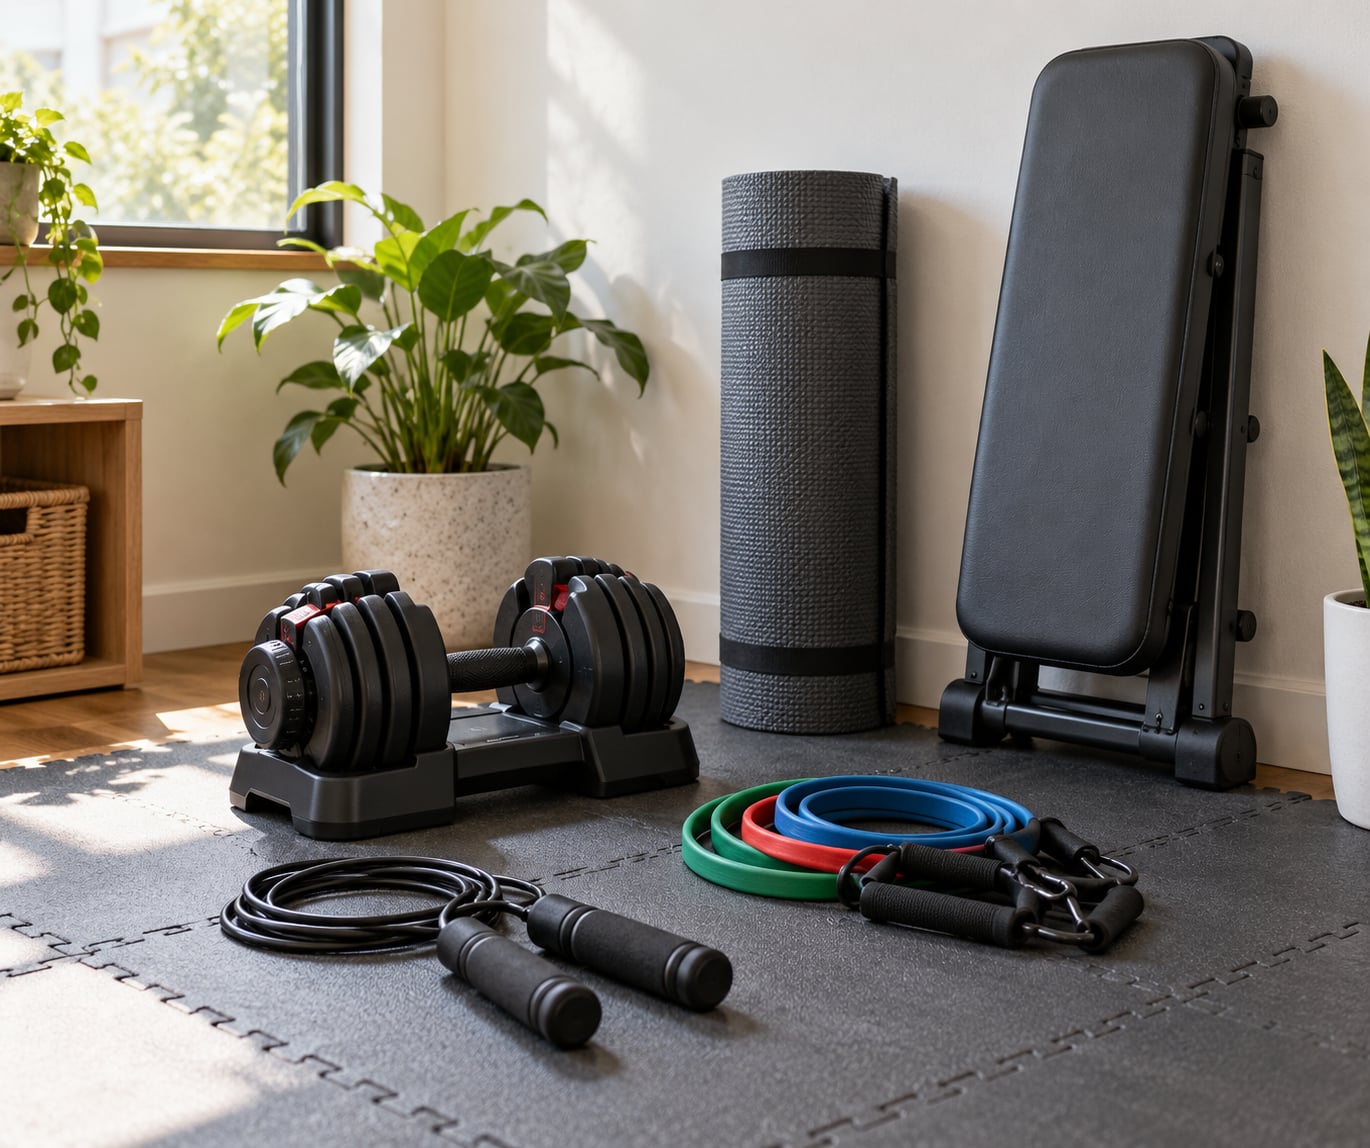
Building a home gym on a budget comes down to three things: a clear space, a spending limit you set before you shop, and a short list of equipment that covers the main movement patterns. Most beginners do fine with adjustable dumbbells, a sturdy mat or bench, resistance bands, a jump rope and a doorway pull-up bar, then add load over time.
The order you buy in matters more than the amount you spend. Buy the wrong first item and it becomes a clothes hanger, which is how a lot of January gear ends up for sale again by March. That gear-flip cycle is the single most avoidable mistake in this whole project.
This guide walks through the whole process, from measuring the room to writing a weekly routine, with the safety steps a beginner should not skip.
Table of Contents
- What You Need
- Space and Clearances
- A Realistic Budget
- Equipment Priorities
- Flooring and Storage
- Step-by-Step: Build a Functional Home Gym on a Budget
- Step 1: Choose the Right Space and Set a Limit
- Step 2: Buy the Core Equipment First
- Step 3: Arrange the Equipment Safely
- Step 4: Test the Setup and Start a Simple Routine
- Common Mistakes
- Frequently Asked Questions
- What is the cheapest home gym setup that actually works?
- How much space do I actually need for a home gym?
- Do I need rubber flooring under my equipment?
- Is buying used home gym equipment safe?
- Is it cheaper to build a home gym or get a membership?
- How long will I see results from a home gym?
- Conclusion: Start With One Versatile Setup
What You Need
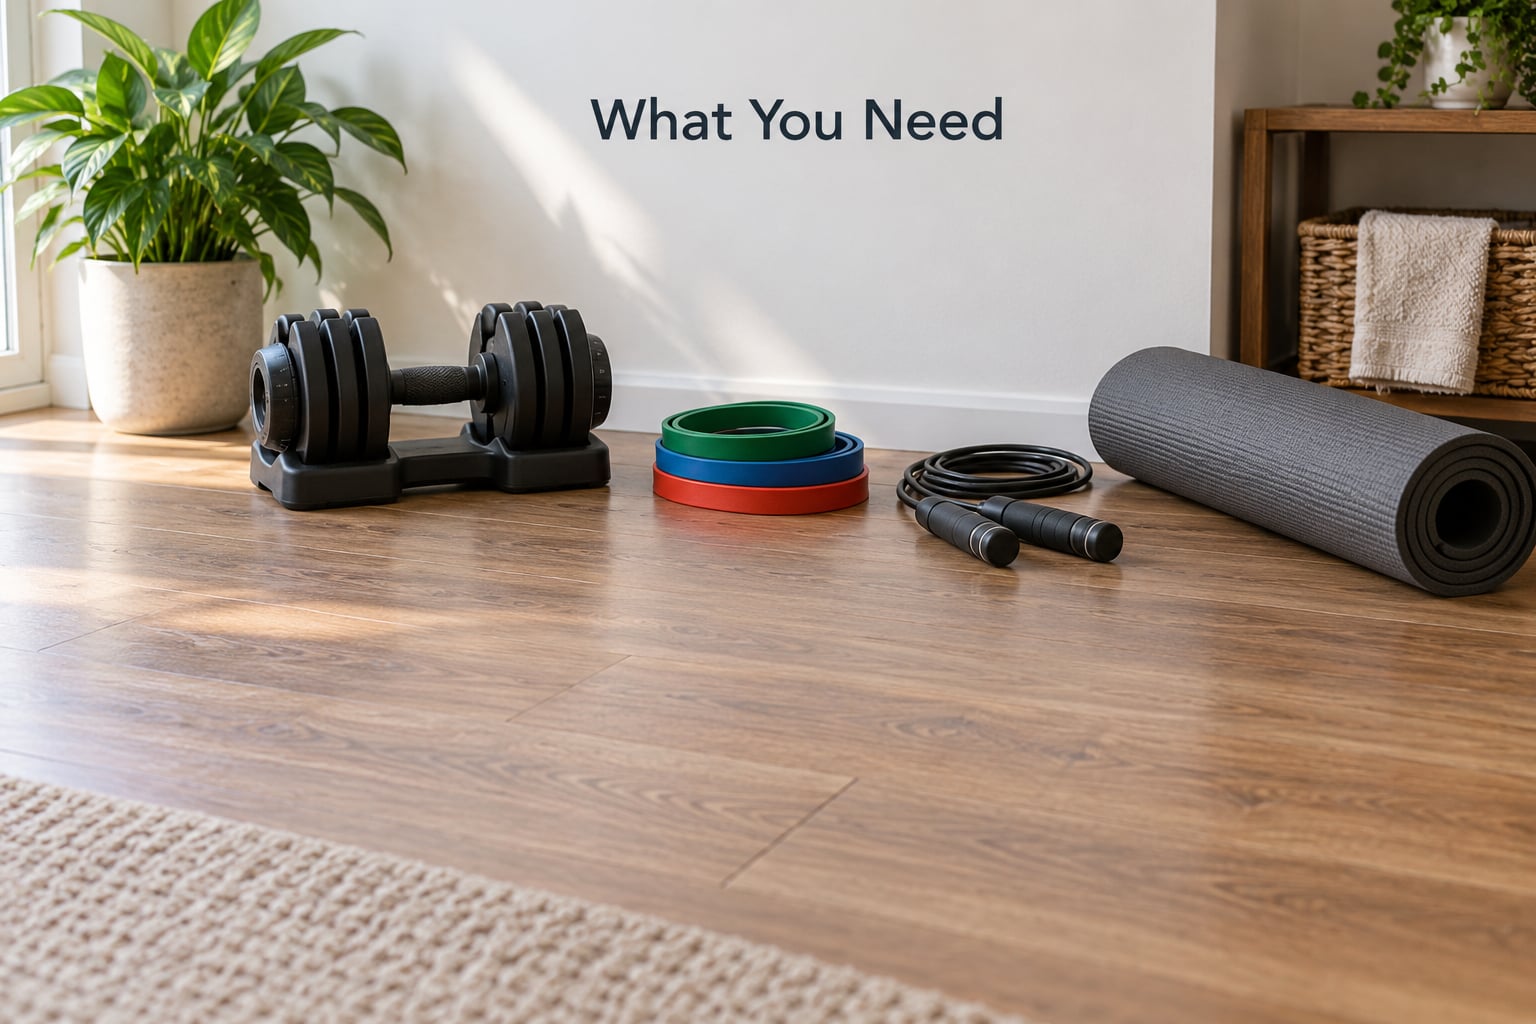
Start with a written plan, not a shopping cart. Before you buy anything, you need four things figured out: the room you will use, the total amount you are willing to spend, the movement patterns you want to cover, and where equipment will live when you are not training.
Space and Clearances
Measure the usable floor area, not the room size. A bedroom corner, a garage bay, a basement corner and a spare half-room each behave differently, and the difference is mostly about overhead and side clearance for the movements you plan to do.
Note where the doors, windows, vents and light switches are. Anything that blocks a walk path, a window or an electrical panel is not usable floor.
A Realistic Budget
Write one number and stick to it. Decide how much you can spend over the whole first year rather than per order, because the real risk in this hobby is not one expensive piece, it is five medium pieces arriving over five months.
Split that number into two pots. One covers the essentials you need to train properly. The second holds everything you want but can add in three to six months once you know what you actually use.
Equipment Priorities
Sort every item you are considering into three groups: essential now, useful later, and probably never. Beginners often mix these groups into a single order, which is how a floor full of half-used attachments happens.
Essentials cover six patterns: squat, hinge, push, pull, carry or core, and conditioning. Anything that does not serve one of those six is a want, no matter how good it looks in a video.
Flooring and Storage
Hard concrete and laminate need something under your feet, both for grip and to protect the floor and your neighbors. Interlocking foam tiles or rubber mats are the usual choice, and a single mat is fine if you mostly train seated or supine.
Storage matters as much as the equipment itself. A vertical stand, a wall hook set or a sturdy shelving unit keeps the walk paths clear and makes the room usable for anything else most of the week.
Step-by-Step: Build a Functional Home Gym on a Budget
Step 1: Choose the Right Space and Set a Limit
Pick the room first, then measure it. Most beginners underestimate how much clearance a bench press or an overhead press needs, and how much room a barbell sweeps when it is loaded.
A spare room or half of a multipurpose space usually works better than people expect, because you are not installing fixed machines. Folding equipment and wall-mounted storage are what make a shared room livable again on a Sunday afternoon.
Check three conditions before you commit: overhead clearance, floor flatness, and how noisy your movements will be. A basement with a low ceiling limits overhead work. An apartment with thin walls limits dropping weight, which usually means no dropping weight at all.
Then write the spending limit on paper and put it somewhere you will see it when you are about to check out. If the room needs electrical work, a ceiling track, or anything that touches a load-bearing wall, stop and use a licensed professional. Fitness gear is not the project where you improvise with structure.
You know this step worked when you can name the room, the square footage you have to work with, and the amount you are not allowed to exceed.
Step 2: Buy the Core Equipment First
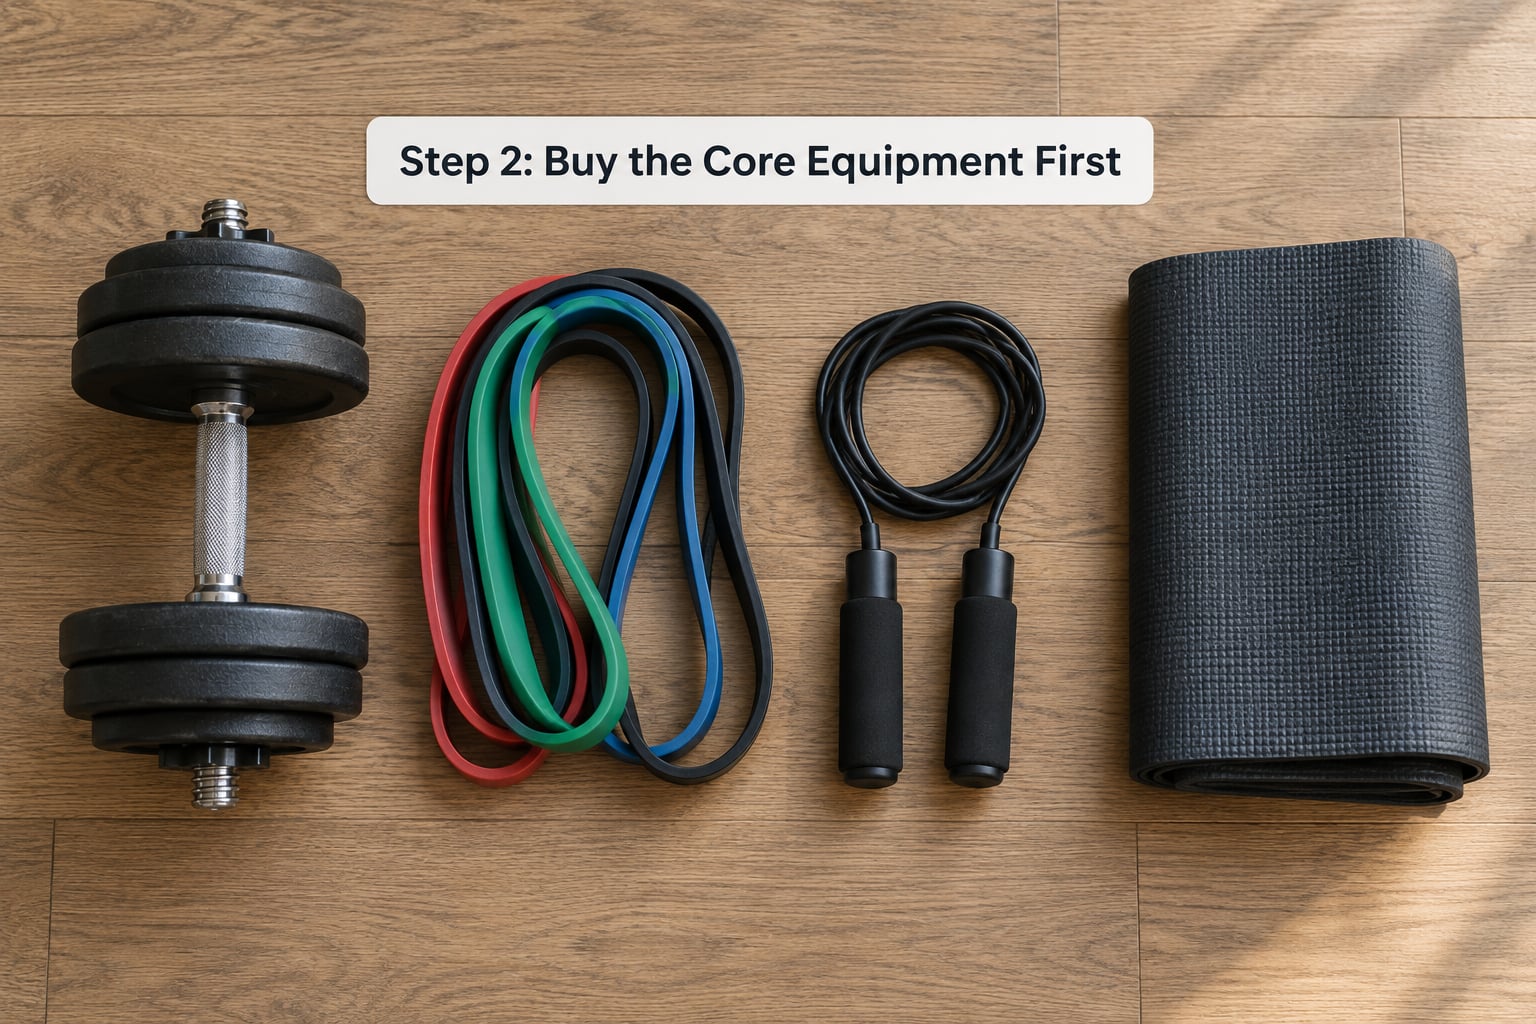
Buy these first, in this order. Adjustable dumbbells cover presses, rows, squats, lunges and hip thrusts on their own, which makes them the highest-value single purchase for a beginner working in a small space.
A set of resistance bands comes next. They handle pulling work and rows, travel in a drawer, and let you add cable-style resistance for a few dollars. If your ceiling or door frame can take the load, a doorway pull-up bar covers vertical pulling for very little.
A mat, a jump rope and a sturdy bench or other elevated surface complete the starter set. The bench is the item most beginners can borrow or substitute first while they find out whether they train consistently at all.
What to avoid paying extra for: brand names, bells and whistles on adjustable dumbbells, weight stacks for machines you will not use, and anything marketed with a specific body type in the name.
Also skip a large all-in-one machine early on. It occupies permanent floor space, usually performs a handful of movements, and is hard to resell if you change your mind.
You know this step worked when you can complete a full session with what is on the floor, without anything balancing on a chair.
Step 3: Arrange the Equipment Safely
Decide the layout before you move anything in. Put the bench or the main lifting spot against the longest wall, keep the full width of your arm span plus your barbell length clear around it, and walk the route from door to equipment to check for trip hazards.
Keep furniture out of the movement zone. A coffee table that gets clipped with a dumbbell becomes a shin injury, and a bookshelf that leans when you pull up on a bar becomes a different problem entirely.
Anchor anything the manufacturer says to anchor. Follow the assembly instructions exactly, tighten hardware the specified number of turns, and re-check bolts after the first few sessions, because cast iron and steel settle slightly under new loads.
Do not cut into a stud or run new wiring for a piece of gym gear. Cable machines and any wall-mounted setup in a finished wall are jobs for a qualified installer, and no amount of saving justifies guessing at structure.
You know this step worked when someone else can walk through the room without ducking, stepping over anything, or asking what the thing in the corner is for.
Step 4: Test the Setup and Start a Simple Routine
Give every piece a careful once-over before the first real session. Look for cracked welds, loose pins, frayed cables on bands, worn threads on collars and a bench that rocks. Anything you load with your body weight deserves the same attention as anything you load with plates.
Then start lighter than you think you need. Use a weight or band tension you could do ten more repetitions with, keep your range of motion clean, and add load in small steps. Progressive overload works because it is gradual, not because it is fast, and the weeks you spend moving carefully are not wasted.
Build the routine around the equipment you actually own. Three full-body sessions a week, two compound patterns per session plus a push and a pull, five to eight minutes of conditioning, and two minutes of warm-up is plenty to start with.
Rest between sets long enough to keep your technique intact, drink water, and stop the session if you feel sharp pain, dizziness, chest discomfort or anything unusual. Talk to a doctor or physical therapist before training through joint pain, and get cleared first if you have a heart condition, an injury, or no recent medical check-in.
You know this step worked when the routine still feels doable four weeks in, because you can repeat it without dreading the setup.
Common Mistakes
Buying a big machine first. It is the most expensive way to find out whether you enjoy training at home. Fix: buy the portable core items, train for two months, then look at machines.
Using furniture as gym equipment. A dining chair is fine for a step-up or a seated stretch. It is not fine for a heavy overhead press, and wobbly chairs fail without warning. Fix: keep a mat and your own equipment for loaded movements.
Squeezing the setup into a corner. Working in a space with no clearance makes you twist and shorten your range of motion. Fix: measure the arm span plus bar length in every direction before you position anything.
Ignoring flooring and storage. Both decide whether the room survives contact with daily life. Fix: lay mats before you move equipment in, and plan where each item goes at the end of a session.
Adding weight too fast. The temptation is to prove something in week two. Fix: write down what you lifted each session, and add only when the same weight feels easy across two sessions.
Skipping the load limits. Every piece of gear has a working load, and it is usually lower than the number stamped on the frame. Fix: read the manual, and stay below the stated limit even when the frame feels solid.
Buying novelty attachments before the basics. Cable add-ons and specialty attachments sit unused for years while people buy them. Fix: buy the pattern first, the attachment later, one at a time.
A last piece of advice: keep the setup modular. Equipment that folds, stacks or mounts to a wall lets you add the next item six months from now without re-planning the room. A simple pull-up rig built from basic hardware costs a fraction of a commercial unit, which is the same idea in a different form.
Frequently Asked Questions
What is the cheapest home gym setup that actually works?
The cheapest useful setup is an adjustable dumbbell set, a set of resistance bands, a jump rope and a mat. Those four cover squat, hinge, push, pull, core and conditioning, which is everything a beginner needs for the first six months. Add a doorway pull-up bar or a bench later once you know you are training consistently, one versatile item at a time.
How much space do I actually need for a home gym?
A six by eight foot area is enough for a bench, adjustable dumbbells and bands, and it leaves a standing spot for squats and presses. A ten by ten foot area adds room for a barbell and pull-up station. What matters most is clearance, not square footage, so measure the arm span plus bar length in every direction before you buy a rack.
Do I need rubber flooring under my equipment?
You need something under your feet if you are on hard concrete or laminate, both for grip and to protect the floor and the people below you. Interlocking foam tiles or rubber mats cover most home setups, and a single mat is enough for seated and supine work. Without any flooring, small dumbbells can still damage a finished floor over time.
Is buying used home gym equipment safe?
Dumbbells, plates, bands and jump ropes are usually safe used if you inspect them for cracks, rust, fraying or worn collars. Racks, benches and anything that holds your body weight are worth buying new or checking very carefully, since a failed weld cannot be seen from the outside. Buy in person where you can, and follow the manufacturer’s stated load limits either way.
Is it cheaper to build a home gym or get a membership?
It depends on how long you keep the equipment. A membership is cheaper for the first year if you train rarely, because it costs the same whether you go twice a month or ten times. Home equipment wins once you have trained consistently for one to two years, since the cost is paid once and there is no travel or waiting. Plenty of gear bought with good intentions is sold again by spring.
How long will I see results from a home gym?
Most beginners notice better strength, endurance and general energy within four to eight weeks of consistent training, and visible change in body composition usually takes longer and depends on your diet too. Equipment is the least interesting variable here. What determines results is showing up three times a week and progressing the load over time. Check with your healthcare provider before starting if you have any medical concerns.
Conclusion: Start With One Versatile Setup
If you only make one purchase, make it an adjustable dumbbell set and pair it with a set of bands, a jump rope and a mat. Those four items cover every movement pattern a beginner needs and they store in a closet when the room has to go back to being a bedroom.
Before you buy anything else, measure the room, confirm your overhead and side clearance, and write down your total spending limit. Then lay out the layout so the walk paths stay open, anchor and inspect anything that will hold your weight, and keep the room usable for everything else in your week.
From there, add in order of what your training actually demands: a bench or elevated surface, a pull-up bar, more load, then cardio and storage. Buy one thing at a time, use it for two months, and only then decide what the next dollar goes to. A small dependable routine beats a fully equipped room nobody trains in.