Knowing how to sight in a bow sight is simple once you know the rule: shoot a small group, look at where the arrows landed, and move the sight toward the group. You do that repeatedly until the group sits on the aiming point you were shooting. Most first-timers finish a 20-yard pin in a few minutes and the rest of the pins in well under an hour.
The thing that trips people up is not the mechanics, it is impatience. Move the sight too far after a single arrow and you will spend the afternoon chasing a group that never meant anything. Below is the process I would hand a new archer, written so you can follow it at the range without guessing.
Always read the instructions that came with your sight and your bow first. Mounting hardware, adjustment ranges and zeroing scales differ between makes, and a scale marked 2 on one sight means nothing on another.
Table of Contents
- What You Need
- Step-by-Step: How to Sight In a Bow Sight
- Set a safe, measurable starting distance
- Check the sight, arrow, and bow setup
- Set the sight near the expected point of impact
- Shoot an initial group
- Read the group and make small adjustments
- Confirm zero at the intended distance
- Recheck after equipment or condition changes
- Common Mistakes
- Tips for a Reliable Repeatable Zero
- Frequently Asked Questions
- How long does it take to sight in a bow sight?
- What distance should I use to sight in my bow?
- Should I dry fire a bow while adjusting the sight?
- Do I move the sight toward the group or away from it?
- Should I move the whole sight or just the pin?
- Why won’t my bow sight stay adjusted?
- Conclusion
What You Need
Gather this before you walk to the target so you are not walking back and forth mid-session.
- Your bow with the sight already mounted and tightened
- The arrows you intend to shoot, fletched and nocked consistently
- A target face on a suitable backstop, plus a few spare faces
- Eye protection and hearing protection
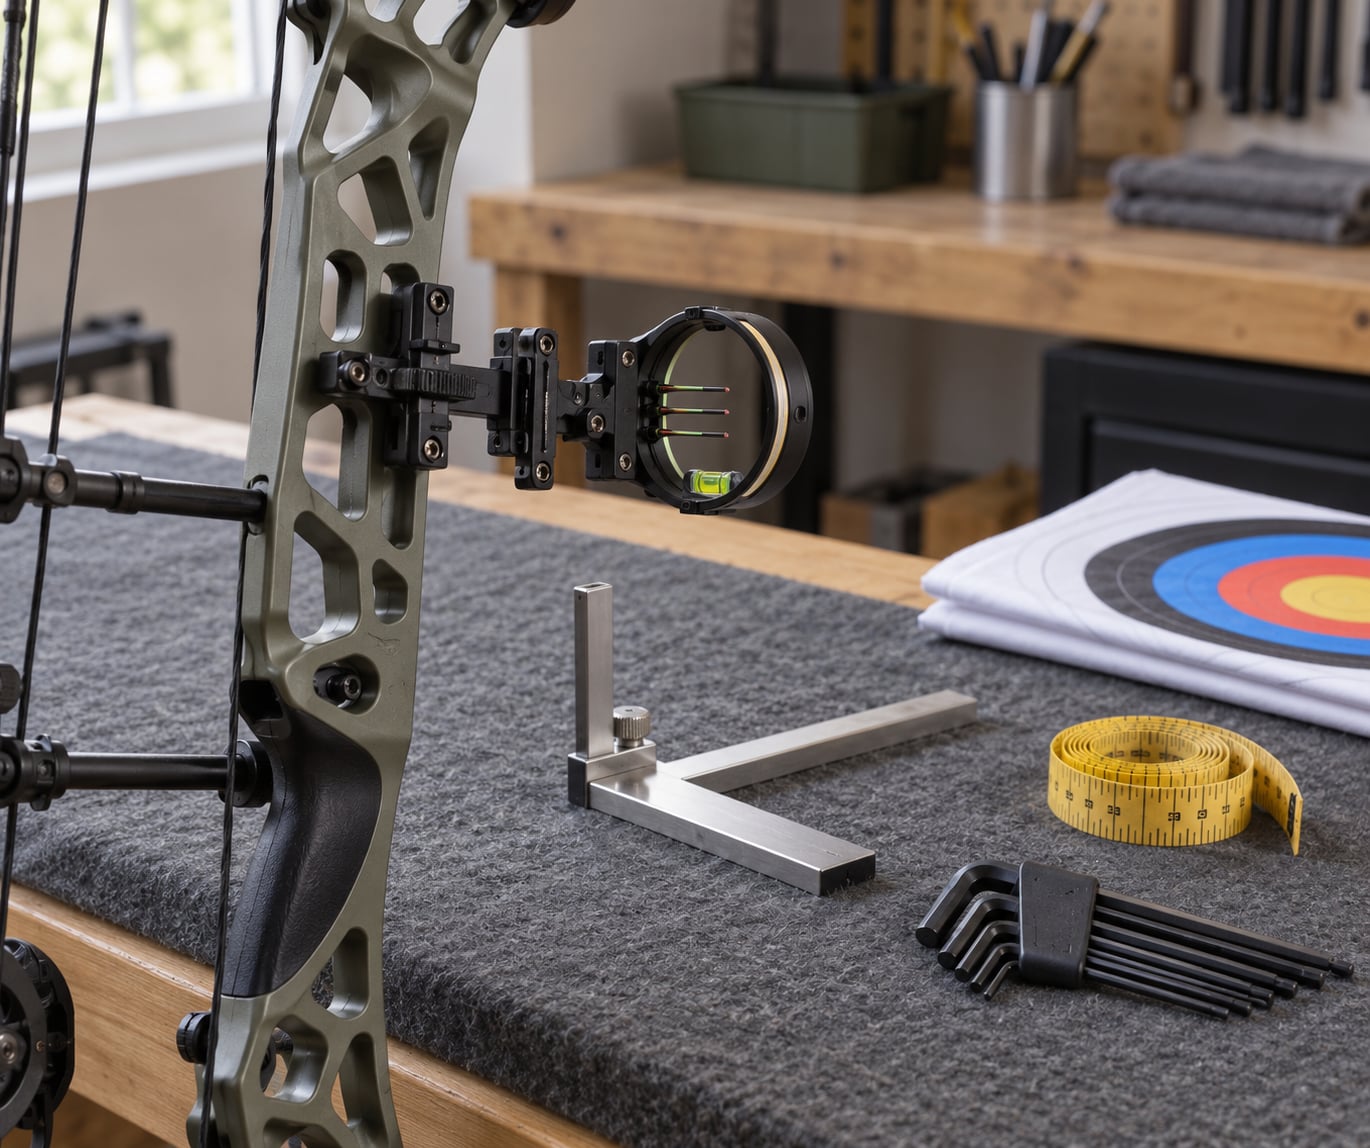
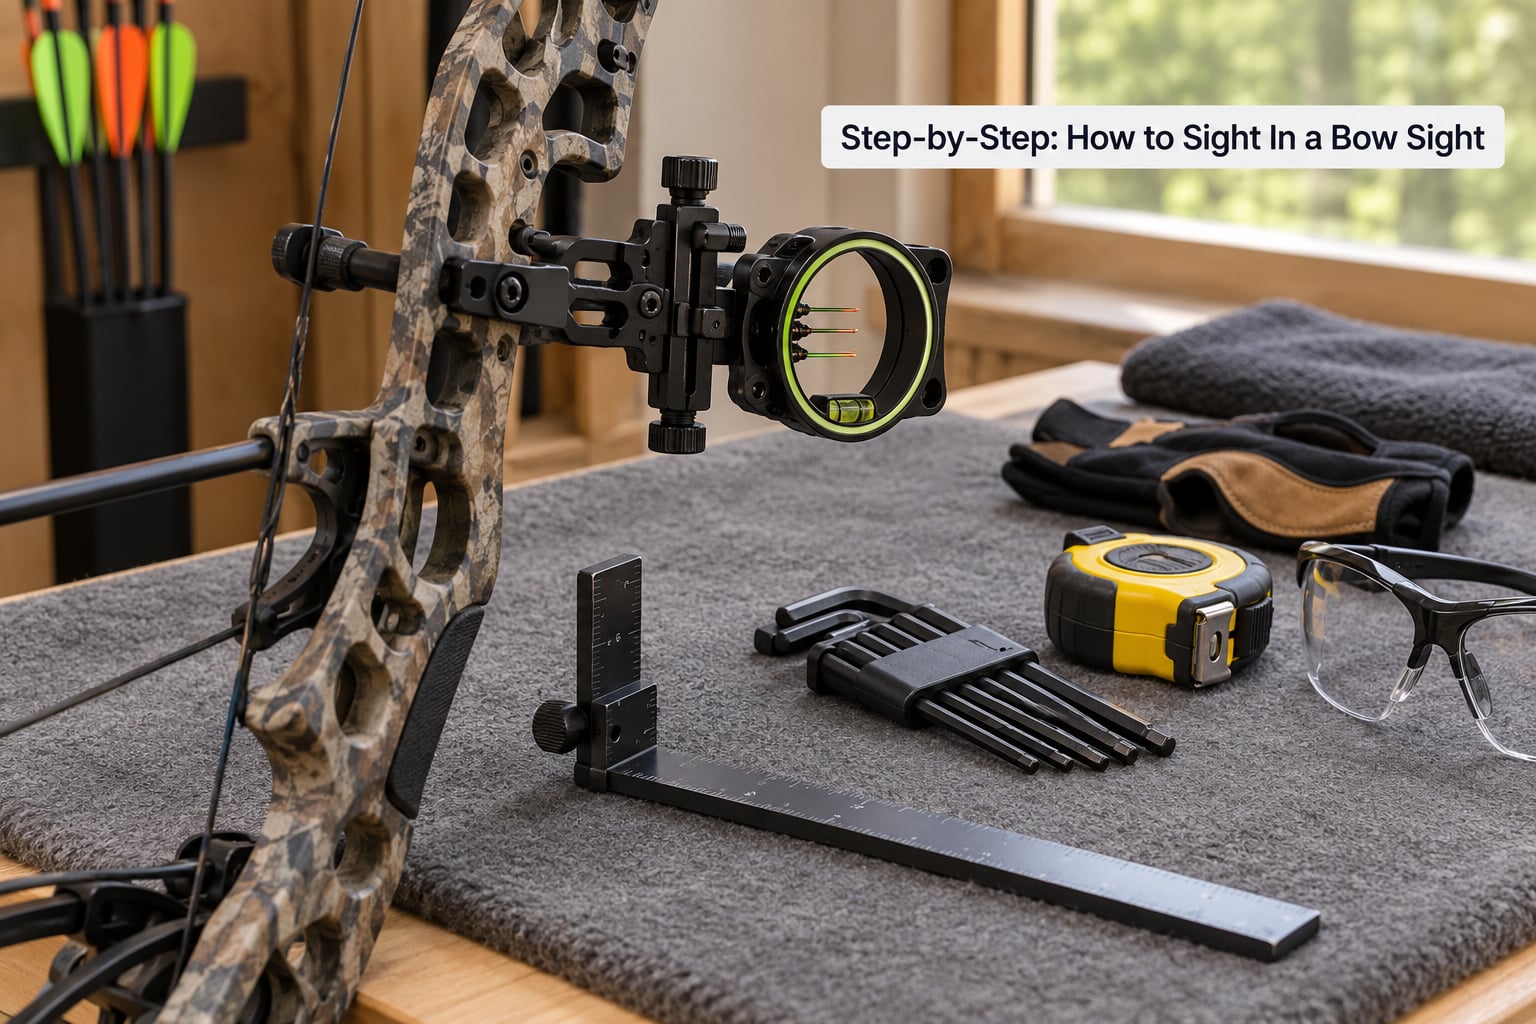
- A hex key or allen wrench set that fits the sight’s adjustment screws
- A measuring tape and a bow square
- A pen, a spare face and a phone to log your settings
A small bubble level clipped to the riser or held against the arrow shaft saves a lot of argument later. So does painter’s tape on the target face, which gives you a crisp vertical line to shoot at and a place to write readings.
Before the first shot, confirm the backstop is rated for your bow and arrow weight and that nothing is behind it that a stray arrow could damage. Wait for a clear range command, and if you are sharing the lane, walk your equipment over only when the range is cold.
Step-by-Step: How to Sight In a Bow Sight
Set a safe, measurable starting distance
Start at 10 yards. That distance gets you on the face of the target with almost any bow, and the arrow still flies fast enough that any correction you make is obvious.
Measure and mark the distance rather than eyeballing it. Ten yards is thirty feet, which is a common source of silent error if you are stepping off by pace.
Check the sight, arrow, and bow setup
Confirm the sight bracket is tight on the riser and that the sight itself will not rotate when you move it. Look at the pin or aperture from behind the bow and make sure it is clean, straight and not bent.
Nock an arrow and check that it sits on the rest consistently, runs straight back to the peep, and clears the rest on release. An arrow that leans or rubs leaves a group you will spend hours blaming on the sight.
If the group is leaning consistently to one side, fix the bow before the sight. On a compound, paper tuning is the usual answer: shoot through a cardboard box with a square cutout at short range and let the hole tell you whether the bow wants the shaft tilted or shifted.
Set the sight near the expected point of impact
Use the sight’s own markings to place the aiming element near the middle of the target. On a multi-pin sight, move the pin you intend to use toward the top of the housing first, so you have room to drop it later.
Do not trust a generic yardage scale as an exact prediction. Pin spacing, arrow speed, bow configuration and pin length all shift where a given pin actually lands. The markings tell you roughly where to start, not where the arrow will stop.
Shoot an initial group
Shoot three to five arrows. Fewer than three gives you a single shot and a personal opinion; more than five and fatigue starts editing your results.
Use the routine you already practise. Stand square, set your anchor, draw through the peep, align the correct sight element with your aiming point, and release without squeezing the trigger. Hold your follow-through until the arrow lands every time.
Read the group and make small adjustments
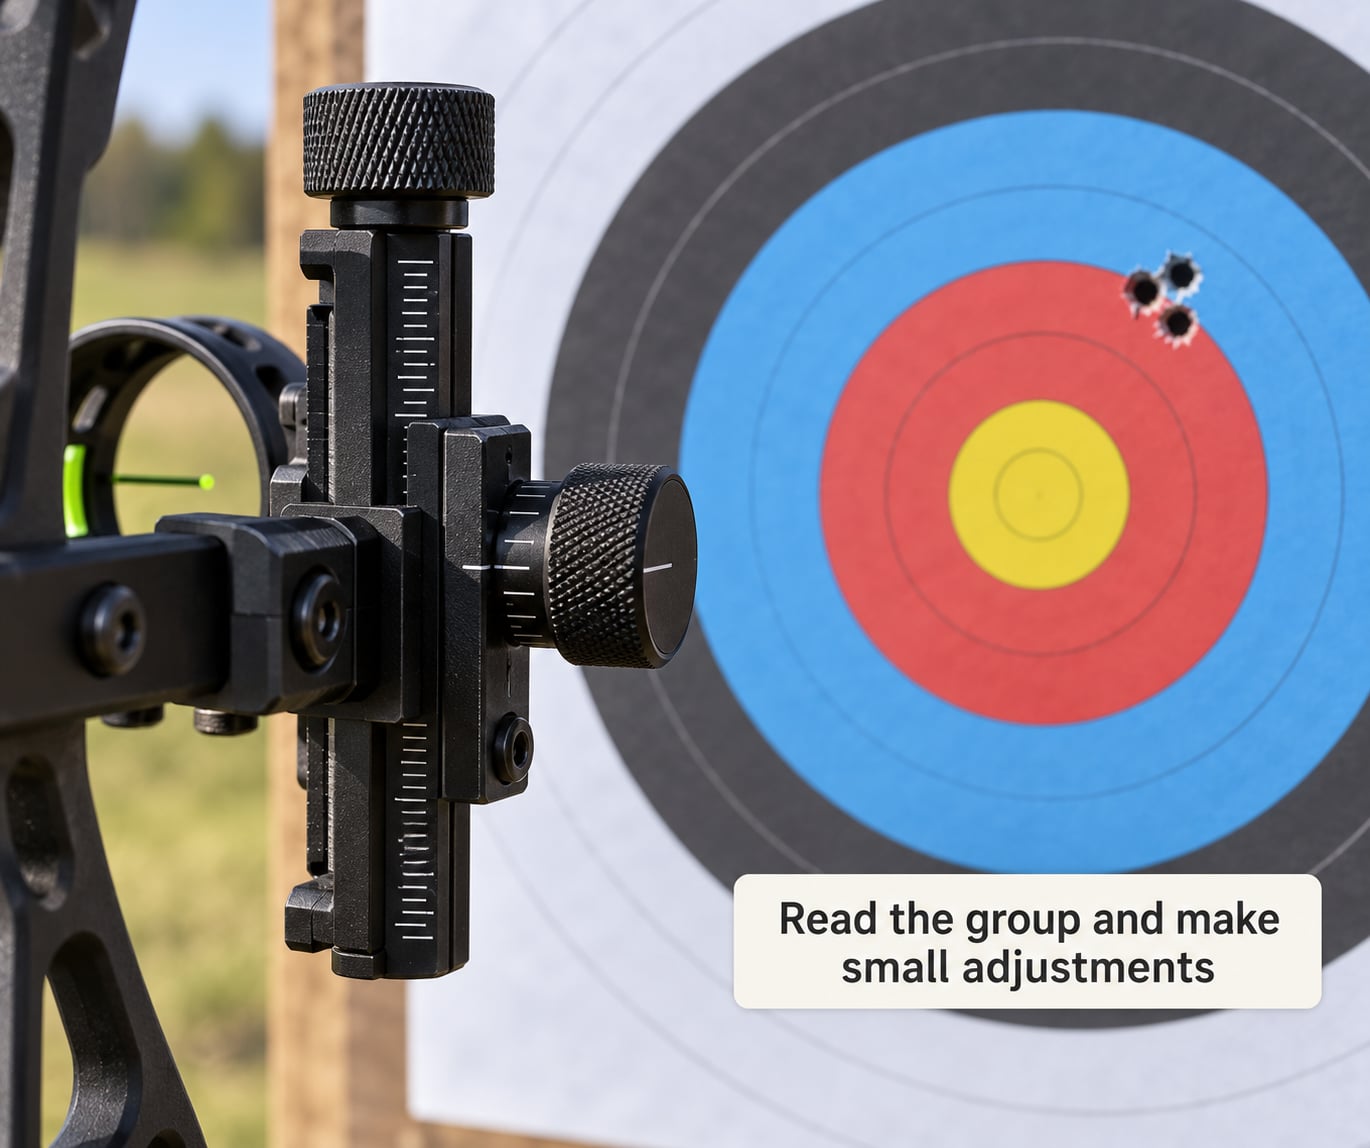
The rule is short enough to memorise: move the sight toward where the group landed. If the arrows grouped left of your aiming point, move the sight left. High, move it up. Low, move it down.
That sounds backwards the first time you hear it, and it is the single most common mistake in the whole process. You are not aiming the pin at the bullseye any more; you are aiming the arrow where you want it to hit.
Measure the distance from your aiming point to the centre of the group, not from one stray hole. On a sight with separate windage and elevation, windage handles left and right and elevation handles up and down.
A single pin on a multi-pin sight is adjusted with its own screw. The whole housing, sometimes called the master housing, moves every pin at once. That is the right tool for the top pin and for the very first group at close range, and the wrong tool for the second pin at 30 yards, because moving the housing changes every pin you already set.
Move in increments smaller than you think you need. On a micro-click sight that is one click or two. On a screw adjustment with no markings, a fraction of a turn, judged by feel and confirmed by measurement.
| Group landed | Move this | Direction |
|---|---|---|
| Left of aim point | Windage | Left, same distance as the miss |
| Right of aim point | Windage | Right, same distance as the miss |
| Above aim point | Elevation | Up, same distance as the miss |
| Below aim point | Elevation | Down, same distance as the miss |
| Tight group, wrong place | Both, or the pin only | Toward the group |
| Scattered group | Nothing | Change your form, not the sight |
Work it out this way: if the group sits high and right, you slide the sight down and left by the measured distance, and the next group drops and shifts back toward the point you aimed at. The arrow has already shown you the error; the sight change cancels it out.
Confirm zero at the intended distance
Repeat groups until the centre of the group sits where you want it, then move back to the distance you actually shoot. Twenty yards is where most people start, but confirm at 30 or 40 before you call it done.
Once the top pin is zeroed, lock the housing and leave it alone. From that point on, every other pin moves with its own adjustment screw. Shooting groups consistently at your anchor is what separates a zero from a lucky session, and a single precise zero does not mean every arrow will land on the same hole.
Wind is a condition, not a sight fault. If the group drifts in the same direction across several groups on a still day, keep checking the setup rather than chasing it.
Recheck after equipment or condition changes
Verify or re-tune when you change arrows or arrow weight, move to a different arrow rest, change your release or your anchor, have the bow serviced, or come back after weeks away. New strings stretch, and even a quarter inch of stretch moves your zero.
This is a range task with real equipment, not a substitute for instruction. If something on the bow looks damaged, the sight will not hold an adjustment, or you keep getting groups you cannot explain, stop and have a qualified archery technician or coach look at it.
Common Mistakes
Moving the sight after one arrow. One arrow is not a group. Shoot three minimum, discard the obvious flyer, and average what is left.
Adjusting without measuring. Guessing at a quarter inch of movement is how zeroing sessions drag on. Put tape on the face, mark your aim point, and measure the gap.
Changing form and sight settings at the same time. If you are also switching your anchor or release, you have two variables and no data. Freeze your technique while you dial the sight in.
Confusing grouping with aim. A tight group in the wrong place is a sighting problem you fix by moving the sight. A scattered group is a technique problem that no adjustment will fix.
Using the wrong pin. If a 3-pin sight is set 20, 40 and 60, the middle pin is not for 30 yards. Shoot the pin you actually need and leave the rest alone.
Skipping the peep and rest checks. A peep that sits too high, or a rotated peep blocking the sight picture, produces groups no sight can correct. Nock set, arrow alignment and rest height come before any adjustment screw.
Ignoring damaged or mismatched equipment. A bent pin, a cracked arrow or a sight bracket that has loosened will not tighten itself back into accuracy. Replace the part.
Tips for a Reliable Repeatable Zero
Take enough shots to see a pattern rather than a moment. Three groups of three arrows from the same stance tell you far more than nine arrows thrown quickly.
Write your settings down. A short log of pin, yardage, adjustment reading and date saves you a full session the next time you want to know what you set last season.
Use the same target face for the whole session. Switching faces resets your visual reference and makes a real correction look like no correction at all.
Warm up before fine tuning. Ten relaxed arrows off the target will tell you more about your anchor and release than twenty rushed ones, and tired arms are the reason so many beginners feel their sight will not hold.
Change one thing at a time. New arrows, a different pin, one notch of windage, a new target face. Each of those alone is a small change, and together they make a session impossible to read.
Ask for help early. A shop visit with a technician and a set of notes is faster than three evenings of guessing, especially with a first bow or a sight you have never adjusted before.
Frequently Asked Questions
How long does it take to sight in a bow sight?
A careful first session takes 30 minutes to an hour with a multi-pin sight, since you set each pin at its own distance. A single-pin slider takes longer at first because you chase one setting through several ranges. Rechecking a setup that has not changed is a few minutes: one group at 20 yards to confirm the top pin, one at your furthest distance.
What distance should I use to sight in my bow?
Start at 10 yards to get on the face, then set your first real zero at 20 yards. Common configurations are 3-pin at 20, 40 and 60 yards, and 5-pin at 20, 30, 40, 50 and 60. Choose the gaps that match how far you actually shoot and confirm the zero at your furthest distance before the season.
Should I dry fire a bow while adjusting the sight?
No. Dry firing can damage the bow, limbs, string or cables and it is a serious safety risk. Adjust the sight with the bow at rest on a safe surface, or use the manufacturer’s approved procedure for sight installation. Most sights are designed to be adjusted off the bow entirely, so there is no reason to test them with a loaded string.
Do I move the sight toward the group or away from it?
Toward the group. If your arrows land left of the aiming point, move the sight left so the next group moves right into place. If they land high, move the sight up so the group drops. This feels inverted at first because you are cancelling the error rather than chasing it.
Should I move the whole sight or just the pin?
Move the whole housing only when setting the first pin at close range. After that, lock the housing and adjust each remaining pin with its own screw, because the housing moves every pin at once and would undo the pins you already set.
Why won’t my bow sight stay adjusted?
Common causes are a loose mounting bolt, over-torqued adjustment screws that have started to strip, string stretch after a new string or serve, and vibration loosening everything after a trip or in a vehicle. Tighten the bracket to the manufacturer’s specification, never crank an adjustment screw hard, and re-check your zero after strings are replaced.
Conclusion
Start with a secure setup, a measured 10-yard distance and three arrows in a group you can measure. The whole of how to sight in a bow sight comes down to one habit: move the sight toward the group in small increments, lock the housing once the top pin is zeroed, and set each remaining pin on its own. When the group is repeatable at the distance you will actually shoot, write the readings down and stop for the day.