Learning how to plan a first backpacking trip comes down to eight decisions made in the right order: how far you walk, when you go, which trail, how you get there, how fit you are, what you carry, what you eat, and when you turn back. Get those eight right and the trip looks manageable. Skip one and it becomes the trip everybody warns you about.
The fastest way to a good first trip is to make it small. One or two nights, five to ten miles total, on a trail with a reliable water source and a bail-out route you can reach before dark. Everything below builds on that idea.
Most of this planning happens at a kitchen table over a few weeks, not on the trail. Budget two to six weeks between deciding to go and stepping on the trailhead, and add more if a permit lottery is involved.
Table of Contents
- What You Need to Plan a First Backpacking Trip
- Step-by-Step: How to Plan a First Backpacking Trip in Eight Stages
- 1. How to Plan a First Backpacking Trip Around a Real Limit
- 2. Pick a Season and Overnight Location
- 3. Choose a Route You Can Finish
- 4. Build a Transport and Permit Plan
- 5. Test Your Fitness and Navigation Skills
- 6. Choose Gear by Comfort and Function
- 7. Plan Food, Water and a Realistic Budget
- 8. Run a Shakedown and Share Your Itinerary
- Common Mistakes to Avoid
- Frequently Asked Questions
- How far should a first backpacking trip be?
- How long should a first backpacking trip last?
- Do I need to buy all my gear before going?
- Is it safe to go backpacking alone as a beginner?
- How do beginners choose a beginner-friendly backpacking route?
- What is the big 3 in backpacking?
- Conclusion
What You Need to Plan a First Backpacking Trip
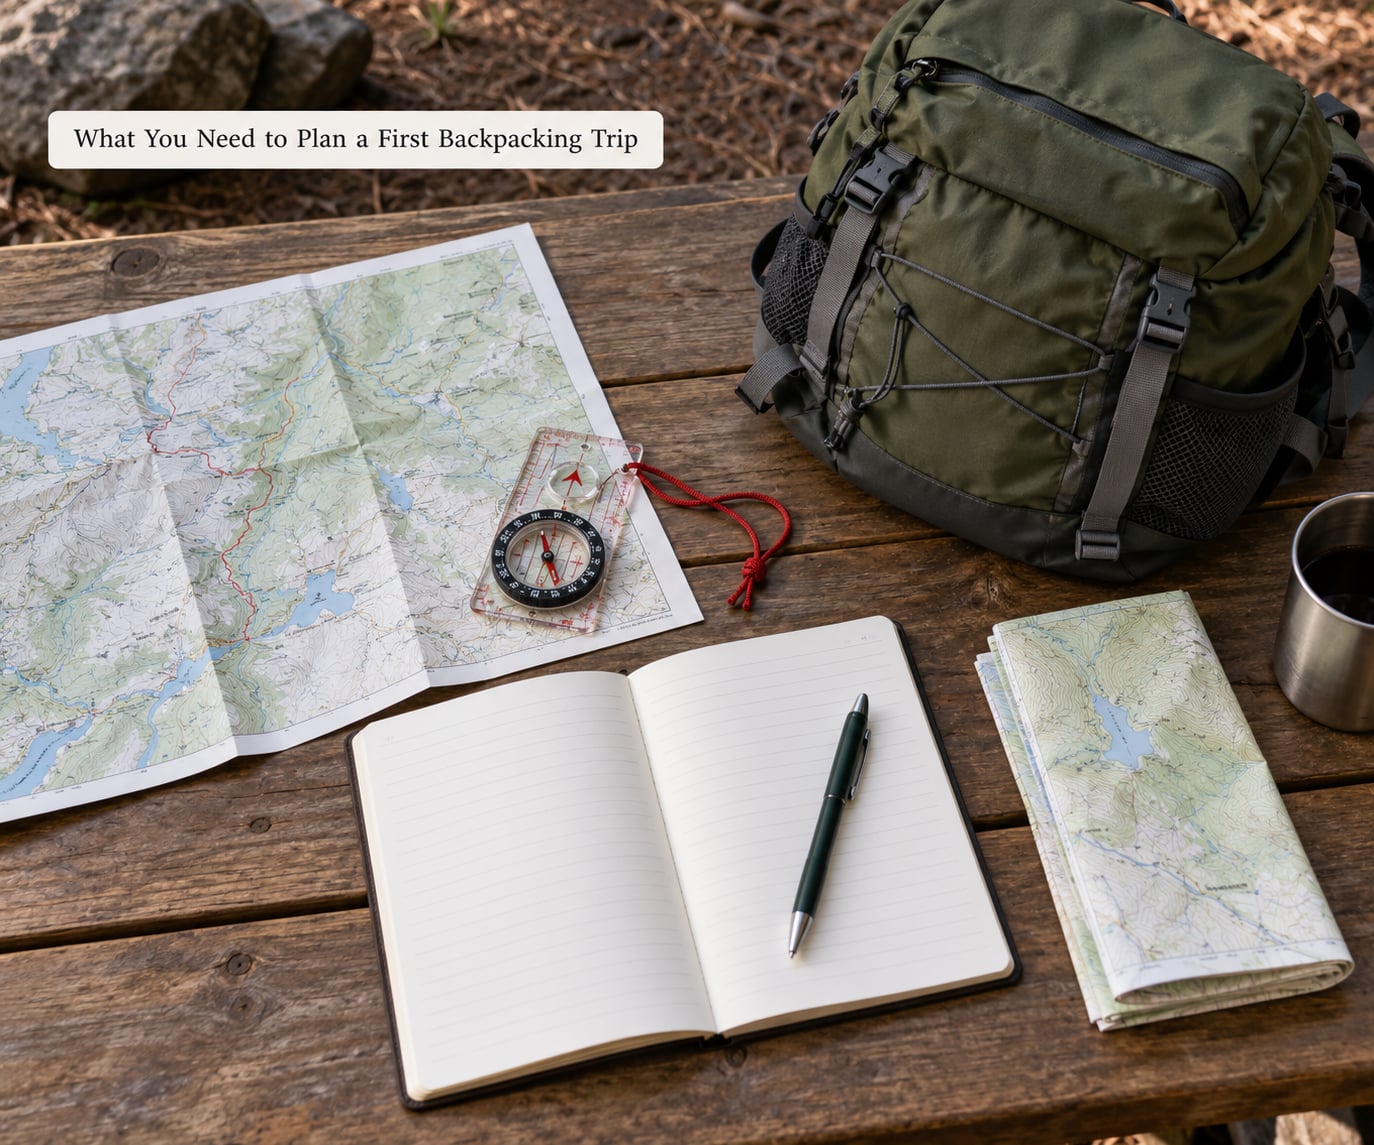
Before you look at tents, settle these eleven basics. If you cannot fill in one of them, that gap is your next research task, not a reason to buy gear.
- Destination and region. Pick the general area first. Weather, permit systems and access all follow from it.
- Season and dates. Daylight hours, snowpack, mud and insects are set by the season, not by your wishful thinking.
- Trip length. One night, two nights or a long weekend. Beginners do well with one or two.
- Overnight experience. Have you slept in a tent outside a campground before? That changes your gear list a lot.
- Distance and elevation gain. Miles matter less than climb. A flat ten miles is easier than four miles with 2,500 feet of gain.
- Access point. Which trailhead, and can you actually get there at the hour you need?
- Permits. Required, walk-up, or reservation-based. These three change everything downstream.
- Transportation. Parking fees, shuttles, public transit, a ride from a friend.
- Fitness level. Honest one. Can you hike carrying 25 to 35 pounds for five hours on rough ground?
- Water sources. How many, how reliable, and what happens if one is dry.
- Contingency plan. Where you go instead, and the exact condition that sends you there.
That last item is the one people skip. Write the backup down now, before the trip is a sunk cost in your head.
Step-by-Step: How to Plan a First Backpacking Trip in Eight Stages
1. How to Plan a First Backpacking Trip Around a Real Limit
Set one limit you can actually hit, then build everything around it. Most beginners pick their limit backwards, choosing a destination first and hoping the details cooperate.
Work out a conservative daily range instead. If you can comfortably cover 8 miles with 1,500 feet of gain in a five-hour day, plan days of six or seven miles with less gain than that. Add the weight of the pack and a slow start to any estimate.
Check six things before you commit to a route: total distance, total elevation, nights out, water availability, current trail conditions and bailout options. A route that fails on any two of those is not a beginner route.
The easiest suitable route wins. Every experienced backpacker I know has a first trip in their history that was too short and slightly boring, and nobody has ever regretted that.
2. Pick a Season and Overnight Location
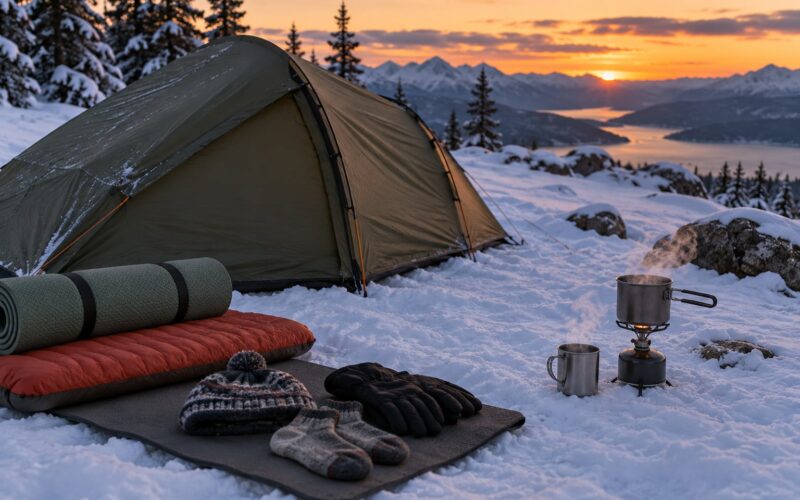
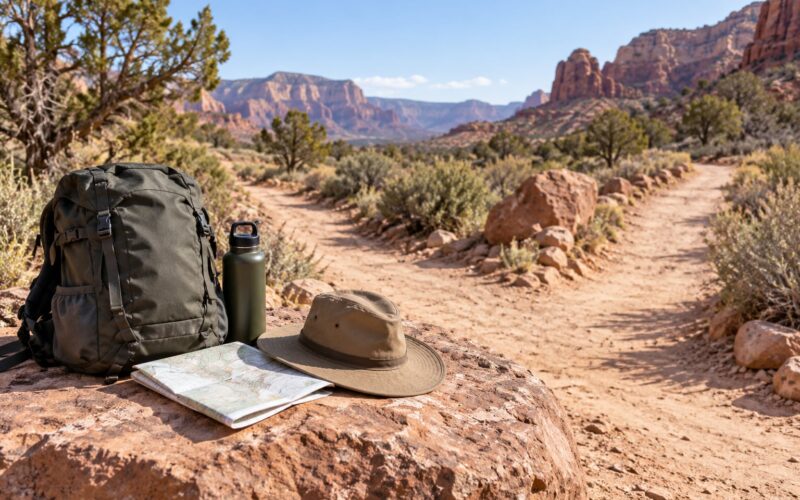
Season decides your difficulty more than any other choice. Spring brings mud, swollen streams and cold nights. Summer brings long days, bugs in some regions and crowded trailheads.
Early fall usually gives the best mix: cooler air, fewer people, more stable water. Winter is a different sport entirely and not a first trip in most terrain.
Whatever you choose, check current conditions before setting the date. Call the managing agency or district office, because their trail and campsite reports are more current than any map or app. Ask specifically about snowpack, water crossings, camp closures, fire restrictions and road access.
3. Choose a Route You Can Finish
Look at official trail information first, then the map. Loop and point-to-point routes need different logistics, and a loop hides a bad day until it is too late to leave.
For a first trip, favor a trail with a moderate grade, some forgiving surface, a water source you have confirmed and at least one way off the route before dark. Exposed scramble, unbridged creek crossings and routes that depend on seasonal snow are all reasons to look elsewhere.
Read the elevation profile, not just the mile marker. And never build a finish plan on a map you have not verified against official information.
4. Build a Transport and Permit Plan
Permits come in three flavors. Some backcountry routes are first-come, some are reservation-only with a lottery months ahead, and some are walk-up at a ranger station. Find out which one applies before you buy anything.
Then work the transportation. A point-to-point route usually needs a shuttle, and shuttle services are seasonal and reservation-based. If you are driving, confirm parking fees, whether the lot fills before dawn, and whether a spot is legal overnight.
Plan a timed arrival and a timed departure with a real margin. If your trailhead requires a 4am alarm to beat the parking crunch, ask yourself whether a route that starts later would be better. Have an alternative if the lot is closed or the road is closed.
5. Test Your Fitness and Navigation Skills
Give yourself four to eight weeks. Three sessions a week is plenty, and one of them should be a loaded hike.
Build up in layers: cardiovascular work on most days, two strength sessions a week for legs and core, and at least two hikes with the actual pack weight. Stairs, hill repeats or a steep local trail handle the elevation side better than anything on a treadmill.
Wear the boots or trail shoes you plan to use. A pair you bought for this trip is a liability on your first overnight.
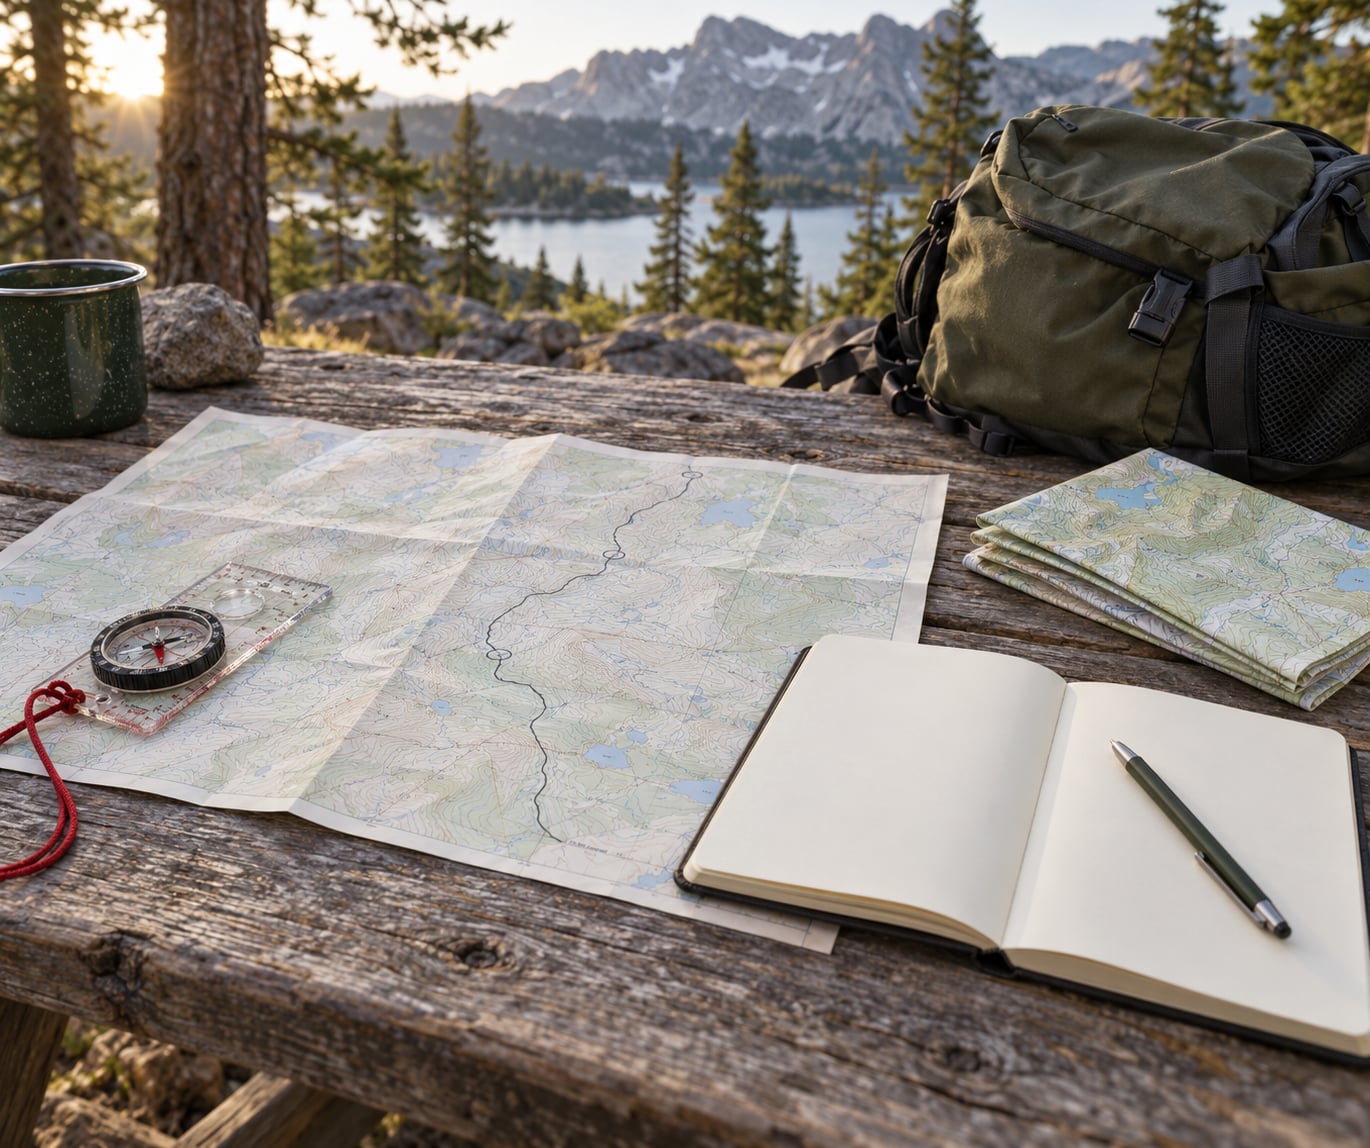
Practice navigation with your phone off. Walk a short loop using a paper map and a compass, then do it again with a downloaded offline map. If you cannot do that before the trip, shorten the route and add more bailout points.
6. Choose Gear by Comfort and Function
The big three decide your comfort more than anything else: the pack that carries everything, the shelter you sleep in, and the sleep system you lie on. Get these right first and the rest is easier.
Starting pack weight for a beginner is typically 30 to 40 pounds fully loaded. Buy a pack that fits your torso length, not one that looks good with a big brand logo on it.
Everything else falls into place: a three-season shelter, a sleeping pad with enough R-value for your expected low, a sleeping bag rated a little below the forecast minimum, layers with no cotton, sturdy footwear, a headlamp, a water treatment method, a first aid kit, navigation tools, a repair kit and an emergency communication option.
Some of that you rent. Shelter, sleep system, pack and stove are the easiest to rent from an outfitter or a friend, and renting is a sensible move for a first trip. Boots you should buy and break in. Test the tent pitch, the stove, the filter and the headlamp at home before you rely on them.
7. Plan Food, Water and a Realistic Budget
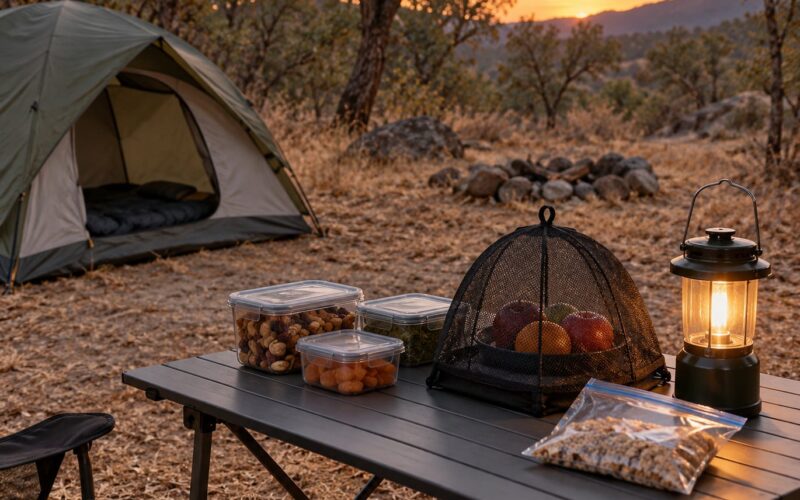
Plan food by carried calories and pack weight, not by meal variety. A beginner carrying 30 pounds of gear has room for roughly a third of that weight in food, which is about three days of normal eating without luxury items.
Freeze-dried meals are the lightest option per calorie. Pasta, rice, tortillas and nut butter are cheaper and heavier, and they work fine for short trips. Keep meals simple: no elaborate dinners, nothing that needs a big pot.
Snack on the trail, not just at meals. It is the single easiest habit to build and the one that makes the second day bearable.
On water, resist fixed rules. How much you carry depends on temperature, your exertion, the season and how reliable your sources are. Plan to confirm each source as you reach it and to always know where the next one is. A source that fails at 11am in July is the most common way a first trip goes wrong.
For the budget, think in categories rather than amounts: gear purchases, food, permits and entrance fees, transportation, fuel, trip insurance and an emergency reserve. Gear is the biggest first-year item, which is another argument for renting. Prices vary by region and change constantly, so build your own numbers from current listings rather than trusting a fixed figure online.
8. Run a Shakedown and Share Your Itinerary
A shakedown is an overnight hike close to home with everything you intend to bring, including the items you rarely use. Its purpose is to find out what fails while you are still an hour from a car.
During it: sleep on the pad, pitch the shelter in the dark, boil water, filter from a stream, use the headlamp, and walk a short navigation leg offline. Weigh the pack and note what you would drop next time. Check that every repair item and first aid supply is where you think it is.
Two or three days before departure, check the forecast for the whole window, read the latest trail report, and finalize the backup route. Then write down the conditions that make you turn around: lightning, a temperature well below forecast, a flooded crossing, an injury that slows you down.
Leave a written itinerary with someone at home: route name, trailhead, planned camps, expected return date, vehicle description, who to call if you are late. Give that person a deadline to start asking questions and a name to call for you. Update them when you arrive at camp.
Common Mistakes to Avoid
Overestimating fitness. Train with the loaded pack. If preparation slips, shorten the route before the trip, not on it.
Choosing a route by straight-line distance. Maps do not show mud, washouts, downed trees or the 400-foot climb around the boulder. Read the elevation profile and condition reports.
Relying on cell service. Assume no signal. Carry a satellite messenger or an inReach-style device if you are going remote, and know how to use it before the trip.
Carrying too much gear. Every extra pound shows up in your knees at mile six. Rent what you can, buy what you will use for years.
Ignoring water and weather. Check the forecast at the 7-day, 3-day and day-before stages, and re-plan when it changes.
Not checking regulations. Fire bans, bear canister requirements, camp limits and permit rules change every season. Read the current land manager’s rules page, not a blog post from three years ago.
Wearing untested footwear. Walk in the exact shoes and socks you will use on every shakedown.
Leaving no turnaround plan. Decide in advance what makes you turn back. It is much easier to bail out early than to explain why you did not.
Skipping the Leave No Trace basics. Pack out what you packed in, camp 200 feet from water and trail where the rules require, keep fires small or skip them when fire bans are in effect, and leave the site better than you found it.
Frequently Asked Questions
How far should a first backpacking trip be?
Most beginners do well with five to ten miles total across one or two nights, keeping elevation gain under about 2,000 feet for the whole trip. The real limit is hours, not miles: if you can hike five to six hours comfortably with a loaded pack, that is roughly right. Pick a route with a clear bail-out point and confirmed water before you commit to anything longer.
How long should a first backpacking trip last?
One or two nights is the sweet spot for a first trip. It is long enough to learn real skills like filtering water, pitching a tent and reading weather, and short enough that a mistake is not expensive. Start from a trailhead you can reach in an hour, and wait until you can run that trip comfortably before extending to three nights or a point-to-point route.
Do I need to buy all my gear before going?
No, and most beginners should not. Rent a pack, tent, sleeping bag and pad from an outfitter or a friend for the first trip, since those items are the easiest to borrow and the hardest to judge in a store. Buy the two things you cannot substitute: footwear you will actually use, and layers for the expected temperature. Everything else can wait for trip two.
Is it safe to go backpacking alone as a beginner?
It is manageable but not ideal for your first outing. Experienced backpackers commonly suggest going with someone who has done it before, or joining a guided trip or club outing from a local outfitter or retailer, which teaches gear setup and decision-making in a low-stakes setting. If you do go solo, choose a short route near a road, carry a satellite messenger, and leave a detailed itinerary with someone at home.
How do beginners choose a beginner-friendly backpacking route?
Look for a trail under ten miles with modest elevation, a confirmed water source, a good campsite within the first three hours, and at least two ways off the route before dark. Check the official trail report from the managing agency for closures, snowpack and fire restrictions, and read recent reviews on the specific trail rather than the destination. Favor routes with a shuttle or a simple out-and-back so a bad day is easy to shorten.
What is the big 3 in backpacking?
The big three are the backpack that carries your gear, the shelter you sleep in, and the sleep system you lie on, which usually means a sleeping bag and a pad together. They dominate both comfort and pack weight, so they are where beginners should spend their money first. Fit matters more than brand in all three, especially the pack, which has to match your torso length.
Conclusion
Pick one conservative route and one date this week. Confirm the current trail report, the campsite rules and the permit process, then work backwards from the trailhead: transportation first, gear second, food and water third, training fourth, and the safety plan last.
Leave the itinerary with someone you trust, and go make the trip small enough that you would happily go again next month. That is how beginners turn into backpackers.