You avoid getting lost on a day hike by planning the route before you leave, carrying two independent navigation tools, noting landmarks as you walk, and turning back the moment the trail stops matching your map. Most lost hikers had a phone, a route and daylight. What they did not have was a plan for the moment things looked wrong.
That last part matters more than gear. One study of search and rescue missions in Yosemite National Park found 62% were called for missing hikers, and an informal reader poll run by 52hikechallenge turned up roughly 55% who had been lost at some point, with under half confident they would know what to do. Getting turned around is common. Turning it into a night on a mountainside is a choice.
Here is the short version:
- Choose a route you can describe from memory before you ever look at it.
- Set a turnaround time before you start, not when you get tired.
- Carry a paper topographic map and a compass as backup for your phone.
- Download the map for offline use before you drive out of signal.
- Photograph the trailhead sign and note your car spot and licence plate.
- Look back at the view every quarter mile so the return route is familiar.
- Stop at every junction and confirm the trail name before you go through it.
- Leave a trip plan with someone who knows when to call for help.
Table of Contents
- What You Need
- Step-by-Step: How to Avoid Getting Lost on a Day Hike
- 1. Check the route, weather, and daylight
- 2. Save the route offline and identify decision points
- 3. Set a communication and check-in plan
- 4. Start with a trailhead and route orientation
- 5. Use landmarks and deliberate checkpoints
- 6. Pause when the route feels uncertain
- 7. Turn back early when time or conditions change
- 8. If you are lost, stop and make yourself easy to find
- Common Mistakes
- How to Prevent the Most Common Day-Hike Navigation Mistakes
- Essential Day-Hike Safety Tips
- Frequently Asked Questions
- What should I do if my phone dies on a hike?
- Is a phone GPS enough for navigating a day hike?
- How far should I walk to find help before turning back?
- How do I navigate in fog with no visibility?
- Do I need a paper map if I have GPS?
- Conclusion
What You Need
Nothing on this list is exotic, and every item solves a specific failure. The point is redundancy: two tools that fail in different ways, plus one person at home who knows when to worry.
- Route details — distance, elevation gain, loop or out-and-back, the bailout points where you could turn around and reach a road.
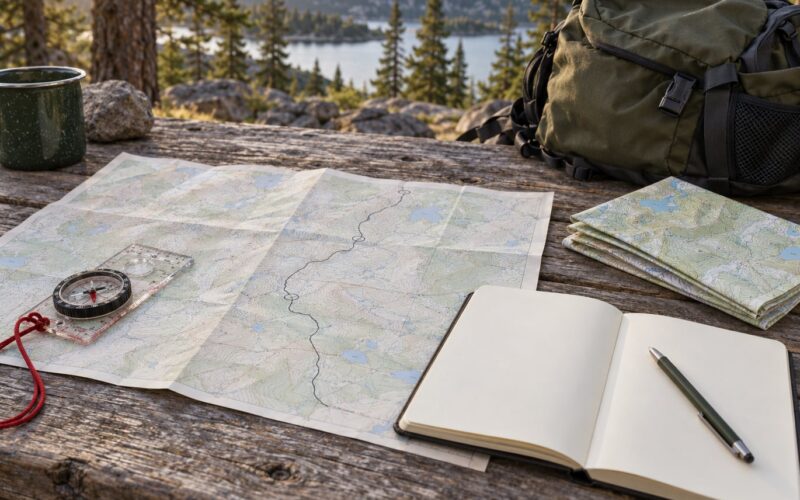
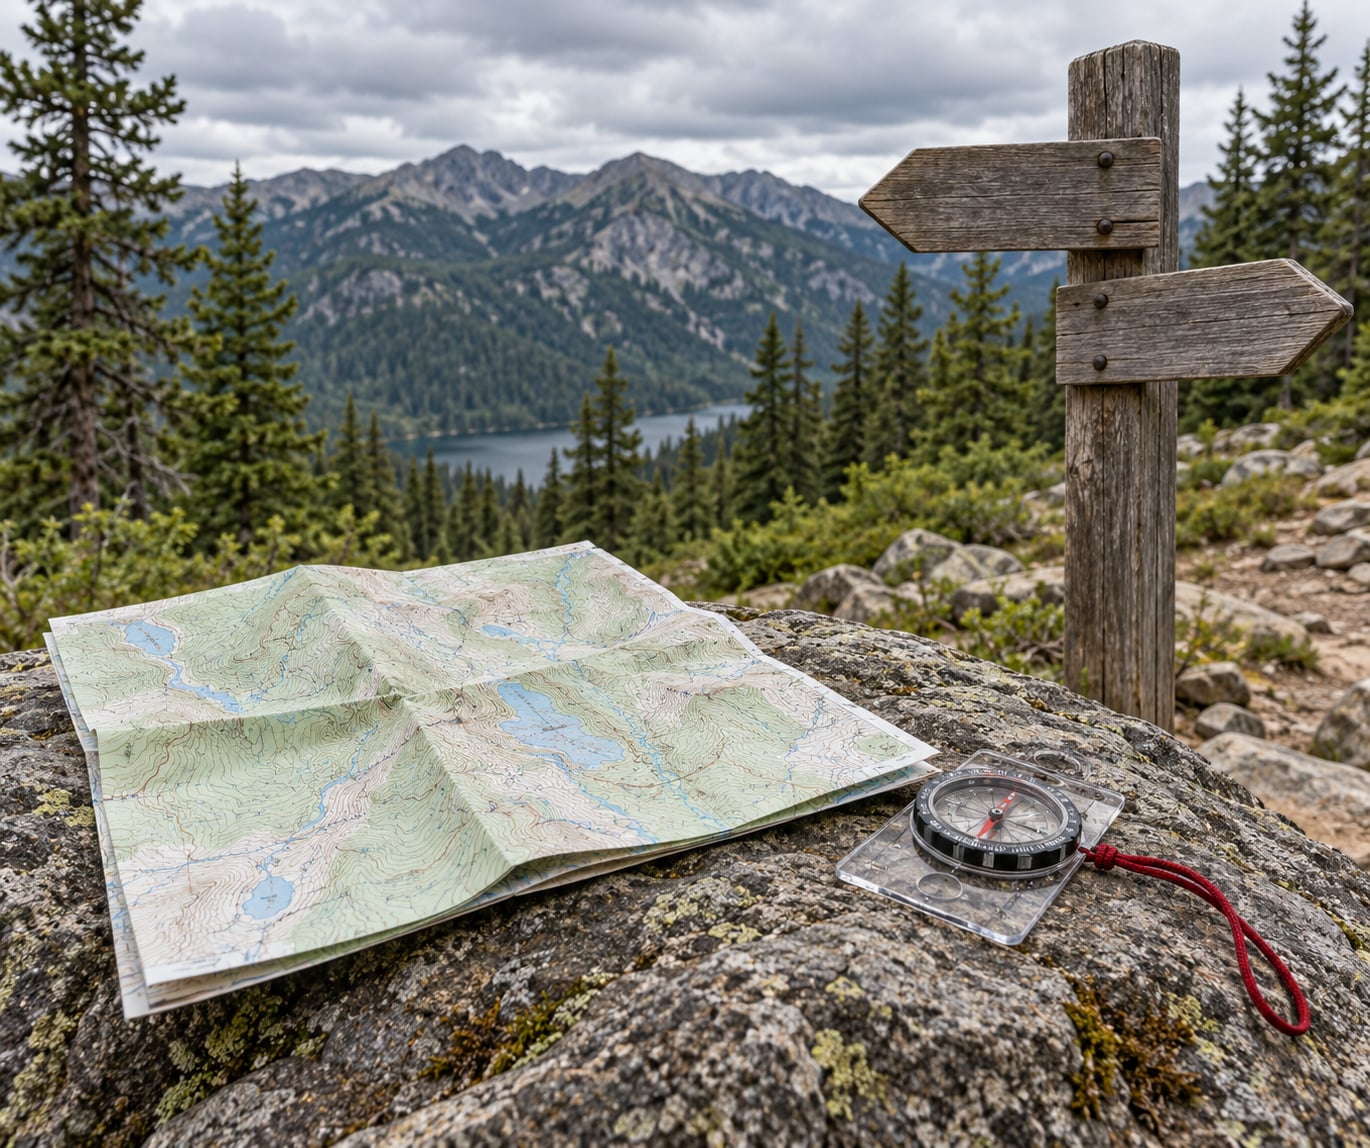
- A paper topographic map in a waterproof sleeve — the last tool that keeps working when a battery dies.
- A compass — with a baseplate if you have one, so you can take a bearing and orient the map.
- A phone with offline maps downloaded — plus a battery bank, since GPS drains power fast and cold drains it faster.
- A whistle — it carries far further than your voice and uses no battery.
- A headlamp and spare batteries — for the hike that runs longer than planned.
- Extra food, water and a weather layer — you cannot route your way out of hypothermia.
- A first-aid kit and a written trip plan — route, start time, expected return, car location, and when to raise the alarm.
Here is how the navigation tools stack up, including what each one cannot do for you.
| Tool | Best for | What it does | What it cannot replace |
|---|---|---|---|
| Paper topographic map | Everything, in reserve | Shows the whole route, every junction and every water source at a glance | It cannot show you where you are right now without a bearing and some practice |
| Baseplate compass | Taking bearings, orienting a map | Gives you a direction in any weather, day or night | It cannot tell you your position on its own, and it needs declination set |
| Offline hiking app | Confirming that you are on route | Shows your track, your distance covered and your elevation against the planned route | It cannot help with a dead battery, poor signal or a canopy of dense trees |
| GPS watch | Long days with your hands busy | Tracks your position and route hands-free, with a long battery life | It cannot replace map reading, and small screens hide detail at junctions |
| Satellite messenger | Remote terrain, solo hikers | Sends messages and coordinates where there is no cell service | It is not a navigation tool and it does nothing to keep you on route |
Step-by-Step: How to Avoid Getting Lost on a Day Hike
The walkthrough below follows the order that matters. Planning happens at home, orientation happens at the trailhead, and the lost-hiker steps only come into play if the earlier ones failed.
1. Check the route, weather, and daylight
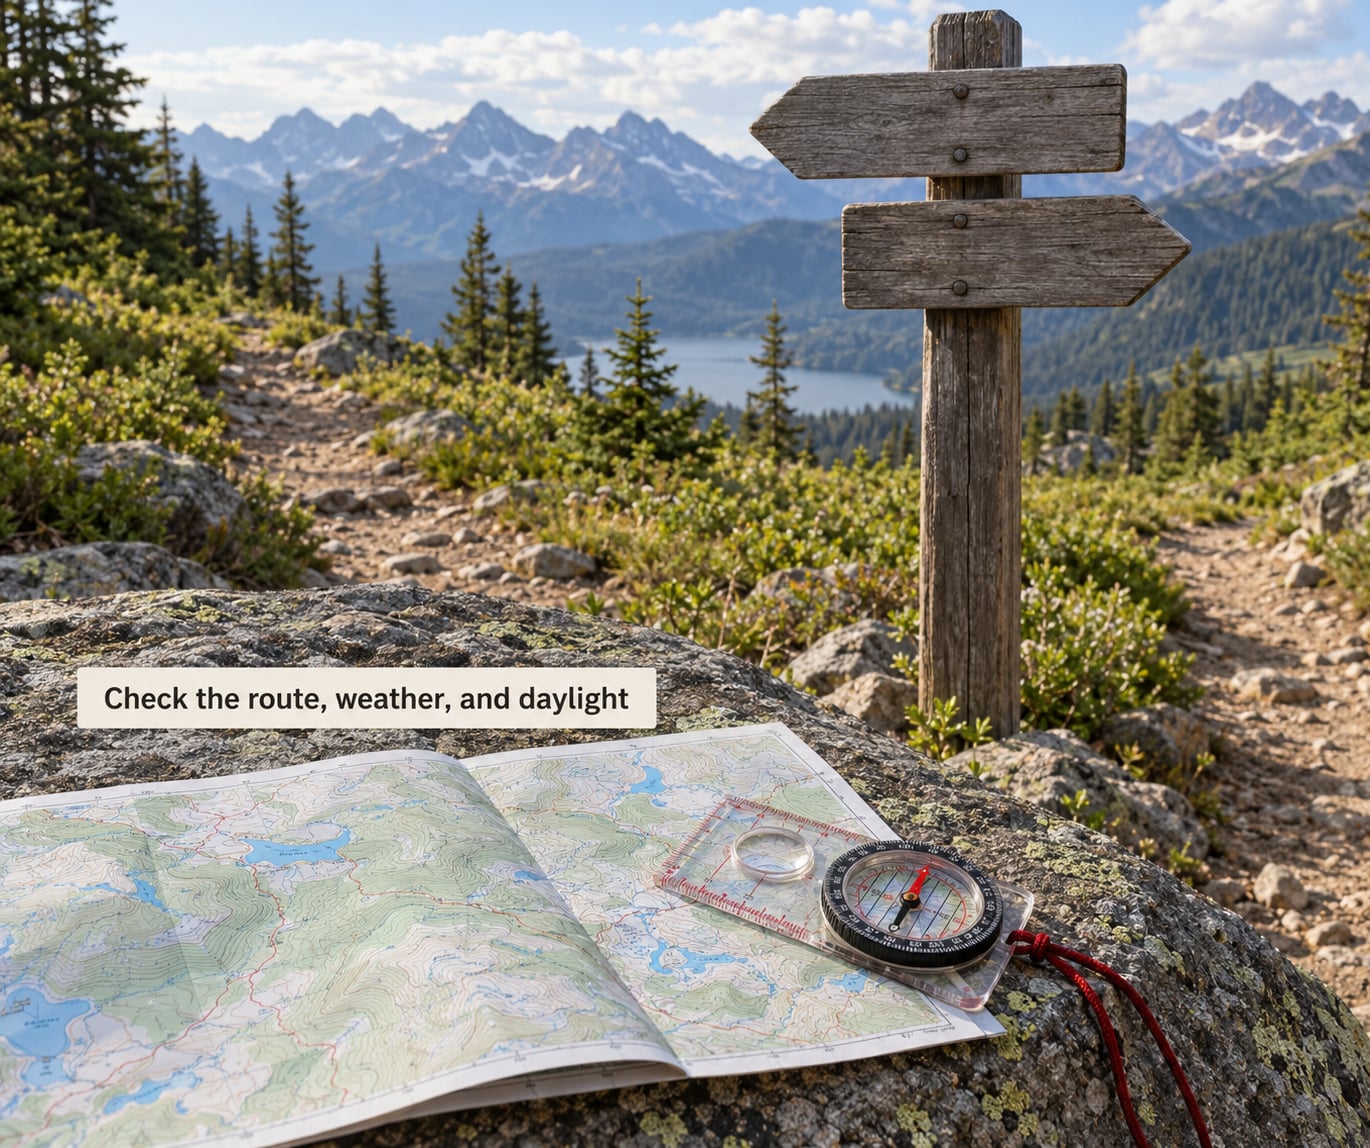
Open the route on a map and read four things: total distance, elevation gain, the type of terrain, and where the trail crosses a road or a signed junction you would recognise. A 6-mile flat loop and a 6-mile climb with 2,000 feet of gain are completely different days, and the map is the only place that tells you so honestly.
Then check three more things: trail closures, the hourly forecast, and the time sunset. Write down a turnaround time that is two hours before dark, whatever the plan says. If the weather is already poor or a storm is due, shorten the route or postpone it. You worked hard to avoid getting lost, and skipping a bad-weather hike is the cheapest decision on this whole list.
2. Save the route offline and identify decision points
Download the map for the whole area while you still have signal, and save the trailhead and your destination as waypoints. Apps such as AllTrails, Gaia GPS, Cairn and Spyglass all let you download a region in advance, and it is worth confirming the download finished before you leave rather than discovering it in the valley.
With the route on screen, mark the decision points before you set off: every junction where two trails meet, every road crossing, every water source, and one or two spots where you could turn around and reach a road or car. Marking turnaround points in advance is what makes turning back feel like a plan instead of a defeat.
Once you are out of signal, switch the phone to airplane mode and open the map again. GPS still works in airplane mode because it receives from satellites rather than cell towers. If the map still will not open, you did not finish the download, and now is the time to walk back to the trailhead and fix it.
3. Set a communication and check-in plan
Give one person at home your route, your start time, your expected return, where you parked and what to do if you are late. Include a clear trigger such as two hours past your expected return, and ask them to call the land manager or emergency services rather than waiting for a reply from you.
Agree on what your check-ins look like. A text saying where you are costs almost no battery, while a video call or a long voice message burns a lot. Turn on low-power mode, keep the screen dark, and check messages at planned waypoints rather than continuously. A satellite messenger adds a real option in terrain with no coverage at all.
4. Start with a trailhead and route orientation
Spend five minutes at the trailhead. Confirm the trail name on the sign matches the one in your app, since two trails frequently share a trailhead. Check the direction of travel, the distance and any conditions note posted there.
Then photograph the sign and your car, including the licence plate and the row of vehicles next to yours. Finding a specific car in a trailhead lot at dusk is harder than it sounds, and search and rescue teams start with that detail.
5. Use landmarks and deliberate checkpoints
The single most useful habit for avoiding getting lost on a day hike is looking back. Every quarter mile or so, stop, turn around and actually look at what you are walking away from, then note two or three features: the shape of the ridge, the creek crossing, the stand of dead trees, the water tower. You are building a return view you will recognise in the opposite direction.
Navigate with at least two sources and let them agree. If the app says you are on the trail and the blazes say you are not, stop and work it out on the map rather than picking whichever is more convenient. At every junction, read the sign, count your companions, and confirm the trail name on the far side matches the one you are on.
Trail markers follow conventions that differ by region, so know what you are looking at before you trust it.
| Region | Typical marker | What to watch |
|---|---|---|
| United States | Blazes painted on trees or posts | Colours vary by land agency, and blaze frequency changes between forests |
| United Kingdom and Europe | Waymark arrows and coloured route markers | Yellow arrows mark a public footpath; colours denote difficulty |
| Alps | Painted route numbers and red-and-white waymarks | Numbers are posted at junctions and repeated along the path |
| Anywhere | Cairns and stacked rock piles | Common on rocky terrain, easily mistaken for natural rock, so do not rely on them alone |
Two cautions about markers. Overgrowth and rockfall can leave a gap where a blaze used to be, and a blaze may sit just off the path where a side trail bends away. And avoid every unofficial shortcut that looks convenient; the shortcut that saves ten minutes is a common reason a search and rescue team gets called.
6. Pause when the route feels uncertain
That uneasy feeling is information, not failure. Stop where you are, ideally in a safe place away from rockfall or water, and put in the work of comparing what you see against what you expected: trail width, blazes, the shape of the terrain on your map, and the distance since your last confirmed point.
If you cannot resolve the disagreement within a few minutes, walk back to the last point you were certain of. Retracing a known section is slow, boring and entirely successful. On the way back, watch the trail in the direction you will need it later.
If you are trying to work out your position from the map rather than retracing, the technique is called resection. Pick two landmarks you can identify on the map, take a compass bearing to each, draw the back bearings from them, and where the lines cross is where you are standing.
7. Turn back early when time or conditions change
Compare your actual situation against the plan instead of against your destination. Are you behind on time? Has the weather closed in? Is water running low, are your legs finished, or has the trail become harder than the map suggested?
If any answer is yes, turn around. Reaching the trailhead an hour earlier than planned costs an afternoon; coming back in the dark with no light and a weak battery costs the search that was called for you. On r/hiking, the consensus is close to unanimous that turning back is almost always the right call once you are unsure, and the hikers who regret turning back are rare.
8. If you are lost, stop and make yourself easy to find
The US Forest Service STOP protocol is the standard response: Stop, Think, Observe, Plan. Stop walking, because moving while confused widens the search area. Think back through your route, focusing on the last moment you were certain of where you were. Observe what you can see, hear and smell, and note any distant feature that might help. Plan the smallest sensible next action.
Searchers start from your last known point, so staying put beats wandering almost every time. Call emergency services if you have signal, share your coordinates or a precise description of where you are, and then stop moving. Stay visible and out of drainage bottoms, keep warm and hydrated, conserve battery by putting the phone in airplane mode between attempts, and blow your whistle periodically rather than shouting.
A note on the ego involved: experienced map readers get turned around too. A survival instructor writing for Outside described being lost and expecting to be again, and points out that two skilled woodsmen once read their maps right through a Michigan bushwhack and still went the wrong way because they talked and daydreamed instead of anchoring landmarks. Hikers on r/CampingandHiking describe the same drift, where conversation lulls and attention wanders off the trail. Checking your map is a habit, not an admission that something has gone wrong.
Common Mistakes
How to Prevent the Most Common Day-Hike Navigation Mistakes
- Trusting one device. Phones lose signal, run out of battery and lose accuracy under heavy tree cover. A paper map and compass fail at completely different times.
- Skipping the return plan. Not knowing where your car is, what you told someone at home or when you are meant to be back removes every option you would otherwise have.
- Ignoring signs. A junction sign is the cheapest information on the trail and the easiest one to walk past.
- Taking shortcuts. The unofficial bypass is where most off-trail rescues start.
- Starting a hike without a turnaround time. Set it in advance, because nobody chooses to turn around well while tired.
- Pushing on after dark. A headlamp shows the next twenty metres of trail and nothing about where that trail leads.
- Letting the group drift. Agree a pace, pick regroup points, and count heads at every junction.
Essential Day-Hike Safety Tips
Carry more water than the forecast suggests and drink it before you are thirsty. Check the sky every time you cross a ridge, since conditions change faster than any map shows. Dress in layers you can adjust rather than one warm garment that traps sweat.
Watch for wildlife by making noise on blind corners and by keeping food in a container that closes properly. Respect trail boundaries and stay on designated routes; going around damage or a closed section is how hikers end up off marked trail with no reliable markers.
If you want to close the gap on technique, a map and compass course from REI, the Sierra Club or The Mountaineers is the fastest route. Many land managers also run free navigation classes, and an afternoon of practice on a familiar trail is worth more than reading another guide, including this one.
Frequently Asked Questions
What should I do if my phone dies on a hike?
Stop where you are and do not start wandering, because searchers begin from your last known point. Note the time, the weather and the direction you last knew you were heading. A paper map and compass let you continue or retrace, and a whistle costs nothing in battery. Send the detail to your contact before the phone dies completely so someone has a starting point.
Is a phone GPS enough for navigating a day hike?
It is enough on an easy, well-marked trail with good reception for the download and a charged battery. It stops being enough under heavy tree cover, in fog, in canyons, or anywhere the route leaves a maintained path. That is why experienced hikers carry a paper topographic map and compass as backup, and why they know how to use both.
How far should I walk to find help before turning back?
On a day hike the usual answer is that you should not need to. If you are off route, retrace your steps to the last confirmed point first, because that route is known and the alternative is not. Walking downhill at night often leads you farther from the trail rather than closer to a road. If retracing fails and you have signal, call emergency services and stay where you are.
How do I navigate in fog with no visibility?
Fog removes every distant landmark, so stop relying on distant views and switch to the tools that still work: blazes, junction signs, your compass bearing and the position line on your map. Move more slowly and keep checking position at short intervals rather than long ones. If visibility does not improve and you are off route, turning back along your known track beats pressing forward.
Do I need a paper map if I have GPS?
Yes, as backup, and the cost of carrying one is a sheet of paper in a ziplock bag. GPS fails for a long list of reasons including a flat battery, a cracked screen, a dropped phone, a damaged app update or a dead power bank. A paper map with a compass needs none of them. It also forces you to understand the route rather than follow a line that happens to be moving.
Conclusion
To avoid getting lost on a day hike, four things happen before your boots hit the trail: check the route, download the map for offline use and carry a compass, leave a trip plan with someone who knows when to call for help, and write down a turnaround time two hours before dark. Everything else on the trail is habit rather than gear.
Look back every quarter mile, count heads at every junction, and treat the moment the trail stops matching your map as information to act on. Turning back early feels bad for about ten minutes. Turning back late is what puts a search team on the mountain.
If it has been a while since you practised, start with a familiar trail near home and take a class. Refresh your saved maps at the start of 2026, and once more before the season changes.