You shoot a bow more accurately by repeating the same seven actions in the same order every single time: equipment check, stance, anchor, draw, aim, release, follow-through. Accuracy is not strength or a better bow. It is consistency, and consistency is a habit you can build in an afternoon of practice.
Shooters who chase new gear, swap anchor points mid-session, or skip straight to 60 yards usually stall out. Shooters who write down a shot routine, mark their feet, pick one anchor point, and log their groups every session tighten up within a few hundred arrows.
This is beginner friendly. You need a safe range with a backstop, a bow, matched arrows, and about an hour. Everything below works for a recurve, a compound, or a traditional bow; the mechanics are the same, only the sight and release differ.
Table of Contents
- What You Need
- Step-by-Step: How to Shoot a Bow More Accurately
- Step 1: Check Your Equipment and Shooting Area
- Step 2: Establish a Comfortable Stance
- Step 3: Set Your Anchor Point
- Step 4: Draw the Bow Smoothly and Consistently
- Step 5: Aim While Keeping the Sight Picture Level
- Step 6: Release and Follow Through Without Jerking
- Step 7: Shoot Groups, Adjust, and Repeat
- Common Mistakes
- Frequently Asked Questions
- How long does it take to shoot a bow more accurately?
- How long should I practice archery each week to improve accuracy?
- Why does my bow consistently shoot left or right?
- Should I use a release aid or shoot with a finger tab?
- How do I fix target panic when shooting a bow?
- When should a beginner take lessons from an archery coach?
- Conclusion: Build Accuracy One Repetition at a Time
What You Need
Accuracy practice fails without the right setup, so gather this first. Most of it you already own, and none of it matters more than the first item.
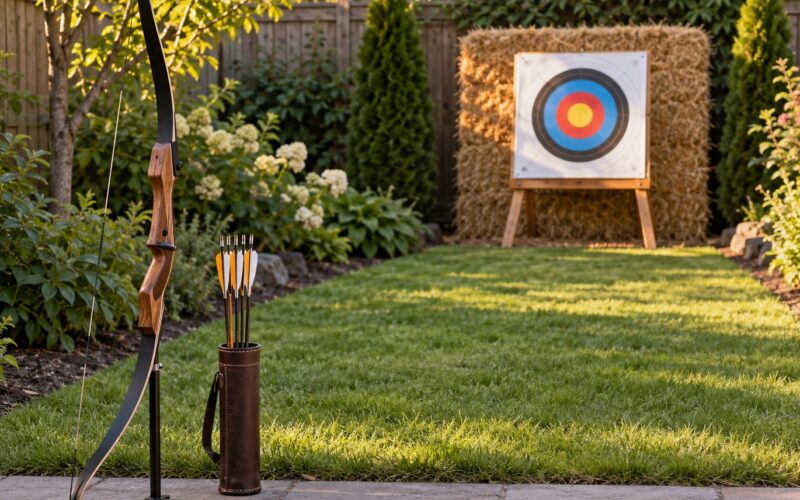
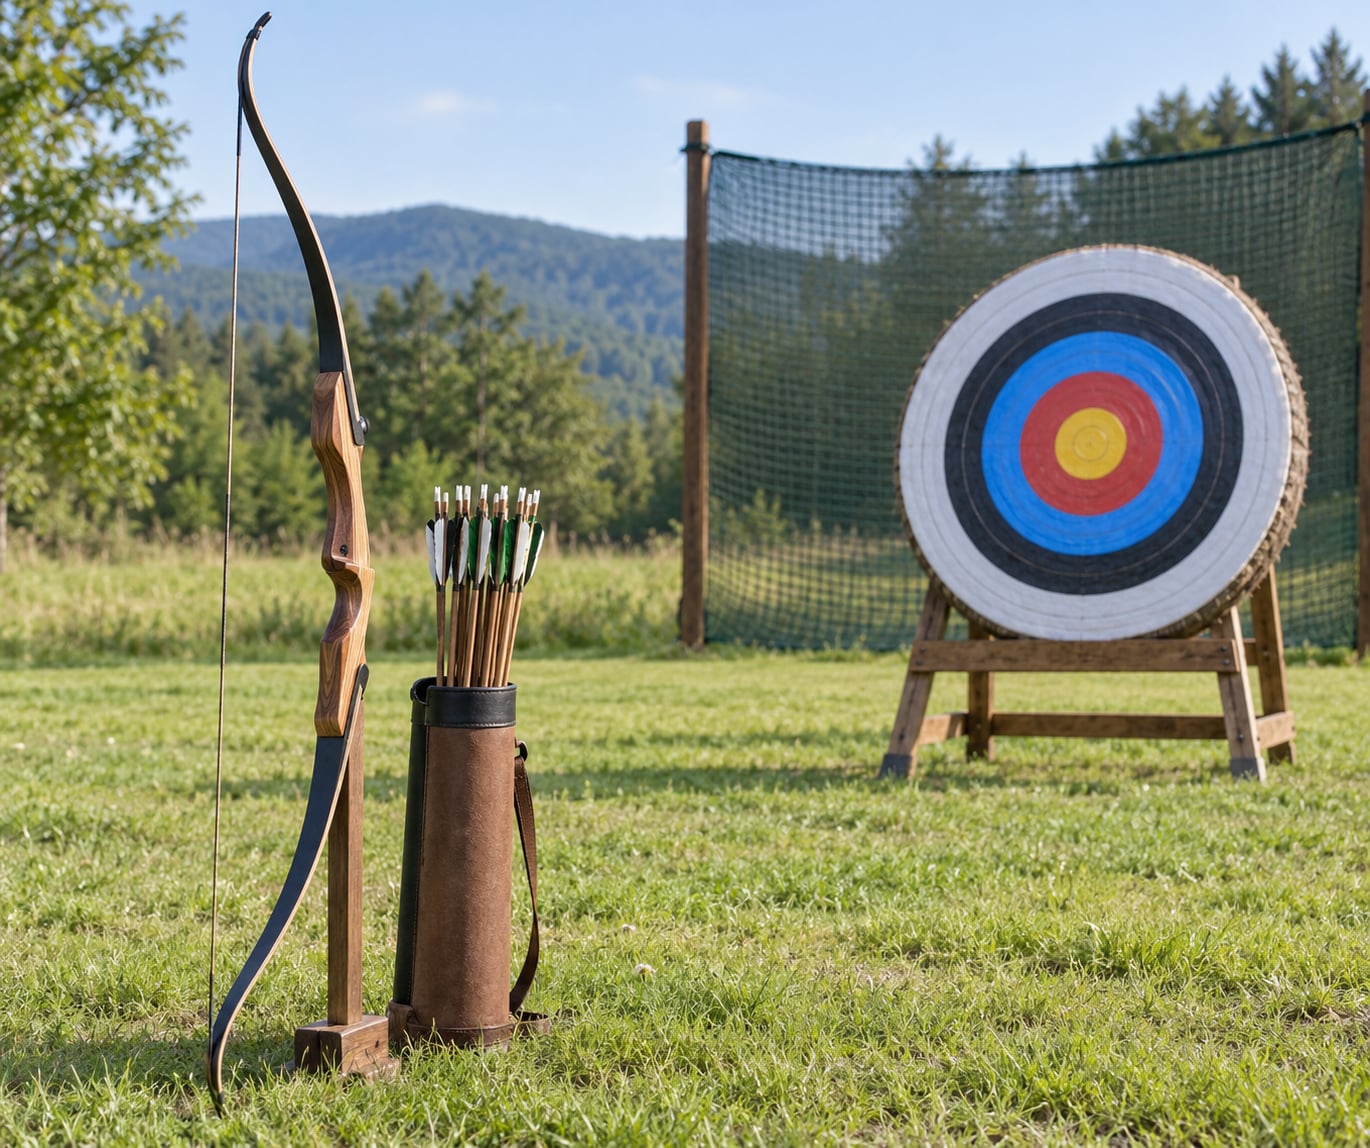
- A safe target and backstop. A layered foam or paper target rated for your bow’s draw weight, plus an arrow-rated backstop net or a solid berm behind it. Never shoot at a fence, a building, or open sky.
- A clear, legal shooting area. Enough room to make a full draw and a full follow-through without stepping forward. Know the line of fire and confirm it before you nock.
- A bow and arrows that match. Arrows matched to your bow’s draw weight, draw length, and arrow rest work far better than a random handful out of a barrel.
- A consistent release. Either a finger tab or glove with three fingers on the string, or a mechanical release aid set to a fixed trigger. Pick one and use it every session.
- Foot markers. Masking tape indoors, a paving stone or two outdoors. They take ten seconds to set and they remove the most common stance variation there is.
- A group log. A notebook or phone note where you write the distance and group size for every end. Without numbers you are guessing about progress.
- Optional: a wrist sling for traditional and recurve shooting, so the bow does not roll out of your hand when your fingers open.
Step-by-Step: How to Shoot a Bow More Accurately
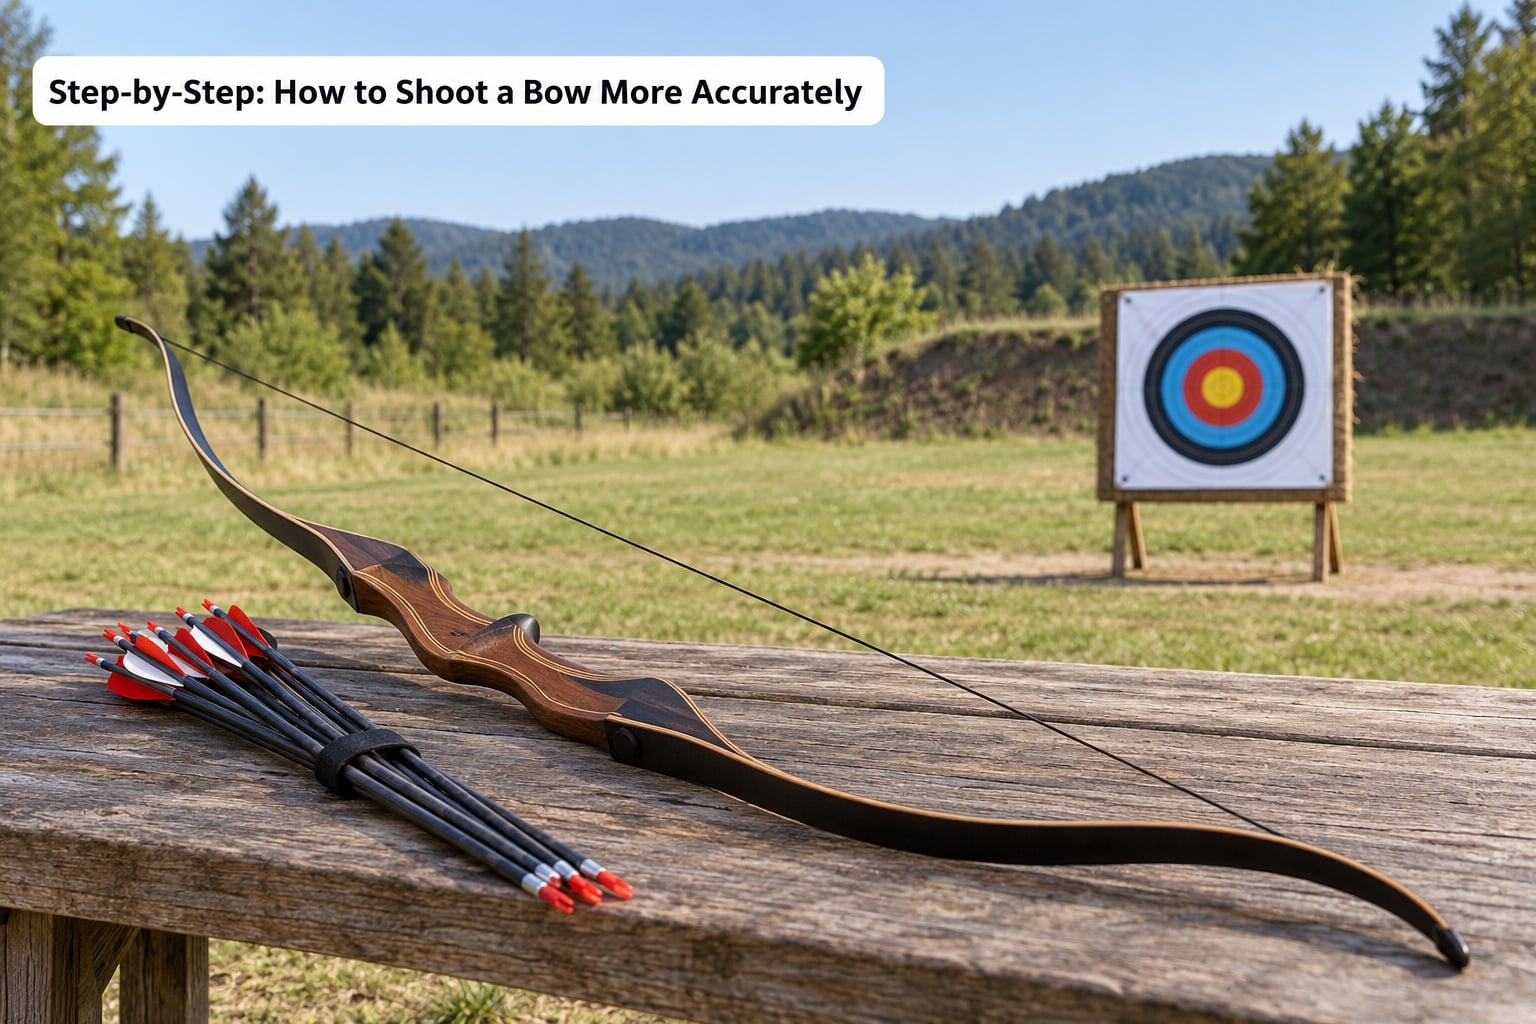
Run the same sequence every time. The order matters, because each step sets up the next one and removes a variable from the shot.
Step 1: Check Your Equipment and Shooting Area
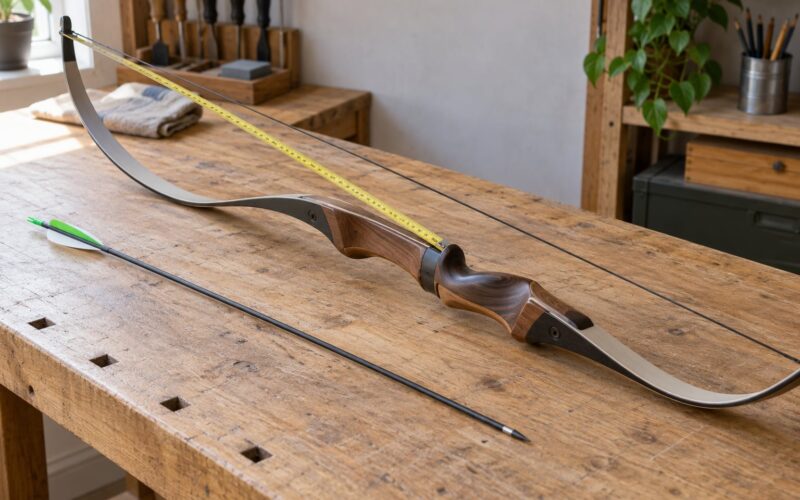
Look at the string for frayed serving or a loose wrap, and check the limbs for cracks or a limb tip sitting loose. Look at your arrows: a cracked shaft, a loose or crooked nock, or a fletching set lifting away from the paper will throw the shot, and you will blame your form for it.
Then check the release aid or tab, and confirm the target is on the correct foam density for your draw weight. Stand back and confirm the backstop covers everything behind the target at your draw length.
How to tell it worked: you can say, without looking, that your equipment is safe to shoot and that no arrow can leave the range.
Step 2: Establish a Comfortable Stance
Stand on your markers with your feet about shoulder width apart, roughly 18 to 24 inches, with the foot toward the target open about 30 to 45 degrees. That open stance is common in hunting because it handles uphill and downhill shots better, but a square stance to the target works too. Pick one and stay in it.
Keep your knees softly bent, your shoulders level, and your weight even across both feet. Your head sits directly over your front foot, not forward or to the side.
How to tell it worked: you can step away, look at your markers, step back, and put your feet in the same spots without adjusting.
Step 3: Set Your Anchor Point
Your anchor is the reference point where your hand, face, and string meet, and it is where most of your scatter comes from. A workable anchor has three contacts: your release hand against your bow hand, the index finger corner of your jaw against the string, and your nose or chin lined up with the string.
Mark the position on your face if it helps. A chin anchor under the string is easier for beginners to hold than a nose anchor, and beginners who get a solid anchor under the chin usually see their groups tighten faster than those still moving the anchor around.
Never change anchor points mid-session, and never move it because one arrow felt odd. That single rule prevents more chaos than any other.
How to tell it worked: after a full draw, your cheek, chin, and string are in the same relationship to each other on every single rep.
Step 4: Draw the Bow Smoothly and Consistently
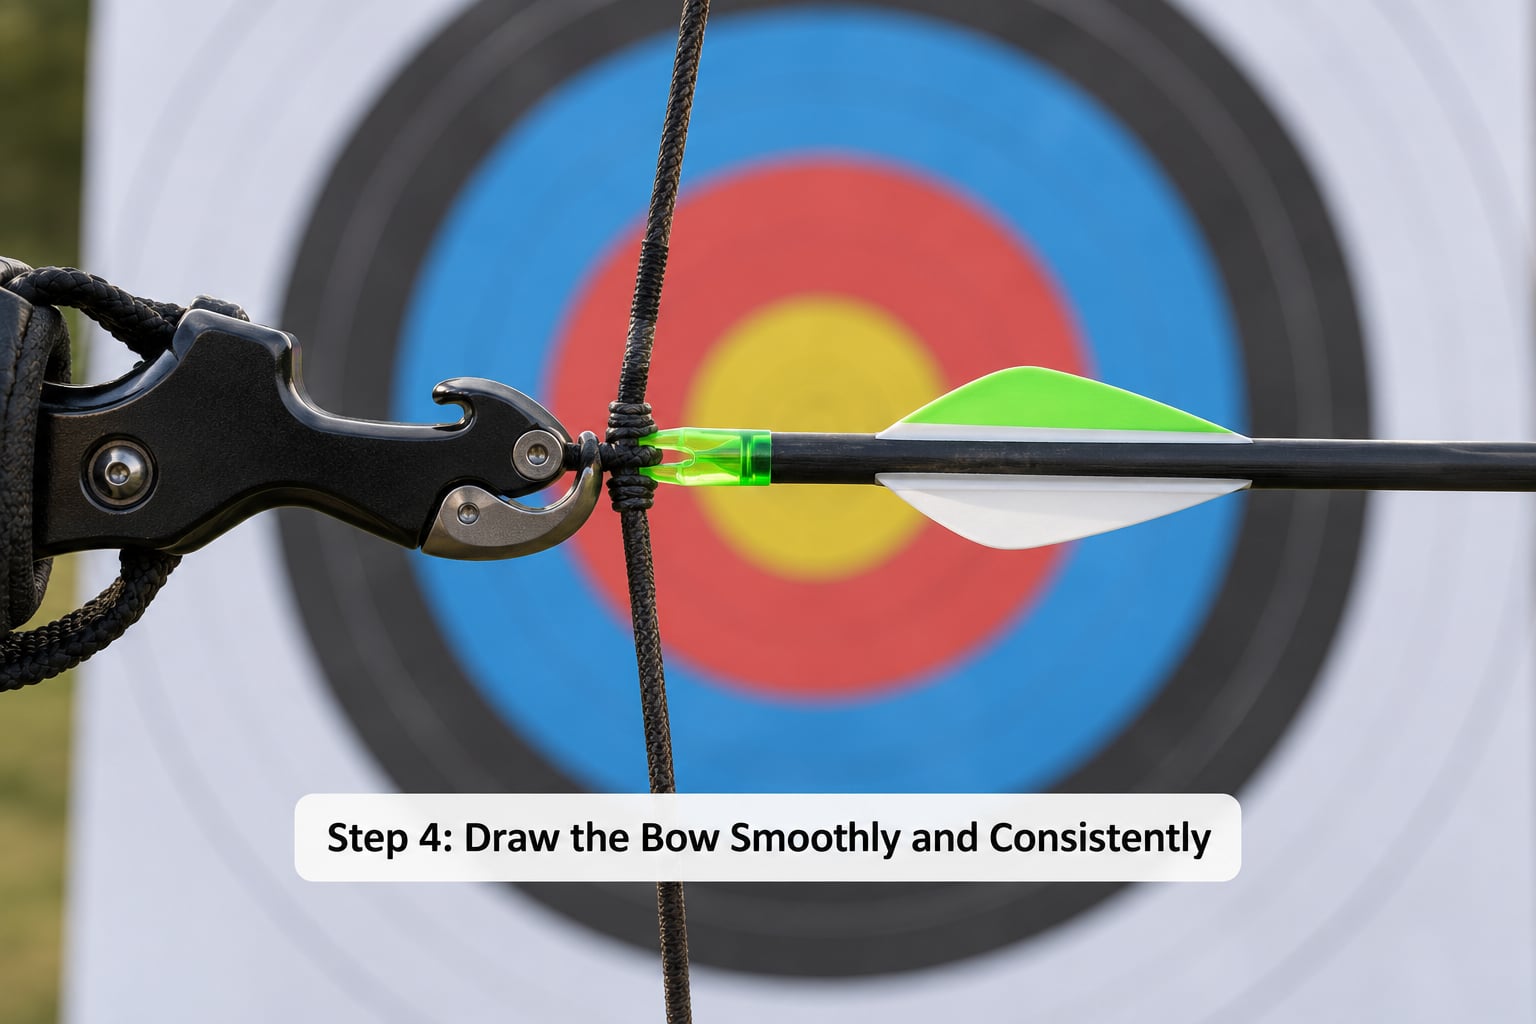
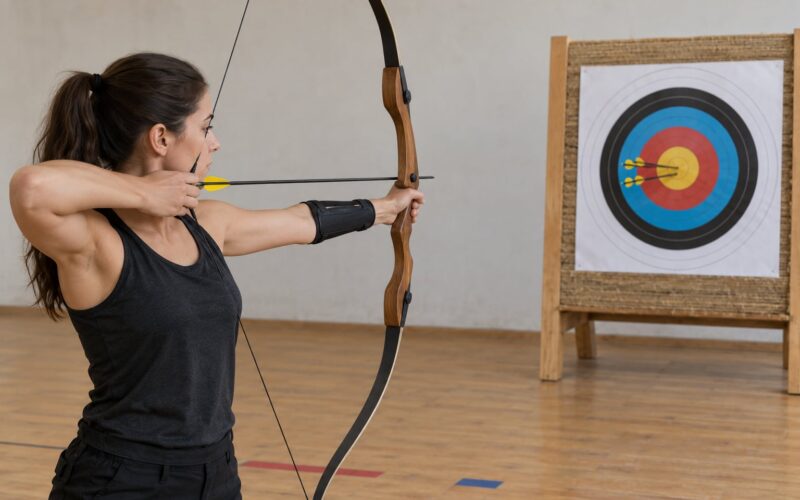
Push the bow arm straight toward the target while pulling the string back with your back muscles, not your fingers. Your fingers only hold the string and manage the release. If the draw feels like bicep work, your draw weight is probably too heavy for where your form is right now, and a lighter bow will shoot more accurately than a heavy one you fight.
Keep your bow arm at shoulder height the whole way back so it does not rise or dip. Let the arrow come to you instead of dragging it to the side, then settle into your anchor at the same pace every time.
At full draw, press forward against the bow and back against the string, and hold that balance for a beat before aiming. A steady balanced hold is what makes the next step possible.
How to tell it worked: your bow arm is level, the arrow is centered on the rest, and you reach the identical anchor position in the same amount of time.
Step 5: Aim While Keeping the Sight Picture Level
To aim with a sight, settle into your anchor first, level the sight ring, and place the pin on the aiming spot for that distance. Let the pin come into focus and keep your focus on the aiming spot rather than the ring itself. If you need to hold over for arrow drop, know that number for each distance instead of guessing high and seeing where it lands.
Breathing matters more than most beginners expect. Take one slow breath in as you come to full draw, exhale slowly and let the bow arm hold still, then take the shot at the end of the exhale. Trying to aim on an inhaled breath will make your aim point jump.
Without a sight, you aim down the string picture with a fixed gap or point-on hold. That takes far more arrows to learn, so pick one method and stay on it long enough to get a real read on your grouping.
How to tell it worked: your sight pin sits on the same spot for three consecutive shots without you chasing it left and right.
Step 6: Release and Follow Through Without Jerking
Release the string by squeezing it off your fingers or squeezing the release trigger, rather than plucking or snatching. With a finger release, roll the string off the fingertips with the thumb and forefinger behind it guiding straight. A smooth release is what lets your bow arm stay pointed after the arrow leaves.
Then hold everything. Keep your bow arm extended, your hand back at your anchor, your head still, and your eyes on the target until the arrow lands. A shot that ends the instant the string moves is a shot you cannot evaluate.
If your arrows scatter because of the release, drill it without aiming. Draw and release slowly, feeling only the fingers work, until the release stops being an event.
How to tell it worked: the string leaves quietly, your hand finishes where it started, and the arrow flies straight for a few feet after release.
Step 7: Shoot Groups, Adjust, and Repeat
Shoot a small group first, three to six arrows at 18 to 20 yards, then walk over and look at it. Write the size of the group in your log, meaning the distance between the farthest arrows in the group.
Read the pattern. A tight horizontal group points to a form or sight problem, a tall vertical group points to draw or release timing, and a scattered pattern in every direction points to inconsistent anchor or grip. Fix form before you touch equipment, because most early-session scatter disappears once the routine stops changing.
Change one variable at a time. Adjust your sight for wind or distance, or adjust one piece of form, then shoot another small group and compare. Only move up in distance once your group at the closer range holds steady over several ends.
How to tell it worked: your log shows a smaller group this week than last week at the same distance, without you changing anything but the repetition.
Common Mistakes
Almost every accuracy problem I see has one of these causes, and each has a direct correction.
- An anchor that drifts between shots. You aim low on one, high on the next. Fix it by picking one anchor, marking it on your face, and rebuilding the habit over a full session without touching it.
- Leaning into the bow. Cantilevering toward the target pushes groups consistently to one side. Fix it by balancing the draw forward and back with even pressure and keeping your head over your front foot.
- Pulling the bow arm back with the draw hand. This bends the arm and moves the impact point down and left. Fix it by having the bow hand push forward and the string hand pull straight back at the same time.
- Gripping too hard. A white-knuckle hold creates bow torque that twists the shot. Fix it by gripping the handle only enough to control the bow, and relaxing the rest of the hand.
- Creeping on the release. Holding on until the pin is perfect means you shoot early and left or low. Fix it by picking a rhythm, focusing on a smooth string departure, and letting the shot go at the same moment each time.
- Changing your aim point to chase arrows. Moving where you look for every arrow destroys the data you are trying to collect. Fix it by choosing one aiming spot and letting the group tell you the truth.
- Jumping straight to long distance. Fix it by progressing in stages, such as 18 yards, then 30, then 40, and only advancing when the group holds.
- Shooting cold and heavy. Fix it with a short warm-up before the session, some band work or dry pulls, so your shoulders and back are warm when your group matters.
- Practicing without a group log. Fix it by writing down distance and group size every session. It takes ten seconds and it is the only honest measure of whether you are improving.
If you want a second set of eyes, filming your shot cycle from behind and from the side with your phone is the cheapest coaching you will ever get. Most groups that shift between sessions turn out to be a visible form fault that a single video makes obvious.
Frequently Asked Questions
How long does it take to shoot a bow more accurately?
Most beginners see tighter groups within a few hundred arrows when the routine stays the same. Shooters who keep an inconsistent anchor or change aim points mid-session can shoot thousands of arrows without improving. A focused hour a week with a written routine and a group log beats two casual hours of random shooting every time.
How long should I practice archery each week to improve accuracy?
Three short sessions a week beat one long session, because accuracy comes from repeating the same routine until it is automatic. Keep each session to 30 to 60 arrows at one distance, log the group, and stop before you start chasing singles. Fatigue is what turns a repeatable routine into a scattered one.
Why does my bow consistently shoot left or right?
A consistent left or right bias almost always points to form, not equipment. Look for leaning into the bow, pulling the bow arm back with the draw hand, gripping too hard, or creeping on the release. Film yourself from behind, fix one fault, and shoot a small group before changing anything else on the bow.
Should I use a release aid or shoot with a finger tab?
A release aid removes one variable, which helps many beginners, especially at long distance or with a heavy bow. A finger tab with three fingers on the string works just as well once your release is smooth. Whichever you choose, set it once and use it every session so your hand learns one motion.
How do I fix target panic when shooting a bow?
Target panic shows up as an immediate release or a sudden swing right before the shot. Slow the whole cycle down: draw, settle, breathe out, aim, then release. Practice the draw and release without aiming at all for a session, and remember the target is a practice target rather than a test of you.
When should a beginner take lessons from an archery coach?
Take a lesson early if you are new to shooting, so a coach can set your stance, anchor, and draw length correctly in an hour. After that, lessons are most valuable when your groups stop improving despite consistent practice, or when you are hunting and need a repeatable hit at real distances.
Conclusion: Build Accuracy One Repetition at a Time
Start here: mark your feet, pick one anchor point, and shoot a small group of six arrows at 18 to 20 yards. Write down the group size. Then run the identical routine again next session and compare.
That is the whole game. Change one thing at a time, add distance only after the closer group holds steady, and let the log tell you what changed. Do that for a few hundred arrows and how to shoot a bow more accurately stops being a question you search for and starts being something you can do on any given day.