Here is how to scout hunting land before season without pushing the game off it: work the map first, get access in writing, confirm boundaries, then grade animal sign by freshness and map routes and wind from a distance. Most hunters get useful results from four to six weeks of lead time and three or four full days on the ground, and a hundred-acre tract is more than enough to learn whether a place is worth hunting. The whole game is learning how animals use the land without making them hate it.
That last part is where most preseason scouting goes wrong. Walk a bedding area twice in one weekend and the deer that were using it in daylight may not use it at all for the rest of the year. The hunters who get early-season opportunities in October are usually the ones who touched the property the least before the opener.
What follows is the process I would follow, in the order I would follow it. Read the whole thing once, then take it out section by section.
Table of Contents
- What You Need
- Maps and navigation
- Legal documents
- Clothing and safety kit
- Field supplies
- Step-by-Step: How to Scout Hunting Land Before Season
- Step 1: Define Your Search Area and Goals
- Step 2: Check Access, Boundaries, and Legal Restrictions
- Step 3: Read the Land and Habitat
- Step 4: Look for Wildlife Signs Without Disturbing Them
- Step 5: Walk Safe Travel Routes and Escape Routes
- Step 6: Test the Plan in Changing Conditions
- Step 7: Record Findings and Build a Hunt Plan
- Common Mistakes and How to Fix Them
- Frequently Asked Questions
- How early should I scout hunting land before season?
- Do I need permission to scout private hunting land?
- What is the best time of day to scout for deer or other game?
- How fresh should tracks and other wildlife signs be to be useful?
- Should I scout public land the same way as private land?
- What should I bring to a scouting trip?
- Conclusion: Start With Access and Habitat
What You Need
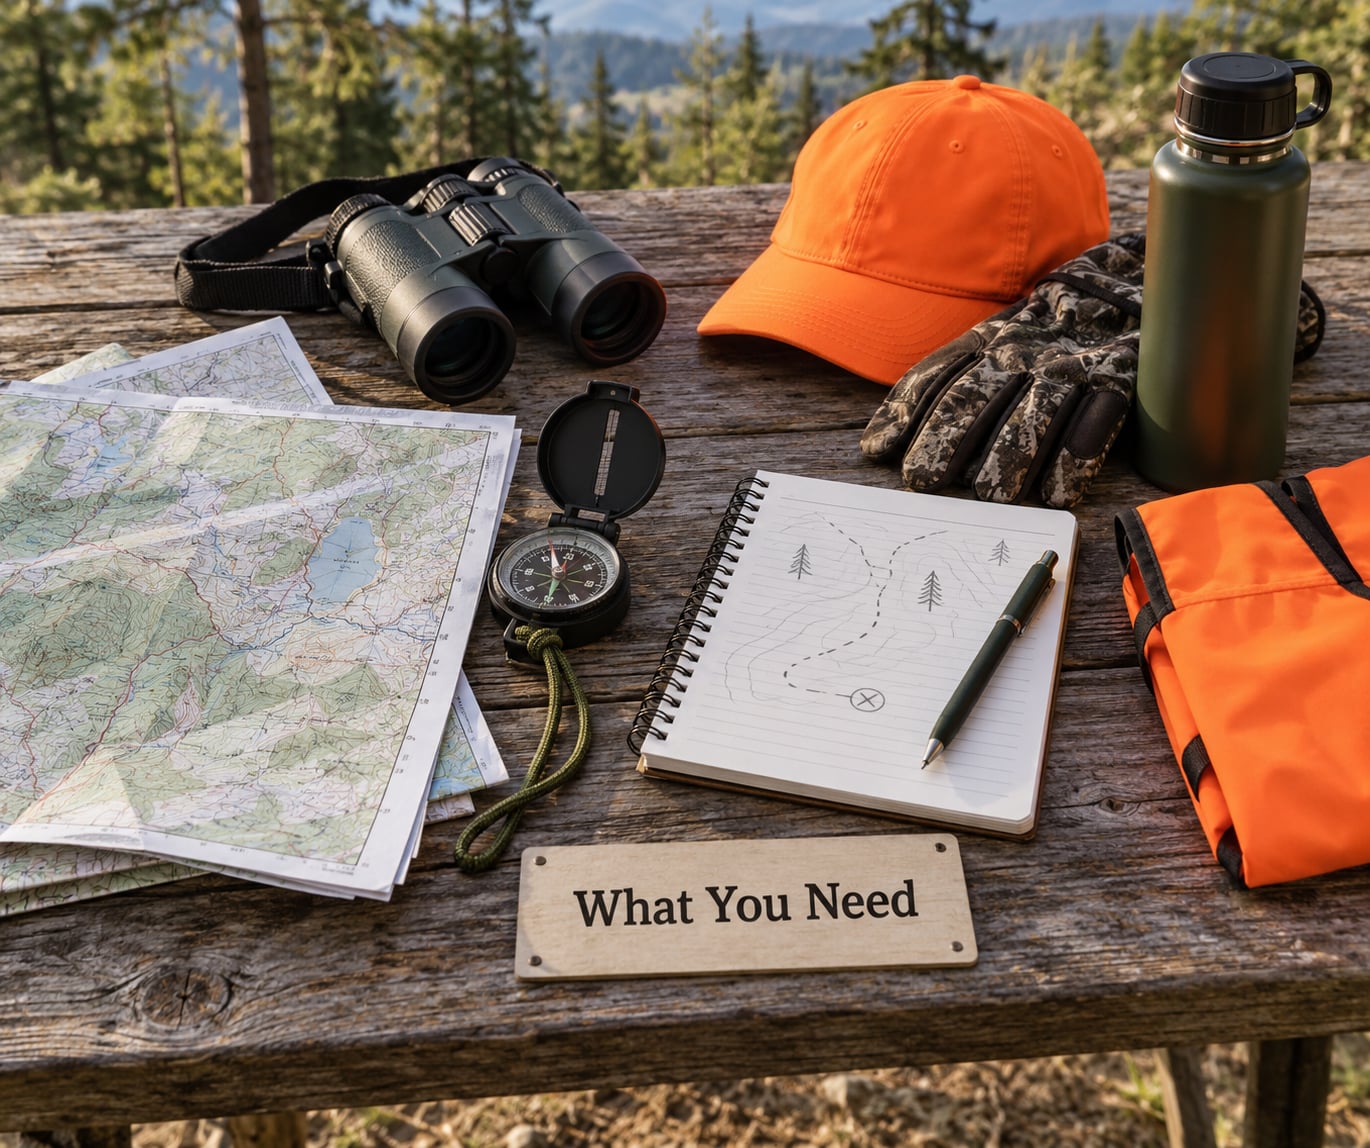
You can scout a property with less gear than most people carry, but you cannot scout it well without maps, a way to record what you see, and a plan for telling someone where you are going.
Maps and navigation
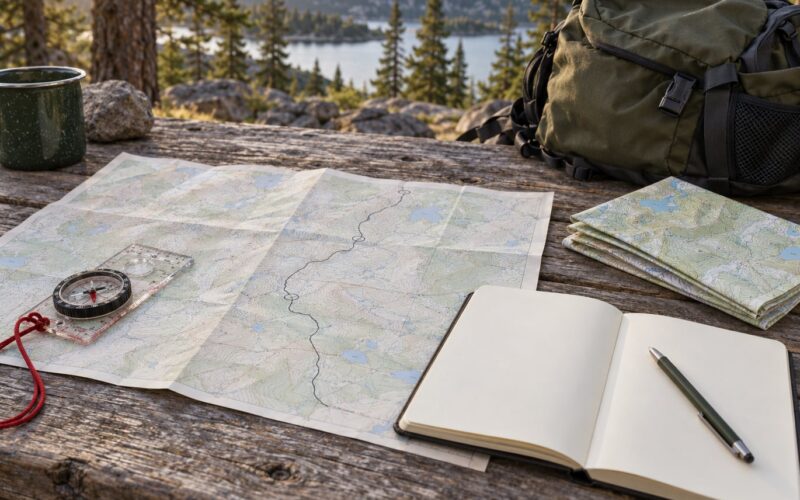
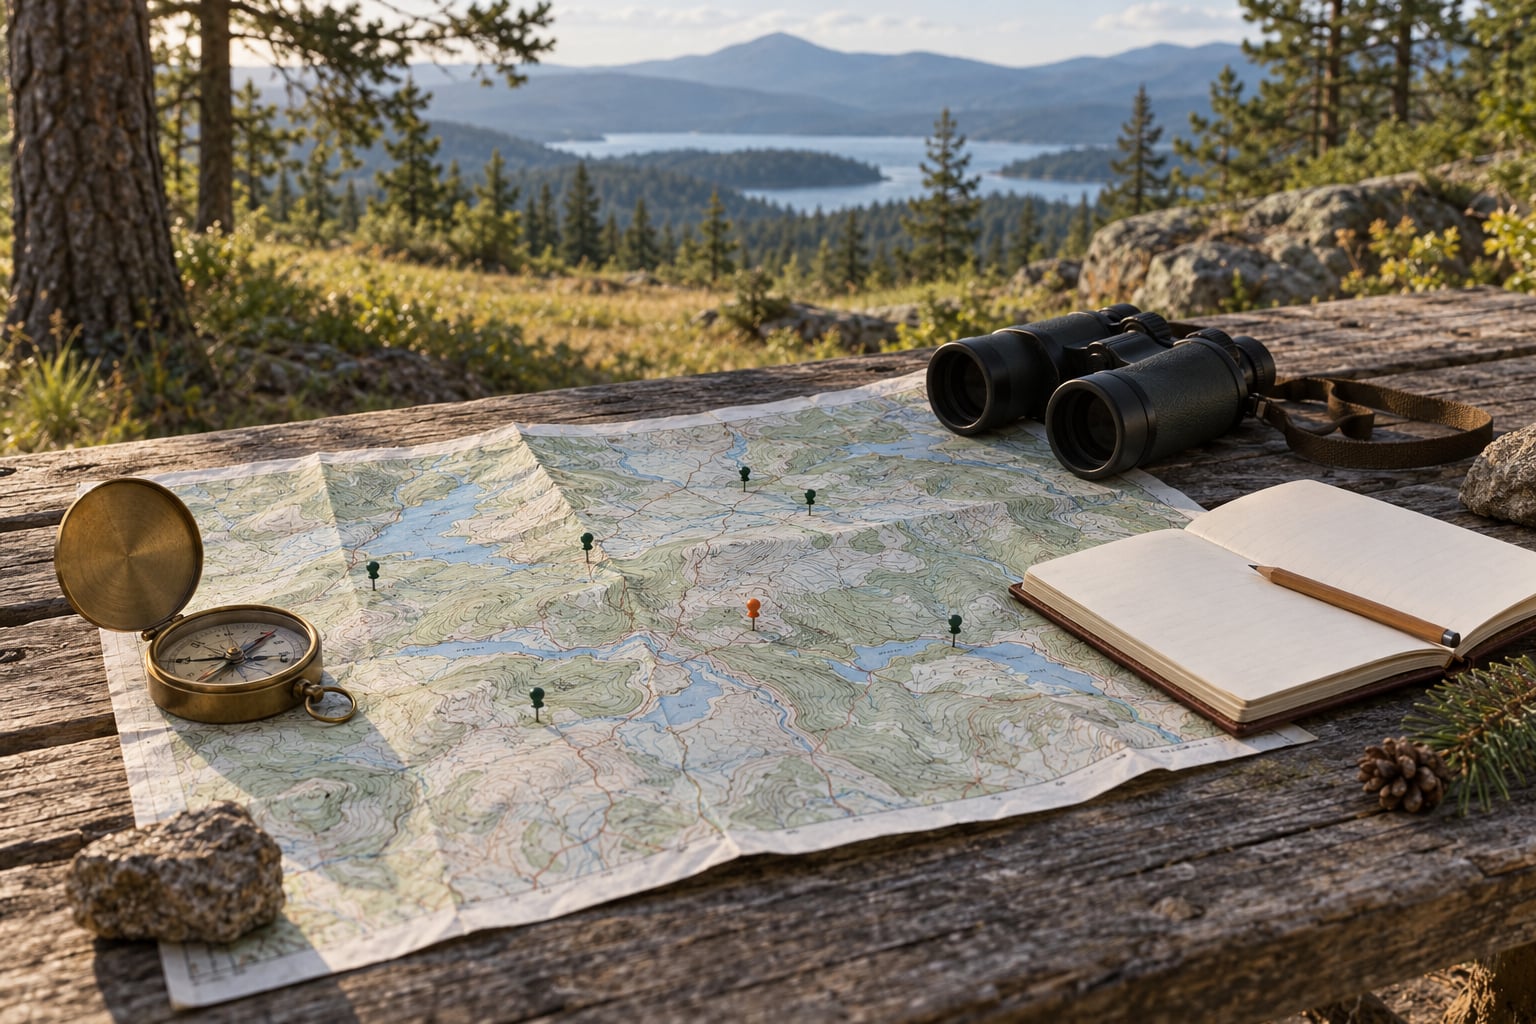
A paper topographic map is still the most reliable thing you can carry. Contour lines, drainages and clearings show up on paper when they disappear under tree canopy on a phone screen. Mark the property lines, the legal access point and every road you are allowed to drive before you leave home.
Pair it with an offline-capable mapping app. Apps built for hunting let you drop pins, record tracks and mark public versus private parcels without a cell signal, which matters more than you would think on a ridge in heavy timber. Satellite imagery on the same app is where you spot the obvious: field edges, clearcuts, creek lines, property corners that do not follow any fence you can see.
Legal documents
- Written permission from the landowner, naming the property and the season dates
- Your hunting license and any required hunter safety course card
- The state or provincial season dates, bag limits and any closure orders for the unit you are scouting
- Any special rules the landowner gave you: where to park, which gates stay closed, where you may not set a stand
Rules change between seasons, so look up the current regulations rather than trusting last year’s memory. Your state wildlife agency is the source for dates and limits, and the agency biologist’s office is worth a phone call if you are hunting land you have never seen.
Clothing and safety kit
Wear clothes you can move in and, ideally, break branches with quietly. A mid-layer you can strip off matters more than people expect, because you will be climbing, sitting still and getting wet in the same trip. Camouflage pattern matters far less than noise control and scent control.
Carry a first aid kit, a headlamp with spare batteries, a charged phone with the map downloaded offline, a whistle, a lighter, water and extra food. A small knife and a roll of flagging tape save a lot of fumbling when you are two miles from the truck.
Field supplies
- A waterproof scouting journal and a pen that writes when cold
- Binoculars. Glass from a distance before you ever walk in
- A GPS unit or phone with a mapping app that works offline
- A trail camera and mounting straps, plus spare cards and batteries
- A range finder if you are scouting shooting lanes from a ridge
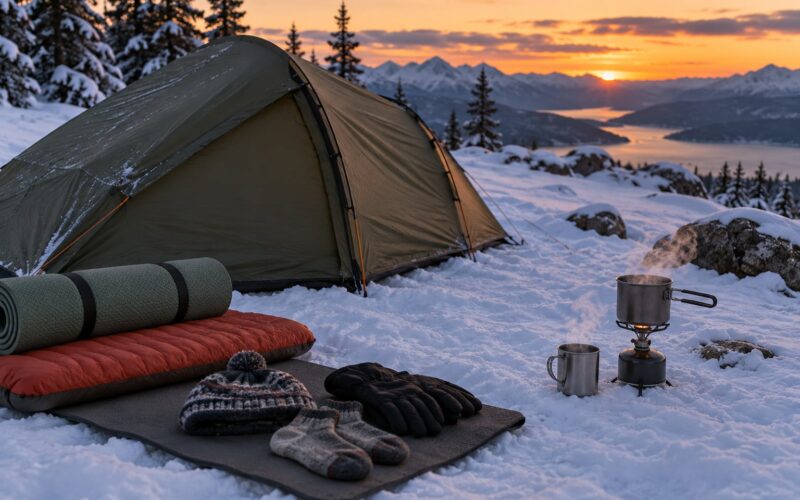
- Extra socks, a rain shell, and whatever fuel you burn for heat
Keep the journal in the pack, not in the truck. The value of a scouting journal comes from writing the observation the moment you make it, while you are still looking at the tree.
Step-by-Step: How to Scout Hunting Land Before Season
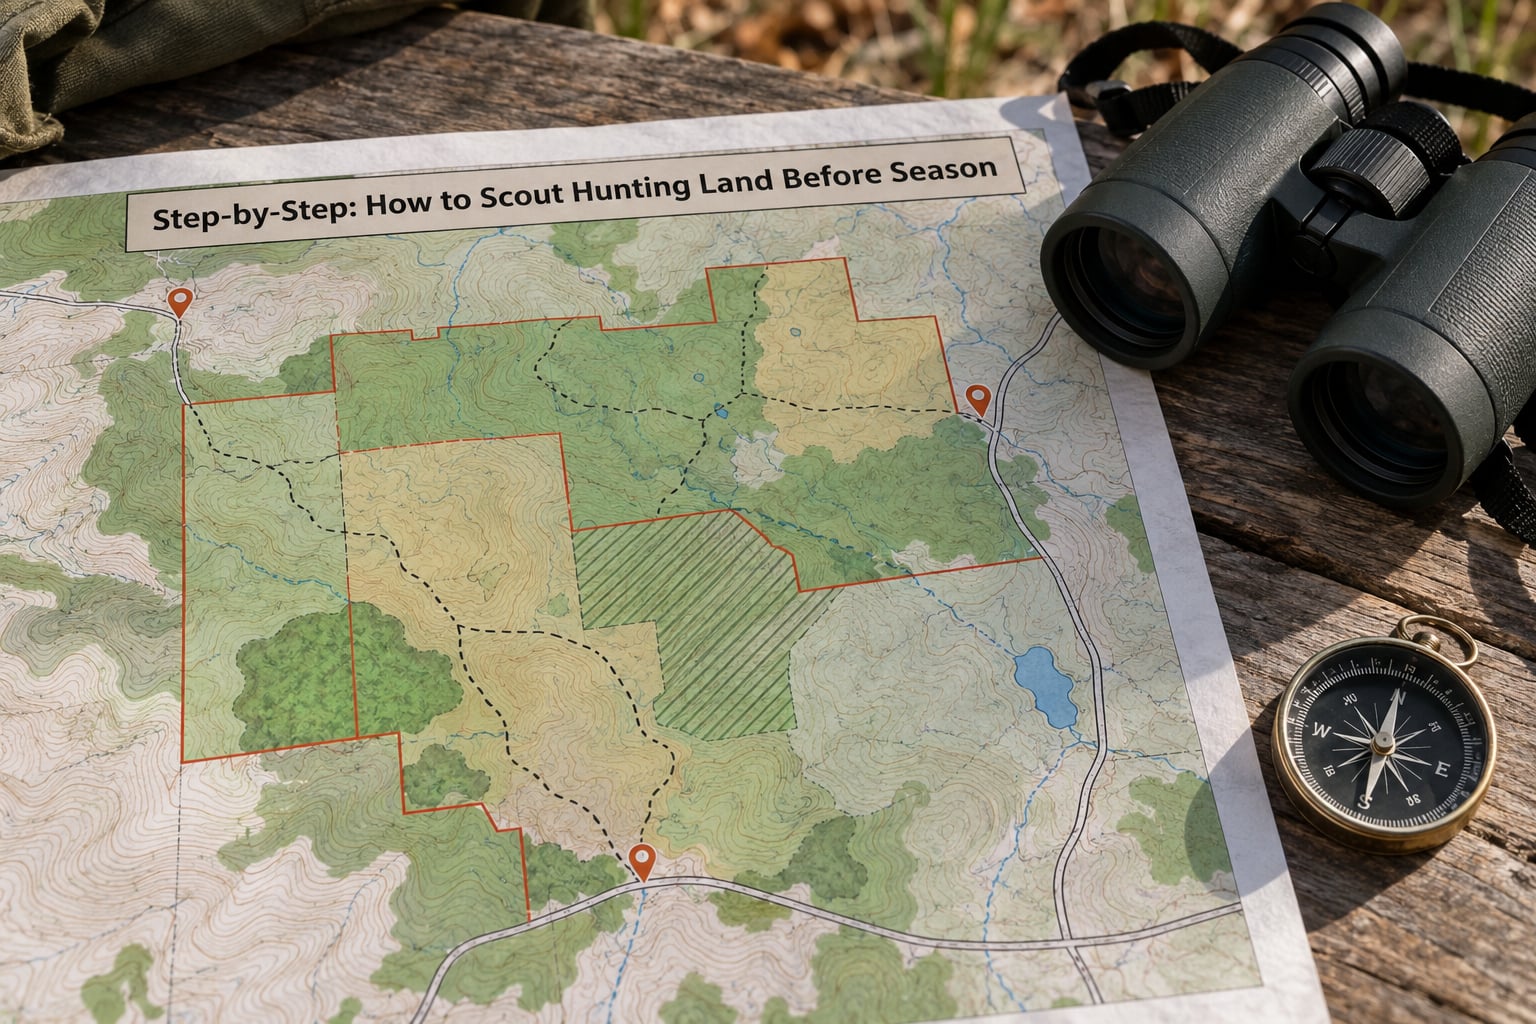
Scouting is one process, not a shopping list of ideas: define the area, prove access, read habitat, grade sign, walk the routes, test the plan in different conditions, and write it down. Work the steps in order and each one saves you from wasting time on the next.
Step 1: Define Your Search Area and Goals
Start on paper with a circle on the map, not on foot in the woods. Pick a geographic area you can reach in under two hours, then decide what you are looking for before you look at any property.
Write down three things: the species you will hunt, the method you will use, and the number of days you can realistically spend in the field. That last one decides everything. A hunter with two free Saturdays needs a much smaller search area than a hunter with a whole month.
Then set your minimum standard for a place worth taking. In practice that means at least one dependable food source, bedding cover within a short move of it, water, legal access, and one route you can reach without walking straight through the animals. If a property fails any one of those, move on early and save the days.
On acreage, a hundred acres does not need a full day. Field writers who work fresh properties repeatedly suggest pushing one section of a parcel per visit rather than the whole thing at once, and that advice holds up. A hundred acres can hold two or three genuinely different setups, and you only need to find them.
Step 2: Check Access, Boundaries, and Legal Restrictions
Nothing happens on private land until the landowner says so in writing, and that includes looking at it from a public road with binoculars.
Before the visit, confirm who owns it, whether the legal access is across another parcel, and where you may legally park. Download the county plat or parcel map and mark every property line on your topographic map. A creek that looks like a boundary on the ground is often just a creek.
Ask the landowner directly about the things that will end a relationship: cattle, crops, fences, children, dogs, outbuildings, and where you may not set a stand. Ask where previous hunters parked and where they left tree stands. Take notes on all of it.
On public land, the access question changes but does not go away. Check whether you need a permit, whether the unit has a fire closure or a doe season you did not know about, and whether the road you planned to use is open in October. Public land gets scouted earlier than private land, because everyone else is working it too.
Step 3: Read the Land and Habitat
Deer and most game animals live on the same short list: food, water, and security cover. Everything you do on the ground should be sorting land into one of those three.
Start with the map. Ridges, saddles between ridges, points, drainages, creek bottoms and the funnels where they pinch are all natural movement routes. Field edges, timber edges and creek edges matter enormously because animals use the boundary between two cover types, where they can see and hear you before you see them.
Then look for food. In the early season, acorns and soft mast out-pull almost anything else, and a heavy oak crop tells you where to spend September. Later in the year, standing corn changes the map again. Note the destination feeding area, not just the field, because the field is where they eat and the surrounding timber is where they wait.
Cover comes in two flavors. Security cover is the dense stuff a pressured buck will not leave: mature timber, thick cedar, brush piles. Transition cover is what most hunters overlook, and it is the band between bedding and feeding, usually on a slope or along a fence line. It is where daylight movement happens.
Step 4: Look for Wildlife Signs Without Disturbing Them
Animal sign is the cheapest, most reliable scouting tool you have, and it tells you more about timing than about numbers.
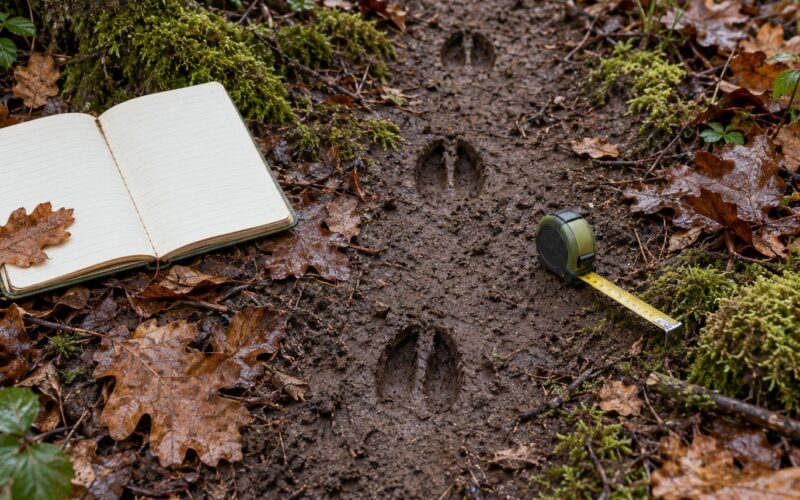
Look for tracks and where they cross soft ground, fresh droppings, browse lines on shrubs and saplings, rubs and scrapes on trees, bedding sites, travel corridors and runways, and hair caught on brush. Signs differ by species: turkey struts and scratch marks in leaf litter, hog rooting and wallows, waterfowl loafing spots and flight lines over open water. Bird feathers and dusting sites at fence gaps tell you the birds are using the place between dawn and dusk.
Grade what you find before you decide anything about it:
- Fresh. Crisp track edges, moist or glossy material, insects present, hair still standing up in a scrape.
- Recent. Defined but drying, droppings still dark, browse marks not weathered at the tips.
- Old. Weathered, crumbling, faded, or sharp-edged but rain-soaked and flattened. This sign describes where animals were a week or more ago.
- Ghost. A well-worn trail with no fresh tracks on it. This is a route animals used once and no longer use, and treating it as a live runway is the most common scouting mistake there is.
Rubs carry extra information. A rub on a sapling around chest height usually points to a young buck working the area. A rub high on a tree, above four feet, suggests a mature buck with a big rack, and it means the surrounding cover deserves a closer look.
The seven day rule is a useful shorthand: if you cannot tell whether sign is fresh, treat anything older than about a week as history rather than a plan. It keeps you honest.
Work sign lines slowly and stop often. Walk beside a trail rather than down the middle of it, where you are more likely to step on what you came to read. When you find a strong trail, sit down with binoculars for ten minutes before you move again.
Step 5: Walk Safe Travel Routes and Escape Routes
Map two ways in and one way out before you walk the property, and treat an escape route from your setup as part of the route, not an afterthought.
On the walk, note hazards honestly: steep sections you would hate with a bow, creek crossings with current, deadfall, mud after rain, fences with wire, and any place where visibility drops to nothing fifty yards out. A boundary you are not sure about is a boundary you treat as solid.
From a proposed treestand or blind location, look down and ask what you would do if a buck stood up twenty feet away and ran. Where does it go, and is there something between you and it that stops the shot? If the answer is no, that spot is not finished and the lane is not cut yet.
Safety is part of the route, not a separate topic. Tell someone your plan and your return time, go with a partner when you can, carry the headlamp and the first aid kit even on a two-hour walk, and download the map before you lose signal. Check daylight hours in advance and plan to be out well before dark, which in the fall means leaving earlier than feels necessary.
Step 6: Test the Plan in Changing Conditions
A property you scouted once in October at noon is a property you know very little about. Visit it more than once, in different conditions.
Glass from the perimeter and from any high ground you can reach legally, in the morning and again in the last two hours of light. That is the lowest disturbance method there is, and experienced hunters describe it as the most underused one. Note what moves where and when, even if you only see birds and a far-off deer.
Read other hunters’ pressure while you are out there. Flagging tape, boot tracks on a soft trail, a ladder stand or blind left in the woods, a vehicle parked where vehicles should not be, a trail camera angled at a game trail. Pressure concentrates animals in the places with hard access, so where other hunters have been tells you where the pressure is and where the relief is.
Wind is the other half of the approach. Note the prevailing direction and check it again on the forecast for opening day. Watch how animals handle temperature and rain: in bad weather you will often see movement you would never get in sunshine, which also makes bad weather one of the better scouting windows, when the animals are moving and less sensitive to noise.
Step 7: Record Findings and Build a Hunt Plan
Turn the field notes into a written plan, because in three weeks you will not remember which stand had the good lane.
Every journal entry should carry the date, time of day, wind, temperature, sign found and how fresh it was, food in season, water present, and any human activity you saw. That last field is the one people skip and the one that tells you most about how much pressure a spot is under.
Mark on your map the locations worth returning to, the approach angle for each, the access point, the hazards, the name and number of the landowner, and at least one backup area for every primary setup. Keep that map and journal private. Posting exact setups and access points for a specific piece of ground is how a good spot becomes a crowd.
Then decide when to stop, because scouting has an end date. Finish all stand preparation and shooting lane cutting at least two weeks before the opener, then switch to cameras and observation only. A setup that is not ready two weeks out will not be ready on opening morning, and one more trip to look at it is the trip that costs you the place.
Common Mistakes and How to Fix Them
Almost every disappointing first season on new land traces back to one of these.
- Scouting only at one time of day. Animals move differently at dawn, at midday and in the last light before dark. Fix: glass the same two or three spots three different times before you draw any conclusion about where the animals are.
- Assuming permission. Crossing a boundary, opening a gate you were not told to open, or parking in the wrong place ends hunts and friendships. Fix: get it in writing, ask where to park, and treat every gate exactly as you found it.
- Trusting worn trails. A well-worn path can be twenty years old. Fix: grade the sign by freshness. No crisp tracks on a pretty trail means the trail is history.
- Scouting too much ground. Covering twenty sections shallowly leaves you with a map full of maybes. Fix: pick two or three candidate areas, learn them properly, and narrow your list before the opener.
- Walking into bedding and sanctuary cover. This is the mistake that pushes otherwise huntable animals to nocturnal habits for good. Fix: observe bedding areas from the perimeter and from a distance, and spend your time on the edges instead of the middle.
- Leaving escape routes unplanned. A stand location with no clear field of fire and no way out of trouble is not finished. Fix: check the lane and the escape line at every candidate spot while you still have daylight to change your mind.
- Going without a weather and emergency plan. Fix: share your route and return time, carry a headlamp, first aid kit and offline maps, and set a hard turnaround time that does not depend on how the scouting is going.
Frequently Asked Questions
How early should I scout hunting land before season?
Start four to six weeks out so you have time to fix access problems, screen real properties and find sign that is still meaningful. Finish every stand setup and shooting lane cut at least two weeks before the opener, then reduce scouting to cameras and observation. Scouting public land should start earlier than private land, because other hunters work it first.
Do I need permission to scout private hunting land?
Yes. Entering private property without the owner’s permission is trespassing even when you carry no gun and mean no harm, and binoculars pointed into a field do not change that. Ask face to face, follow up in writing, and confirm dates, parking, gates and any limits on tree stands. A landowner who likes how you treated the place last year is also your best source of information.
What is the best time of day to scout for deer or other game?
Early morning and the last two hours before dark are best for seeing animals, and grey light with dew still on the ground is the best condition for reading tracks. Midday is fine for sign and cameras because game is resting and less alert. The most useful scouting day pairs one evening glassing session with one dawn glassing session on the same spots.
How fresh should tracks and other wildlife signs be to be useful?
Freshest sign tells you something is using the area now. Look for crisp track edges, moist or glossy droppings, insects near the sign, and hair still standing in a scrape. A common rule of thumb treats anything older than about seven days as history, because weather, rain and insects erase the details quickly. Always grade the sign yourself instead of trusting a trail that looks well worn.
Should I scout public land the same way as private land?
The process is the same but the timing is not. Public land gets scouted earlier because other hunters hit it first, and you need permits, unit maps and closure notices rather than a landowner conversation. Access points, parking and boundaries are harder to read from a topo map, so verify them on site. Expect more hunting pressure and plan for animals already moving at night.
What should I bring to a scouting trip?
Bring a paper topographic map with boundaries and access marked, an offline-capable mapping app, binoculars, a waterproof journal and a pen, a trail camera with spare batteries, a headlamp, a first aid kit, water, extra food and layers. Tell someone your route and your return time, and download any map you will need before you lose cell coverage. Cameras and notebooks matter more than weapons.
Conclusion: Start With Access and Habitat
If you only remember four things from this guide, make them these: confirm legal access in writing before you set foot on the property, mark every boundary and hazard on a map, read the land for food, water and security cover before you hunt for a specific tree, and grade every piece of sign by freshness before you trust it. Then stop. Finish the setups, cut the lanes, switch to cameras and let the animals settle.
Scouting cannot guarantee a good season. Weather shifts, food drops early, and animals move for reasons nobody maps. What scouting does is cut the number of wasted hours, put you in the right place at the right hour, and make sure the last person who walked in before opening morning was you, doing a small job, quickly.