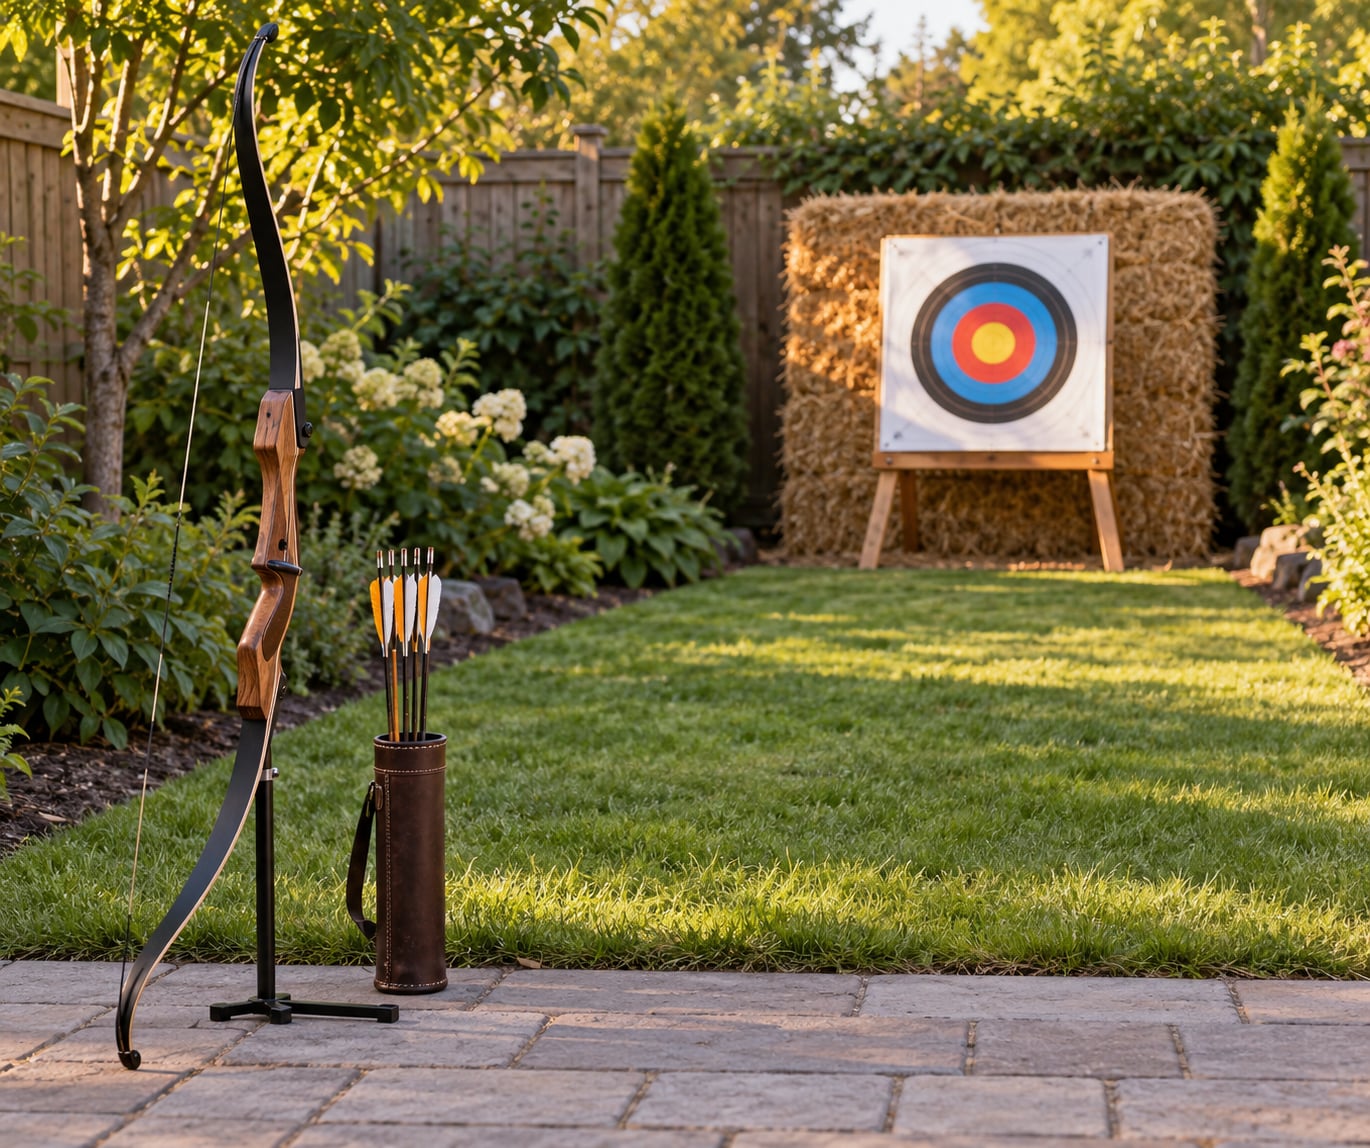
You can practice archery in a small backyard, and you do not need a deep lawn to get good at it. Most beginners make real progress with 25 to 40 feet of clear shooting depth: a marked shooting line, a target hung 10 to 15 yards away, and a rated backstop about 6 feet behind that target to catch every arrow that misses.
The backstop is the whole ball game. A target alone is not a range, it is just a target with arrows landing around it, and that is how arrows end up in a neighbor’s garden or a parked car. Get the lane and the backstop right and even a modest yard becomes a legitimate practice range.
Most people who build a home range get better because they shoot more often, not because they shoot farther. Ten arrows on a Tuesday evening builds the same muscle memory as an hour at a club range once a week, minus the drive and the wait. Here is how to set it up and how to use it once it is standing.
Table of Contents
- What You Need
- Step-by-Step: How to Practice Archery in a Small Backyard
- Check the Yard and Choose a Safe Shooting Direction
- Set Up a Beginner-Friendly Target Distance
- Use a Consistent Stance and Shot Routine
- How to Practice Archery in a Small Backyard in Short, Focused Sessions
- Record Results and Increase Difficulty Gradually
- Common Mistakes
- Tips for Making a Small Yard Work
- Pick the backstop before you pick the target
- Keep the neighbors with you
- Care for targets and store arrows properly
- Have a plan for the days you cannot shoot outside
- Frequently Asked Questions
- How much space do I need for a backyard archery range?
- Can you have an archery range in your backyard?
- Is it safe to practice archery in your backyard?
- What is the best backstop for a backyard archery range?
- Is 10 yards enough to actually get better?
- What should I do if an arrow leaves my yard?
- Conclusion
What You Need
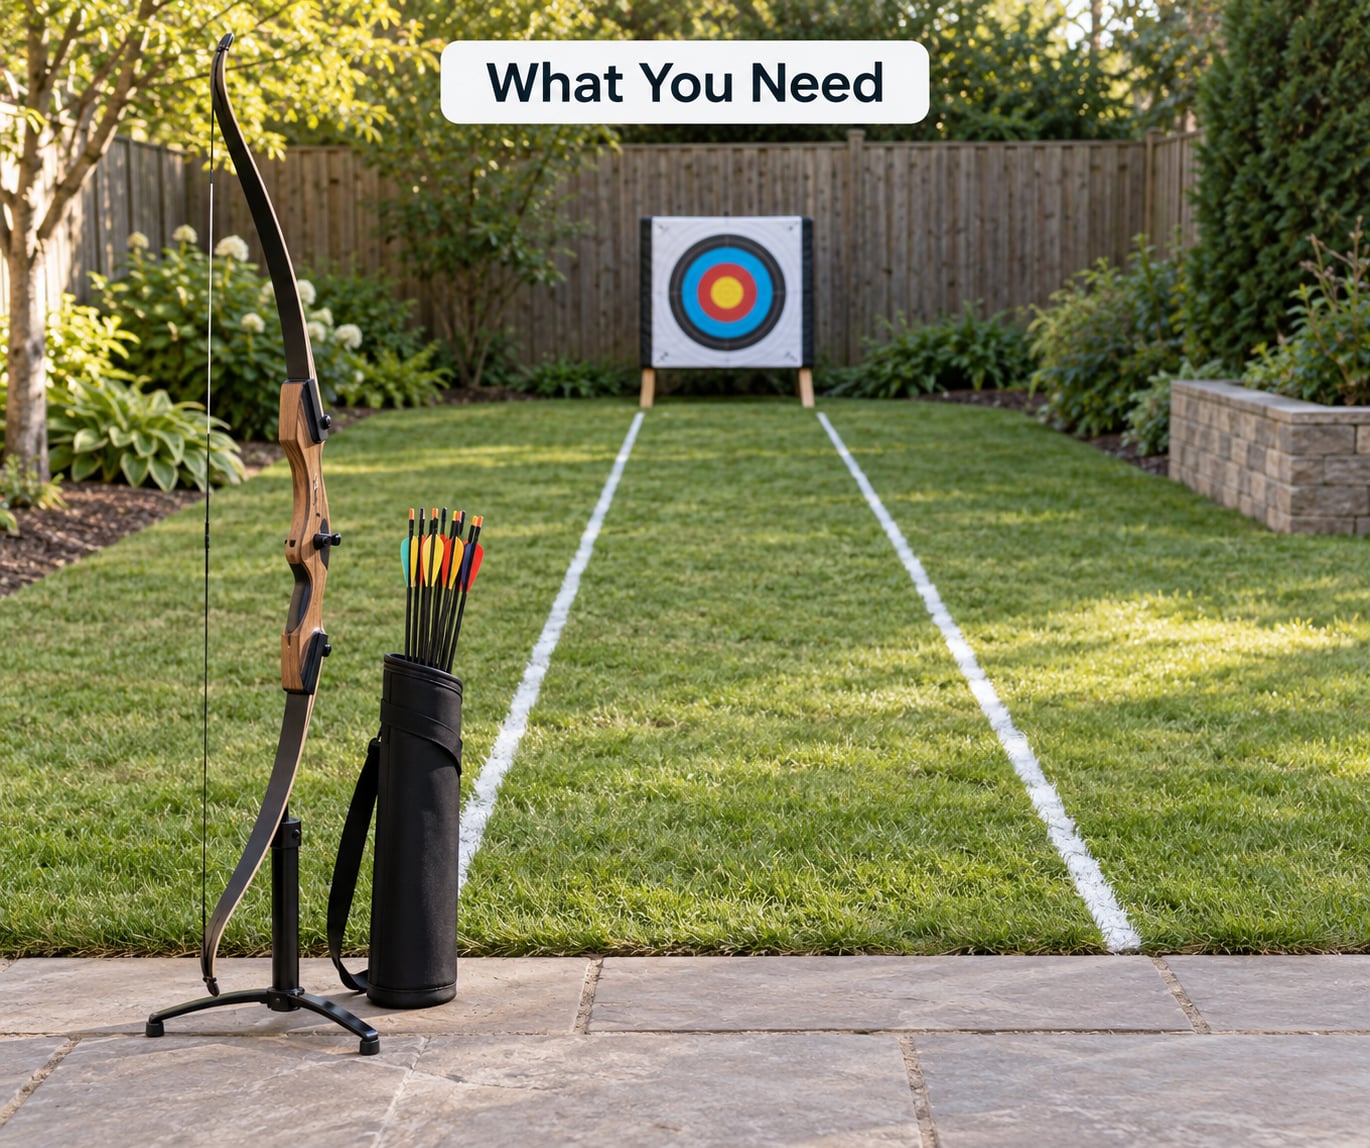
Start with the safety chain, because everything else is optional until it is in place. That chain is a clear lane, a target rated for your bow’s draw weight, and a backstop behind the target that your arrows will not pass through.
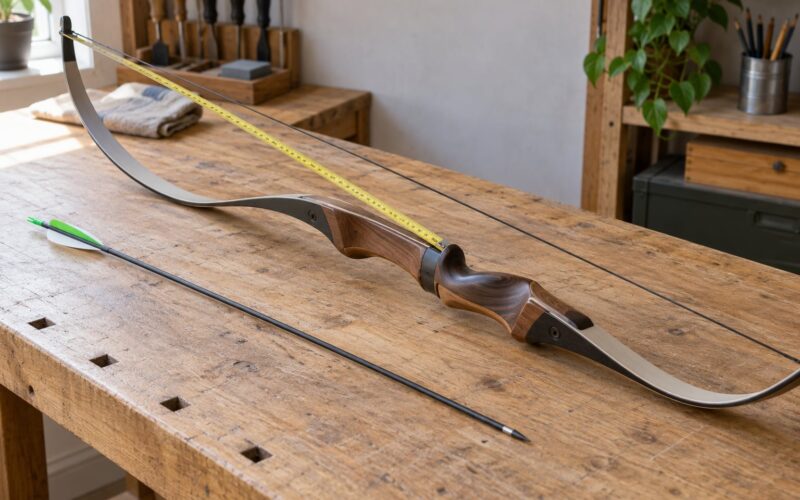
- A bow sized to you. For most adults starting out, something in the 20 to 30 lb range is plenty for form work. You can add weight later without re-learning everything.
- Arrows matched to that bow. Match shaft length and spine to your draw length and draw weight. Buy target or field points for backyard practice, never broadheads.
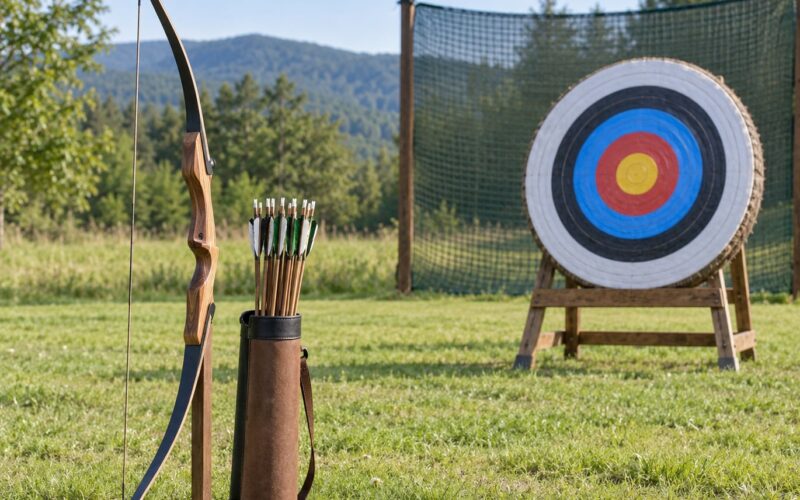
- A target rated for your draw weight. A foam block or straw-filled foam target holds up far better than paper and lets arrows pull free. A large face is forgiving; a small face teaches you.
- A target stand or frame. A simple wooden or PVC stand, or a foam block that sits in a wooden cradle, keeps the face square at eye level.
- A rated backstop. Archery netting, a straw bale wall, a foam playmat fixed to a solid surface, or an earth berm.
- Lane markers. Two pieces of tape, a couple of stones, or pavers, to mark your shooting line and waiting line.
- Arrow storage and a puller. A vertical quiver or arrow tube for the house, and a puller or gloves so you do not yank field points out of a foam block with your fingers.
- Optional but useful. An arm guard and a finger tab or release aid if your bow has one, plus a chest quiver or ground quiver so arrows do not pile up where you stand.
Order matters when you are spending money. Bow and matched arrows first, then the backstop, then the target and stand. Fancy stands and target covers can wait a season, and a range with no backstop is not a range at all.
If you are unsure whether you even like the sport, rent. Most clubs and indoor ranges will rent bows, and some will let you shoot a supervised session on their equipment. It is a cheap way to find out whether you enjoy the process before you buy anything.
Check your local rules before you build anything permanent. City and county codes, HOA bylaws, and in some places zoning or nuisance ordinances can restrict where and when you shoot. Your local library, city clerk, or police department non-emergency line can tell you what applies where you live.
Step-by-Step: How to Practice Archery in a Small Backyard
Check the Yard and Choose a Safe Shooting Direction
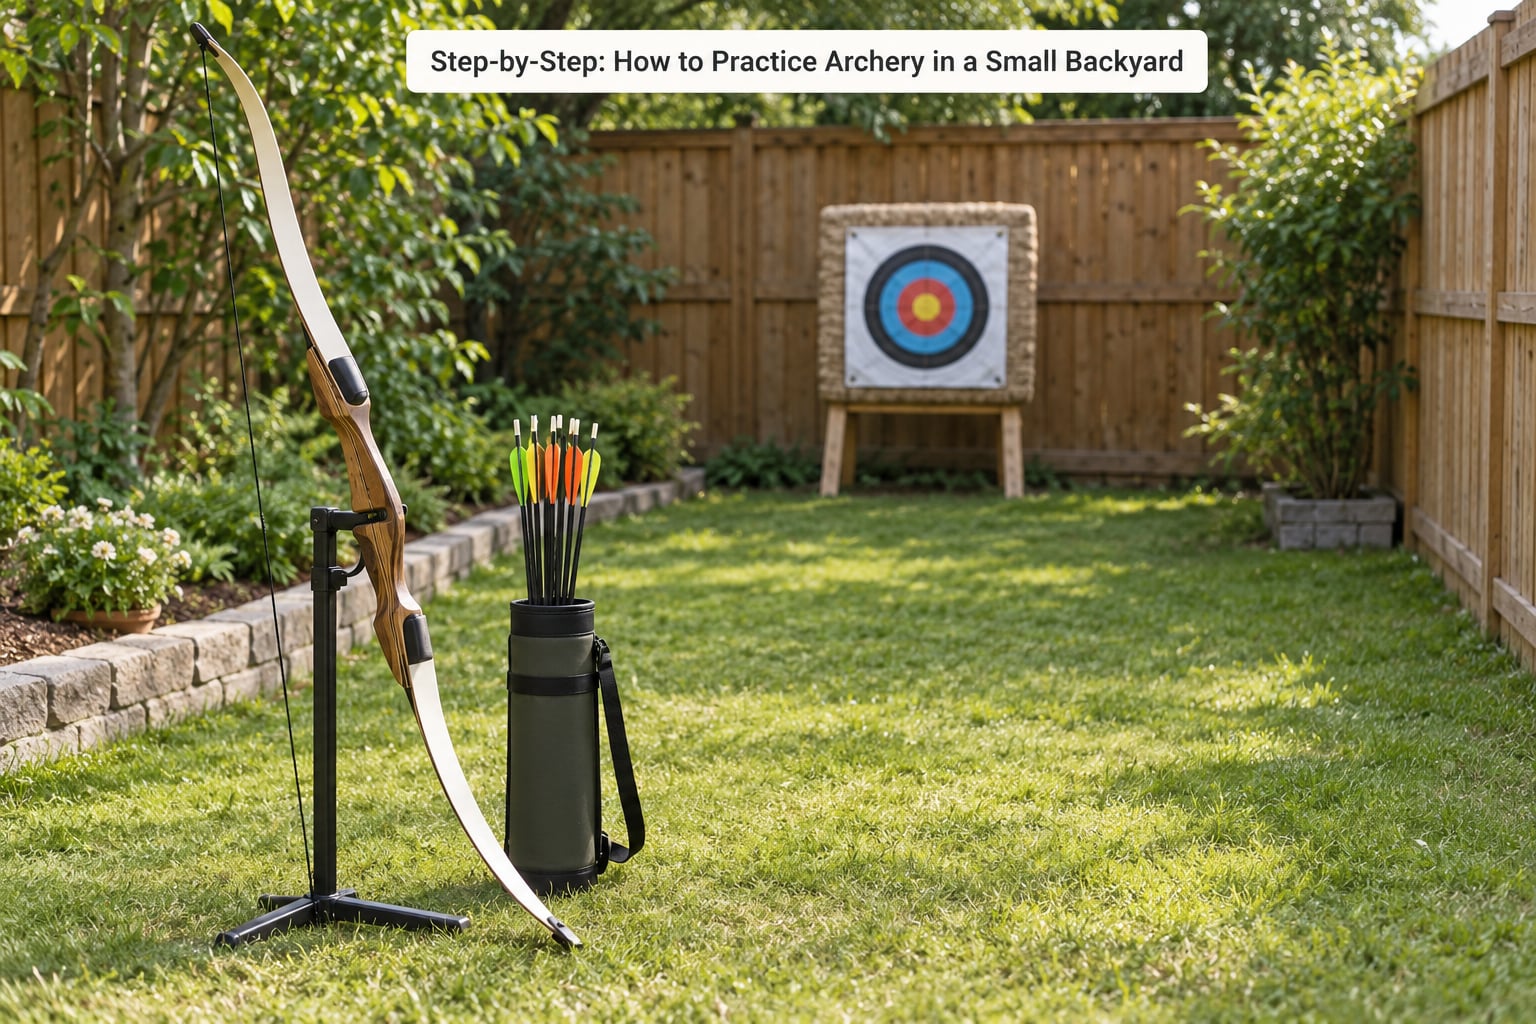
Start by walking the yard and standing where the target will go, then turn around and look at everything behind it. That view is what you have to make safe, and it is the view most beginners skip.
Work through this list in order:
- The full arrow flight path. Not just straight ahead. Look high, because a poor release or a sudden gust can send an arrow over the fence even at 10 yards.
- Overhead hazards. Low branches, power lines, satellite dishes, and the corners of your house. Never shoot toward or underneath a utility line.
- Neighbors and public space. Sidewalks, alleys, and streets are the most common accident path. If you cannot point the lane at something you own end to end, move the lane.
- Pets, children, and anything that moves. Know where the dog is before you nock. A family range rule that works well is nobody walks to the target while anyone is drawing.
- Your own house. Windows, sliding doors, and the deck are all behind you at the shooting line. Stand with your back to a wall, not a window.
Then mark two lines. The shooting line is where you stand. The waiting line is behind it, several feet back, where everyone else stands while you are shooting. The waiting line is not a formality, it is the rule that keeps a group practice from turning into an arrow in the shoulder.
Set one non-negotiable range command. The one everybody understands and nobody argues with is a clear call of stop, everyone lowers their bows, everyone stays put. Practice the call out loud the first few times until it becomes automatic.
A good rule of thumb from archery forums is to handle a bow like a firearm: before every draw you know what is behind the target. Muscle memory for that awareness takes weeks to build, and it is the habit that keeps your neighbors safe.
Set Up a Beginner-Friendly Target Distance
Start closer than feels necessary. At 10 yards you can see every mistake, which is exactly what you want. Most beginners who start at 20 yards spend weeks chasing an impact they never looked at.
A workable progression looks like this:
- 10 yards with a 60 cm face. Every arrow should land on the target before you move.
- 10 yards with a 40 cm face. Harder, still comfortable, and it teaches you to hold steady.
- 15 yards with a 40 cm face. This is the sweet spot many regular backyard shooters use, and plenty of people treat 15 yards as a genuinely decent home range.
- 20 yards with a 40 cm face. Only worth it if you physically have the depth for it.
Mark the distance instead of guessing at it. Two pavers, a length of string, or a marked paver at 30 feet for 10 yards removes the daily argument about where the target really is. Traditional archers care a lot more about exact distance than beginners realize.
If your yard is too shallow to shoot a normal face at 15 yards, use the half-distance trick. Cut or print half a target face and shoot it from half the distance. A 40 cm face shot from 7 yards at 10 yards distance is genuinely difficult, and it fits on a lawn that cannot hold a full setup.
Use a Consistent Stance and Shot Routine
Accuracy comes from repeating the same physical sequence, not from trying harder on each shot. Learn one routine and run it on every arrow, including the bad ones.
- Feet. Shoulder width, perpendicular to the target, weight even. Pick a foot first every time.
- Posture. Tall and relaxed. Shoulders down, chin level, chest open toward the target.
- Grip. Bow hand relaxed, fingers sit on the grip without squeezing. Tension in the bow hand travels up the bow arm and steals your shot.
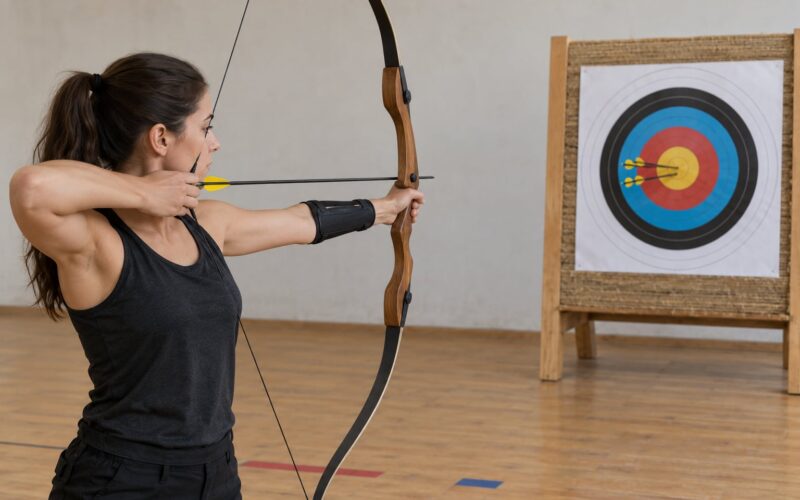
- Draw. Push, do not pull. Push the bow away from you and the string comes back easier.
- Anchor. Anchor points must be consistent or your sight picture changes with every shot. Find the spot under your jaw, then hold it.
- Aim. Sight on the target, let the sight do the aiming, and trust the sight rather than your eye correcting the picture.
- Release. The string should leave your fingers in a straight line. It is the most common fault beginners have and the hardest to feel.
- Follow through. Hold the finish position for a count after the arrow leaves. This is what teaches release, and it is where most rushed shots go wrong.
Use a short pre-shot checklist until the routine runs itself: clear lane, arrow field points down range, feet set, anchor consistent, string relaxed. Two minutes of that checklist replaces an hour of random shooting.
If your bow has a peep sight and you cannot see it, shoot with a finger release or add a sight. Beginners often try to hold the string over the arrow’s nocking point and forget the bow has optics built in. Either see the peep or remove the sight.
How to Practice Archery in a Small Backyard in Short, Focused Sessions
Twenty focused minutes beat an hour of flailing. Structure every session the same way so you spend your time shooting rather than deciding what to do.
- Five minutes of warm-up. Stretch shoulders, wrists, and hands, then shoot a few arrows loose with no aiming pressure. Cold fingers pull poorly and ruin groups.
- Ten minutes of grouped practice. Pick one fault and one drill. Blank-bale shooting, aiming at a mark on the target butt without releasing, or working on release alone. One thing at a time.
- Three minutes of rest. Fatigue is when technique falls apart, so stop before your form does.
- Five minutes of review. Walk to the target, look at the holes, note the pattern, and pick the correction for next time.
Change only one variable per session. If you move the distance and change your stance and switch targets, you will not know which change produced the improvement. Change one, measure it, then change the next.
Record Results and Increase Difficulty Gradually
Logging is the least fun part and the fastest way to improve. A notebook or phone note per session needs four numbers: distance, number of arrows, group size in inches, and how the shots felt physically.
Group size, not where the group sits, is the number that matters at short range. A tight group low-left means your form is working and your sight needs adjusting, which is a cheap fix. A scattered group means something in your sequence is inconsistent, and no sight change will fix that.
Move back when your group at the current distance is tight and repeatable across two sessions, and every arrow is on the target. Go back to fundamentals when the group scatters, when your shoulder or back starts complaining, or when you catch yourself rushing the last three arrows of an end.
Once the short-range work is boring, that is when a qualified coach or a club range earns its keep. Long-distance form, paper tuning, and shot selection are hard to self-teach from a 15-yard foam block.
Common Mistakes
Almost every problem on a small backyard range comes down to one of these seven, and each has a simple correction.
- Shooting with no real backstop. A wooden fence, a vinyl fence, or an open lawn is not a backstop. Fix: netting, straw bales, a foam mat on a solid surface, or an earth berm, sized so arrows stop inside it.
- Hanging the target too low. Most adult archers shoot at about 130 to 140 cm to the center of the gold. Too low and you shoot with a bent neck. Fix: measure the centre height and set it there.
- Aiming with your eyes instead of the sight. Fix: set a pin, hold the picture, and let the sight place the arrow.
- Gripping the bow hard. Tension moves your bow hand, which moves your anchor, which moves your impact. Fix: relax the grip until the bow hand can be turned freely when you open your fingers.
- Skipping the warm-up and shooting through fatigue. Fix: five minutes of warm-up, a planned rest, and stopping when your form starts to fall apart.
- Estimating distances by eye. Fix: mark every position with pavers or a tape measure.
- Treating every session as a distance test. Moving back every week with no plan produces panic and fatigue, not fitness. Fix: hold the distance until the group is tight and repeatable.
Tips for Making a Small Yard Work
Measure what you actually have between the back of your house and the far fence. Most yards have far more width than depth, and depth is what archery uses.
| Usable depth | Workable distance | What to do |
|---|---|---|
| 25 ft or less | 5 to 8 yards | Hang a 40 cm face close, use the half-face trick, and move back as your form allows |
| 30 to 40 ft | 8 to 10 yards | Standard 10-yard lane with the backstop about 6 ft behind the target |
| 45 to 60 ft | 12 to 15 yards | Comfortable 15-yard lane with room to walk out and retrieve |
| Over 60 ft | 18 to 20 yards | Add a second target for variety and consider an earth berm behind it |
Pick the backstop before you pick the target
Backstop material is the decision that determines whether the rest of the range works, so compare them honestly.
| Backstop | Relative cost | Stops arrows from | Noise | Durability | Watch out for |
|---|---|---|---|---|---|
| Archery net or curtain | Moderate | Recurve and moderate compounds with field points | Quiet | Fair | Broadheads can pass through; needs a solid frame |
| Straw bale wall | Low | Light to medium draw weights | Moderate thud | One season outdoors | Rot when wet; keep it covered and dry |
| Cardboard stack | Almost free | Light recurve draw weights | Quiet | Weeks | Weatherproof it or rebuild it often |
| Foam playmat on a solid fence | Low to moderate | Medium draw weights | Loudest option | Long | The most common source of neighbor complaints |
| Earth berm | High effort | Any bow | Very quiet | Years | Needs depth behind the target; dig where you can |
Whatever you choose, add about 6 feet of clearance behind the target and check the material on the manufacturer’s rating rather than assuming. A target rated for a light recurve will not survive a high-poundage compound arrow no matter how it is hung.
Keep the neighbors with you
Most complaints are not about arrows, they are about noise and surprise. Talk to the neighbors before you start, explain the schedule, and give them a number to call if something goes wrong. A heads-up call that keeps working is worth more than any amount of matting.
- Keep sessions out of early morning, evening, and quiet hours.
- Use a quieter face and backstop combination, such as netting or foam, rather than bare wood or fence boards.
- Keep arrows contained so nothing flies over the fence. Never shoot over a fence where you cannot see the landing area.
- Keep the lane pointed away from neighboring houses and shared property.
Care for targets and store arrows properly
Paper targets get wet, tear, and blow away, which is why most serious home shooters move to foam. Foam blocks shrug off rain, dry in a garage, and last far longer than paper, though the printed face still fades in sun and needs replacing.
Store arrows upright, indoors, in a rack or tube. Damp shafts cause delamination and crummy fletching glue, and arrows stored flat in a hot garage bow in the shaft.
Between seasons, tarp or wrap the target so water does not sit in the foam, check the stand bolts, and re-read your local rules before you set up again each 2026, because ordinances change.
Have a plan for the days you cannot shoot outside
Rain and winter do not have to end your practice. A foam block in a garage or a long hallway gives you indoor form work, stretch bands give you the draw-side strength work, and dry firing with a release aid trains release, though it damages strings and cams if you do it too often or too heavy.
That indoor time works best as form work. Real accuracy still needs a target downrange, so treat indoor sessions as the supplement, not the replacement.
Frequently Asked Questions
How much space do I need for a backyard archery range?
Most beginners need about 25 to 40 feet of clear depth: roughly 30 feet for a 10-yard lane plus 6 feet of backstop clearance behind the target. Wider is not better, archery uses depth. With less than 25 feet you can still shoot, just closer, or use a half-size target face at half the distance.
Can you have an archery range in your backyard?
Usually yes, since shooting on your own property is generally lawful, but city and county codes, HOA bylaws, and nuisance or noise ordinances can restrict where and when you shoot. Check with your city clerk, your HOA, or your police department non-emergency line before you build anything permanent or start early in the morning.
Is it safe to practice archery in your backyard?
It is safe when three conditions hold: a clear lane with nobody behind the target, a marked shooting line and waiting line, and a rated backstop that stops arrows after the target. Add a spoken stop command and treat every bow like a firearm, checking what is behind the target before every draw.
What is the best backstop for a backyard archery range?
It depends on draw weight and neighbors. Archery netting is quiet and handles field points from lighter and mid-range bows. Straw bales are cheap for recurve draw weights but rot. Foam playmat fixed to a solid surface is durable but loud, so it is the most likely source of complaints. Earth berms last longest.
Is 10 yards enough to actually get better?
Yes. Ten yards is where you build consistent form, release, anchor, and a repeatable pre-shot routine, and those carry to any distance. Use short yardage with a small target, or a half-size face at half the distance, to keep it hard. Use longer distances at a club range when you can.
What should I do if an arrow leaves my yard?
Stop shooting immediately and secure the bow. Do not go into a neighbor’s yard without permission, and retrieve the arrow promptly, ideally that day. Note what happened, usually too little backstop or an over-firing mistake, and fix the setup before the next session. Say something on the doorstep; most issues disappear there.
Conclusion
The safest first move is to spend an hour measuring your yard and choosing a direction you control end to end, then build the backstop before anything else. Once you have a clear lane, a rated backstop, and a target at 10 yards, practice in short form-focused sessions and only add distance once your groups are tight and repeatable.