To test soil pH at home you have three realistic routes: pH strips or litmus paper for a quick screen, a digital soil pH meter for a repeatable number, or baking soda and vinegar for a free yes-or-no answer. The baking soda test tells you which side of 7.0 you are on and nothing more, so if you plan to amend anything, buy a meter or a color-dye kit.
Whole thing takes about 15 minutes per sample once you know what you are doing, and it costs anywhere from nothing to a few dollars. Most wrong results trace back to one thing: bad sampling, not a bad instrument. I have watched people stir fertilizer into the sample and then wonder why the number moved.
Table of Contents
- What You Need
- Step-by-Step
- How to Collect a Reliable Soil Sample
- Method 1: Test Soil pH With pH Strips
- Method 2: Use a Digital Soil pH Meter
- Method 3: Use the Baking Soda Test
- Common Mistakes When You Test Soil pH at Home
- Testing soil that is full of fresh amendments
- Using tap water
- Getting the water and soil ratio wrong
- Sampling one spot
- Reading strips too late
- Storing a probe dry
- Treating the fizz test as a measurement
- Frequently Asked Questions
- What is the best soil pH for most garden plants?
- How often should I test my garden soil pH?
- Can I test soil pH with tap water instead of distilled water?
- How do I test the pH of potted plant soil?
- Is the baking soda soil test accurate?
- When should I send soil to a laboratory instead of testing at home?
- Conclusion
What You Need
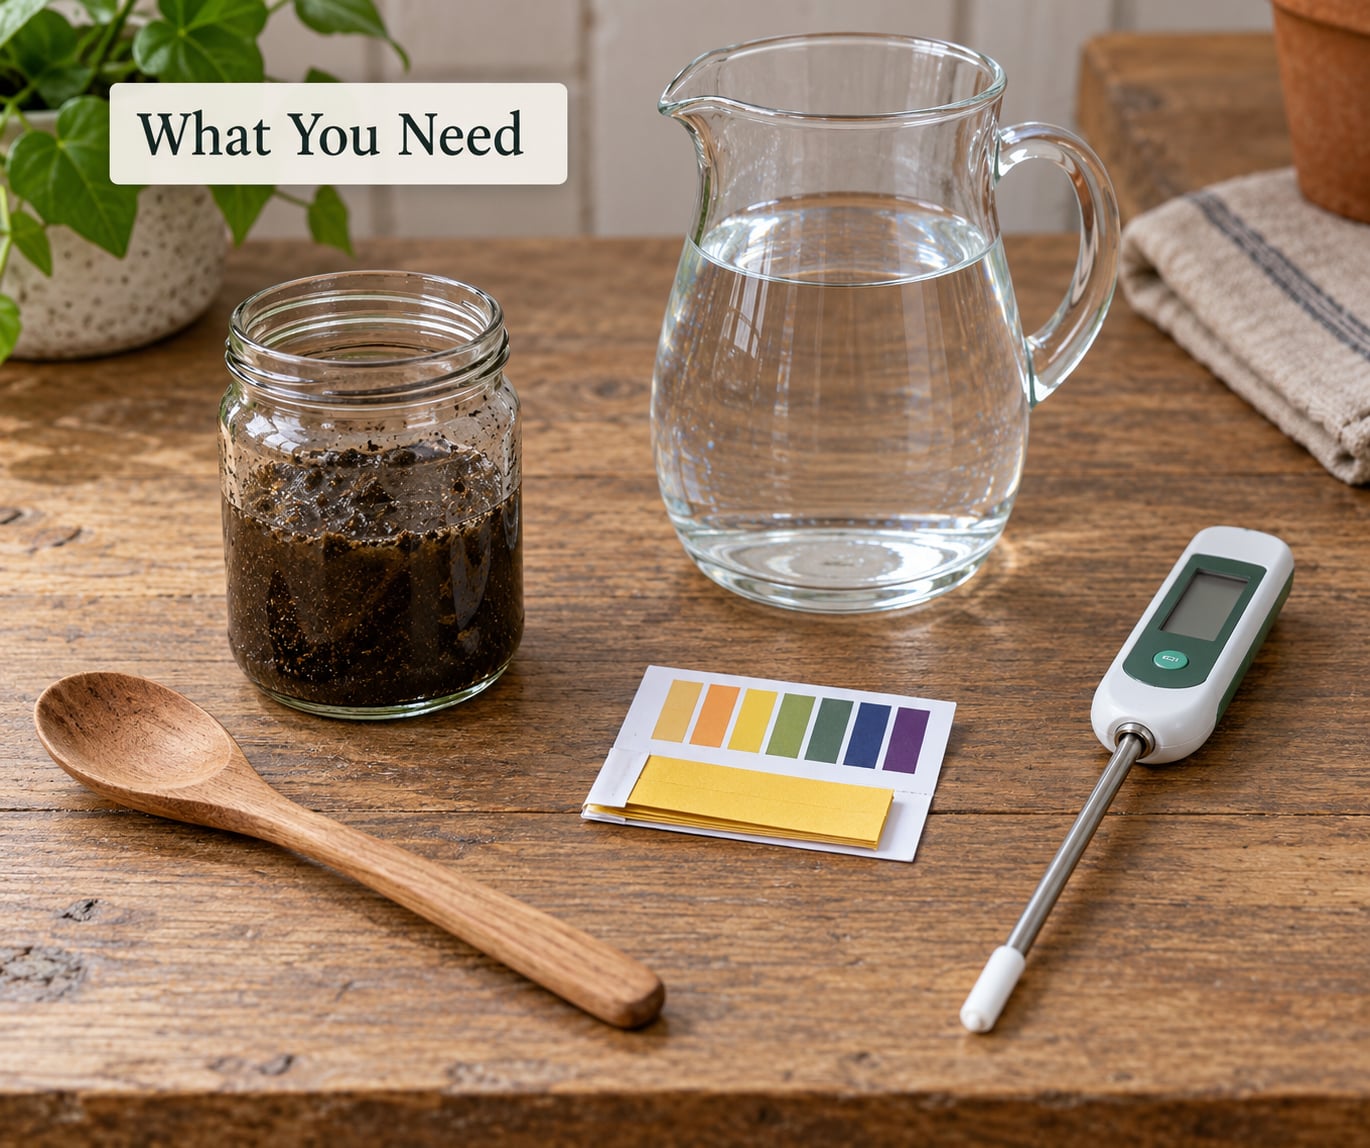
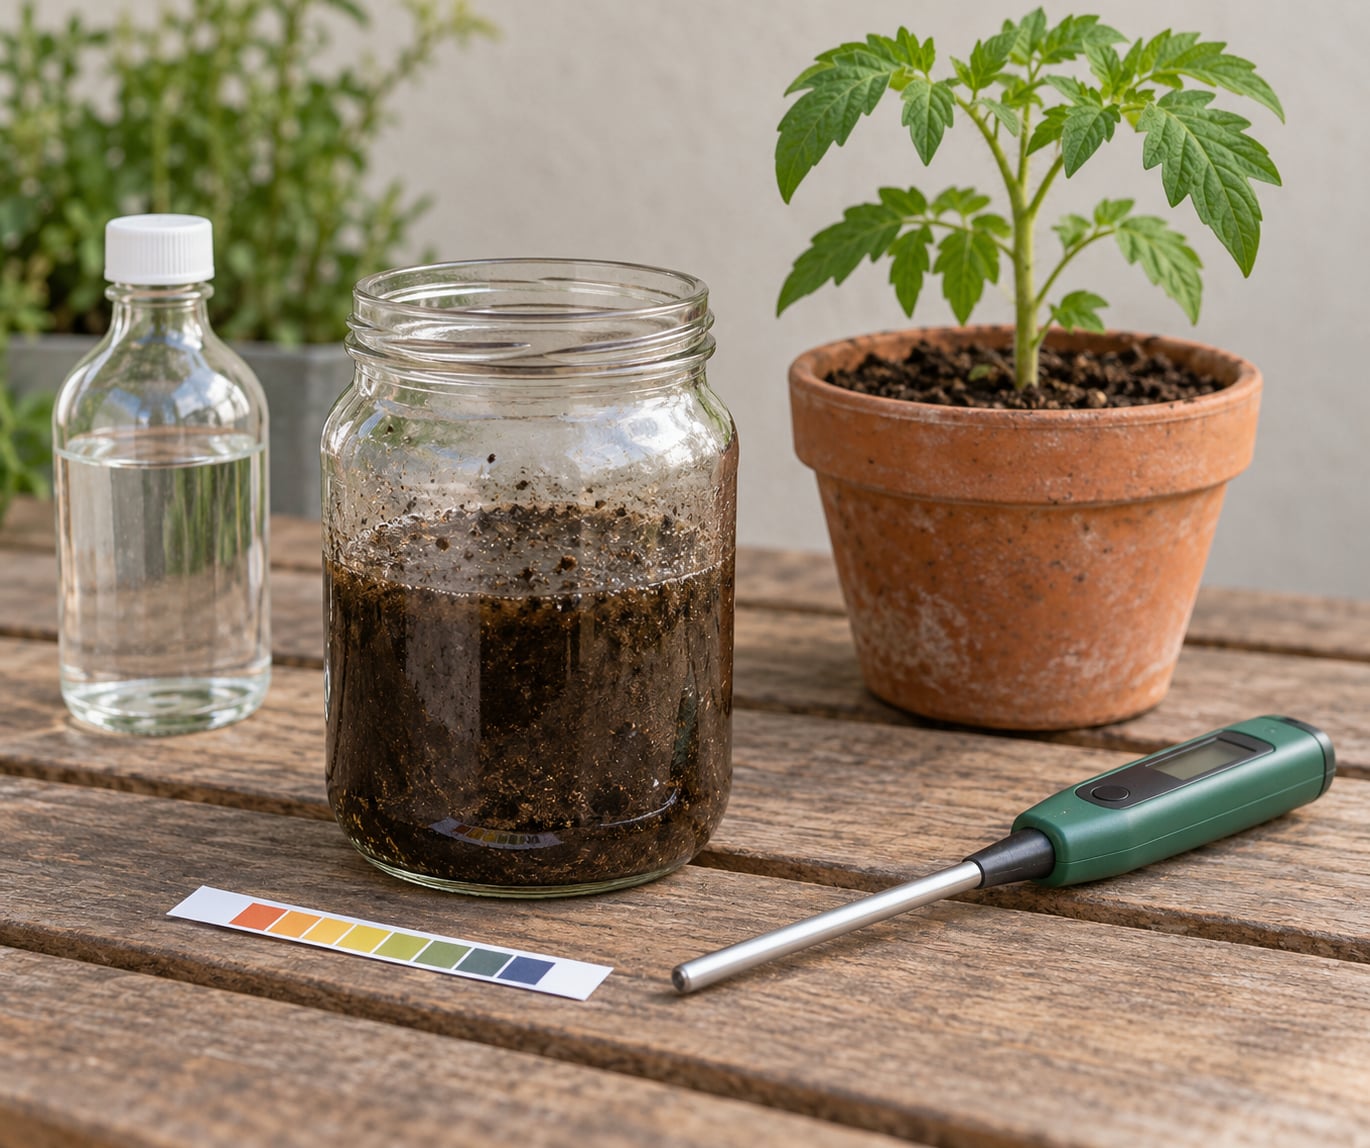
You can get through this with things you already own, but two items matter more than the rest: distilled water and a clean container with a lid.
Tap water carries its own pH, usually somewhere in the 7 to 8 range, and that skews everything. Distilled water is essentially neutral, so the only thing changing the pH in your jar is the soil. Rainwater works in a pinch, though some users report it sitting near 6, which is acid enough to nudge a borderline reading.
For the strips and baking soda methods:
- Two tablespoons of dry soil per test
- Half a cup of distilled water
- Half a cup of white vinegar
- Baking soda, one rounded teaspoon
- A clean glass jar or cup with a lid, washed and rinsed
- pH test strips rated 1 to 14, or litmus paper
For the meter method, add a digital soil pH meter with a probe, a cup of distilled water for rinsing, and calibration solution if the meter shipped with one. Nitrile gloves save you from a filthy sink, and a trowel or narrow digging tool for sampling comes in handy too.
Here is how the methods compare, so you pick the right one before you start.
| Method | What you need | Accuracy | Best for |
|---|---|---|---|
| Baking soda and vinegar | Pantry items | Directional only, no number | Finding out if a bed is far off 7.0 |
| pH strips or litmus paper | A pack of strips | About plus or minus 0.5 to 1.0 | A fast screen on a few spots |
| Color-dye or aquarium pH kit | Dye capsules or liquid reagents | About plus or minus 0.2 to 0.5 | Anyone who wants a real number cheaply |
| Digital pH meter | Meter, probe, calibration solution | About plus or minus 0.1 when calibrated | Repeat testing and amendment tracking |
| Extension lab test | A sample box and a form | Lab-grade, plus nutrients | Deciding amendment rates before spending money |
Step-by-Step
How to Collect a Reliable Soil Sample
Collect 4 to 6 inches deep for most vegetables and lawn, and 8 to 10 inches for deep-rooted shrubs and trees. Take separate spoonfuls from 5 to 10 spots spread across the area, not from one corner.
Scrape off mulch, thatch, leaf litter and any surface crust before you dig. Fresh fertilizer, compost or wood ash will move the number a long way, and that is a reading of what you added last weekend rather than of your soil.
Put all the spoonfuls in the clean container, mix them together, and spread the mix out to let it air dry. Then take two tablespoons from the middle of that mixed pile. That blended sample is called a composite, and it is the only way to get a number that describes your bed instead of one lucky spot.
Method 1: Test Soil pH With pH Strips
Put two tablespoons of your dry mixed soil in a clean glass jar and add half a cup of distilled water. Stir thoroughly until every clump is wet and the mix looks like thin mud, then let it sit 15 to 30 minutes so salts dissolve into the water.
Dip a pH strip into the liquid only, not into the soil. Tap the excess off against the rim, then hold the strip against the daylight with its timing target already matched to the manufacturer’s chart. Most strips read in 30 to 60 seconds, and many drift well past that window.
Match the strip’s color to the chart while it is still in that window, then write the number down with the spot it came from. Repeat on three or four spots if you want to know whether your yard is uniform.
Litmus paper is the same idea with less detail. It will tell you acidic or alkaline and roughly by how much, which is enough to catch a badly wrong bed.
Method 2: Use a Digital Soil pH Meter
Make the slurry the same way as the strip method: two tablespoons of soil, half a cup of distilled water. Insert the probe so the bulb sits fully in the liquid and not against the glass or the bottom of the jar.
Stir the slurry first, then wait for the reading to stop moving. Most meters settle in 30 to 60 seconds. A reading that is still drifting after two minutes is usually a probe that needs rinsing or calibrating.
Rinse the probe in distilled water between every sample and blot it dry rather than wiping it. The glass bulb and the salt bridge on the reference side foul quickly, and that is where most disappointing readings come from.
Calibrate with two buffer solutions rather than one, typically 4.0 and 7.0, before your first session and then weekly or monthly after that. Keep the probe stored in its cap, in storage solution or at least permanently moist, never sealed in an empty bag.
One warning worth repeating: many inexpensive pen-style “soil” testers are built for nutrient solutions. Stuck straight into dry soil they read the film of moisture on the probe, not the soil itself, which is why growers on r/gardening and r/houseplants treat them as decorative.
Method 3: Use the Baking Soda Test
Do the vinegar half first. Put half a cup of dry soil in a clean jar, pour in half a cup of white vinegar and stir. Vigorous fizzing and foam mean carbonate is reacting, so the soil is alkaline, usually above 7.0. A few bubbles here and there, or nothing, means you have not seen alkaline behavior.
For the acid half, use fresh soil. Put two tablespoons of dry soil in another clean jar, add half a cup of distilled water and stir, then add a rounded teaspoon of baking soda. Persistent bubbling and a fizzy smell mean the soil is acidic, roughly under 6.5.
No reaction on either test lands the soil somewhere near neutral, close to 7.0.
Baking soda is used because it is itself alkaline, around pH 8.3, and reacts only when it meets something more acidic. Vinegar is acidic by the same logic in the other direction.
| Plant group | Ideal soil pH |
|---|---|
| Most vegetables and annuals | 6.0 to 7.0 |
| Blueberries, azaleas, rhododendrons | 4.5 to 5.5 |
| Most houseplants | 5.5 to 6.5 |
| Cabbage, broccoli, beets, asparagus | 6.5 to 7.5 |
| Lawn turf such as fescue | 5.5 to 6.5 |
| Warm-season turf such as Bermuda or zoysia | 5.8 to 7.0 |
Outside that window, nutrients stop being available. Acidic soil locks up calcium and magnesium, alkaline soil locks up iron, manganese and zinc, which is why a plant can be yellowing and stunted while you keep feeding it.
To raise pH, work in agricultural lime, either calcitic or dolomitic, and expect weeks to months of movement. To lower it, elemental sulfur is the standard tool and acts faster, still taking a season or so to show a full shift. Retest a month later either way.
Common Mistakes When You Test Soil pH at Home
Testing soil that is full of fresh amendments
Compost, manure, fertilizer and wood ash all push the reading around. Scrape them off the surface, sample underneath, and let a freshly amended bed settle for several weeks before you judge it.
Using tap water
Tap water brings its own buffering and alkalinity with it and pushes the reading upward. Use distilled water every time, including for rinsing the probe between samples.
Getting the water and soil ratio wrong
Too much water dilutes and drags the reading toward 7.0, too little leaves a slurry that reads high and flattens out as it dries. Stick to two tablespoons of soil to half a cup of water and change nothing between samples.
Sampling one spot
pH varies across a yard, often a full point between the low corner and the rose bed by the fence. Composite samples from 5 to 10 spots tell you about your soil; a single spoonful tells you about that trowelful.
Reading strips too late
Every strip has a response window, usually 30 to 60 seconds, and after it the color keeps shifting. Set a timer rather than trusting your sense of how long that took.
Storing a probe dry
A dry glass bulb dries out the reference junction and the meter drifts for good. Entry-level growers on overgrow.com report calibrating weekly and replacing the probe once or twice a year, which is roughly the normal service life for a cheap meter.
Treating the fizz test as a measurement
Bubbling tells you which side of 7 you are on. It cannot tell you whether you are at 5.5 or 6.3, so never size a lime application off it. Confirm with a dye kit, a meter or a lab.
Frequently Asked Questions
What is the best soil pH for most garden plants?
Most vegetables, annuals and lawn grass do best between 6.0 and 7.0, a band narrow enough that a single reading tells you enough to act on. Acid-loving plants sit far lower at 4.5 to 5.5, and alkaline-tolerant crops such as cabbage, beets and asparagus prefer 6.5 to 7.5. Houseplants generally want 5.5 to 6.5.
How often should I test my garden soil pH?
Test before you plant a new bed or renovate an old one, then once or twice a season for actively tended vegetable beds. Soil pH drifts slowly, so a healthy established landscape does not need monthly checks. Test again about a month after any lime or sulfur application to see whether the amendment moved the number.
Can I test soil pH with tap water instead of distilled water?
Distilled water is worth the trip to the grocery store. Tap water carries its own alkalinity and hardness, typically pushing the reading higher than the true soil value, and the error can be large enough to send you amending in the wrong direction. Use distilled water for mixing the slurry and for rinsing the probe, every time.
How do I test the pH of potted plant soil?
Take a spoonful of potting mix from the middle of the pot rather than the surface, where fertilizer salts concentrate. Use a smaller ratio of about one tablespoon of mix to half a cup of distilled water, since container soil is lighter than garden soil. Rinse the probe or jar between plants so one pot does not contaminate the next.
Is the baking soda soil test accurate?
It is accurate about one thing: whether your soil sits on the acidic or alkaline side of 7.0. Vigorous fizzing with baking soda means acid, fizzing with vinegar means alkaline, and no reaction on either means near neutral. It gives no number, so it cannot tell you whether you are at 5.5 or 6.3 and should never size an amendment off it.
When should I send soil to a laboratory instead of testing at home?
Send a sample to your county extension office or soil lab when a broad change is expensive, when you plan a major lime or sulfur application and need the rate right, or when plants are failing despite feeding and watering. Labs also report nitrogen, phosphorus, potassium and sometimes organic matter, which home kits cannot do.
Conclusion
Start with a color-dye kit if you want a number and you want to spend almost nothing, or with a calibrated digital pH meter if you expect to test more than once or track an amendment over time. Keep the baking soda test in your back pocket for a fast gut check.
Whatever you use, sample several spots and blend them, use distilled water, and keep the soil-to-water ratio the same every time. Those three habits fix most bad readings before the instrument ever enters the picture.
Once you have the number, compare it against the range your crop actually wants, then adjust gradually with lime or elemental sulfur and retest in a month. One test tells you where you are. The second one tells you whether your fix worked.