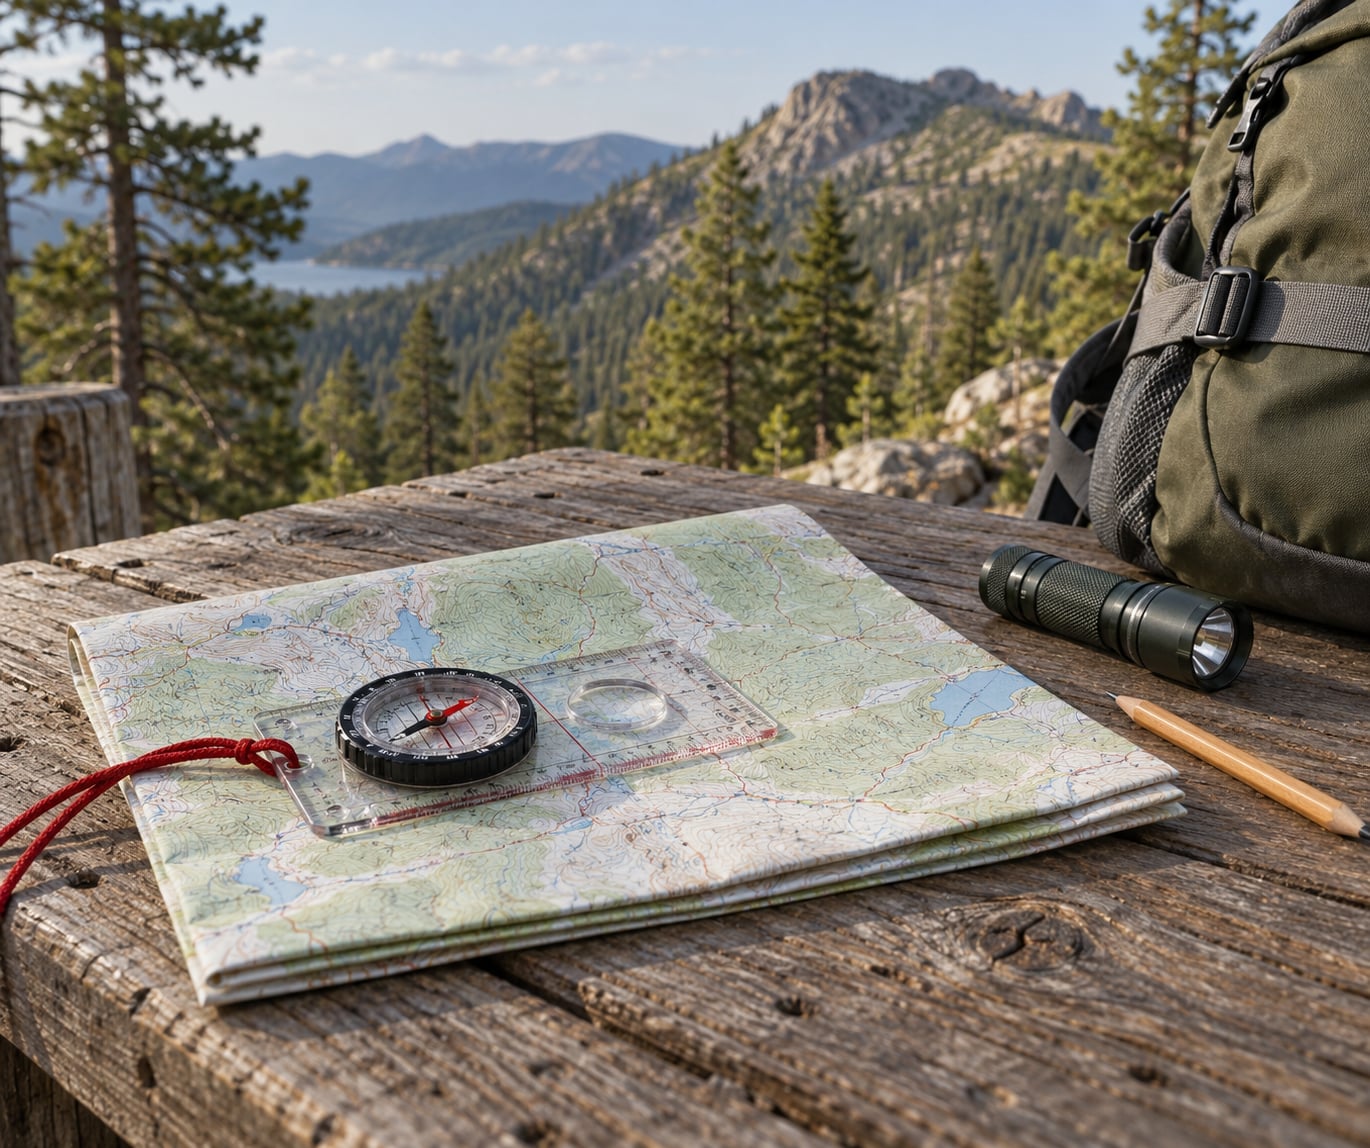
A compass gives you direction and nothing else. You point it, read a bearing in degrees, turn your body until you face that bearing, and keep re-checking as you walk. That loop is the whole answer to how to use a compass without a GPS, and it takes about ten minutes to learn in a yard. The hard part is never the needle. It is declination, judging distance, and staying calm when the terrain stops helping you.
Crossing country with nothing but the instrument, the sun and a notebook is genuinely doable, and every serious hiker trains for it before they need it. Give it one afternoon of practice close to home and the technique sticks for years.
Table of Contents
- What You Need
- Step-by-Step: How to Use a Compass Without a GPS
- Hold the Compass Flat and Check the Needle: How to Use a Compass Correctly
- Set or Account for Declination
- Find a Bearing to a Landmark or Destination
- Orient the Map to Your Surroundings
- Walk the Bearing and Keep Your Progress
- Use Terrain, Sun, and Shadows as Backup Checks
- Handle Obstacles and Uncertainty
- Common Mistakes
- Frequently Asked Questions
- Do I need to adjust a compass for declination when navigating without GPS?
- Can I use a smartphone compass instead of a dedicated compass?
- How do I find true north with a compass?
- How do I use a compass at night or in poor visibility?
- What should I do if I get lost without GPS?
- How long should I wait for a compass needle to settle?
- Conclusion: Start with One Reliable Bearing
What You Need
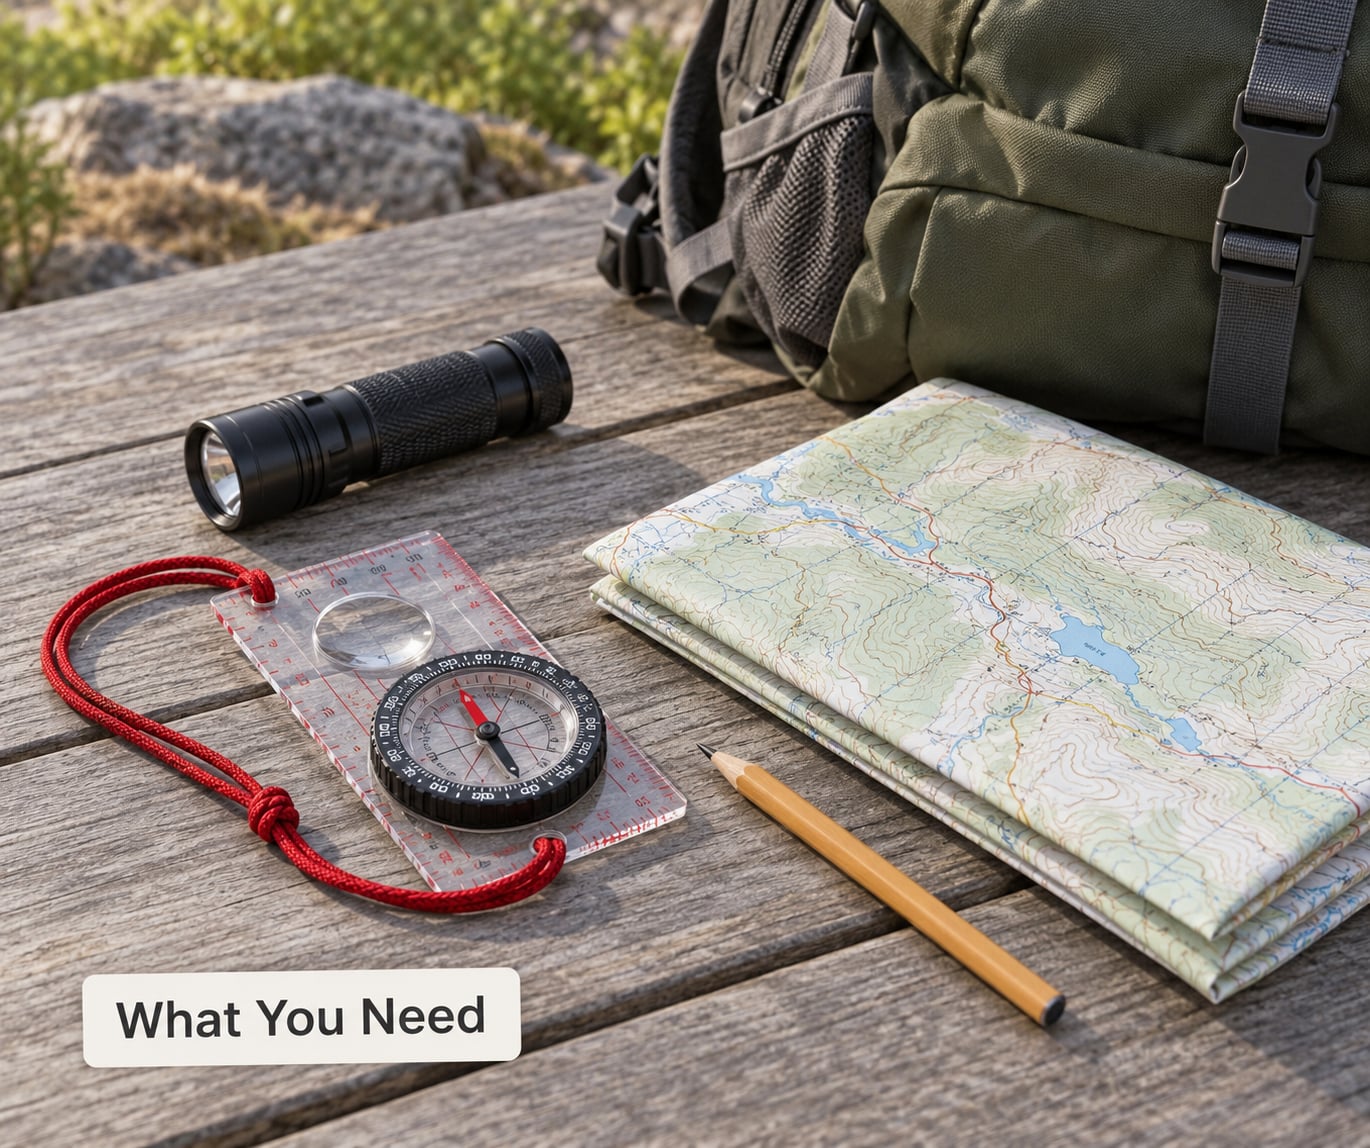
The core kit is small: a baseplate compass with a declination adjustment screw, a topographic map of the area, a pencil, and something to count paces with. A cheap bead bracelet or a watch with a second hand does the counting job. Most beginners get more out of a twenty-dollar baseplate compass with a working screw than a fancy one they never adjust.
Add a whistle, a headlamp even on a daylight trip, water, and layers sized for the coldest hour rather than the warmest. A phone is a reasonable backup, never the primary tool. Screens die, batteries drain in cold, and a phone magnetised to your belt buckle sits next to a steel buckle and reads nothing useful.
Tell someone your route and your return time before you set out. That one habit does more for you than any skill in this guide.
| Compass type | What it does well | Where it falls short | Best for |
|---|---|---|---|
| Baseplate | Map and compass together, ruler edge for plotting bearings | No sighting, hard to aim precisely | Day hiking with a map |
| Lensatic | Precise sighting, luminous markings, built-in adjustment | Steep learning curve | Backpacking, night travel, hunting |
| Prismatic | Straight-through sighting, fast to aim, comfortable on long legs | Heavier, bulkier | Long days on the trail |
| Smartphone | Already in your pocket, works with any app | Magnetometer sits near speaker and cable | Backup only |
Hikers who practise together usually settle on the baseplate compass with a protractor and ranger beads as the cheapest kit that actually works. Whatever you pick, the skill matters far more than the instrument.
Step-by-Step: How to Use a Compass Without a GPS
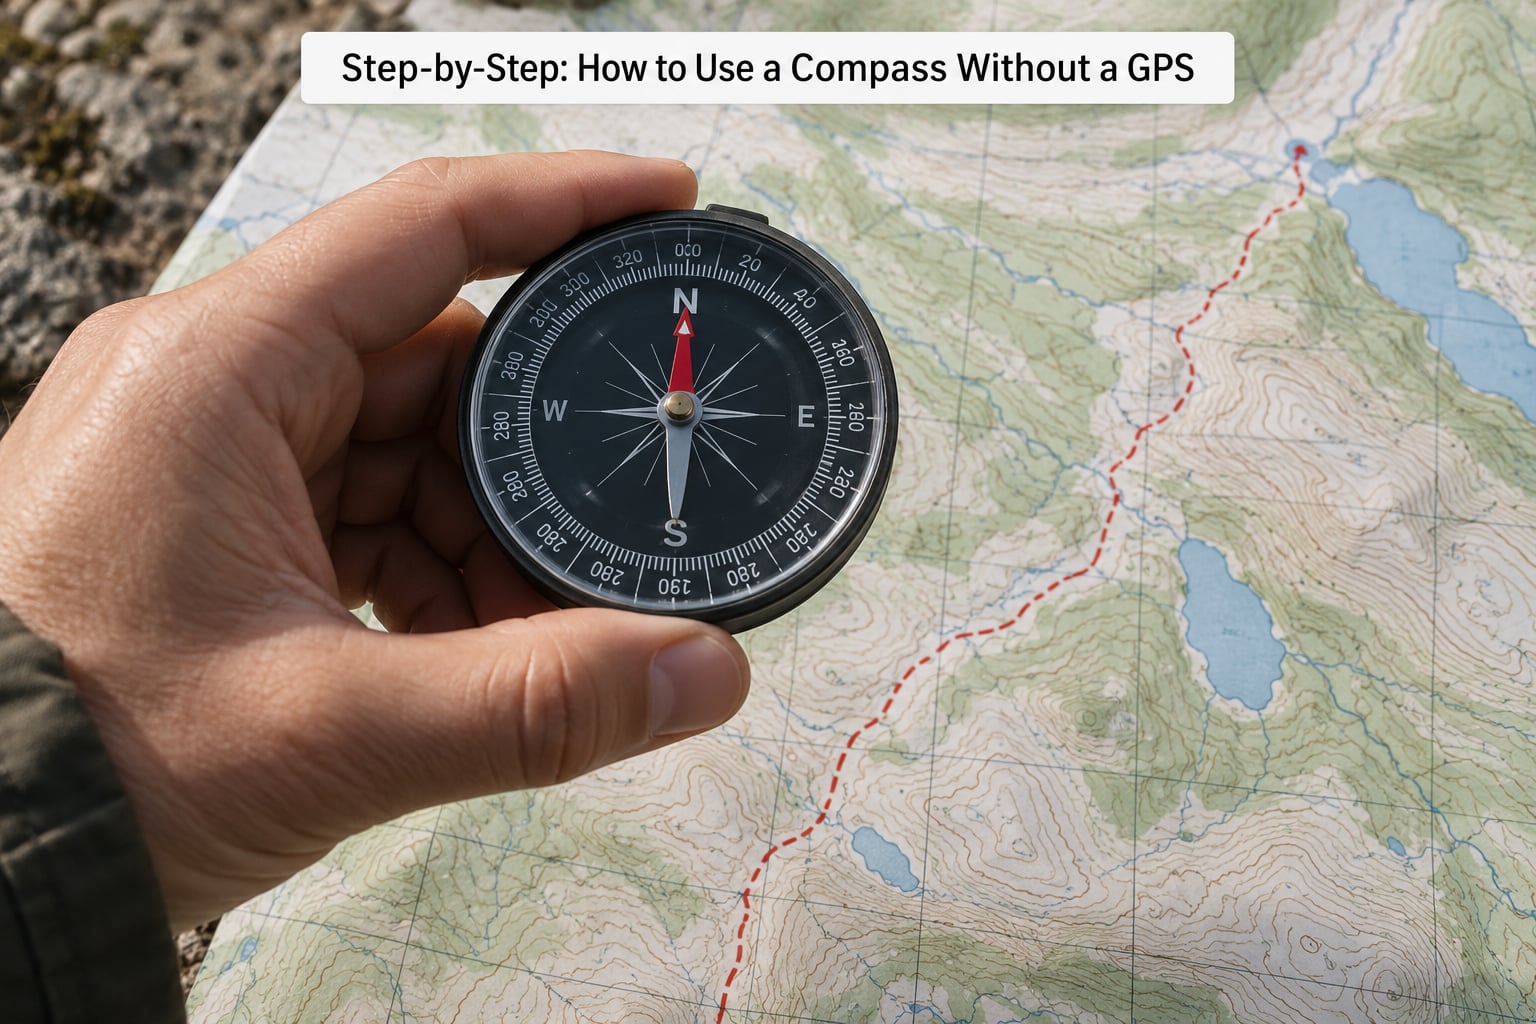
The process runs in a fixed order: settle the needle, correct for declination, take a bearing, orient your map, walk the line, then confirm with terrain and sky. Beginners who skip to step three and start guessing usually end up somewhere impressive and wrong. Work through the sequence once here, then repeat it until the order feels automatic.
Hold the Compass Flat and Check the Needle: How to Use a Compass Correctly
Rest it flat on your palm at chest height, away from your body, and let the needle finish moving. Most adults hold it with the non-dominant hand so the dominant hand stays free to write, point or pull out a map.
Step away from anything metallic: belt buckles, knife blades, a canteen, a car, a chain-link fence, an iPhone still in your pocket. A parked vehicle will spin the needle through a full 90 degrees if you stand beside it. If the needle will not hold still, move four or five paces and try again.
You will know it worked when the red north-seeking end points in a stable direction for three seconds or more. A liquid-filled baseplate dome needs a firm tap or a thumb press to bring the bubble to centre, and that can take ten seconds.
Set or Account for Declination
Magnetic north is where the needle points. True north is the direction of the Earth’s rotation axis, and the angle between them is magnetic declination. It varies by place and drifts slowly over years, which is why a compass set in one state is slightly wrong a thousand kilometres away.
The whole rule fits in three words: east is least, west is best. East declination is added to your magnetic reading, west declination is subtracted.
Take a map bearing of 075 degrees in a place with 10 degrees east declination and you hold 085 on the compass. Move to a place with 12 degrees west declination and the same map line is a compass bearing of 063.
Three ways to handle it. An adjustable compass has a small screw under the floating dial that rotates the dial so the index line reads magnetic directly, so you set it once per region and stop thinking about it. A lensatic rotates the whole dial with the bezel for the same result. If your compass is fixed, carry the number and add or subtract it on paper every time you take a bearing.
Find the value on the map margin, on a national magnetic declination chart, or from an online magnetic declination lookup. Experienced navigators in areas with a small value often work in degrees true and accept the tiny error, which is a fair simplification under about 3 degrees.
Find a Bearing to a Landmark or Destination
Turn the compass housing until the north arrow printed on the card sits inside the orienting arrow on the baseplate. That makes the card line up with the needle. Read the number at the index line and you have the bearing in degrees.
Write bearings as three digits so they read the same out loud and on paper: 045, not 45. Zero and 360 both mean north, 090 east, 180 south, 270 west. Northeast is 045, southeast 135, southwest 225, northwest 315.
On a lensatic you set the bezel ring to the same value and it clicks as it turns. Each click is 3 degrees, so ten clicks move you 30 degrees. Use one hand to work the bezel and your whole arm follows, which beats fumbling a small knob.
The baseplate works as a rule. Slide the edge along your forward arm until the direction-of-travel arrow points at the target, or point your arm straight down that line and read where it crosses the dial.
Orient the Map to Your Surroundings
Lay the map flat and put the compass on it. Rotate map and compass together until the north arrow on the map aligns with the orienting arrow on the dial, then check the terrain against the contour lines.
That check is the part that catches mistakes. Compare the valley shape, the direction the stream runs, and the ridge lines to what stands in front of you. If the map says a saddle lies east but the saddle lies west of you, your declination or your reading is wrong and you fix it before you walk.
To take a bearing straight off a map, place the edge of the compass on your start point and destination, rotate until the orienting arrow lines up with the map’s north grid, then read the index line. That gives you a true bearing, which means one final adjustment: add east declination, subtract west.
Stand at a point you know, pick a distinctive rock or tree, walk until it sits on the compass bearing, then look down and find that same shape on the map. Repeat it and you will trust the pairing much more than either tool alone.
Walk the Bearing and Keep Your Progress
Turn your whole body until the direction-of-travel arrow aims at something far away, a ridge line, a fence or a distinct peak. Aim at the distant object, not at your boots, because a compass held at your feet and read from above gives a badly wrong angle.
Keep the landmark lined up with the bearing as you walk. If you constantly nudge the compass and re-aim, you will trace a zigzag and drift sideways.
Now measure the distance, because a bearing with no distance is just a direction. Walk a measured hundred metres and count your paces to learn your own stride; a typical adult covers roughly 70 to 80 metres a minute on flat ground. Paces beat guessing every time.
Use the back bearing as your error check. Walk 075 and your return bearing is 255. If you turn around and the back bearing does not read 255, you have drifted, turned wrongly or the declination is off.
Re-read the index line every fifteen to twenty minutes and at every change in terrain. Cross-country travel adds error you cannot avoid, since nobody walks a straight line around a gully, so aim deliberately to one side of the true line and let the deviation cancel out. Log the time, bearing and distance of each leg and you are doing dead reckoning, which is how anyone crossed a continent before satellites.
Use Terrain, Sun, and Shadows as Backup Checks
In the northern hemisphere the sun rises roughly east and sets roughly west, so a mid-morning shadow points west and a mid-afternoon shadow points east. Halfway between sunrise and sunset the sun is due south, which makes the shadow method a genuine backup rather than folklore.
The analog watch trick is more precise. Point the hour hand at the sun, find the angle between it and twelve, and bisect that angle. The bisector points south in the northern hemisphere and north in the southern one.
For a longer baseline, lay a stick or a hiking pole on the ground, mark the tip of its shadow, then wait fifteen minutes and mark again. The line between the two marks runs east to west.
On a clear night, follow the two stars at the end of the Big Dipper about five times their own length and the fifth one along is Polaris, within a degree or two of true north. South of the equator use the Southern Cross instead, and remember that declination runs the other way there.
Moss, lichen, anthill slopes, birch bark and snow melt all lean toward something, and all of them are weak evidence. Check several and treat them as a hint, never as a bearing.
Handle Obstacles and Uncertainty
Cliffs, lakes, deadfall and gullies will interrupt any straight line. Take a new bearing to a clear object beyond the obstacle, walk that, then resume the original bearing past it. Keeping the original line of travel in mind stops you from spiralling around each obstacle.
When visibility drops into fog or falling snow, stop moving and reassess. Take a fresh bearing, pick the next object you can actually see, and count the paces from your last confirmed point. Distance marks matter more than sightlines in whiteout conditions.
Make one point certain before any move. Ask yourself when you were last sure of your position, what bearing you walked, and how far, because that is the only anchor you have if the trail dissolves.
If you are genuinely lost, stop and sit down. Panic burns daylight and energy, and moving without a plan doubles your distance from help. Retrace only when you are confident about the line you came in on; otherwise stay where you are, stay warm, and make yourself visible.
Common Mistakes
1. Ignoring declination. A 10-degree error puts you most of a mile off course after six miles of steady walking. Set the screw at the trailhead, write the number on your hand if your compass has none, and re-check it whenever you cross into new terrain with a different value.
2. Reading the wrong end of the needle. The red or white end seeks magnetic north, and it is also the heavy end, so it dips more when the compass tilts. Keep the instrument level and read the north end every time.
3. Holding the compass against metal. Belt buckles, watches, keys, a rifle sling and a vehicle roof are all strong enough to move the needle. Push the compass out on your palm rather than holding it against your chest.
4. Confusing the three norths. Magnetic north is the needle, true north is the axis, and grid north is the line printed on your map. Mixing them produces errors that look random until you name what you read.
5. Panicking when the needle moves. A needle that swings while you stand still means interference, not a change in direction. Freeze, step five paces away from metal, and take the reading again. A drifting needle is a reason to troubleshoot, not a reason to abandon the instrument, and a second compass settles the argument in about a minute.
6. Reading the compass from above your feet. Aiming at the ground puts your body in the way of the target and skews the angle badly. Aim at something far off and walk toward it.
7. Estimating distance by eye. A mile of forest looks like half a mile and a mile of open ground looks like two. Pace count the legs and write down the totals.
8. Never checking the route. If you have a map, confirm your position against it every twenty minutes. If you have no map, log time, bearing and distance at each leg so you can reason backwards from any point.
Three habits keep people safe. Practise within walking distance of home before you trust the skill with real consequences. Carry a backup method, whether that is a second compass, a paper map or a charged phone. And when in doubt, stay put, because a stationary lost person is found far faster than a wandering one.
Frequently Asked Questions
Do I need to adjust a compass for declination when navigating without GPS?
You only need to correct for it when the number is big enough to matter. Check the value on your map margin or a national magnetic declination chart, then set the adjustment screw once so the index line reads magnetic. Remember the sign rule: east declination is added, west declination is subtracted. Under about 3 degrees many experienced navigators simply ignore it.
Can I use a smartphone compass instead of a dedicated compass?
It works, and it makes a fine backup, but a phone measures direction with a magnetometer that sits close to the speaker, the motor and the charging cable in your pocket. Pull the phone out, let it calibrate away from metal and hold it flat. The on-screen needle often swings wildly for no obvious reason, which is exactly why a puck compass on a lanyard stays your primary tool.
How do I find true north with a compass?
True north is where the compass needle does not point. The needle finds magnetic north, and the angle between the two is your local declination. To get a true bearing, add east declination or subtract west declination from the reading. On a clear night you get an independent check: follow the two pointer stars at the end of the Big Dipper about five times their length to reach Polaris.
How do I use a compass at night or in poor visibility?
Tritium or luminous markings on the bezel and dial are the difference between usable and useless at night, so check them before you leave home. Hold the compass close to your body so you do not lose your footing, sight a target far ahead such as a trail bend, and re-read the index line. In fog or whiteout, stay put and navigate on distance instead of visible landmarks.
What should I do if I get lost without GPS?
Stop where you are and sit down. Panic burns the energy and daylight you need, and moving without a plan doubles how far from help you end up. Work backwards: when were you last certain of your position, what bearing did you walk, and how far. Retrace only if that line is solid. Otherwise stay put, stay warm, make yourself visible and let searchers work from your last known point.
How long should I wait for a compass needle to settle?
Three to five seconds of stillness is plenty for a dry needle. A baseplate compass with a liquid-filled dome needs longer and sometimes a firm tap or a thumb press on the dome to centre the bubble, which can take ten seconds or more. The real test is stability rather than time. If the needle wanders while you stand still, something nearby is pulling on it, so step away from metal and check again.
Conclusion: Start with One Reliable Bearing
Pick one bearing tomorrow. Stand in a field, walk 300 paces on it, use the back bearing to check yourself, then walk home and see how close you land. Do that three times and the skill is yours.
A compass, a map and a backup plan work together. Neither instrument finds your position on its own, and no technique replaces a map for that job, so keep both in the pack and practise the sequence until it runs without thinking. How to use a compass without a GPS comes down to one loop: settle the needle, correct for declination, read the bearing, walk it, and check again.