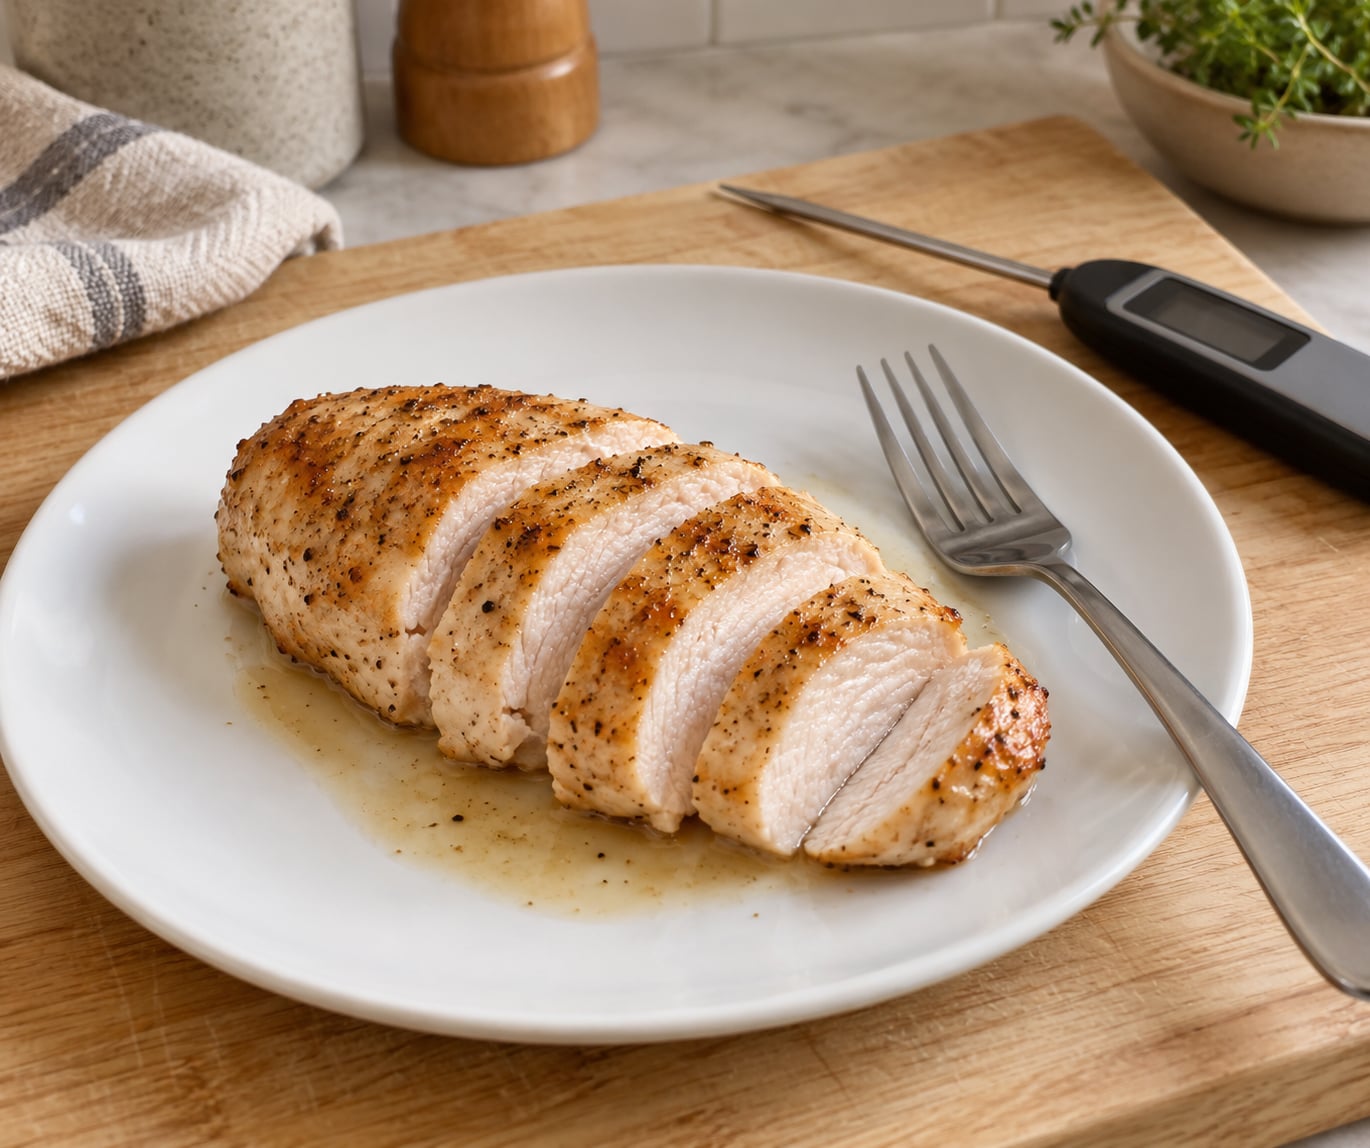
If you have to know how to tell when chicken is done without a thermometer, focus on three things: pierce the thickest part until the juices run completely clear, cut into that same spot and confirm the center is opaque white with no pink, and press the meat to feel a firm resistance that springs back. Add one more check for bone-in cuts: the joint should move freely and the meat should pull away from the bone.
None of that measures temperature, and I want to be straight with you about it. The USDA Food Safety and Inspection Service puts the safe minimum internal temperature for all poultry at 165°F (74°C). A clear-running juice is a proxy for heat, not a thermometer reading, so treat every cue below as strong evidence rather than proof.
Most people who ask this question are not being careless. They are standing at the oven with a phone in one hand and a dinner in the other, trying to avoid both the salmonella risk and the dry, rubbery breast that fear produces. Learn the cues, check the right spot, and cook evenly enough that you rarely have to guess.
Table of Contents
- What You Need
- Step-by-Step: How to Tell When Chicken Is Done Without a Thermometer
- Check the Thickest Part
- Look at Color and Juices
- Use Aroma and Shredding as Supporting Cues
- Common Mistakes
- Food Safety When You Have No Thermometer
- Frequently Asked Questions
- Can clear juices prove that chicken is fully cooked?
- Is chicken still safe if it looks white but is slightly pink?
- What is the most reliable way to check chicken without a thermometer?
- Does browned chicken always mean it is cooked through?
- How can I tell if chicken is done by texture?
- What should I do if I cannot use a meat thermometer?
- Conclusion
What You Need
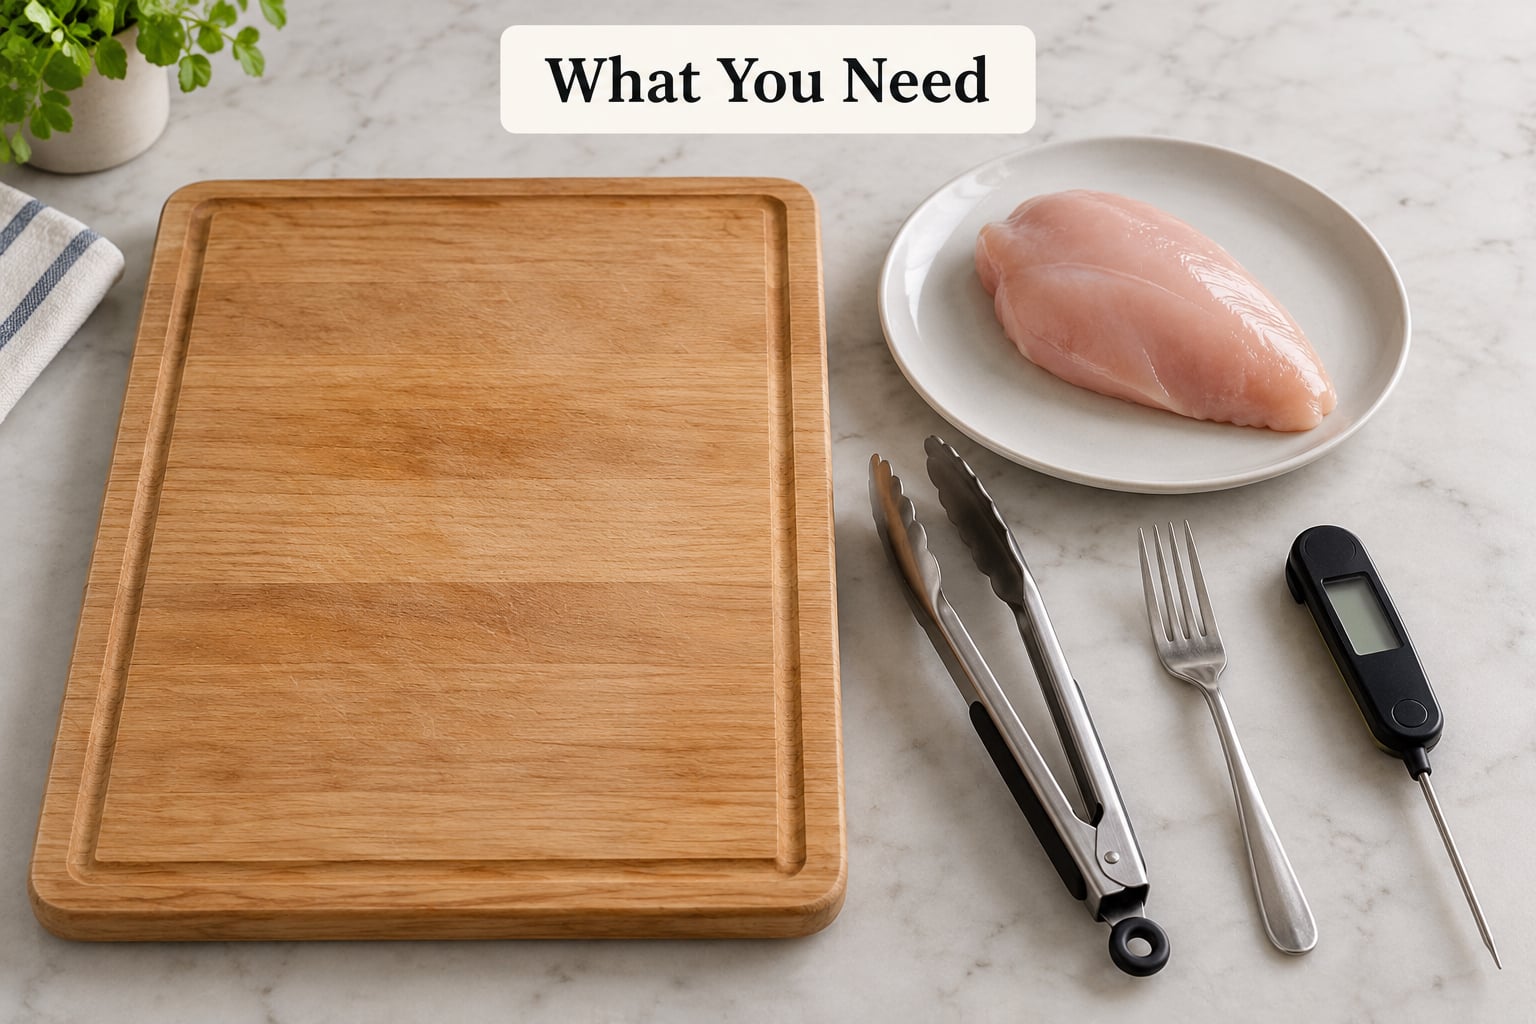
The equipment list here is short, because the point is to do this with almost nothing. Everything below costs very little and most of it is already in a kitchen drawer.
- A cutting board you can cut into — a separate board used only for raw chicken, plus a clean plate for checking juices. You are going to sacrifice a little juice, so do it on a surface you can wash properly.
- Tongs — for turning and lifting without squeezing, which squeezes the juice back inside and hides the very evidence you are looking for.
- A sharp knife — for a single clean cut into the thickest section rather than a series of hacks that dry the breast out.
- A fork or a skewer — the juice test tool. A skewer reaches into a whole bird’s hip joint where a fork will not go.
- A clean plate — cooked chicken rests on this, and it catches the run-out juices so you can read their color against white ceramic.
- An instant-read thermometer — optional, but strongly recommended when one is available. Even a cheap one turns guessing into knowing.
You will also want paper towels. Drying the surface of the piece before it goes into a hot pan is what gives you browning, and browning is one of the cues you will use later. Wet skin steams instead of browns, and pale skin is a signal people misread constantly.
Step-by-Step: How to Tell When Chicken Is Done Without a Thermometer
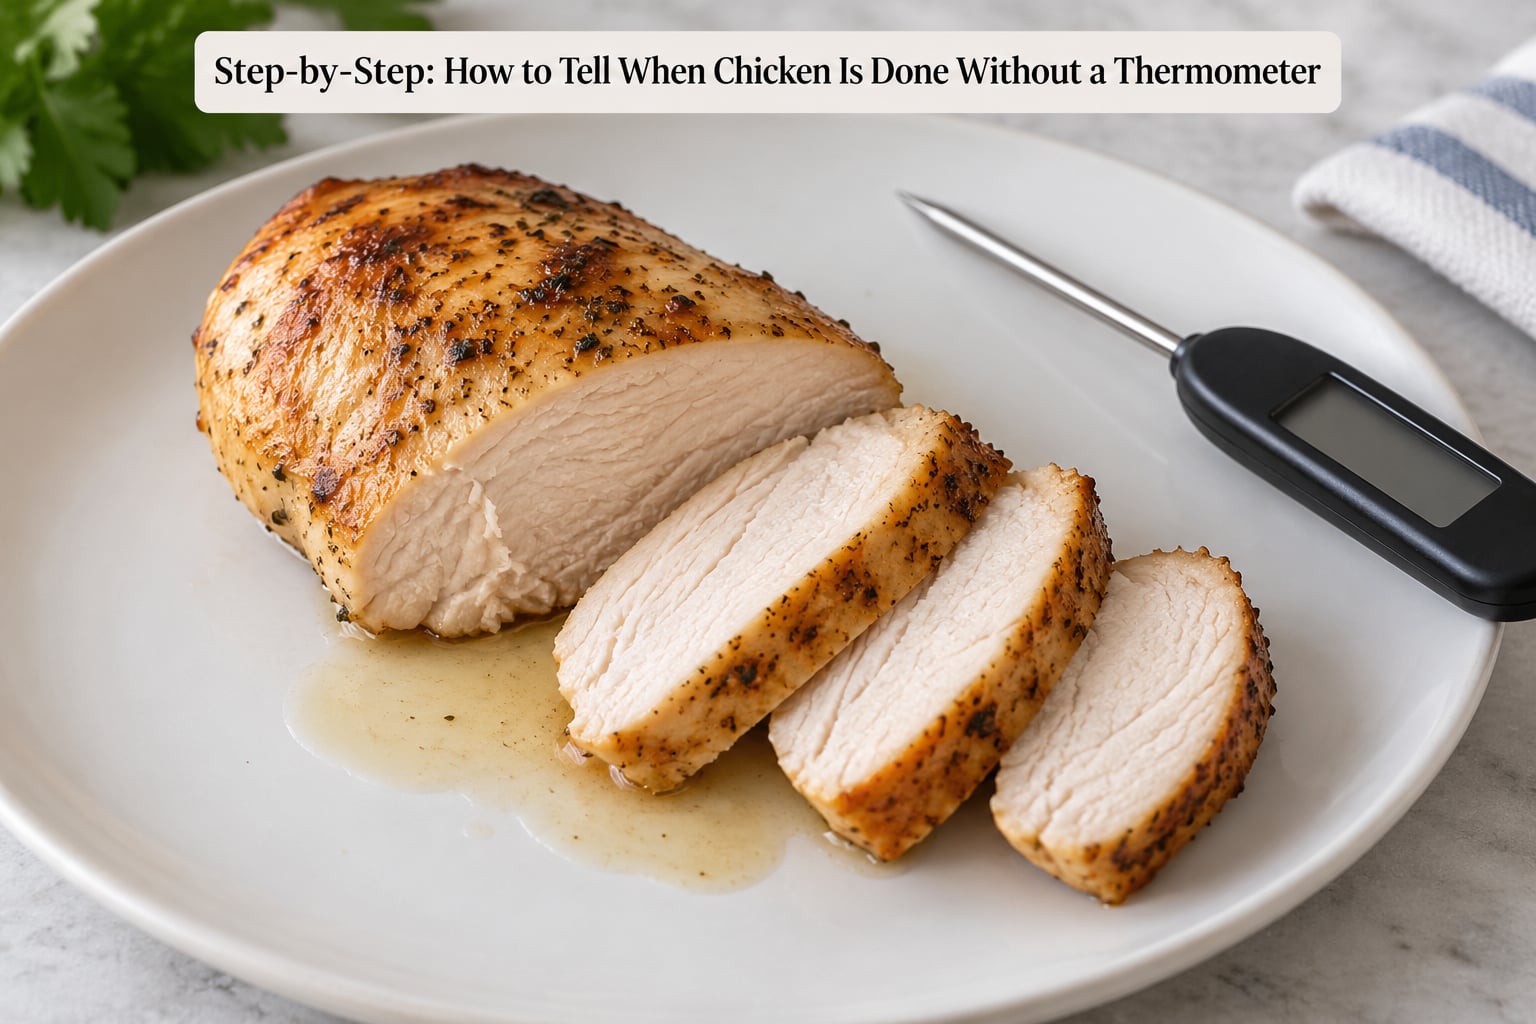
Work through these in a fixed order, from least damaging to most damaging. That order matters because cutting releases juice, and released juice is moisture you would rather keep in the meat.
Start testing at the earliest plausible time rather than at the recipe’s stated finish. A boneless skinless breast in a hot skillet is often ready ahead of schedule, and a stuffed bird needs well over an hour before you touch it. Timing tells you when to start looking. It never tells you when the chicken is done.
Check the Thickest Part
Find the thickest point and work only there. On a butterflied breast that is the center seam. On a whole bird it is the hip joint where the thigh meets the body, close to the bone. On a drumstick it is the meat right above the bone end.
Press it gently with a fingertip or the blunt end of the fork. Raw chicken is soft and gives way with almost no resistance, feeling slimy and loose. Partly cooked chicken is firmer but still yields. Properly cooked chicken has a distinct springy firmness and pushes back against the finger, and a cooked breast leaves a shallow dent that fills back in rather than staying there.
That spring-back is the most useful part of the touch test. It is also the least reliable, because everyone calibrates firmness differently and a beginner has probably never felt a properly cooked breast to compare against. Treat a soft, springy piece as undercooked and keep going; treat a piece that feels rock hard and dry as overcooked.
Look at Color and Juices
Pierce the thickest part with the fork or skewer and let the juice run out onto the white plate. Cooked chicken juices run clear and colorless, with the faint golden look of pan drippings. Any pink, red or bloody liquid means the meat still needs heat. Cloudy white juice in a lean breast is a warning sign too, often a slightly undercooked zone you have not found yet.
Color is the cue people trust most and it deserves the most suspicion. White on the outside proves nothing at all, because the surface browns and cooks long before the center catches up. Raw meat is translucent and glossy, and it turns pink-grey as it firms; cooked breast is opaque all the way through, with no rubbery translucent patches left near the center.
Dark meat behaves differently and this is where most home cooks panic unnecessarily. Thighs and drumsticks contain myoglobin, the pigment that makes raw muscle red, and a safely cooked leg can still show a faint pink or fawn-colored tint. Forum cooks describe this constantly: a thermometer read well past safe on a drumstick that still looked pink in the middle. What matters in dark meat is that the surface is no longer glossy or bloody-looking, the meat pulls from the bone, and the juice runs clear.
| Cue | Looks undercooked | Looks done |
|---|---|---|
| Breast color | Translucent, glossy, pinkish | Opaque white, no rubbery patches |
| Thigh or leg color | Bright red, bloody, glossy | Firm; faint pink tint is fine |
| Pierced juice | Pink, red or cloudy | Clear and colorless |
| Press texture | Soft, squishy, no spring | Firm, springs back slightly |
| Joint | Stiff, meat grips the bone | Wiggles freely, meat slides off |
| Surface | Pale, wet, translucent skin | Golden brown, crisp, no sizzle |
If you want one single best fallback, take the advice that comes up most on cooking forums: fork the biggest piece, then press and smash it flat on the plate. The cross section is fully exposed in one glance, so any pinkness is obvious instead of hidden in the middle. The technique releases more juice than a clean slice, so save the piece you are least worried about for it.
Use Aroma and Shredding as Supporting Cues
Lean, raw chicken smells faintly sweet and metallic. Cooked chicken smells mild, savory and buttery, closer to cooked poultry skin than to raw meat. A sour, off or ammonia-like smell is a reason to throw the piece out rather than keep cooking it, because odor usually means bacterial growth rather than undercooking.
Shredding is the fourth test and it is the one that reads texture most honestly. A fork pulled through properly cooked meat separates it into firm strands that hold their shape. Chicken that tears into mush or splits into wet, ragged pieces was not cooked through, however brown the outside looks. Shredding also tells you whether the piece is overcooked, because strands that crumble and squeeze instead of pulling apart have gone past done and dry.
Aroma and shredding are supporting signals, not substitutes. They catch the case where color lies, and they cannot tell you whether the center of a thick bone-in piece reached 165°F / 74°C.
Common Mistakes
Judging only the browned surface. The skin and the outside of a fillet brown first and can look finished while the center is still cool. Fix: always move to the thickest point before you decide anything.
Testing the thinnest part. A tapered end of a breast, or the small meat on a wing, is the easiest place on the bird to reach temperature. Cutting there tells you almost nothing. Fix: probe the widest, deepest section every time.
Believing the timer. Cooking charts assume an oven that actually holds temperature, a pan that is not crowded, and pieces of similar size. Fix: treat time as the signal to start checking, never as the signal to serve.
Confusing marinated or injected chicken with plain meat. Marinades, brines and commercial self-basting products tint the surface and can leave the center pinker than a plain piece at the same point in the cook. Fix: check the un-marinated thickest point, and if the label says self-basting, cook past the point where you would trust the color.
Reading pink as automatically raw. Dark meat and reheated or previously frozen chicken can look faintly pink when safely cooked. Fix: judge dark meat by clear juice, firmness and the bone pull, not by color alone.
Treating clear juices as a guarantee. Clear juice is the strongest single visual cue, and it is still just a cue. Fix: when a thermometer is available, use it, even if only for one check per batch so you learn what your own cues look like.
Food Safety When You Have No Thermometer
If the thermometer is genuinely unavailable, cook more conservatively than the recipe asks. A few extra minutes costs you a little moisture. Undercooking costs you a trip to urgent care, or worse.
- Even out the thickness. Butterfly a thick breast or pound it to an even thickness, and check the same way every time so you are comparing like with like. Even cooking removes most of the guessing.
- Do not crowd the pan. A crowded pan drops the temperature, and steaming meat never browns, so you lose the surface cue as well.
- Let the deep parts finish early. Start bone-in pieces first, and add breast pieces later, or roast breast-side down at the start so the slow-cooking side faces the heat.
- Use the rest as your safety margin. Rest the chicken 5 to 15 minutes, loosely tented, before you cut it. Residual heat keeps raising the internal temperature, and resting is the one margin you get for free. Cutting straight out of the oven both releases the juice and halts that carryover cooking.
- Keep raw and cooked separate. Separate cutting boards, wash hands and utensils with hot soapy water, and never return cooked chicken to the pan it raw chicken sat in.
- Refrigerate within two hours of cooking, use refrigerated chicken within three to four days, and reheat leftovers to 165°F (74°C) until steaming.
If you do not own a thermometer, buy one when you can. They are inexpensive, they take a few seconds, and they remove the single biggest source of anxiety in home cooking. Borrowing one from a neighbor works too. In the meantime, cook slightly longer than the recipe, cut into the thickest part, and rest before you serve.
Anyone pregnant, immunocompromised, elderly or cooking for a young child should not rely on visual cues at all. Use a thermometer.
Frequently Asked Questions
Can clear juices prove that chicken is fully cooked?
Clear juice is the strongest visual cue you have, but it is not proof. It tells you the thickest part is close to the temperature where juices turn from pink to clear. Thin, quick-cooking pieces are close enough for most cooks, while a thick bone-in piece can run clear at the surface and stay cooler near the bone. Pair clear juice with an opaque center, springy firmness and a full rest, and treat 165°F / 74°C as the actual safety line.
Is chicken still safe if it looks white but is slightly pink?
It depends on the cut. A faintly pink thigh or drumstick is often perfectly safe, because myoglobin keeps dark meat slightly rosy when it is fully cooked, and the juice from that piece should still run clear. In a lean breast, however, pink or translucent patches mean undercooked meat, and the juices there will usually show it. Check the thickest part of the piece rather than the end you can see, and keep going if the breast is still pink.
What is the most reliable way to check chicken without a thermometer?
The most reliable fallback is the cut test on the thickest part, because it exposes the center where the last of the raw heat hides. Pierce that spot with a fork, then cut and press the piece flat on a plate so the whole cross section is visible. Any pink, red or translucent patch means keep cooking. The bone pull test on drumsticks, thighs and whole birds is the most reliable check of all, because meat that slides freely off the bone is well past done.
Does browned chicken always mean it is cooked through?
No. Browning happens on the outside at temperatures far below 165°F (74°C), so a deeply golden breast can still have a raw or barely warm center, which is how a charred-outside, raw-inside breast happens. Color is also a poor guide in a marinade or self-basting chicken, where the surface is tinted before cooking starts. Use browning as a sign your pan or oven is working, then confirm doneness at the thickest point.
How can I tell if chicken is done by texture?
Press the thickest part with a fingertip. Raw chicken feels soft and slimy with no resistance, partly cooked chicken feels firmer but still gives way, and cooked chicken pushes back with a springy resistance and leaves a dent that fills back in. For cooked meat, pull a fork through it: it should separate into firm strands that hold their shape. If it shreds into wet mush, it is underdone. If it crumbles dry, you have gone past done.
What should I do if I cannot use a meat thermometer?
Cook more conservatively than the recipe, level the pieces so they heat evenly, and start checking earlier than the stated time. Pierce and cut the thickest part, judge the juice color, the center color, the firmness and the bone pull together rather than relying on any single one. Then rest the chicken 5 to 15 minutes before serving so carryover cooking finishes the job. A thermometer is a very small purchase compared with the cost of guessing wrong, so get one as soon as you can.
Conclusion
Use a thermometer whenever one is available. Reaching 165°F (74°C) is the only real answer to the safety question, and one probe takes the anxiety out of dinner completely.
When you truly have no thermometer, run the fallback in this order: pierce the thickest part until the juices run clear, press for firm resistance that springs back, cut into the center and confirm it is fully opaque, smell for a mild cooked note rather than a raw or sour one, and test the joint on bone-in cuts for a free wiggle and meat sliding off the bone. Rest the chicken 5 to 15 minutes before you cut, and never serve a piece that still looks raw anywhere in the middle.