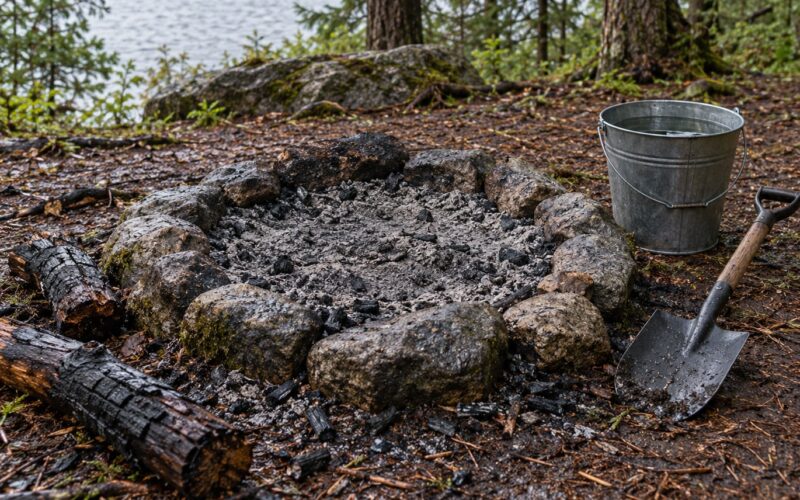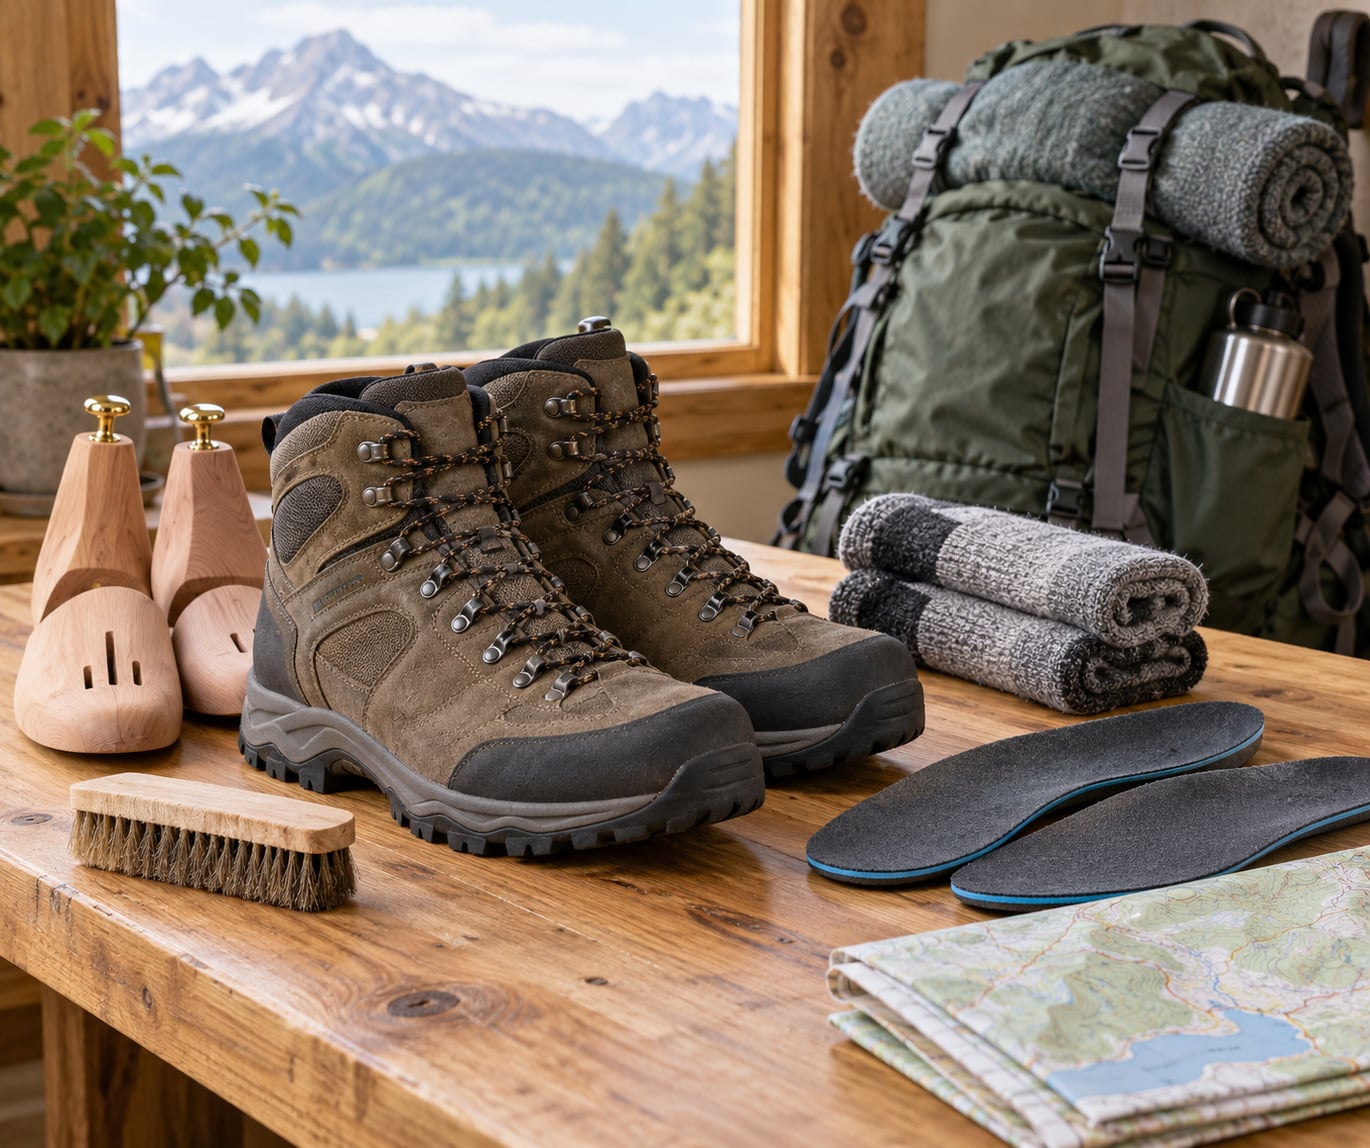
Breaking in hiking boots is a gradual process spread over days or weeks, not one hard afternoon. The short version of how to break in hiking boots: check the fit on day one, treat the uppers the way the maker instructs, then add wear time in stages — indoors, around the house, loaded walks, an easy trail — before you attempt anything long. Budget roughly 5 to 10 hours of light wear before your first real outing, and expect stiff full-grain leather backpacking boots to keep molding for 20 to 50 miles.
Modern synthetic trail shoes barely need breaking in at all. Leather is a different animal entirely, and boots with a waterproof membrane need a gentler touch than you would give an unlined leather pair. The method barely changes; the patience does.
Table of Contents
- What You Need
- Step-by-Step: How to Break In Hiking Boots at Home
- 1. Check the fit before you wear the boots
- 2. Treat and condition the uppers as directed
- 3. Start with clean socks and light indoor wear
- 4. Take loaded walks and short outdoor hikes
- 5. Use lacing, inserts, and socks to fine-tune the fit
- 6. Know when the boots are ready for a long hike
- Common Mistakes
- Frequently Asked Questions
- How long does it take to break in hiking boots?
- Should new hiking boots hurt while breaking them in?
- How should I break in waterproof hiking boots?
- Are thick hiking socks supposed to make new boots fit better?
- Why do my heels lift when I walk in new hiking boots?
- How do I know my hiking boots do not fit correctly?
- Conclusion
What You Need
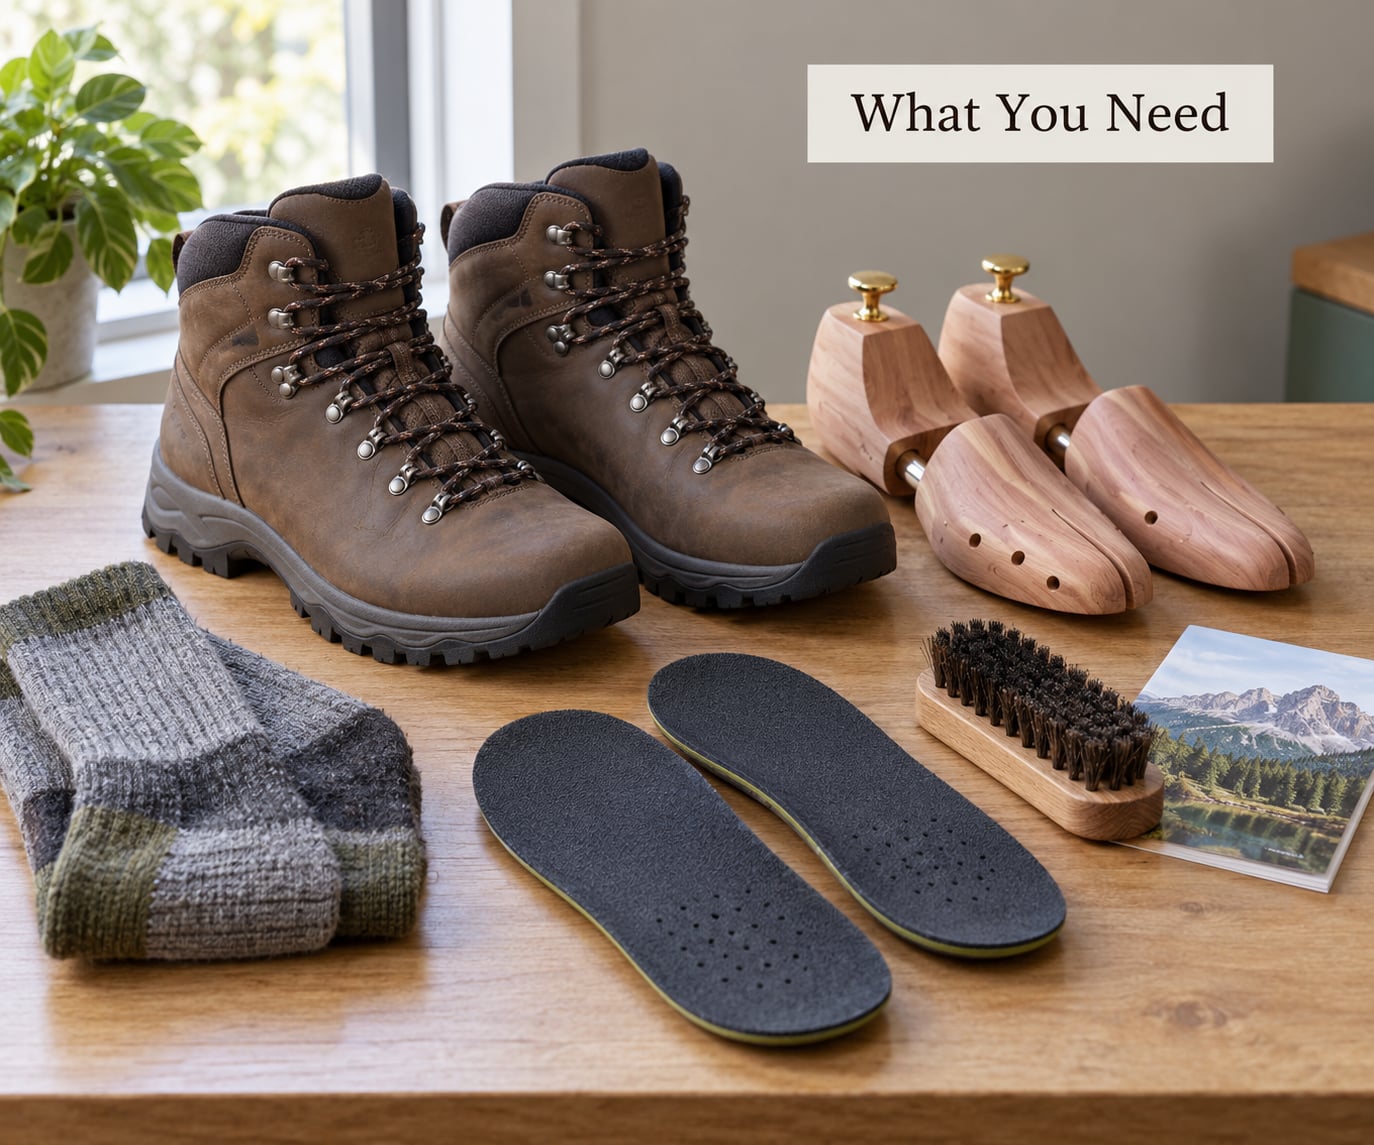
Gather everything before the first wear session. Scrambling for a sock that does not match while your foot is already inside the boot is how people end up with a blister on the driveway.
- The new boots and their paperwork. The care card tells you the upper material, whether it came factory-treated, and what the maker considers a reasonable break-in. Follow it over anything you read online.
- The socks you will actually hike in. Break in boots wearing the same socks you will wear on trail, wool or synthetic, and the same thickness.
- A liner sock if you hike in two layers. A thin, smooth inner layer moves friction away from your skin.
- Footbeds or insoles that match the boot. Use removable inserts sized for this boot, not leftovers from a pair of running shoes.
- A conditioner approved for the upper. Leather cream or oil for full-grain leather, a suede brush for nubuck and suede, and nothing at all for most synthetics.
- A boot tree, or loosely rolled paper towels. These hold the shape between sessions and keep the collar from collapsing.
- A brush and your cleaning supplies. Dirt left in a boot grinds against your foot the whole time you walk.
- A realistic load. A backpack with the weight you expect to carry, so you test the boots under the conditions you will really face.
Step-by-Step: How to Break In Hiking Boots at Home
1. Check the fit before you wear the boots
Put both boots on, lace them the way you will lace them on trail, and stand up. You are looking for about a thumb’s width of space in front of your longest toe, a heel that stays put when you lift your foot, and a midfoot held snug without your toes bunching upward.
Squat down and pick something up off the floor. If your heel lifts clean out of the boot, the size is wrong and no amount of wearing will fix it. Check both boots — feet are rarely identical, and hikers who wear two different socks in two different boots end up with one blister and one problem to solve.
Walk around the room for five minutes. Any sharp, pinpoint pressure that does not shift as you walk is a fit problem, not stiffness. Set those boots aside.
2. Treat and condition the uppers as directed
Full-grain leather usually wants a conditioner worked in before heavy wear, unless the maker says it was factory-treated. Most quality boots ship lightly waxed, and a thin coat of compatible cream keeps the leather supple while it flexes.
Synthetic uppers, mesh panels, and anything with a waterproof membrane want restraint. Conditioners designed for leather can swell the fibers of a synthetic and trap moisture. Suede and nubuck want a dry brush, not a wet one. Skip any product that smells strongly, and skip saturating the boot — a damp boot that takes days to dry will give you blisters long before it gives you comfort.
3. Start with clean socks and light indoor wear
Follow the maker’s recommended indoor period, which commonly runs a few hours across a day or two. Walk on carpet or a clean floor in your hiking socks, and stop well before the point of pain.
Reposition the laces as your foot swells through the day, and treat pressure that moves as normal and pain that stays put as a warning. Numbness, tingling, or a hot burning point is your foot telling you to stop, not to push harder.
4. Take loaded walks and short outdoor hikes
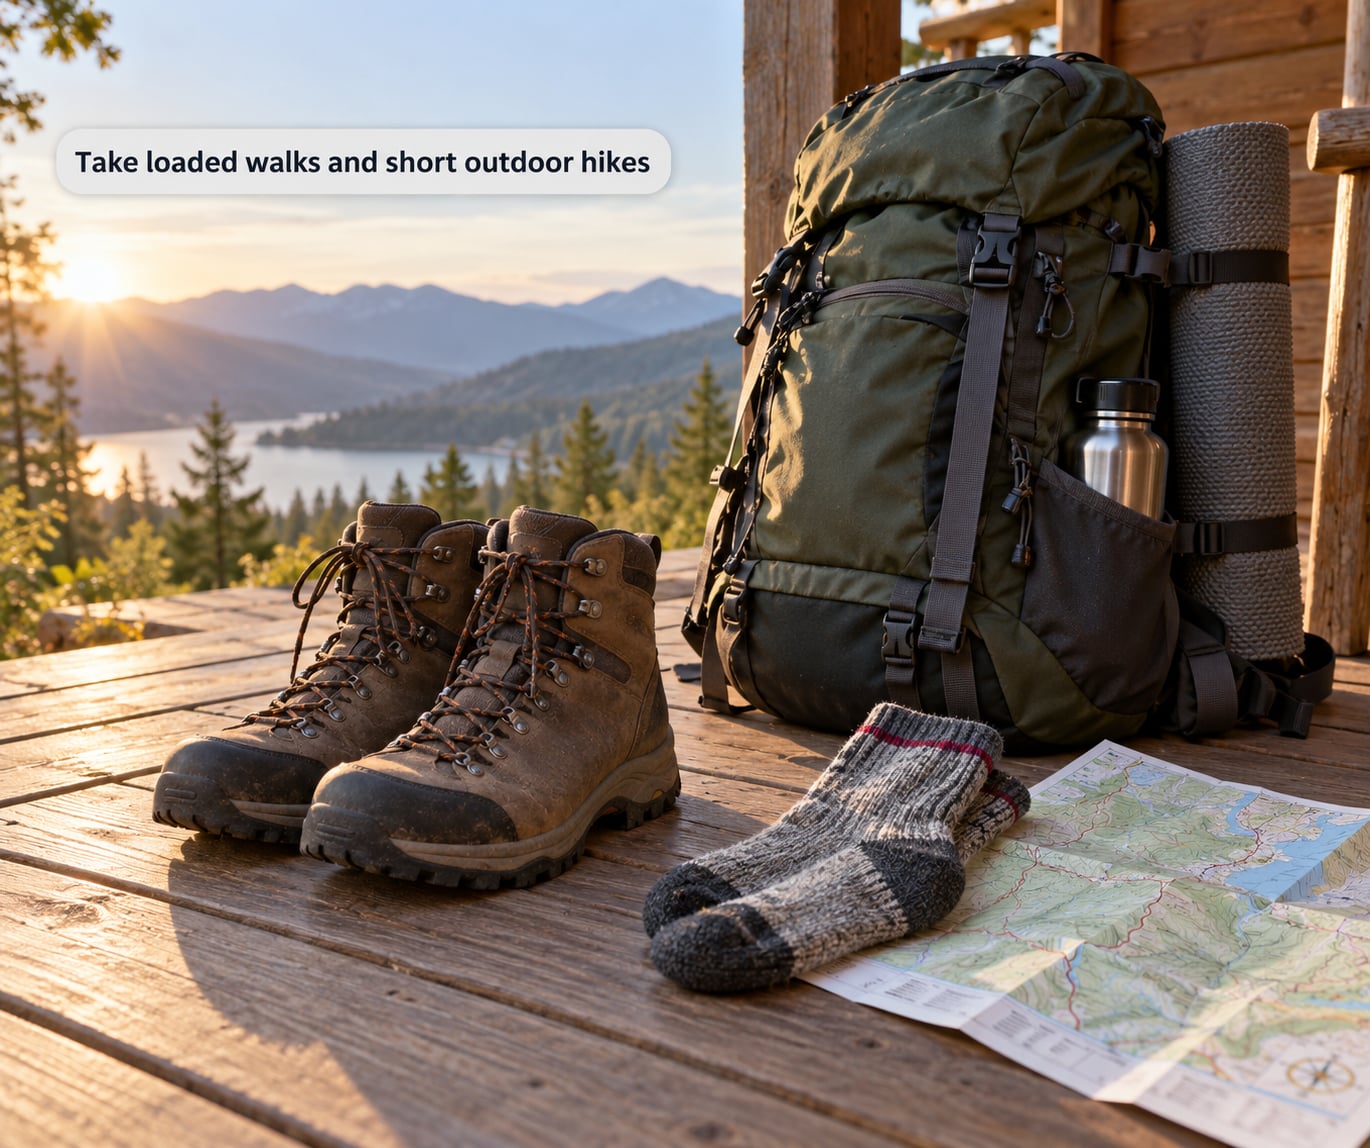
Once indoor wear feels unremarkable, move outdoors in stages. Around the house and down a block first, then a 20 to 30 minute walk on pavement, then a flat trail with a pack holding the weight you will normally carry.
After each session, write down four things: how much your heel slipped, whether your toes touched the front, where you felt rubbing, and whether anything was still sensitive an hour later. That log tells you more than memory does, and it shows whether the boot is changing or whether you are the problem.
Most hikers report a synthetic trail shoe is usable after a couple of short walks. Stiff leather backpacking boots usually want several outings across a couple of weeks before a long day. Hikers on Reddit’s r/CampingandHiking and r/hiking generally say the same thing in different words: leather takes miles, not minutes.
5. Use lacing, inserts, and socks to fine-tune the fit
Lacing is the cheapest adjustment you have, and it solves specific problems rather than general discomfort.
- Heel lift on a narrow heel: use a surgeon’s knot. Cross the laces over the top of the foot, loop each end, then knot as normal. It pulls the heel down without crushing the instep.
- Pressure across the top of the foot: try window lacing. Skip the lowest eyelets and lace through the upper ones, leaving a window of space over the top of the foot.
- A foot that slides forward as you descend: use a criss-cross pattern and tighten from the toe upward, leaving the top pair only snug.
Sock choice matters as much as lacing. A smooth liner sock over a thin foot moves friction between two sock surfaces instead of between a boot and your skin. Wool and merino blends wick moisture and resist odor; synthetics dry faster; and hikers consistently name Smartwool and Darn Tough as community favorites, with Injinji toe socks popular for the liner layer. Whatever you choose, break in the boots wearing it.
Insoles should support the arch without lifting your heel off the footbed. If a thicker insert raises your heel and causes the very slippage you are trying to fix, take it out.
6. Know when the boots are ready for a long hike
Run a readiness test rather than trusting a calendar. Wear the boots for a walk that matches your planned day, in your real socks, with your real pack weight.
You are ready when the boots feel ordinary, not delightful. You should see no sharp pressure afterward, only mild temporary redness that fades within an hour. Heel lift can persist on descents, but it should not rock your footing or change your stride. Anything still rubbing hard enough to blister means more short outings, a different sock, or a return.
Common Mistakes
Most ruined break-in attempts come down to impatience wearing a costume.
Forcing painful wear. Walking until your foot goes numb does not adapt the boot; it teaches you to ignore signals. The fix is to cut the session short at the first sharp point and come back tomorrow.
Using the wrong conditioner. Leather cream on a synthetic upper, or oil on a suede panel, can leave the material stiff or blotchy for good. Match the product to the material listed on the care card, and test it on an inside seam first.
Soaking the boots. Water swells leather unevenly, weakens adhesives, and pushes water past a waterproof membrane. A wet boot that dries slowly is a blister waiting to happen. Dampen a sponge, wipe the upper, and air-dry at room temperature with the tongues pulled out.
Heat and cold shortcuts. Hairdryers, radiators, and boot dryers cook the glue and shrink synthetics. The freezer trick people pass around is a myth. Conditioning relaxes leather slightly, and that is genuinely all it does.
Wearing thin cotton socks. They absorb sweat, bunch, and drag across hot spots. Wear the wool or synthetic pair you will hike in.
Stuffing oversized insoles. Extra bulk lifts your heel and forces a slide that the boot was never shaped for. Solve heel lift with lacing, not padding.
Treating every ache as normal. Stiffness fades within a session and after a night’s rest. Sharp, localized, and lingering pain does not. That is a fit signal.
Starting the break-in the week of the trip. The shortest workable plan still runs 5 to 10 hours of indoor wear, a few short walks, and at least one easy trail day. If you have less time than that, keep the old boots or rent a known pair rather than gambling on a new one.
Followed in order, the safest progression is simple: check the fit, treat the material correctly, wear indoors, walk loaded, add a trail, then load up. Never skip a stage to save a weekend.
Frequently Asked Questions
How long does it take to break in hiking boots?
Most synthetic trail shoes are usable after a few short walks. Stiff full-grain leather backpacking boots commonly need 20 to 50 miles before they feel molded to your foot. A workable schedule is 5 to 10 hours of indoor wear spread over a few days, then short loaded walks, then one easy trail day before anything long. If the boots still create sharp pressure after that, the problem is fit, not time.
Should new hiking boots hurt while breaking them in?
No. Leather boots may feel stiff, tight across the instep, or resistant for the first hour or two, and that fades. Sharp, pinpoint pain that stays in one spot, burning, tingling, or numbness means the boot does not match your foot. Wearing through it can cause blisters and, over time, teach you to ignore real problems. Take the boots off, note the spot, and reassess the fit.
How should I break in waterproof hiking boots?
Treat a waterproof membrane more gently than an unlined leather boot. Skip heavy conditioners, because leather cream on a lined boot can stiffen the upper and trap moisture against the membrane. Use short sessions, keep the pair dry between outings, air-dry at room temperature, and never use direct heat to speed drying. A wet lined boot that takes days to dry will blister you long before it feels comfortable.
Are thick hiking socks supposed to make new boots fit better?
Thicker socks do not change the size of a boot, but they change how it feels. A thick wool or synthetic pair fills volume so your foot stops sliding inside, and a smooth liner sock reduces friction against hot spots. If a boot fits well in thin socks and pinches in thick ones, the size is wrong. Break the boots in wearing the sock thickness you will actually hike in, not a thinner indoor pair.
Why do my heels lift when I walk in new hiking boots?
Heel lift usually comes from movement inside the boot, a narrow heel, or a collar that has not settled yet. A surgeon’s knot pulls the heel down without tightening across the top of the foot, and most of the lift disappears within a few outings. If the boot slides off entirely when you lift your foot, no lacing trick will save it, and oversized insoles make it worse. That is a sizing problem.
How do I know my hiking boots do not fit correctly?
Poor fit shows up in a few predictable ways: less than a thumb’s width of toe room, a heel that lifts out when you stand, toes pushing upward when you squat, sharp pressure that stays in one place, or numbness within an hour of walking. Boots can be softened, stretched, and laced, but none of that changes the last they were built on. Many hikers wish they had returned a bad pair sooner.
Conclusion
Start by checking the fit and reading the care card, because everything after that depends on those two things. Then work up in stages: light indoor wear, walks around the house, short loaded walks, one easy trail, and only then a full day.
Stiffness is normal. Sharp pain, numbness, blisters that keep coming back, and instability are not. If those show up after a fair trial, adjust the lacing or the socks once, and if nothing changes, return the boots while you still can.