To prevent blisters while hiking, wear properly fitted footwear with moisture-wicking socks, and stop the moment you feel a warm hot spot so you can tape it before the skin breaks. Nearly every blister starts as a small warm patch that hikers walk straight through. This guide covers the gear, the nine-step routine and the field fixes that keep a good day from turning into a painful one.
It takes about ten minutes of prep before you leave, and the payoff shows up around mile three when most people start regretting their boot choice. Prevention is not one product. It is a system of fit, moisture control and early intervention.
Table of Contents
- What You Need
- Step-by-Step: How to Prevent Blisters While Hiking
- 1. Break in your footwear before the hike
- 2. Choose shoes and boots with the right fit
- 3. Wear moisture-wicking socks in the right combination
- 4. Reduce friction before you start walking
- 5. Protect hot spots with tape or moleskin
- 6. Adjust your pace and lacing as you hike
- 7. Check your feet at regular intervals
- 8. Keep your feet and trail footwear dry
- 9. Stop and protect the area before skin breaks
- Common Mistakes That Cause Hiking Blisters
- Extra Tips for High-Friction Trails
- Frequently Asked Questions
- What is the most effective way to prevent blisters while hiking?
- How do I stop a hot spot from becoming a blister on a long hike?
- Are cotton socks bad for preventing hiking blisters?
- Should I pop a hiking blister or leave it intact?
- What should I do if my feet get wet and my shoes start rubbing?
- When does a blister or foot wound need medical attention?
- Conclusion
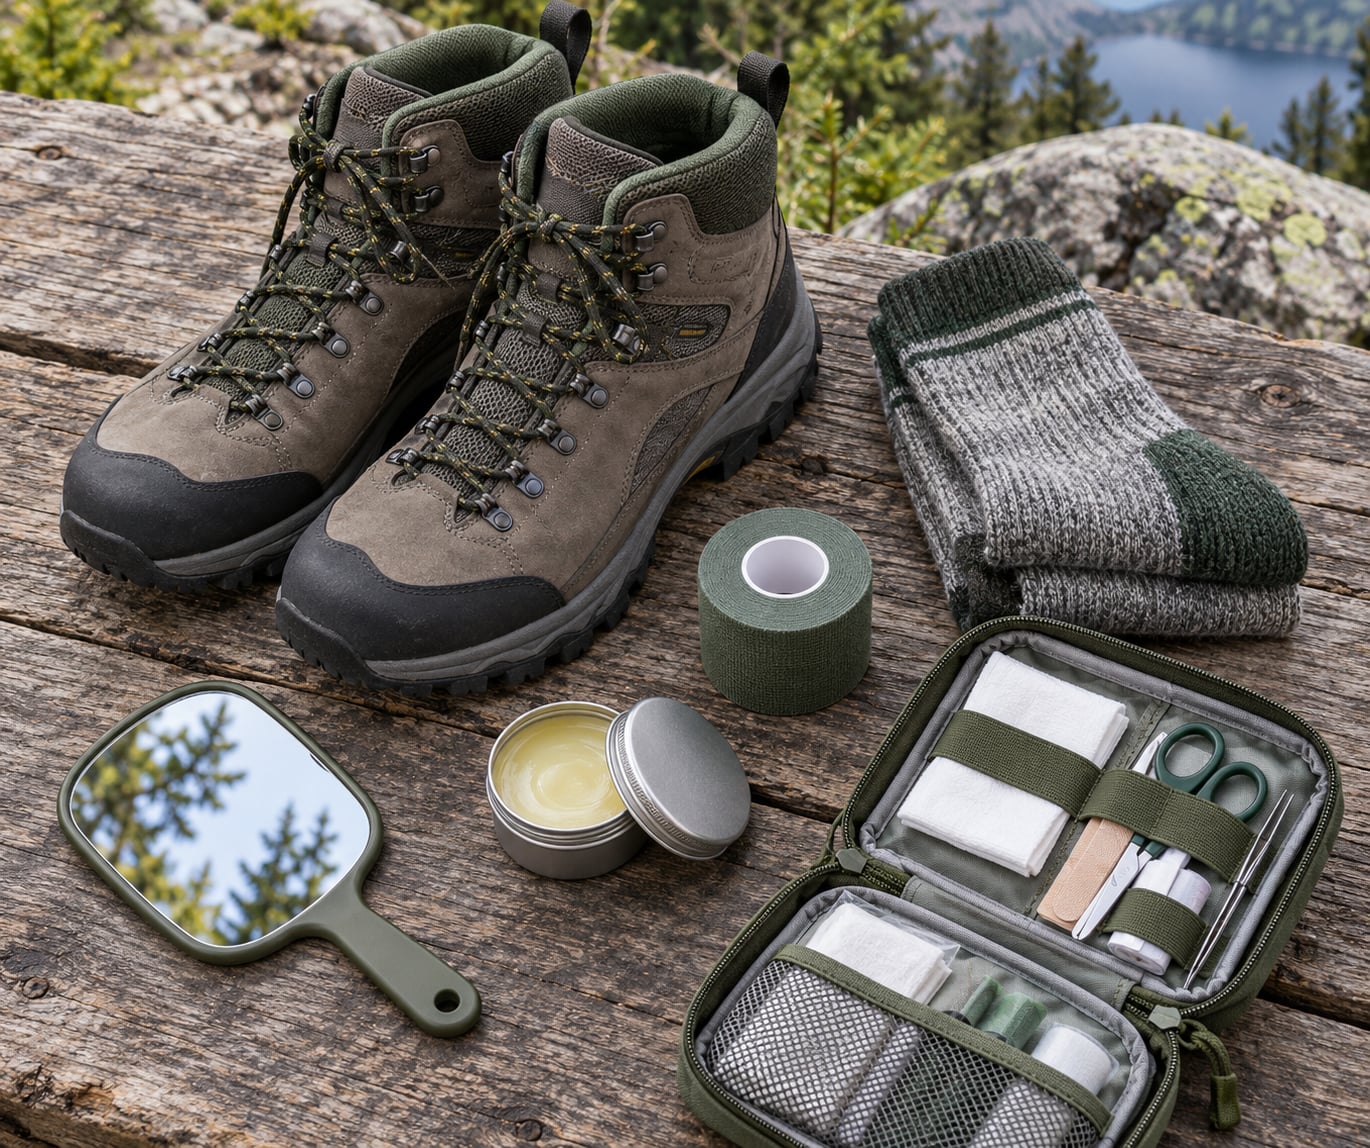
What You Need
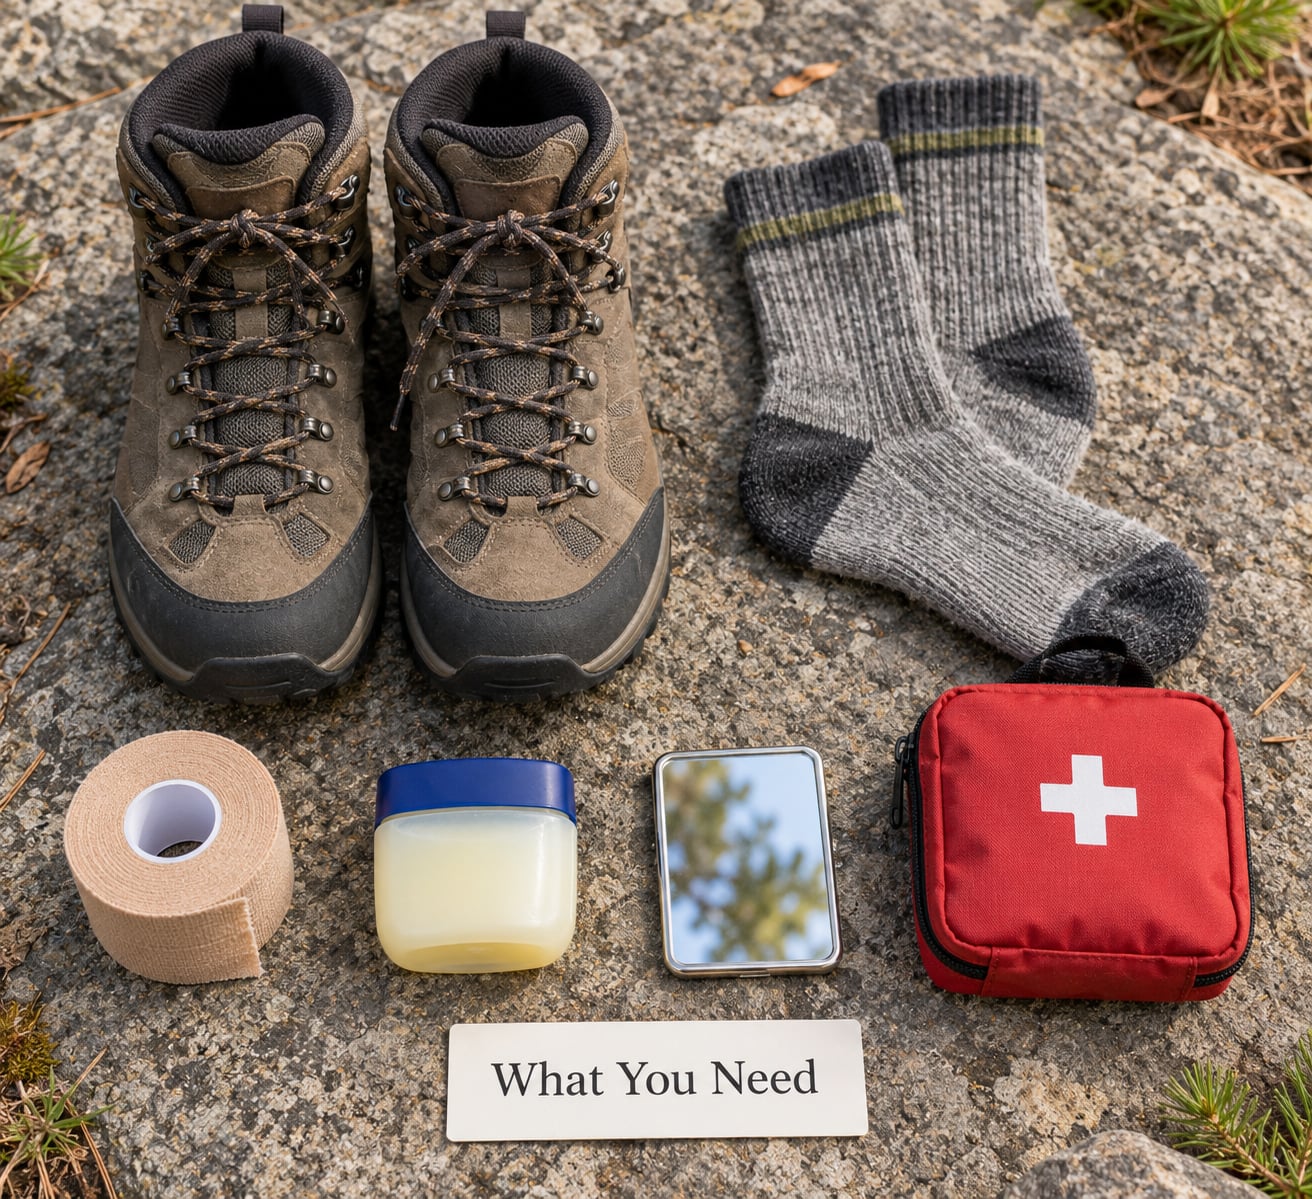
You do not need a big kit, but you do need a few specific things packed before the trailhead.
- Well-fitting hiking shoes or boots. The single biggest lever. They have to hold your heel and midfoot without pinching your toes, and they must already be broken in.
- Moisture-wicking socks. Merino wool or a synthetic blend, plus a spare pair in your pack. Never cotton.
- Blister prevention tape or sports tape. Leukotape-style rigid tape holds its shape through a whole day; soft athletic adhesive loses its grip once it gets sweaty.
- Lubricant or petroleum jelly. A thin film on known hot spots cuts the sliding between skin and sock. It does not fix a bad fit.
- A small mirror. The heels are the two spots you cannot see without it.
- A compact first-aid kit. Moleskin, blister plasters, antiseptic wipes and a few dry dressings for anything that has already opened.
Step-by-Step: How to Prevent Blisters While Hiking
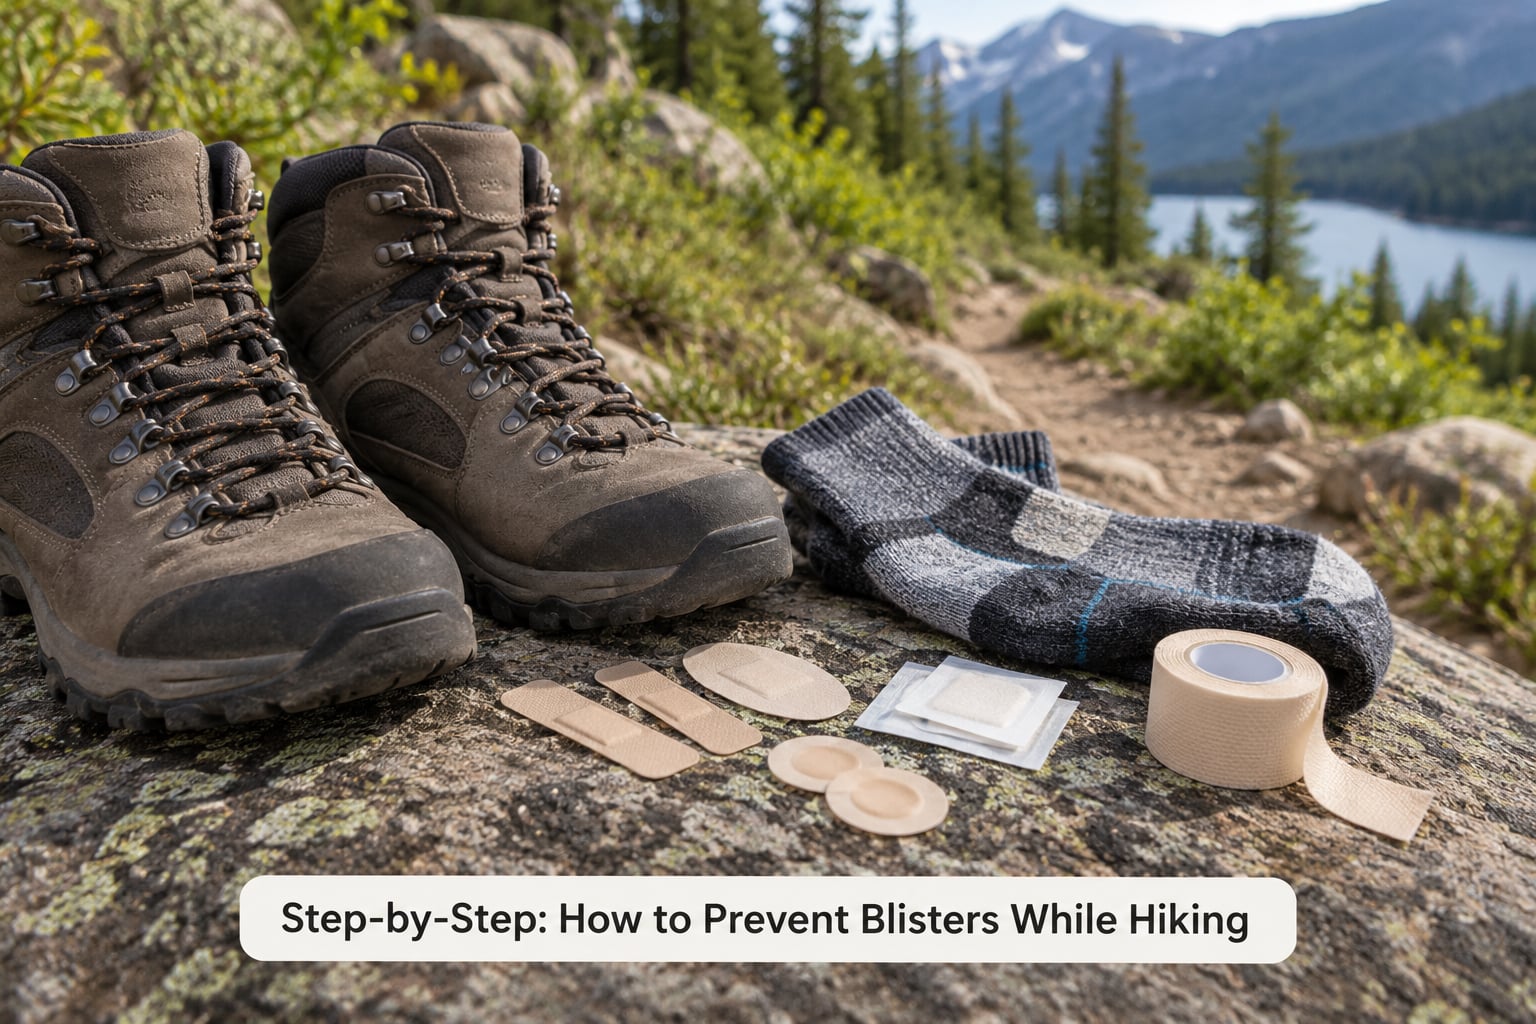
This routine runs in order because each step assumes the previous one is handled. Two steps work well on a day hike and become non-negotiable on an overnight or multi-day trip. The order matters: fitting and friction reduction happen before walking, checks and adjustments happen during, and cleanup happens after.
Prevention is a good deal easier than protecting a blister that has already torn open, so put the effort in before the first step.
1. Break in your footwear before the hike
New or recently stiff footwear creates hotspots because stiff uppers and stiff midsoles rub differently as they flex. Wear your trail socks and the footbed you intend to hike in, and walk around the house for 20 minutes, then take two or three real walks of increasing length.
You know they are ready when a two-hour walk leaves no marks. If you skip this, start with a shorter route and a lighter pack.
2. Choose shoes and boots with the right fit
Leave a thumb’s width of space between your longest toe and the front of the shoe, with your weight evenly spread across the foot. Your heel should not lift when you walk uphill, and your midfoot should not slide when you push off on a descent. Size for the socks you will actually wear, and expect your feet to swell through a long day, so buy for the afternoon rather than the morning.
Oversized shoes let your foot slide and drag. Narrow toe boxes pinch. Boots with a loose heel create the back-and-forth motion that blisters the heel. A wide toe box is worth more to most feet than any brand or technology on the label.
3. Wear moisture-wicking socks in the right combination
Cotton absorbs sweat, holds it against your skin and stays wet, which softens skin and multiplies friction. Merino wool and synthetics pull moisture outward and dry faster. Socks should fit with no folds, wrinkles or bunching at the heel, and they need to stay wrinkle-free after you put them on.
Keep the sock height above the top of your boot collar so the collar rubs on fabric, not bare skin. A thin liner sock under a thicker outer sock moves friction to the liner instead of your skin, though if the extra bulk makes your boot tight, drop the liner. Carry a dry spare pair and change at lunch on anything longer than a few hours.
4. Reduce friction before you start walking
Apply a thin layer of lubricant or petroleum jelly to intact skin at your known problem areas: the toes, the sides of the big toe, the ball of the foot, the heel and any spot that has blistered before. You are looking to take the edge off sliding, not to grease your foot.
Too much product is its own problem. It lets the sock slide around and bunch at the toe, which folds fabric into skin. Reapply after a long break or a stream crossing, and wipe off any old lubricant before putting your sock back on.
5. Protect hot spots with tape or moleskin
Catch the hot spot while the skin is still intact and you are saving yourself a much worse afternoon. Clean and fully dry the area, trim any hair, and lay tape across the spot with the ends anchored on healthy skin and the edges smoothed down flat. Pull the tape snug, not tight, so it does not act like a tourniquet.
Moleskin works the same way as a cushion over an area that is warm but not yet blistered. This is prevention on intact skin only. Once a blister has formed, the treatment changes and covering it flat against the bubble is not the answer.
6. Adjust your pace and lacing as you hike
Repeated rubbing is a function of how often your foot moves inside the shoe, so slower, smoother steps with shorter strides cut the number of contacts per mile. Stop every hour or so, loosen your laces and let your foot settle, then re-lace.
When a specific area starts to feel warm, tighten the lace just above that spot for uphill and loosen it slightly for downhill. That moves pressure away from the hot area rather than onto it. Descents rub harder than climbs because your foot is planted forward with every step, so shorten your stride more on the way down.
7. Check your feet at regular intervals
Check before you start, after the first few miles, at lunch, and whenever the trail turns to sustained climbing or descending. Take the socks off, not just the shoes, and look at the places you cannot see with your own eyes.
A small mirror or your phone camera handles the soles and heels. The early warning sign is not a blister. It is warmth, tenderness, or a pink patch that was not there twenty minutes ago.
8. Keep your feet and trail footwear dry
Moisture softens skin and raises the friction coefficient between foot and sock, so anything wet turns a manageable hot spot into a fast-forming blister. At a safe stopping point, step out of your socks, wipe your feet, let them air for a few minutes, and put on a dry pair.
Let shoes and socks air whenever you stop for a while, and take debris out of the boot with your sock off. Small stones stay put once the sock is back on and grind all day. In a hot, humid stretch, a light foot powder or an antiperspirant applied before you lace up keeps sweat from pooling.
9. Stop and protect the area before skin breaks
The moment you feel warmth that does not settle after you stop, do not keep walking through it. Stop, remove the sock, clean and dry the spot, and cover the intact skin with tape or moleskin padded off the hot area. Then re-lace or change footwear so the spot is no longer being rubbed.
If the pain keeps building after you have covered and adjusted, change shoes, shorten the route or turn back. Persistent pain on an unprotected spot means the damage is already deeper than a hot spot.
Seek medical care for spreading redness, warmth, swelling, pus, red streaks, fever, severe pain, or a wound that has not started to close within a couple of days. Those are not trail problems.
Common Mistakes That Cause Hiking Blisters
Almost every blister I have watched form came from one of these, and none of them are about bad luck.
- Starting out in new boots. The fix is time, not tape. Break footwear in over a week of shorter walks first.
- Wearing cotton socks. Cotton stays wet and stays against your skin. Switch to merino wool or a synthetic and bring a spare.
- Ignoring the first warm patch. Warmth is the earliest signal you get. Stopping for two minutes costs almost nothing; a drained blister costs you the last three miles.
- Using too much lubricant. Heavy petroleum jelly lets the sock slide and bunch. A thin film is enough.
- Pushing through worsening pain. Pain that builds mile after mile means the spot is being hammered. Adjust lacing, retape, or change footwear.
- Coming without spare socks. Wet or sweaty socks by late afternoon are a friction problem waiting to happen.
Extra Tips for High-Friction Trails
Steep descents. Shorten your stride, plant your whole foot rather than the toe, and lean on poles to control how hard you push into the ground. Toe blisters form mostly on the way down because your foot slides forward into the toe box every step. Loosen laces a touch downhill so the foot is not pinned forward.
Wet conditions. Expect wet feet regardless of your socks. Dry them at every safe stop, change socks after stream crossings, and dry your boots whenever you break camp. Gaiters keep gravel and water out of the boot, which also cuts the debris grinding that wrecks more feet than the water does.
Heavy packs. A loaded pack shifts your weight forward and changes your gait, which pushes you deeper into the toe box. Retie the pack, check the fit of your boots again a few miles in, and reapply lubricant to the ball of the foot and your big toe joint.
Long days and repeated wear. On multi-day trips the same spot tends to break every day until the underlying cause changes. Log where blisters appear, then fix the fit, the socks or the lacing for that exact location. Also trim your toenails the week before a big trip and carry an extra pair of socks.
Hot weather. Antiperspirant on dry feet before you lace up, a light powder for the boot, and planned stops where you can get your feet into moving air will do more than any single product.
Frequently Asked Questions
What is the most effective way to prevent blisters while hiking?
Fit, socks and an early response to heat. Wear footwear with a wide toe box and a thumb of space, broken in ahead of time, with merino wool or synthetic socks and a dry spare pair. Then stop at the first warm patch and tape it. Blisters rarely come from miles covered, they come from one spot rubbed thousands of times without a check.
How do I stop a hot spot from becoming a blister on a long hike?
Stop, take the sock off, clean and dry the area, and cover the intact skin with tape or moleskin before you continue. Then fix the cause, usually a sock wrinkle, a tight lace or a spot where your foot is moving inside the shoe. Re-lace, adjust the stride, and check back in ten minutes. Most hot spots never become blisters when they are handled at that stage.
Are cotton socks bad for preventing hiking blisters?
Yes. Cotton absorbs sweat, holds it against your skin and dries slowly, so your foot stays soft and slippery inside the boot. Merino wool and synthetic blends move moisture away from the skin and dry faster, and they keep their shape when damp. If you only own cotton socks, changing to a wool or synthetic pair and carrying a spare is the single cheapest upgrade on this list.
Should I pop a hiking blister or leave it intact?
Leave it intact if you can. The roof is your best protection against dirt and infection. For a large painful blister, mainstream first-aid guidance is to drain it while keeping that roof in place, then cover it with a non-adherent dressing and moleskin around the edges rather than on top. Stop hiking and see a clinician if the pain builds or the area turns red, warm and swollen.
What should I do if my feet get wet and my shoes start rubbing?
Stop somewhere flat and safe, take your socks off, wipe and air your feet, and put on a dry spare pair. If your socks are wet and your boots are soaked, dry what you can and expect the next stretch to be the deciding factor, so tape any spot that already feels warm. Take stones and grit out of the boot too, because that debris will grind once the sock goes back on.
When does a blister or foot wound need medical attention?
Get medical care for spreading redness, warmth, swelling, pus, red streaks running from the wound, fever, or pain that is severe or getting worse. An open blister that has lost its protective roof and picked up dirt also deserves a look, as does any wound that has not started to heal within a couple of days. This is general trail information, not a diagnosis, so have a clinician check anything on that list.
Conclusion
Before you leave the trailhead, check your footwear fit with your trail socks on, confirm you have a dry spare pair and a mirror in the pack, and run a thin film of lubricant over the two spots that always trouble you. That is ten minutes of work covering the three things that decide whether you blister: fit, moisture and early response.
Treat a hot spot before the skin breaks, because an intact hot spot needs tape and an open blister needs a dressing, a slower pace and a change of plan. If redness spreads, you see pus or streaks, or the pain keeps climbing, stop hiking and get medical advice rather than trying to push on.