Packing out meat after a hunt comes down to three things: field-dress the animal fast, keep the cut meat cold and physically separated from everything that animal touched, and get it into a cooler or a processor before it climbs above 40°F. A mule deer and a 500-pound elk bull follow the same sequence. Only the weight and the number of trips change.
Most spoiled game is not lost to anything exotic. It is lost to heat, to a bag that leaks, to dirt that gets ground into the meat, and to a cooler that gets opened too many times.
Table of Contents
- How to Pack Out Meat After a Hunt: What You Need
- How to Pack Out Meat After a Hunt: Step-by-Step
- Step 1: Remove the entrails and excess tissue
- Step 2: Cool the meat promptly
- Step 3: Separate clean meat from contaminated areas
- Step 4: Bag and seal the meat correctly
- Step 5: Keep the meat at 40°F or below
- Step 6: Transport and process it as soon as practical
- Bone-in or bone-out
- Common Mistakes When Packing Out Game Meat
- Frequently Asked Questions
- How long can you pack out meat after a hunt?
- Can you salt meat before packing it out?
- Do you need ice to keep harvested meat cold?
- What is the safest temperature for transporting game meat?
- Can meat sit in a cooler overnight?
- What should you do if game meat gets warmer than 40°F?
- Conclusion: Start With Cold, Clean Separation
How to Pack Out Meat After a Hunt: What You Need
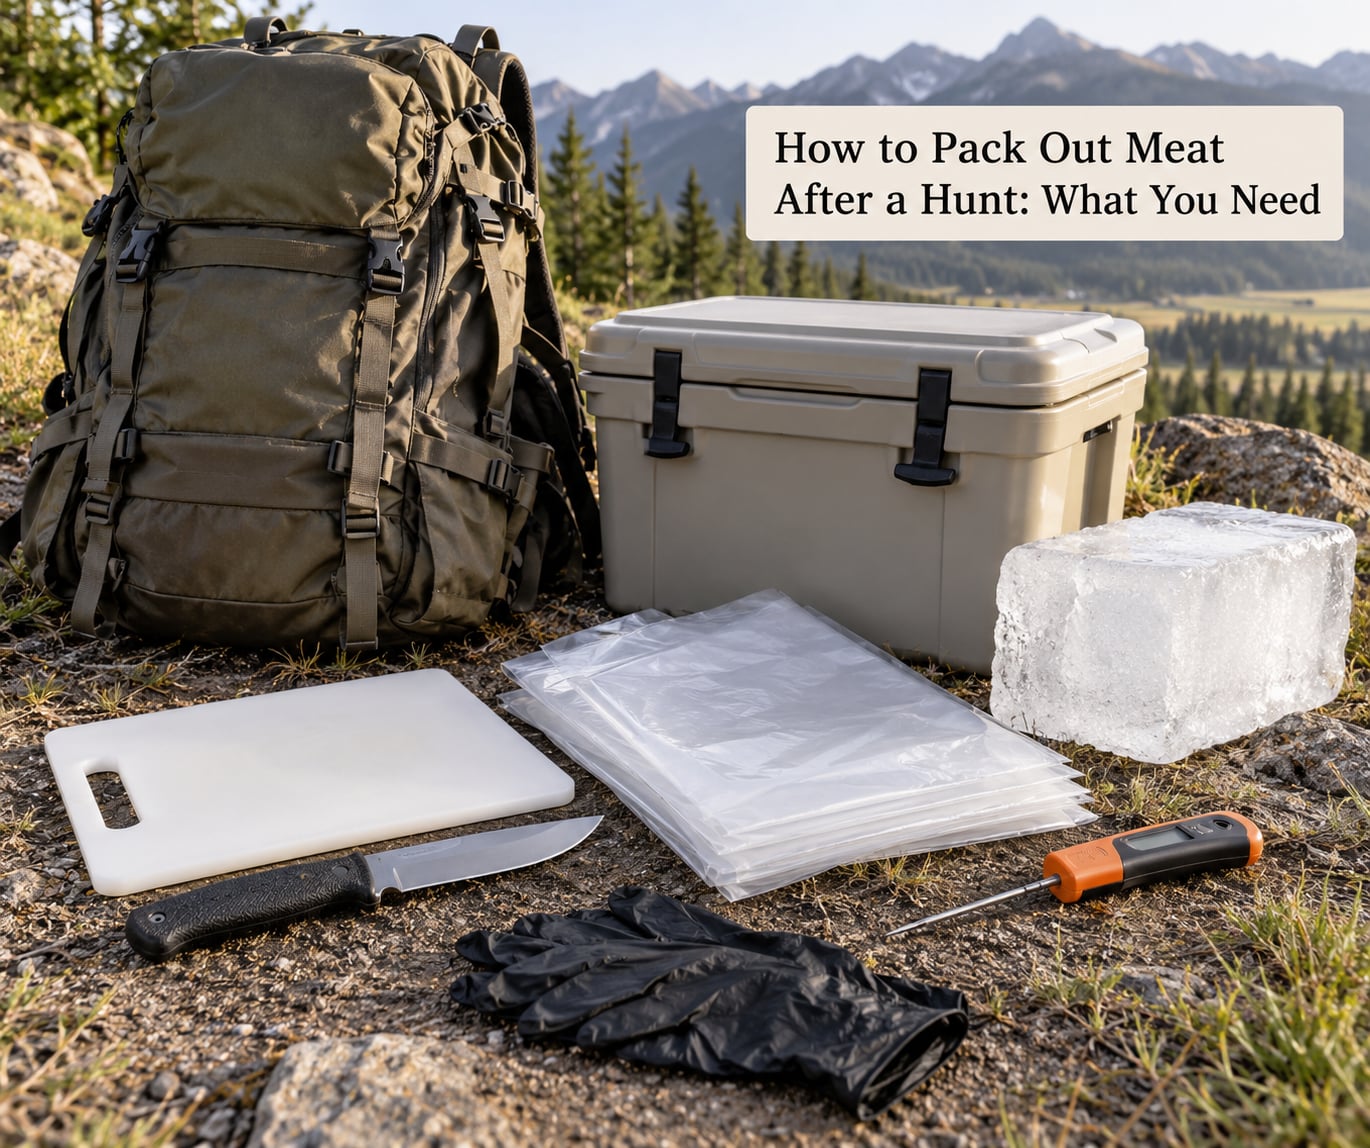
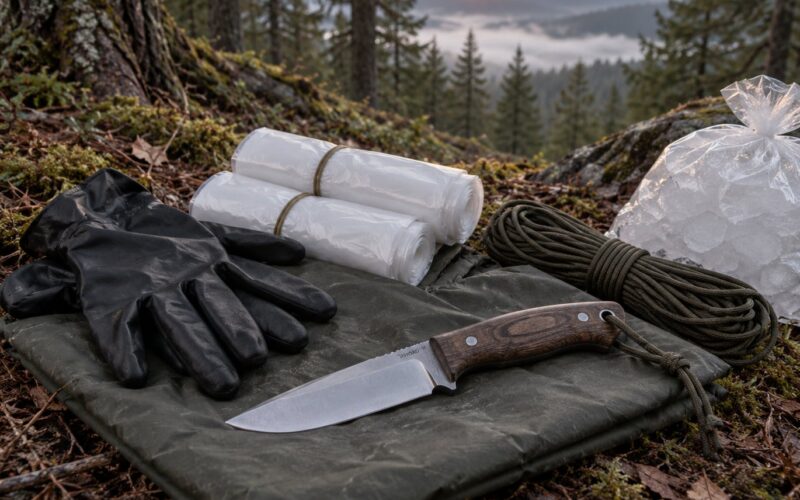
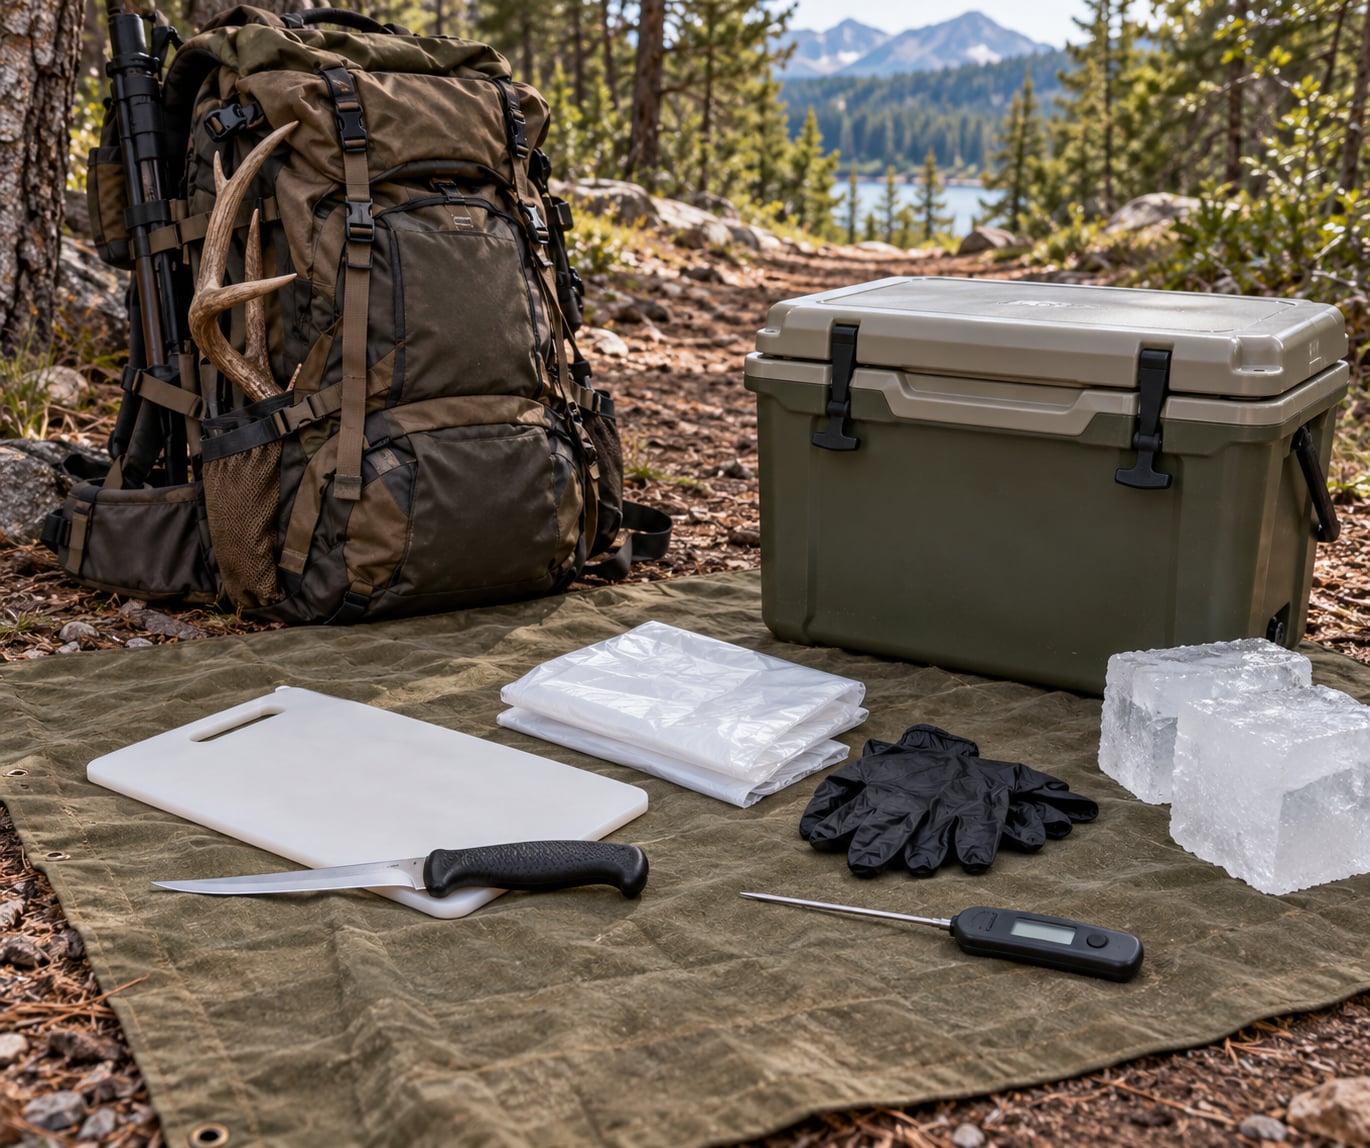
You can pack out game with surprisingly little gear, but five items are not optional: a sharp boning knife, heavy-duty game bags, something to keep the load cold, a pack frame with straps, and a way to wash your hands and knife.
The rest are cheap insurance.
- Sharp knives: a boning knife and a heavier skinning knife. A dull knife tears connective tissue and drags dirt across the cut surface.
- Game bags: heavy-duty fabric bags in at least two sizes, sized for your quarters. Two medium bags beat one giant bag when you are splitting a load.
- Contractor bags or leak-resistant liners: for quarters you are still working on and as a rain cover inside a bag.
- Block ice and frozen gel packs: block ice lasts longer than loose ice because it melts slowly and keeps a cooler closed longer.
- Insulated cooler: sized so the meat and the cooling medium fill it. A half-empty cooler loses heat faster.
- Absorbent pads or old towels: to line the bottom of a bag or cooler under a quarter that is still weeping juice.
- Rubber gloves and clean water: plus a sanitizer and paper towels. Wash between the gutting job and the meat-handling job.
- Instant-read thermometer: the only way to know whether the thickest part of a shoulder is actually holding temperature.
- Pack frame, straps, and paracord: a frame plus lashing beats stuffing quarters into a soft pack bag, which shifts on steep ground.
- Tarp or ground cloth: so you never set a cut surface on bare soil.
One item you can skip is a bone saw, unless you are breaking out hams. Trying to cut through leg bones with a boning knife wastes time and dulls the blade.
How to Pack Out Meat After a Hunt: Step-by-Step
Step 1: Remove the entrails and excess tissue
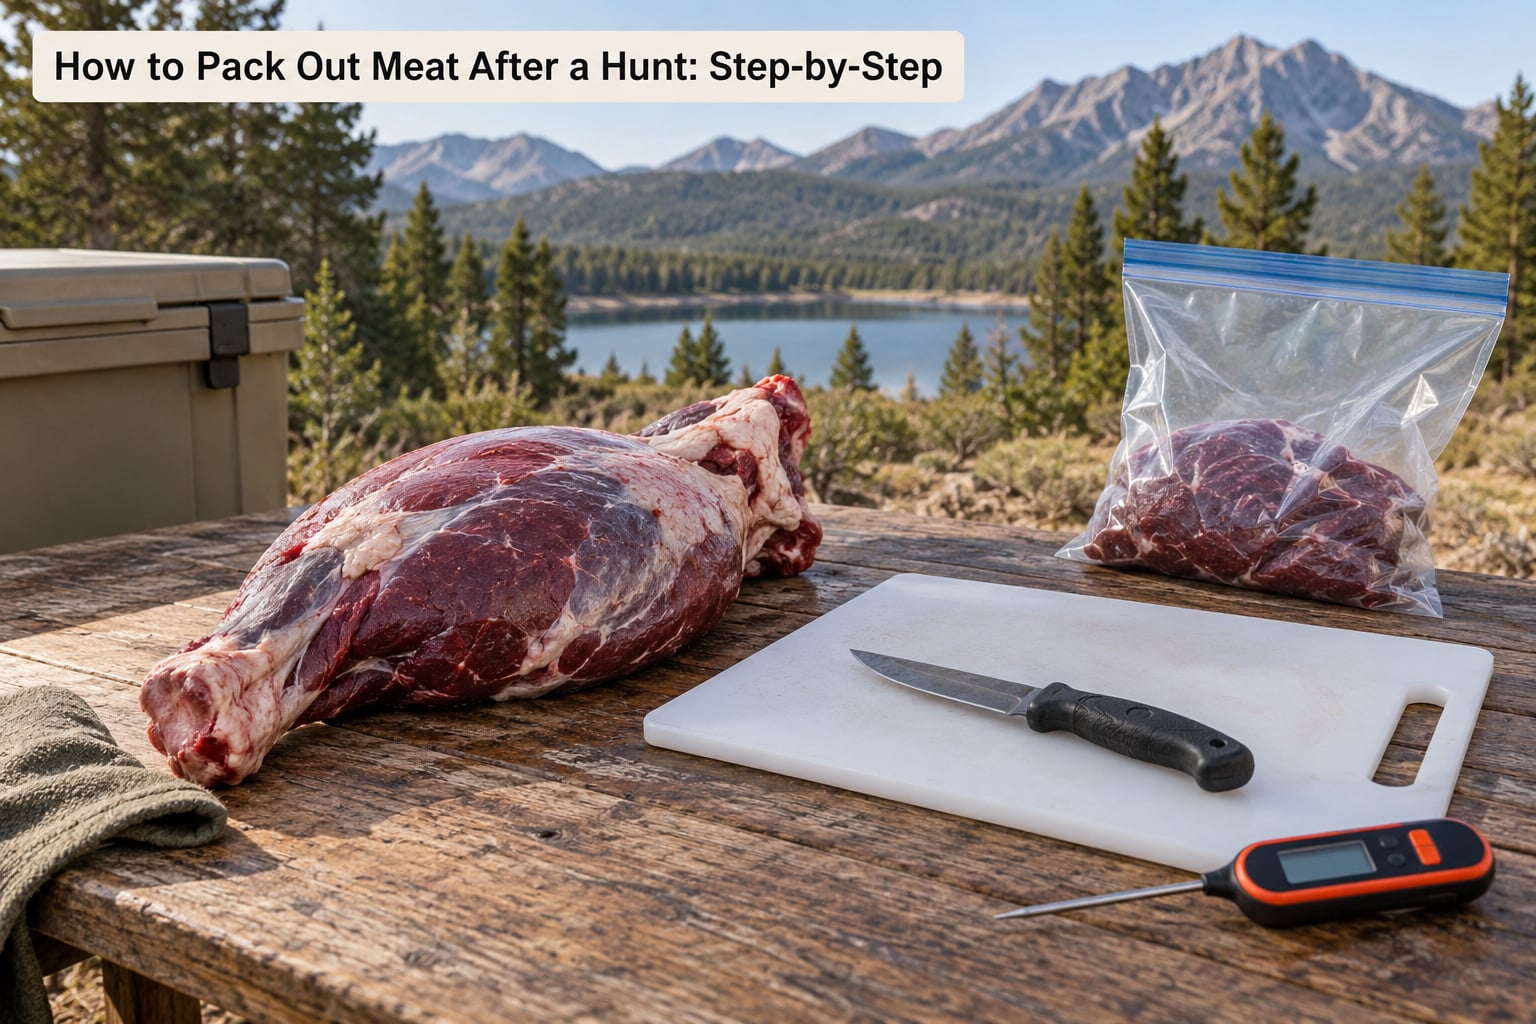
Field-dress the animal where it lies if the ground allows, otherwise drag it to a clean, dry surface and lay down your tarp first. Cut around the anus, tie the tract off, and pull the digestive contents away from the body so nothing spills onto the meat that stays.
The gutless method is the faster, cleaner option: open the chest cavity, sever the diaphragm, and pull the rib cage off without ever pulling the gut through the belly cavity. Hunters who quarter in remote country usually work this way.
You know it worked when the cavity is empty of organs and the muscle surfaces are clean, with no gut contents on the outside of the carcass. Leave the heart, liver, and kidneys if you want them, and take them out of the body before you bag anything. Follow the hunting regulations for your state, park, or province regarding what must leave with the animal, including evidence of sex and tagging.
Step 2: Cool the meat promptly
Meat starts losing quality the moment the carcass temperature climbs, so begin cooling before you finish butchering. Hang the carcass in shade with airflow, drape it with clean cool water, or submerge quarters in a cold creek during a break.
Do not seal hot meat into a closed bag and leave it in the sun. Trapped heat and condensation make things worse, not better.
For later cooking, USDA safe minimum internal temperatures are 145°F for whole cuts and fish, 160°F for ground meat, and 165°F for poultry. Those numbers apply when the meat is cooked; getting the field handling right is what keeps it worth cooking.
Step 3: Separate clean meat from contaminated areas
Set your cutting board on the tarp, never on soil or wet vegetation. Keep the outer surface of the carcass, the hide side, and the ground side away from the cut surfaces you are about to bag.
Change gloves and wash the knife between gutting and processing the meat. Scrub the board, and use clean water from a container dedicated to butchering, not the same bottle you drink from.
If you dropped a quarter in the dirt, wash it with clean water and trim the outside before it goes in the bag. A clean job is easy to spot: the seams look clean and dry, with no dark film or dirt pressed into the muscle.
Step 4: Bag and seal the meat correctly
Put the meat in food-safe, heavy-duty game bags or leak-resistant containers, one quarter per bag if the pieces are large enough to swing and tear. Line the bottom of a bag with an absorbent pad when a piece is still releasing liquid.
Press excess air out of a partially filled bag before you seal it so it conforms to the meat, and check every seam for holes. A puncture you do not see in the field is a cooler full of diluted, warm blood water later.
Label portions with a Sharpie or a strip of flagging tape. On a multi-day packout, the label is the difference between usable meat and a mystery.
Step 5: Keep the meat at 40°F or below
Put a layer of cold and a layer of meat in the cooler, then cold on top. Mix block ice with frozen gel packs so you get a mix of long-lasting cold and something that conforms to odd shapes. Bury the meat in the cooling medium rather than resting it on top of it.
| Time after harvest | Target temperature | What it protects |
|---|---|---|
| First 2 hours | Cooler than air temperature | Starts the cooling curve immediately |
| Same day | 40°F or below | Safe handling and quality retention |
| Multi-day packout, cold weather | 40°F or below, checked daily | Bone sour and spoilage risk |
| Multi-day packout, warm weather | Same day, no exceptions | Everything |
Check the temperature in the thickest part of a hind quarter or shoulder with the thermometer, not in the bag. Read it at midday and again before you leave camp. Cold nights alone do not guarantee a cold load, because the mass of a large quarter holds heat deep into the afternoon.
Step 6: Transport and process it as soon as practical
Minimize the gap between harvest and processing or freezing. Keep the cooler shaded and closed, walk with it out of the sun, and use a second cooler for meat once you have one, so you are not opening the loaded one every time you want a drink.
Experienced hunters on hunting forums generally plan on about four trips for a solo elk packout, and the common threshold for switching from bone-in to bone-out is roughly three miles of carry. Treat those as rules of thumb, not laws. Where terrain, weather, and your own fitness point to a different number, use your number.
Follow the rules where you hunt before you leave the area. Some jurisdictions require the sex organs, a specific tag, or a trip report. Find out before the hunt, not at the truck.
Bone-in or bone-out
Boning in the field cuts weight and gets the meat cool faster, but it takes more knife work and more time at a moment when you may be tired and losing light. Leaving the bone in is faster and structurally stronger for carrying, and in cold weather it is usually fine.
Leave the bone in when the load is short, the weather is cold, or the animal is small enough that you are carrying a shoulder and a hindquarter. Bone it out when you are walking more than about three miles, when temperatures are climbing, or when the quarters are bigger than you want to swing on a frame. Hunters who debone in the field also mention less trimming waste at home, at the cost of a longer knife session.
Common Mistakes When Packing Out Game Meat
Leaving the load in a hot vehicle. A closed car in sun heats faster than you expect. Keep meat in a shaded cooler, not a cab. Load it last and unload it first.
Using thin or already punctured bags. Bags get cut by bone edges and by thorns on the trail. Carry two spares and double-bag the pieces most likely to fail.
Setting meat on bare ground. Every contact with soil is contamination you trim off later. A tarp costs nothing and solves it.
Overpacking one load. A load you can barely lift is a load you will drop, and dropping it on steep ground is how knees get hurt. Smaller loads, more trips.
Stuffing meat into a soft pack bag. It shifts, it catches on branches, and it rolls off the trail. Strap bags to the frame with compression straps and a paracord half-hitch.
Opening the cooler all afternoon. Every lid lift lets warm air in. Open once, take what you need, close it.
Not checking temperature. Guessing is how a load quietly goes over 40°F. One thermometer check at midday is cheap. A small Bluetooth temperature sensor that logs to a phone is better if you want the record after the fact.
Assuming frozen meat is automatically safe. Freezing stops growth but does not reverse spoilage. If meat sat warm for hours before it froze, discard it.
Two habits help more than any gadget: start cooling at the kill site instead of back at camp, and plan the trip count before you ever pick up the knife. Conditioning beforehand matters too, since packouts fail people in the knees and ankles long before the back gives out, and a pair of trekking poles is a genuine help on a heavy descent.
Frequently Asked Questions
How long can you pack out meat after a hunt?
In cold weather, experienced hunters report leaving meat staged for two or three days while shuttling loads, as long as it stays at or below 40°F and is checked daily. In warm weather, treat same-day packout as the only safe plan. When in doubt, measure the thickest part of a quarter instead of trusting the air temperature.
Can you salt meat before packing it out?
Dry-salting works, but it changes how the meat behaves later and pulls moisture you will need to drain. A light salt on meat you plan to eat within a day or two is fine and helps with heat during the walk. If you want to dry-cure or make sausage, do that at home where you have a refrigerator and drainage.
Do you need ice to keep harvested meat cold?
Not always. Block ice and frozen gel packs are the reliable choice in warm weather or for multi-day packouts. In cold air you can stage meat on a clean tarp or hang it in shade, and submerging quarters in a cold creek during a break drops the temperature fast. Shade, airflow, and speed work together in a way ice alone cannot.
What is the safest temperature for transporting game meat?
Keep it at or below 40°F the whole time it is in your control. That is the storage threshold that slows bacterial growth, and it applies in the cooler, in the bag, and in the vehicle. Check with an instant-read thermometer in the thickest part of a shoulder or hind quarter, at midday and again before you move camp.
Can meat sit in a cooler overnight?
Yes, if the cooler is doing its job. Buried in block ice in the shade, a properly packed cooler holds safe temperature through a night and into the next morning. Buried in a thin layer of loose ice in the sun, it will not. Open the cooler once in the morning, check the temperature, and top off the cold before you start walking.
What should you do if game meat gets warmer than 40°F?
Cool it immediately and find out how long it sat warm. Move it into a cooler with fresh block ice or cold water and check again after 30 minutes. Short warm periods are usually recoverable; meat that spent hours above 40°F in warm air should be discarded rather than eaten or given away.
Conclusion: Start With Cold, Clean Separation
Dress the animal right away, pull the gut away from the meat, and get the quarters off the ground onto a clean surface. Start cooling before you finish butchering, bag each piece separately, and seal every seam. Keep the load at or below 40°F in a shaded cooler, check it with a thermometer rather than a guess, and process or freeze it as soon as you can.
Follow the hunting and food-safety rules where you hunt, and leave the country the way you found it. That is the whole job.