Learning how to set up a trail camera correctly takes about twenty minutes in the field, and most of that is walking. Pick a spot where animals already funnel past, strap the camera to a solid tree facing north or south, set a fast trigger speed, and take a test photo before you walk away. Cameras fail far more often from misconfiguration than from bad hardware.
That said, twenty minutes only works if you know what to look at. Height, angle, trigger sensitivity and card formatting each decide whether you get useful photos or a memory card full of empty branches. Here is the process I use, start to finish.
Table of Contents
- What You Need Before You Start
- Step-by-Step: How to Set Up a Trail Camera Correctly
- 1. Choose the Right Detection Area
- 2. Position the Camera at the Correct Height and Angle
- 3. Level and Focus the Camera
- 4. Set the Trigger, Resolution, and Recording Options
- 5. Protect Power, Storage, and Weather Seals
- 6. Secure the Camera Against Theft and Movement
- 7. Run a Test and Confirm the Setup
- Common Mistakes
- Frequently Asked Questions
- Where should I place a trail camera for best results?
- How high should I mount a trail camera?
- Should a trail camera face the trail or the open woods?
- How do I keep a trail camera from being stolen?
- Can trail cameras record at night?
- Conclusion
What You Need Before You Start
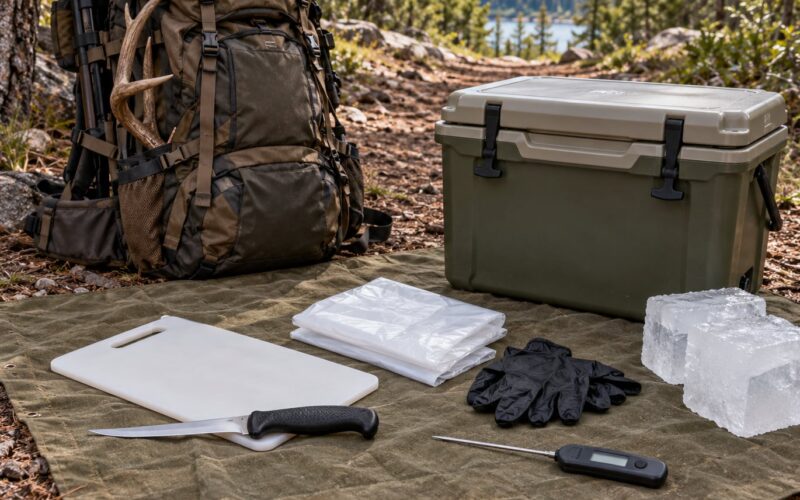
Gather this kit before you walk out, because a forgotten SD card means a wasted trip.
- The camera itself, with its housing latch and strap loops checked
- Manufacturer-approved mounting strap or bracket, plus the lock and cable if you use one
- Two full sets of batteries, or an approved solar panel or external power source for long deployments
- A formatted memory card, plus a spare
- A small flashlight, a camo cover or protective sleeve, and a tree strap wrench
- A stable step stool, ladder or removable tree steps
Most trail cameras ship with a nylon strap and a small lock. Everything else is on you to buy: the second battery set, the memory card and the steps for safe elevated mounting all cost extra and are the three things people leave behind.
Use a step stool or tree steps rated for your weight and put the ladder on level ground before you climb. Stay clear of standing deadwood, power lines and branches above you. If the trunk is too thin to hold a ladder, the tree is too thin to mount a camera on.
Step-by-Step: How to Set Up a Trail Camera Correctly
The seven steps below run in a fixed order. Set the camera up in daylight, keep it pointed where you can see the frame, and take a test photo before you leave the area. Rushing at any one of these steps is what produces a season of useless images.
1. Choose the Right Detection Area
Put the camera where animals have to walk, not where you happen to want a picture. Look for established game trails, funnel points between fences or thickets, trail crossings, scrape lines and water sources, and mount so the detection zone covers the path rather than a wide empty hillside.
Stand back and confirm you have permission and are not trespassing. That includes your own land, your land and the neighbour’s edge, and any state or federal ground where different rules apply. Check the posted rules for public land before you mount anything, and keep the camera away from active nests and den sites.
Walk the area once and note where fresh tracks, droppings or rubbed hair appear. Ten minutes of scouting beats an afternoon of reviewing empty frames.
2. Position the Camera at the Correct Height and Angle
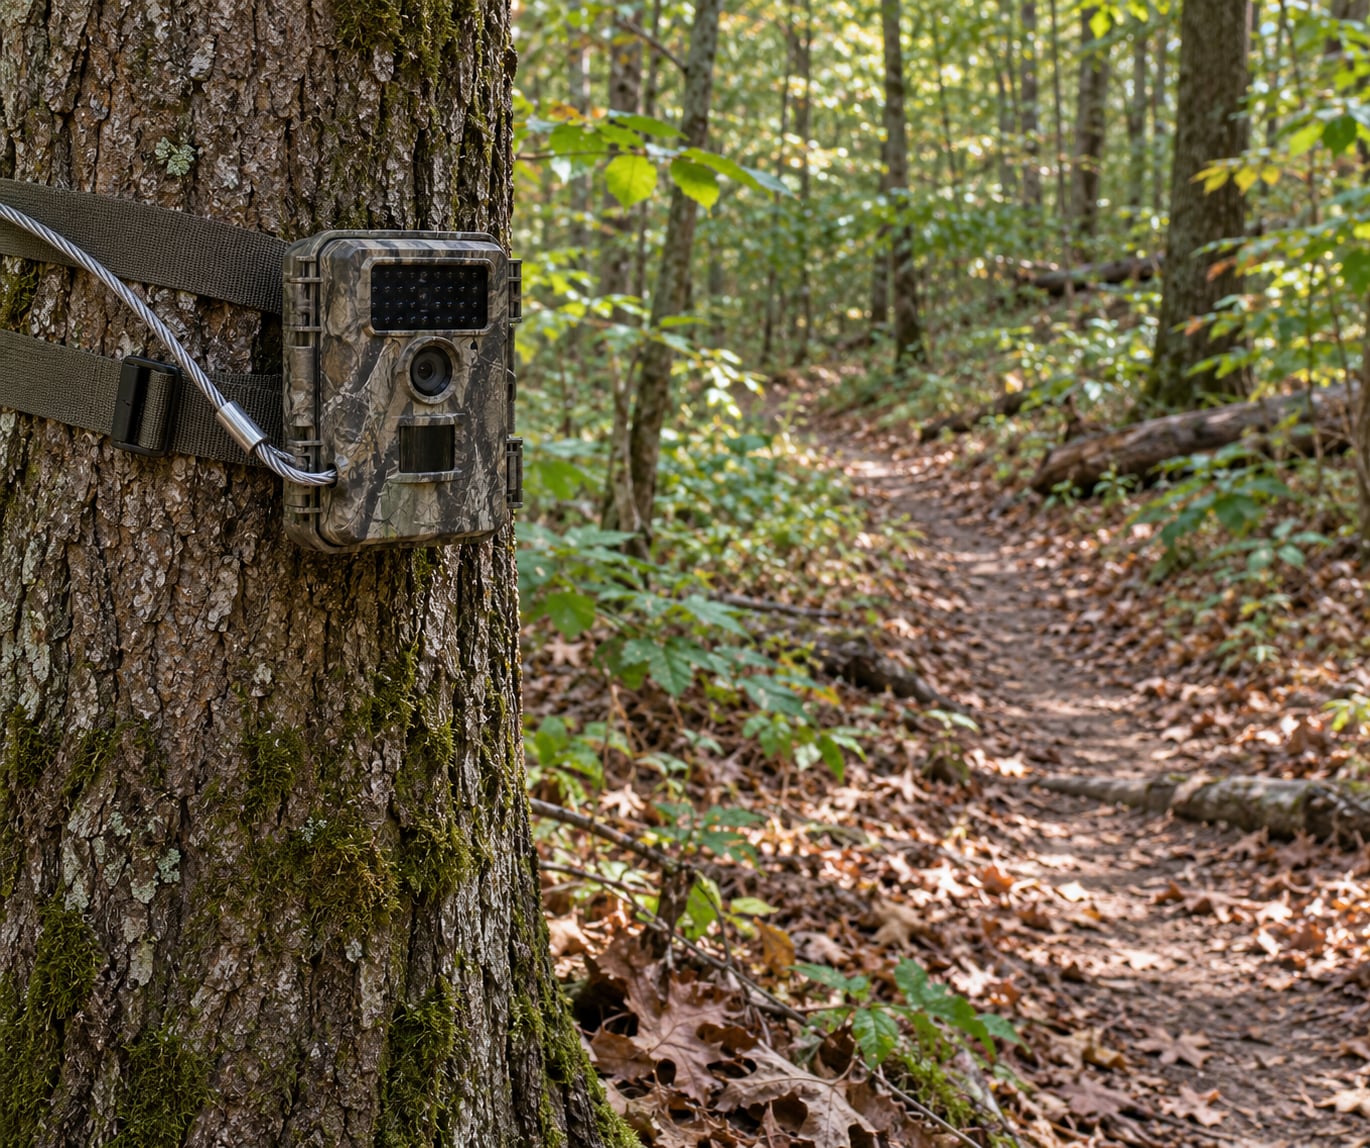
Mount a trail camera about 2 to 3 feet off the ground for general monitoring, and higher when you are targeting larger animals or working public ground. Aim it at roughly a 45-degree angle to the trail instead of straight across it, because a camera pointed perpendicular to the path captures the animal’s back end by the time the trigger delay elapses.
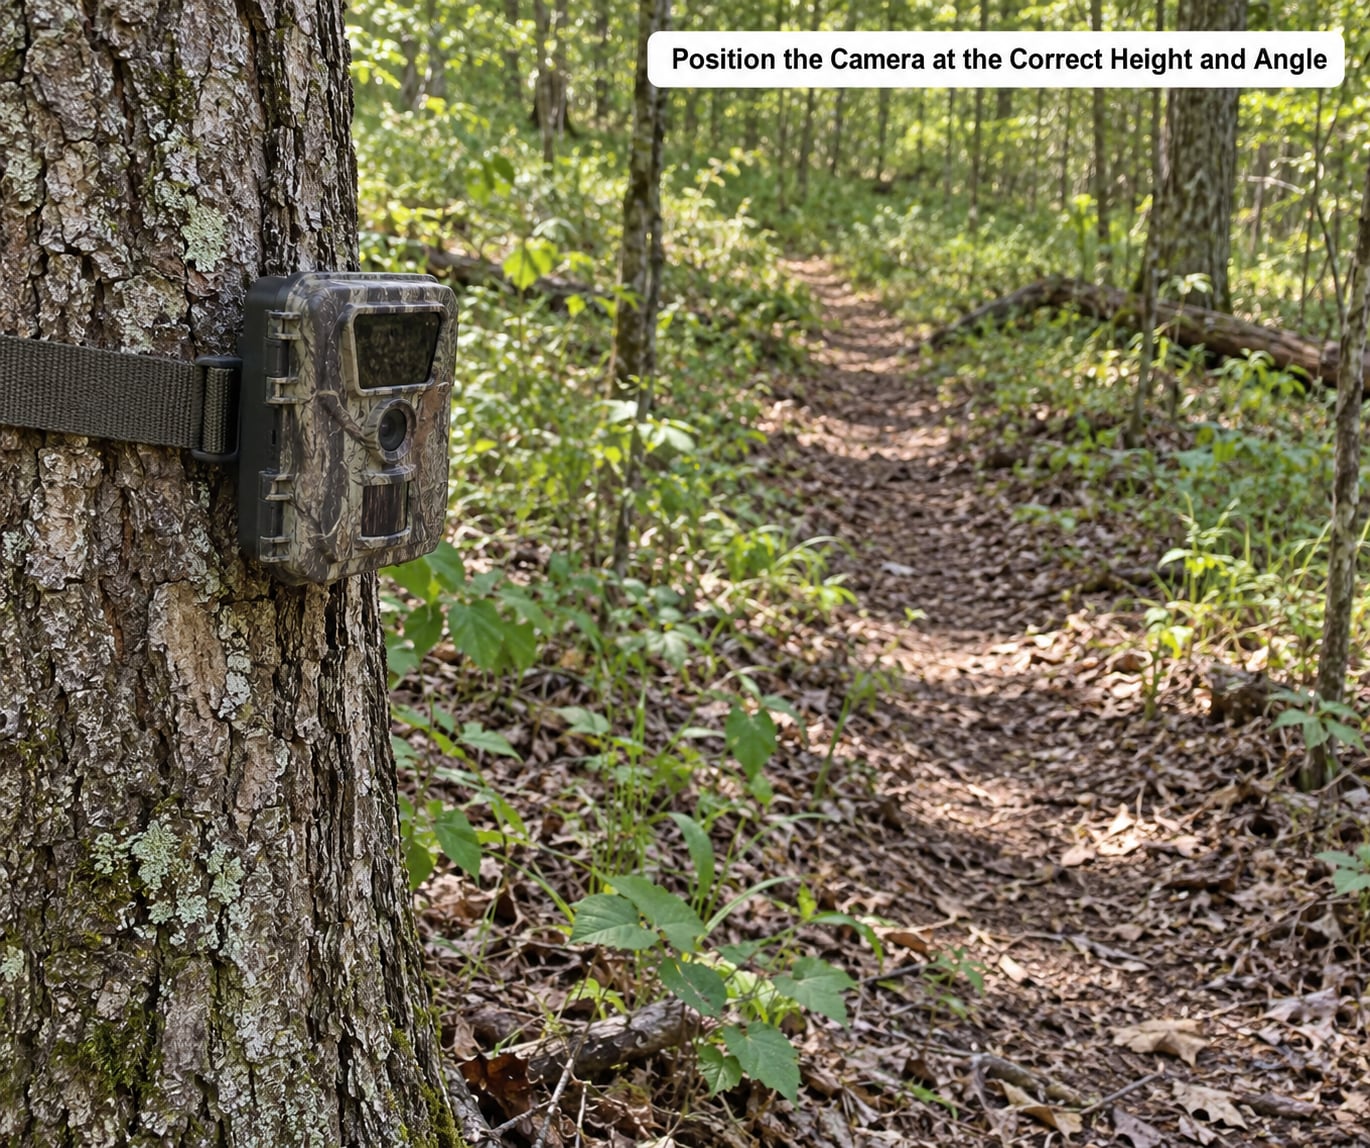
Face the camera north or south so the sun’s arc never crosses the sensor. An east- or west-facing camera gets hit by low direct sun at sunrise and sunset, which triggers a burst of blank or blown-out frames every single day.
Go higher after a visit if deer have stopped using the trail. Six to eight feet, or ten to twelve feet with removable tree steps, cuts down on both animal pressure and casual theft.
3. Level and Focus the Camera
Keep the housing level with the ground and point the lens along the direction of travel. A camera tilted far enough to see the forest floor fills its frame with leaf litter and takes most of its photos of nothing.
Use the aiming indicators and test mode in the setup menu. Most current models show a detection-zone outline or a live view screen; walk into the zone and confirm the camera shows you where the frame will sit. Focus is fixed on most trail cameras, so your job is framing rather than turning a lens ring.
4. Set the Trigger, Resolution, and Recording Options
For most trail cameras, set photo burst at three shots with a one-second interval, a fast trigger speed around 0.2 seconds, and medium PIR sensitivity. Open fields and water sources need lower sensitivity; tight funnels and dense cover handle medium to high.
Choose the capture mode to match what you need. Photo burst is cheapest on storage and easiest to review. Video at 15 to 30 seconds per clip shows behaviour but fills a card in a few days. Time-lapse is the right pick for a fixed scene such as a feeder or a trail junction, since it ignores the motion sensor entirely.
Keep timestamps on. They are the only way to match photos to barometric pressure, moon phase or a hunting calendar later. Night-vision or infrared flash settings usually run best on automatic, but turning them to infrared-only avoids white flash that can spook animals close to the lens.
Leave recovery or delay intervals at their middle setting unless you have a reason. Every extra second of recovery costs you shots of a fast-moving buck, and every extra photo eats battery life and card space.
5. Protect Power, Storage, and Weather Seals
Use lithium batteries for cold-weather deployments. They hold their charge below freezing, where alkaline and most rechargeables lose capacity fast, and they run a camera much longer between swaps. Alkaline is fine for summer and for cameras left inside a sheltered box; rechargeables are the weakest option outdoors because they sag in the cold.
Format the memory card in the camera before every deployment, and check that the date and time are correct while you have the screen in front of you. A card shared between brands can throw formatting errors that wipe a night of photos, which is why many hunters keep two dedicated cards per camera.
Match card capacity to your capture mode and how long you plan to leave it. Video on a 32 GB card runs out fast; a burst-photo setup on the same card runs for weeks. Lock the card in place if the camera supports it so a nudge does not eject it.
Before you close the housing, look at the gasket and the latch and make sure the seal sits flat all the way around with no grit trapped in it. Route any power cable through the designated port rather than pinching it under the latch. Stay inside the manufacturer’s operating temperature and weatherproofing limits, and expect less run time in deep cold than the spec sheet claims.
6. Secure the Camera Against Theft and Movement
Use a manufacturer-approved strap and lock, and add a security cable threaded through the camera housing and around a stable, thick tree. Mounting on a small-diameter tree is a common mistake: it moves in the wind and every movement reads as a warm body passing the sensor, so you fill the card with false triggers.
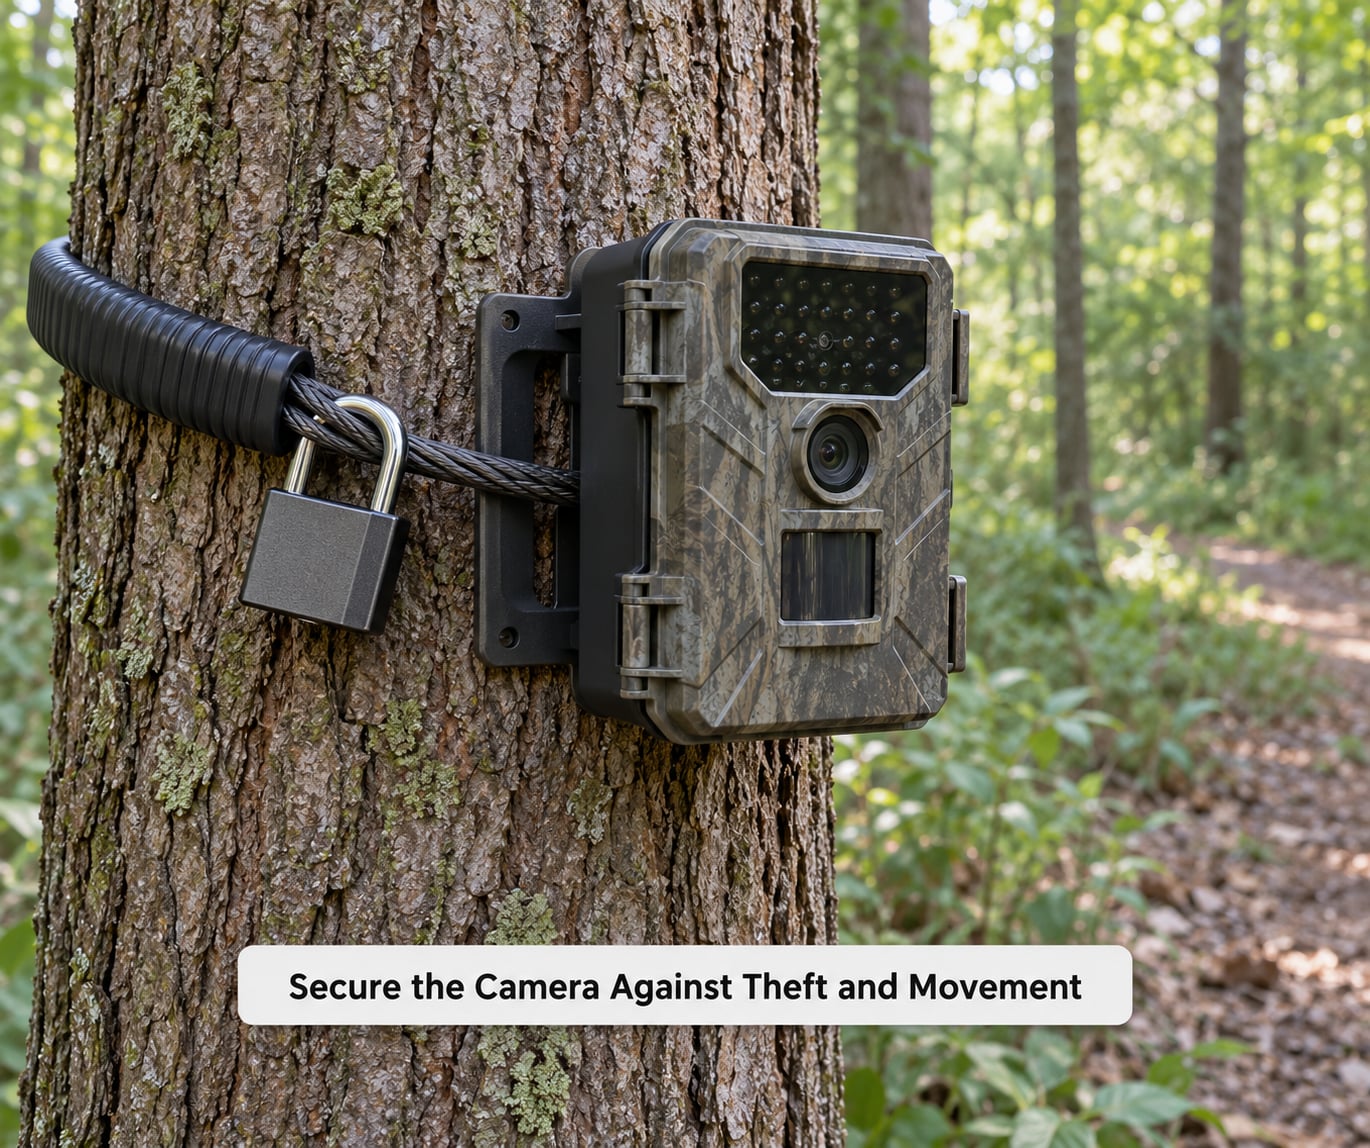
Make the camera hard to spot and harder to carry off. A camo cover, a spot behind a branch intersection and a mount height above eye level all help. Where theft is common, a lock box on a steel pole is the step beyond a cable.
Set any ladder or tree steps before you climb, check the ground for soft soil, and keep the camera clear of busy paths so a passerby cannot reach it from the trail.
7. Run a Test and Confirm the Setup
Stand up and take a test photo before you leave, then review it on the camera’s screen. A test shot proves the card writes, the lens is not fogged and the frame is aimed where you expect.
Next, walk through the detection zone the way an animal would, slowly and low. Confirm the camera fires and how long the trigger delay feels. Check the image is level and the animal will not be too close to fill the frame.
Verify the saved file opens on the card, confirm the date and time, and lock the latch. Then re-seat the strap tension so nothing shifts, and take one last look at the weather seal.
Avoid repeatedly walking through the frame while testing. Deer notice a pattern of human traffic faster than most people expect, and a camera that spooks the herd is worse than no camera.
Common Mistakes
Most broken setups come down to the same short list. Each has a quick fix.
Mounting too high or too low. Too high and you photograph antlers instead of backs; too low and every squirrel fills the card. Use 2 to 3 feet for general monitoring and raise it only when you have a reason.
Pointing at vegetation. Leaves and branches moving in wind generate heat changes the sensor reads as an animal. Aim along the travel path and clear any foliage within a few feet of the lens.
Unstable straps. A strap on a thin trunk causes sway, and sway causes false triggers. Move to a stouter tree and tighten the strap until the camera does not shift when pushed.
Loose weather seals. A latch closed on grit lets water in and kills the camera slowly. Wipe the gasket, close the latch fully and look for any part of the seal standing proud.
Too little storage. A full card means the camera stops recording mid-night. Format, check capacity against your capture mode, and carry a spare card every time you open a housing.
Ignored timestamps. Wrong date and time make the photos useless for matching conditions later. Set the clock every visit, not just the first one.
Blocked infrared reflections. Spider webs, branches and reflective surfaces close to the lens bounce the infrared flash back and produce white or washed-out night images. Clear the area in front of the camera and avoid mounting on bark with heavy moss.
Unapproved batteries, solar panels or cables. Off-brand cells, mismatched panels and cables pinched under the latch cause everything from failed triggers to corrosion. Use the batteries, panel and cable the manufacturer lists for your model.
Frequently Asked Questions
Where should I place a trail camera for best results?
Look for places where animals already have to walk: established game trails, funnel points between fences or brush, trail crossings, scrape lines and water sources. Put the camera so its detection zone covers the path itself, not a wide open hillside, and confirm the freshest tracks and sign before you mount anything. Ten minutes of scouting saves an afternoon of empty frames.
How high should I mount a trail camera?
Mount it about 2 to 3 feet off the ground for general wildlife monitoring, and 6 to 8 feet when deer have started avoiding the spot or you are working public ground where other people walk past. Ten to twelve feet with removable tree steps works when theft is a problem. Height matters less than the solidity of the tree and how squarely the frame covers the trail.
Should a trail camera face the trail or the open woods?
Aim it at the trail, angled at roughly 45 degrees rather than straight across it. A camera pointed perpendicular to the path photographs the animal’s back end, because the trigger delay means the deer has already crossed the frame by the time the shutter fires. Facing north or south keeps the sun’s arc off the sensor and cuts down on daily false triggers.
How do I keep a trail camera from being stolen?
Start with an approved strap and lock, then thread a security cable through the camera housing and around a thick, solid tree. Add a camo cover, mount above eye level and keep the unit out of sight of any path. Where theft is common, a locked steel box on a pole is the next step up. Record the camera’s serial number and location before you leave.
Can trail cameras record at night?
Yes, and most do it automatically once the light drops below daylight levels. The infrared flash lights the scene without a visible glow to you, and animals cannot see the near-infrared light, though a front-facing status LED on some models can be spotted. Clear spider webs and foliage from in front of the lens, or the flash reflects back and night images turn white.
Conclusion
Start with the location: legal, solid ground, and a game trail the animals already use. Mount facing north or south at a 45-degree angle, then secure it with an approved strap, lock and cable before anything else.
Finish with a test photo and a walk-through of the detection zone while you are still there. Everything past that is a matter of checking back in, watching your battery and card levels, and keeping your visits quiet. Updated for 2026.